Gigabyte Brix Pro GB-BXi7-4770R System Review
Chris Hadley / 10 years ago
A Closer Look
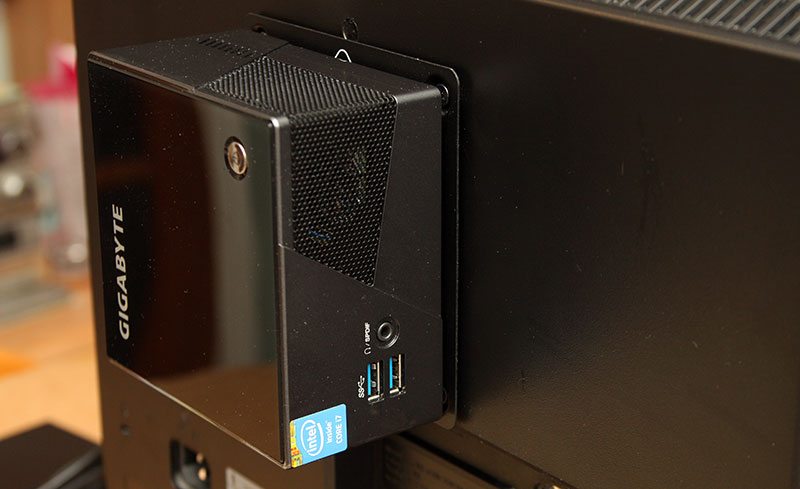
The biggest thing that sets Intel’s NUC based systems and their derivatives apart from anything else that I’ve ever reviewed is with out a doubt the form factor. That said though, this may just be the biggest ultra small form factor system that we’ve had and possibly will have for quite a whilst to come. Inside this small box which measures a shade over 6cm tall and is just over 11cm square is all the parts needed to give us the full desktop experience that we are used to, but without the loss in space on or under the desk.
The entire case has a glossy grey finish with a great looking modern design to it. On the top of the system is little more than some Gigabyte branding and in the opposite corner a power button with a system LED built-in.

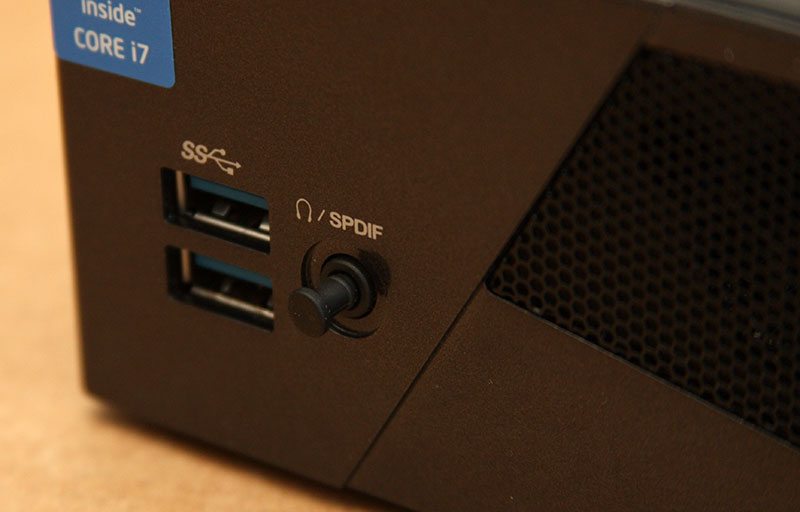
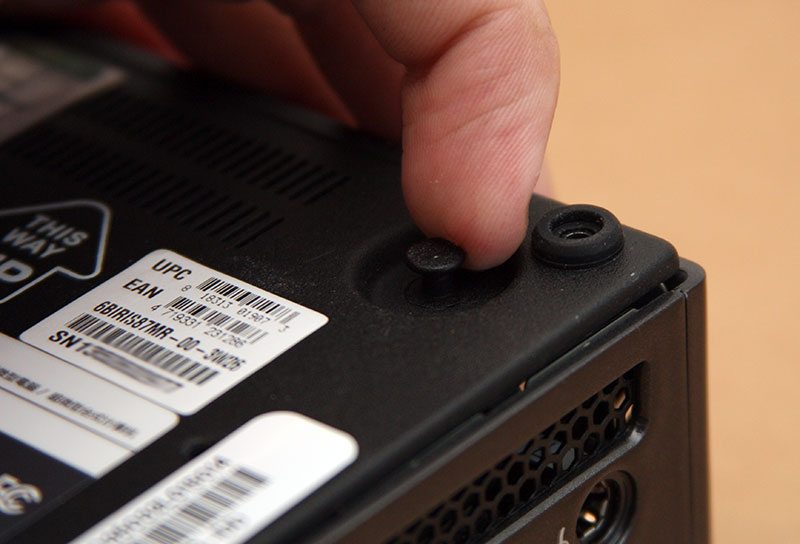
Remember the small rubber plug that I mentioned earlier? Well this unusual little extra simply pushes into the audio port on the front of the system to block out the red glow that optical connections emit. In the image below the bung has only been pushed in part way to make its presence clearer and when fully inserted, the bung sits relatively flush to the surface. Beside the audio output we have two out of the four USB3.0 ports on hand for easy access when the system is placed on a desktop.
Wrapping around the front and to the right hand side of the case is a large mesh grill which provides a wide opening for air to flow in and through the system to the heatsink which sits within the upper half of the build. As well as having a practical function, the grill and the smaller line of slats beside it breaks up the otherwise plain exterior making the unit a bit more aesthetically pleasing to look at.

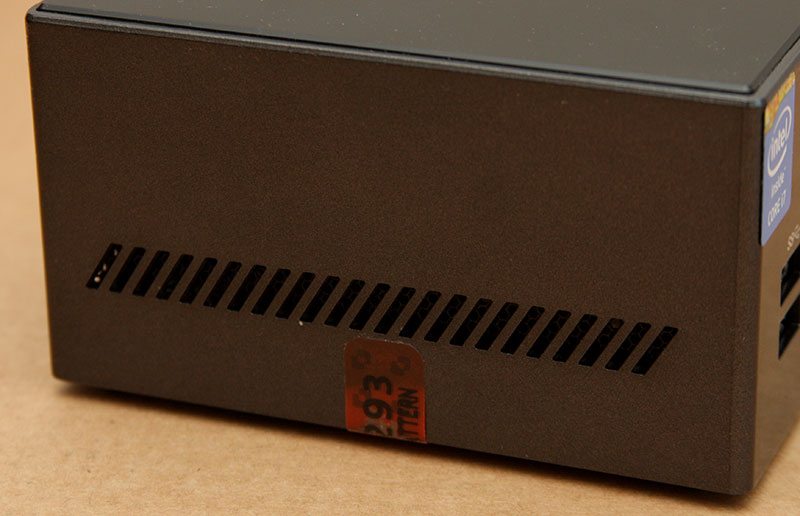
On the opposite side of the system is another line of slots for air flow, although not quite as bold as the other side in order to not make things look too over the top.
On the rear of the Brix Pro is the business side of things. Unlike a laptop or desktop system which typically packs a fair number of USB ports, card readers and display outputs, the selection here is a lot more modest and to the point. Aside from an additional two USB3.0 ports (bringing the total to four) we have Gigabit LAN, a mini DisplayPort (supporting a maximum resolution of 3840×2160 @ 60 Hz) and a HDMI port for 4k display (up to 4096×2304 @ 24 Hz supported). A DC power jack and a Kensington lock point round off the connectivity. A pair of grills above and below the system I/O allow for even more freedom of air flow and we can just see through the upper grill a glimpse of the copper heatsink.

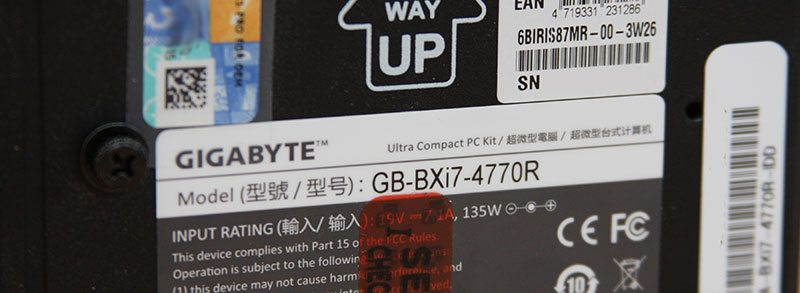
On the underside of the Brix Pro we find the unit product label and serial numbers, with four screws (one in each corner) positioned around the unit. The Windows product label and the red security tag are not found on retail units – these are only present on our review sample. In the middle of the base is a bold “This way up” print which, as we will see further down has one simple, yet important purpose.

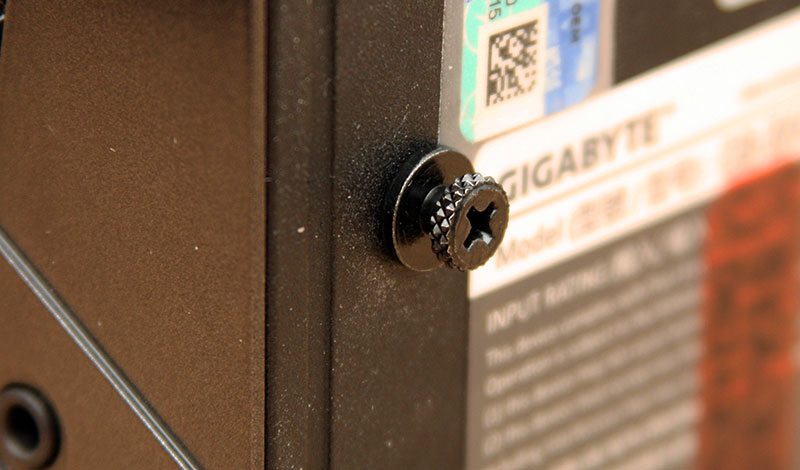
To either side of the product label we can just make out two small holes. These holes are for the two staged screws that are bundled with the VESA mount and how they work is simple, yet effective.
With the thumbscrews inserted we can see that between the head and the tip of the screw is a spacer which the unit uses to latch onto the VESA backmount plate with a simple hook-type fitment. Obviously when the system is not going to be mounted on the back of a monitor, these screws are surplus to requirements and will need to be removed (if previously installed) allowing the unit to sit flat on a desktop.
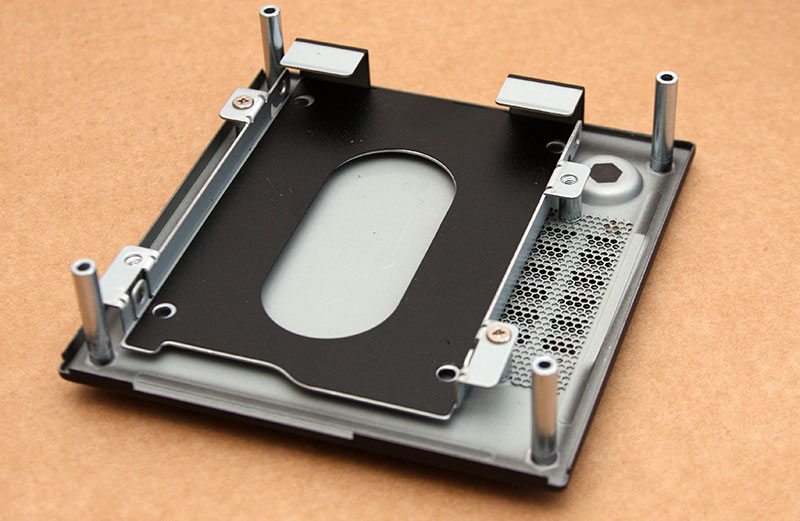
Once each of the four screws are removed from the underside of the Brix, a little tag to one corner allows you to easily lift up the base plate and gain access to the inside for installing the SSD and/or HDD along with your choice of RAM.
Lifting the base plate off and looking at the top (as it would sit on a desktop) we find the 2.5″ drive bay which supports both 7mm slim and 9.5mm drives – ideal for a hard drive if you use mSATA for your boot drive.
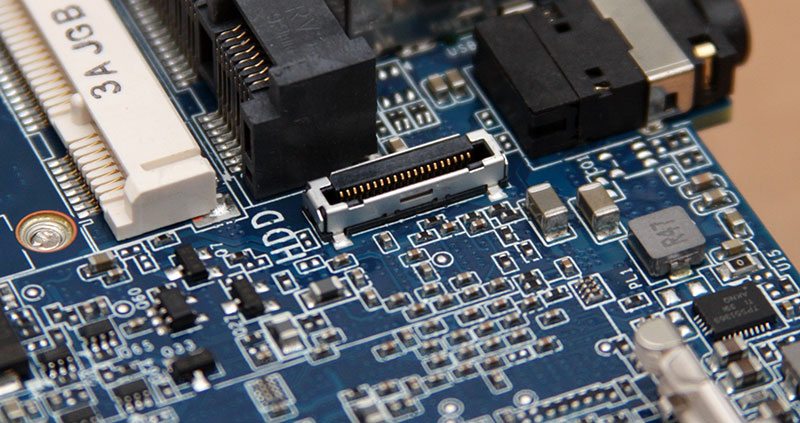
With a drive installed into the base we see that Gigabyte offer a slim SATA power and data cable which connects straight to the motherboard via a propitiatory connector.
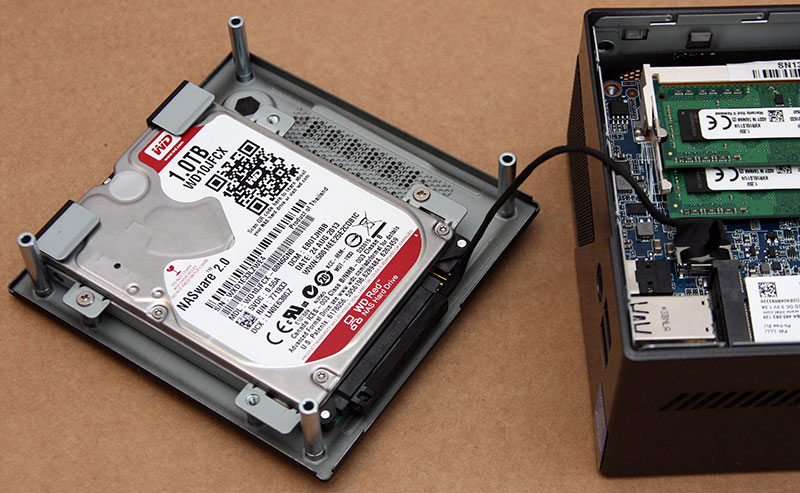
Looking into the system itself (which at this point is upside down) all the areas that the end user needs to get their hands at are found all on one side of the motherboard. To either side of the motherboard we find all of the system I/O ports with the two SODIMM slots in a stepped formation to the front of our view and the mini PCIe and mSATA slots sitting to the rear of the board as we see it.
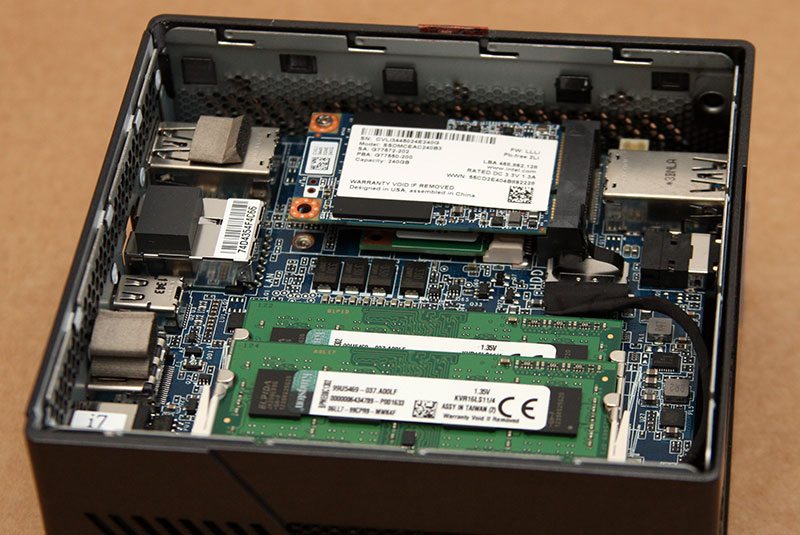
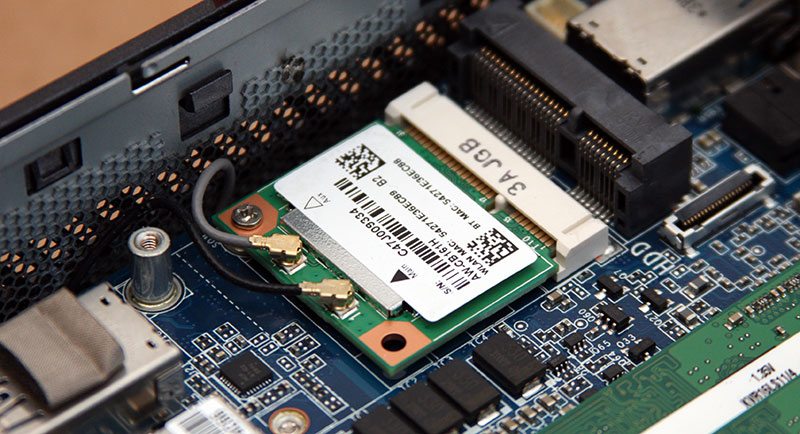
Lifting the mSATA drive out of its slot we can get a look at the mini PCIe WiFi & Bluetooth Combo card that ships with the system. Whilst wired connections are handled by a Realtek controller, wireless communications are handled by an AzureWave AW-CB161H dual band wireless controller, giving the Brix Pro the latest 802.11ac support along with full Bluetooth 4.0 support for devices such as headsets.
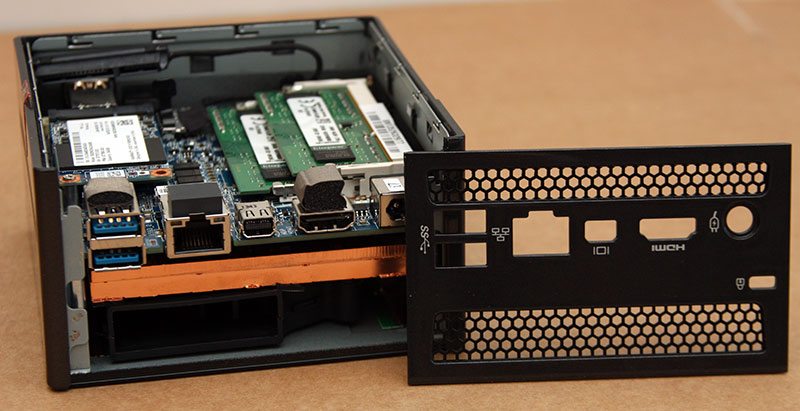
Beyond the add-in components that are needed to complete the system build up, there is no further dis-assembly of the Brix Pro required – although this is not to say that we can’t take a further look into what’s inside. To get a clearer access to the motherboard, the rear panel of the case lifts up out of the way and two screws later the motherboard is freed from the chassis (take care and ensure you disconnect the wireless antennae from the mini PCIe card first).
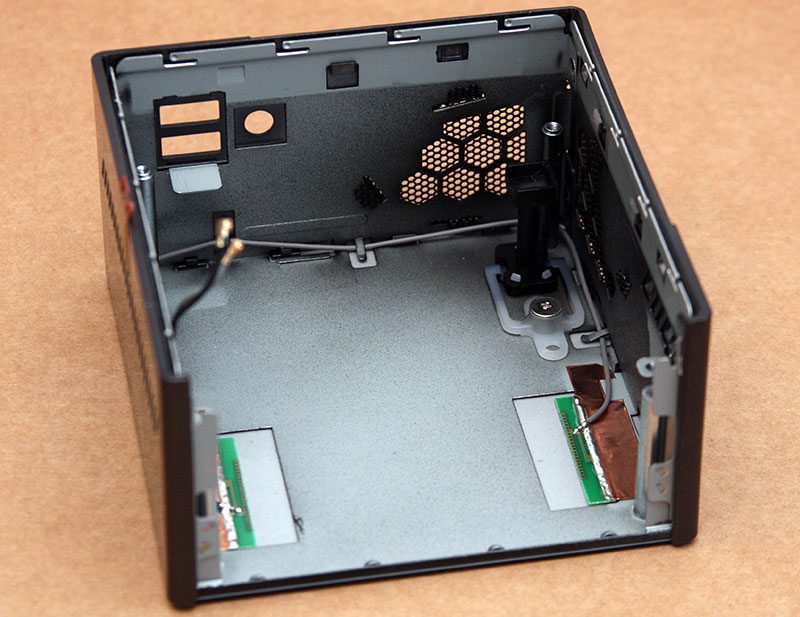
Looking into the remainder of the case there really isn’t much to see aside from a pair of antenna for wireless communications and an extended system power button towards the top right of the shot below.
With all the add-in components removed from the motherboard, bar the system IO there is not a lot to be found on this side of the PCB. The model number of the motherboard is a key reminder that the Brix Pro is home to the latest generation of Haswell Processors with an M87 chipset to hand

Going back to the SATA connectivity, there is no space inside the case to pack in a traditional SATA power and data header as we would typically find, instead this small proprietary connector is all that is needed to boost the internal storage capacity of the Brix Pro by up to 2TB.
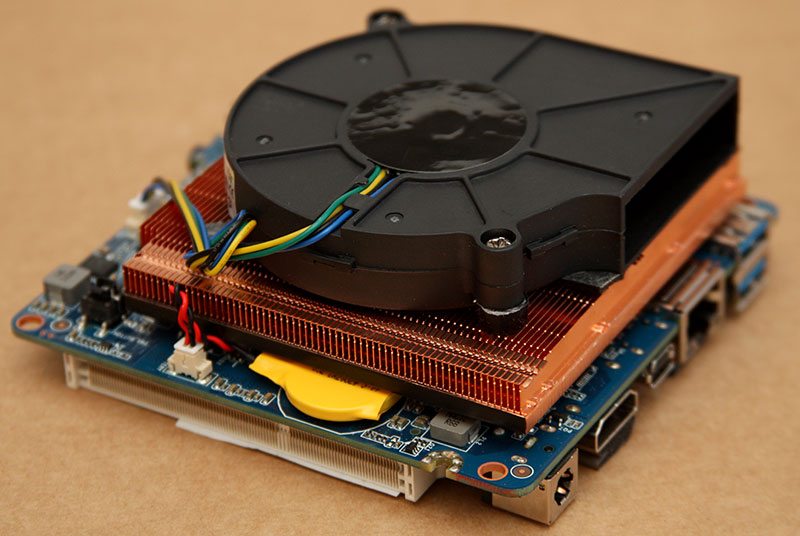
Turning the motherboard over we can see that the core components are all cooled by an all-copper heatsink with a laptop style blower fan bolted on top to draw air in and through the heatsink, before its blown out the back of the system.
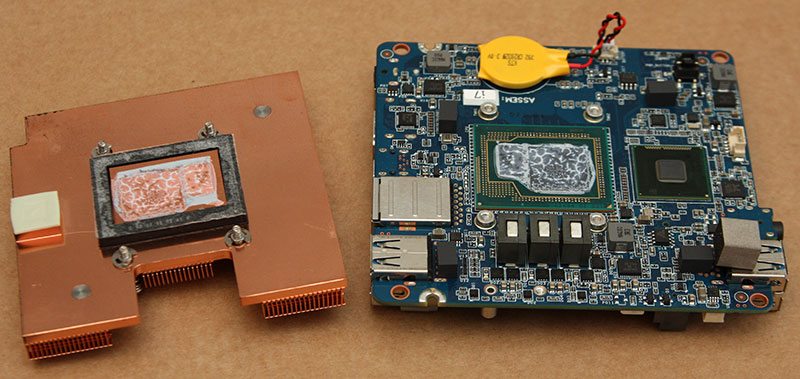
Lifting the cooler off we can see that it has two major components to cool, in the middle of the motherboard is the surface mounted i7-4770R CPU and Iris Pro GPU and its right is the M87 chipset. Like the CPU, the chipset is effectively a trimmed down version of the full on Z87 chipset which we see on the latest full ATX motherboards. Like the CPU, the chipset cuts out a number of features that the Brix Pro doesn’t need or have – such as a RAID controller, reducing both the chipsets power consumption and cost of production.
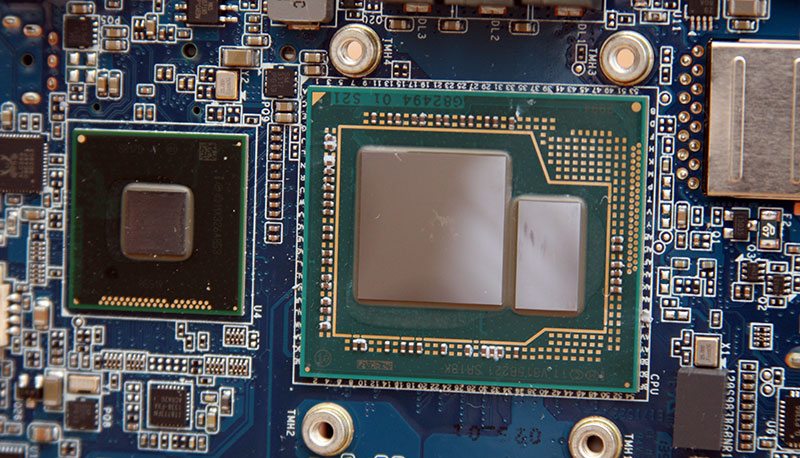
Focusing on the processor a little closer we can see that the chip itself is divided into two clear areas. The larger die to the left is the i7 quad-core processor, with the smaller die playing home to the Iris Pro 5200 series GPU. The key thing that we have to remember here is that the Iris GPU is nothing like the HD4000 series graphics that we find onboard the likes of the 4770k as mentioned before.
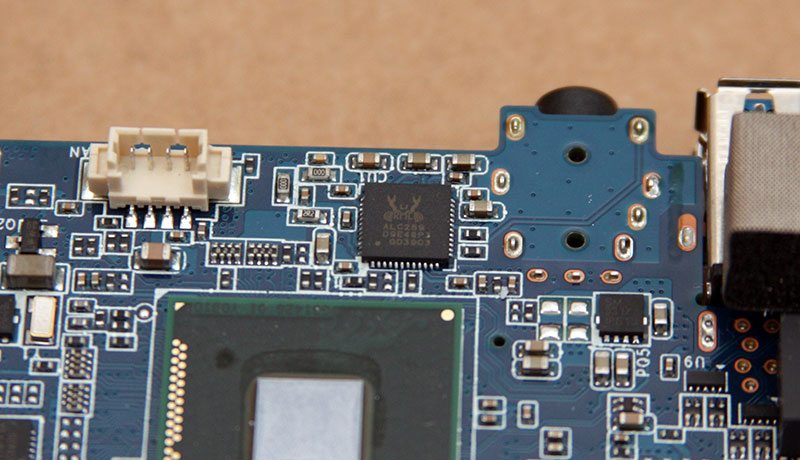
Sat at the front of the motherboard we lastly find Realtek’s RTL8111G Ethernet controller. Whilst this is not really my favoured option for a LAN controller, it is one of the more popular options favored by a wide number of manufacturers.
Putting the Brix Pro all back together and looking at the VESA mounting plate, fitting it onto the back of your monitor or TV (if a media centre is your intended use) is very simple. Like the underside of the system there is an arrow to indicate which way up the bracket needs to be and two sets of holes cater for both VESA 75 and VESA 100 layouts.
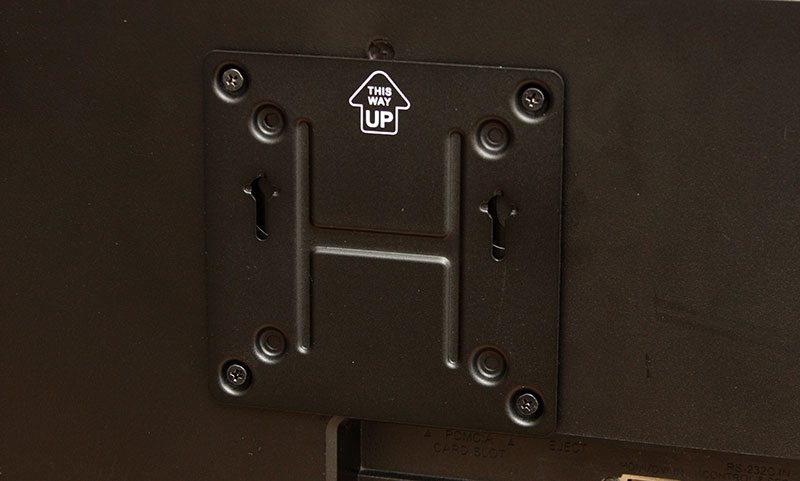
With the bracket in place and the two mounting screws fitted to the bottom of the chassis, the unit simply drops into place with no additional work required – it’s as simple as that.
Going right back up to the top of this page and noting once again the grill that wraps around the front corner of the case, we can now see how this plays an important role of aiding the cooling. Even though the heatsink and fan is still able to function as normal, the grill also allows for heat to rise up passively and out with ease without causing a heat build-up on one side of the motherboard.