Gigabyte Z270X-Ultra Gaming LGA1151 Motherboard Review
John Williamson / 7 years ago
BIOS and Overclocking
Gigabyte’s revised BIOS layout is based on a simplistic design and clean aesthetic which makes navigation a simple task. Even if you’re unfamiliar with the BIOS, it’s a quick process to adjust to the logical arrangement. Additionally, the black background and white font combine rather well and the pin sharp text can be read from numerous angles. This is handy if you’re monitoring voltage changes while visually inspecting the motherboard. Overall, I’m really impressed with the BIOS’ functionality and modern style.
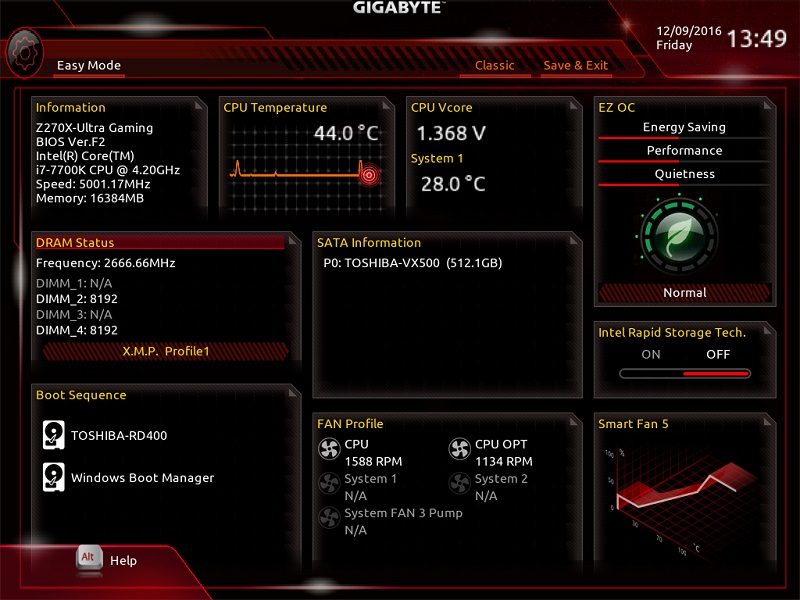
It’s possible to cycle between the Easy Mode which lists essential readings on a single page and Advanced Mode for those who want to make more substantial changes. The Easy Mode is really useful for beginners who feel a little overwhelmed by the number of settings on offer and prevents them from making errors. As you can see, the Easy Mode provides details on the BIOS version, storage configuration, and CPU thermals.
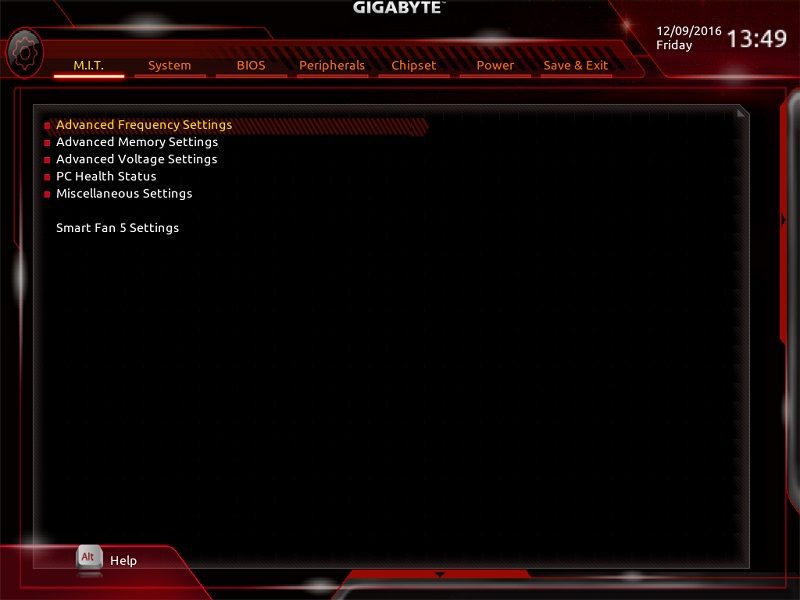
On the M.I.T page, you can access a large array of menus to adjust voltages, the CPU frequency and even allow the motherboard to automatically configure the fans based on thermal values.
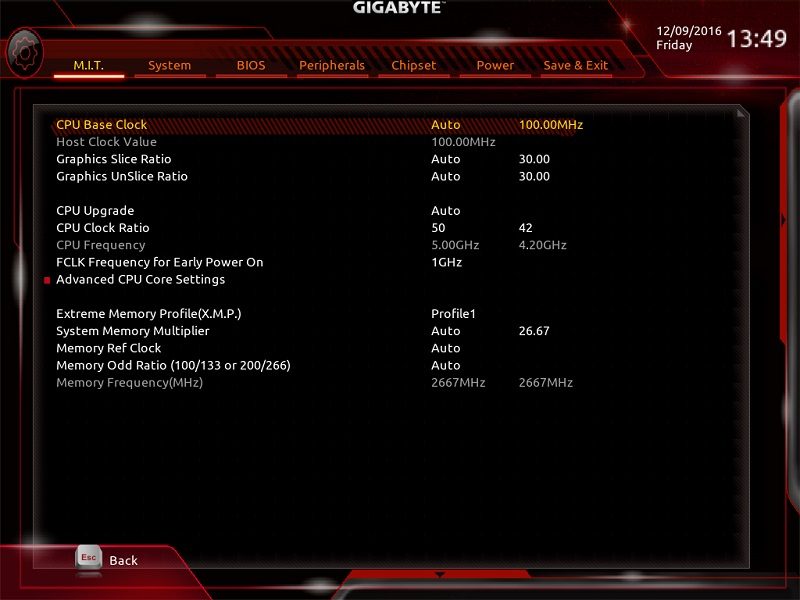
The BIOS automatically configures the CPU’s base clock to 100MHz but this can be changed if you want to push the performance further. Of course, most users will simply want to leave this on the default setting and alter the multiplier. By default, this is set to 42, the i7-7700K’s base frequency. Not only that, the BIOS has a number of pre-defined profiles for various processors and helps those without the overclocking expertise to run the CPU at a higher frequency. However, I’d recommend investing the time and finding out what the sample you have is capable of.
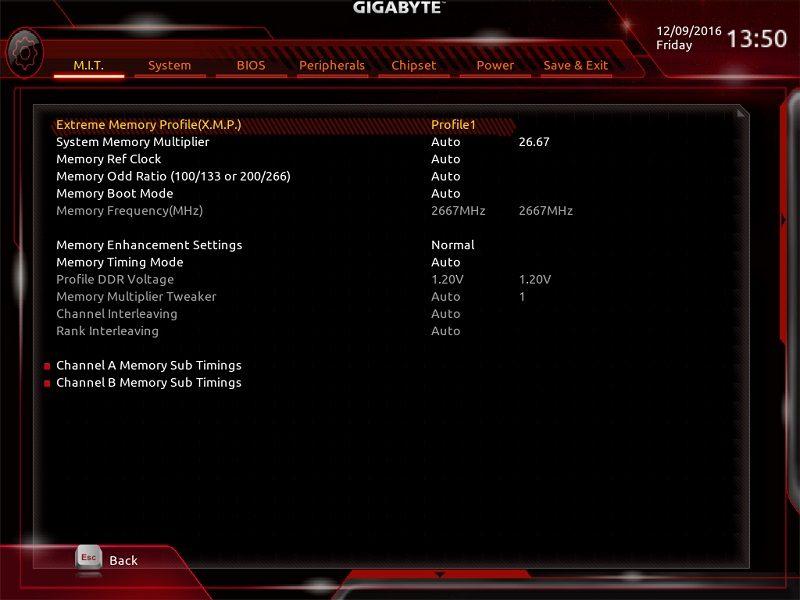
Here we can see the memory tab which allows you to enable the DIMM’s XMP profile and manually enter the operational speed. Also, the memory timings options are useful if you want to tighten the standard timings to achieve better latency figures.
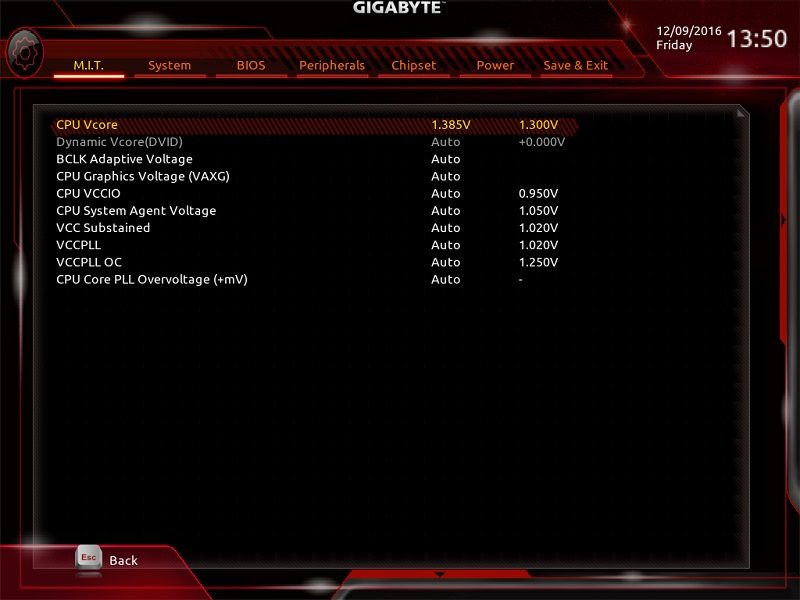
The CPU voltage menu is packed with an assortment of variables including the Vcore, VCCIO and much more. This provides hardware enthusiasts with all the tools to finely tune the CPU and reach a stable voltage for the inputted multiplier. While the number of options may seem a little confusing, the average user can focus on Vcore and ignore other elements quite easily.
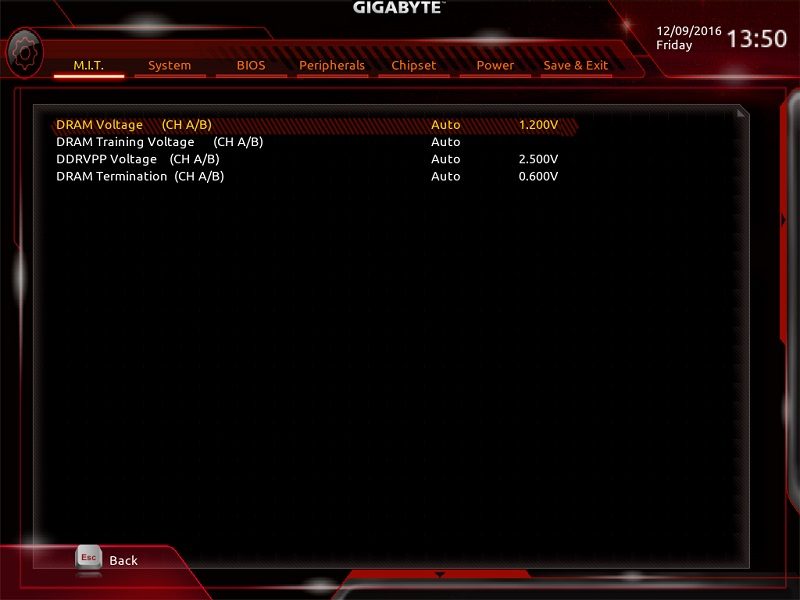
Rather impressively, the memory voltage section contains a comprehensive range of settings to modify the individual channel voltages.
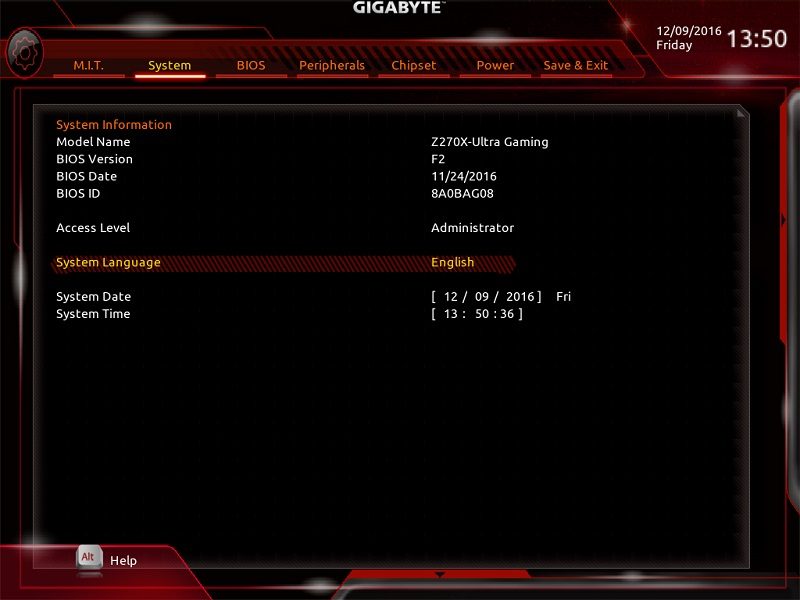
The System Information tab outlines key details about your PC such as the model name, BIOS version, and BIOS ID.
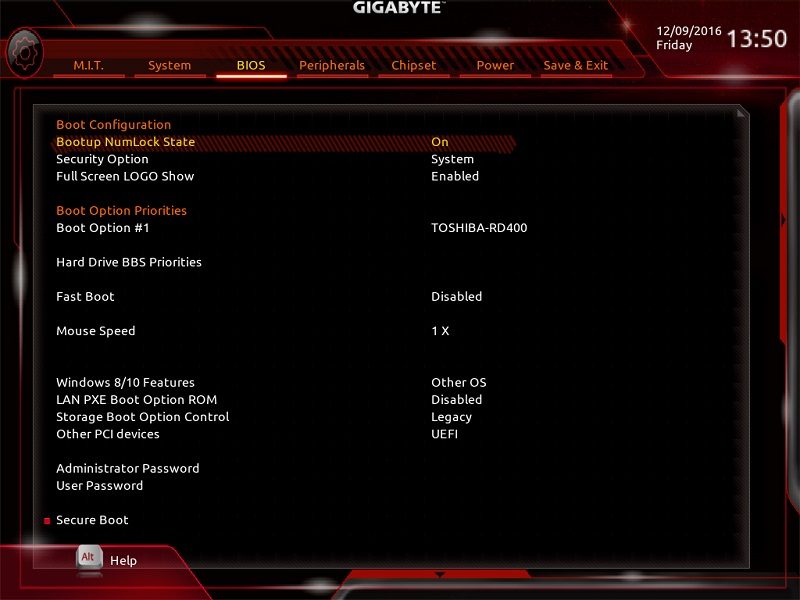
The BIOS tab can be deployed to change the boot priority, configure an administrator password and choose between Legacy/UEFI modes.
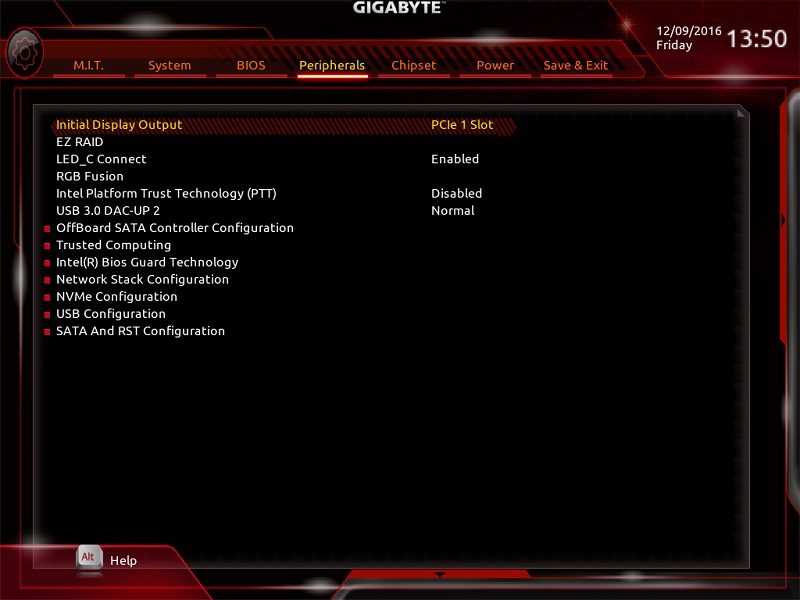
Here we can see the Peripherals menu which houses numerous options to select the primary display adapter, turn the RGB Fusion lighting on or off, enable/disable the onboard LAN controller and more. Honestly, you shouldn’t really need to mess with any of these settings as the default configuration is perfectly fine for the average user.
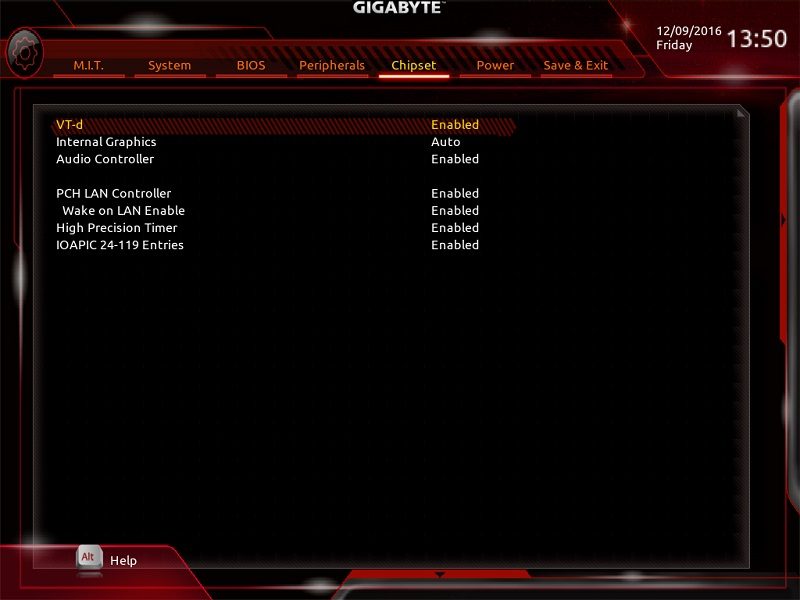
Unless you have a high level of expertise, the Chipset section is to be avoided, but it’s still crammed packed full of useful features for those who enjoy tweaking every possible aspect of their system.
Next up is the Power tab which can be deployed to enable or disable Platform Power Management, adjust the AC BACK mode and much more. Once again, you probably won’t be spending much time on this page.

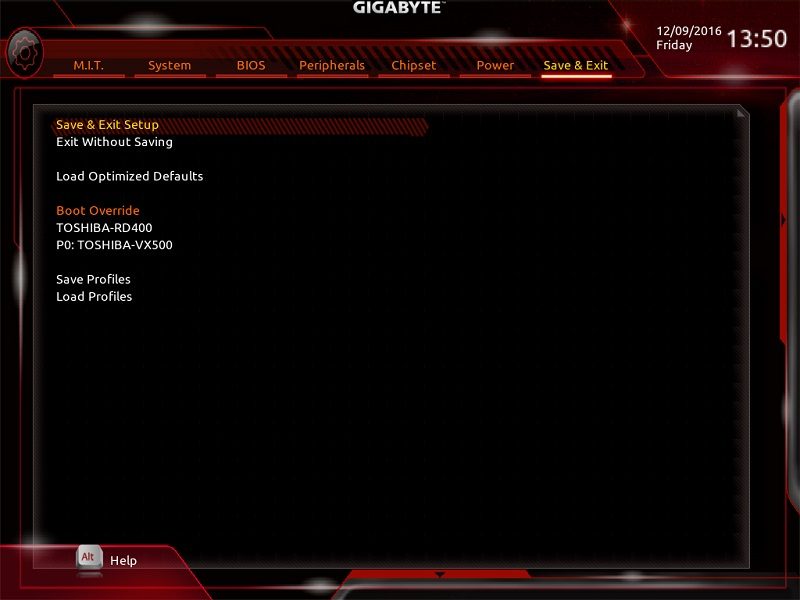
On the final page, you can save any changes, restore optimal defaults, adjust the default boot priority and load/save any overclocking profiles.
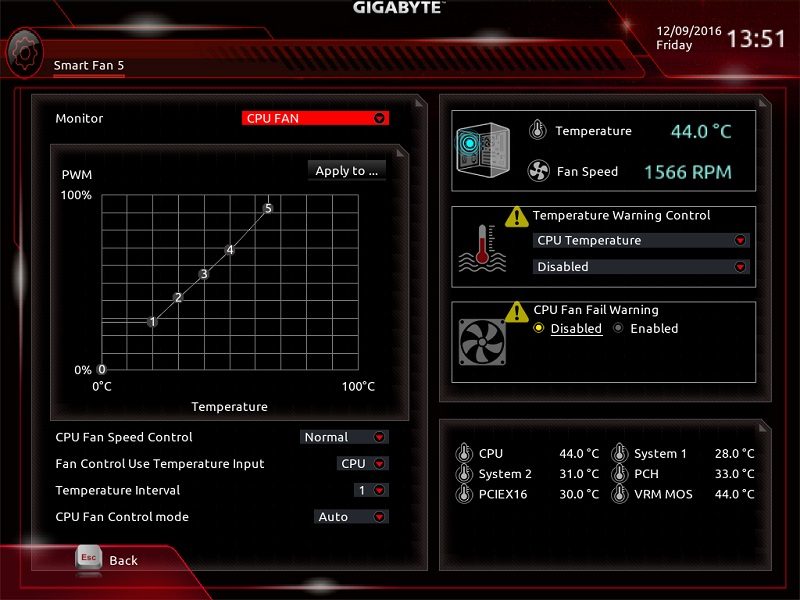
Gigabyte’s Smart Fan 5 utility displays the current thermal readings and RPM values in a clear manner. Additionally, it’s possible to monitor the RPM curves and choose between normal, silent and full speed presets. Not only that, the manual setting is a wonderful addition which allows you to create your own curve based on temperatures. The graphic is really handy and makes custom fan graphs a simple task. Also, the astounding number of thermal readings helps to diagnose any problem areas.
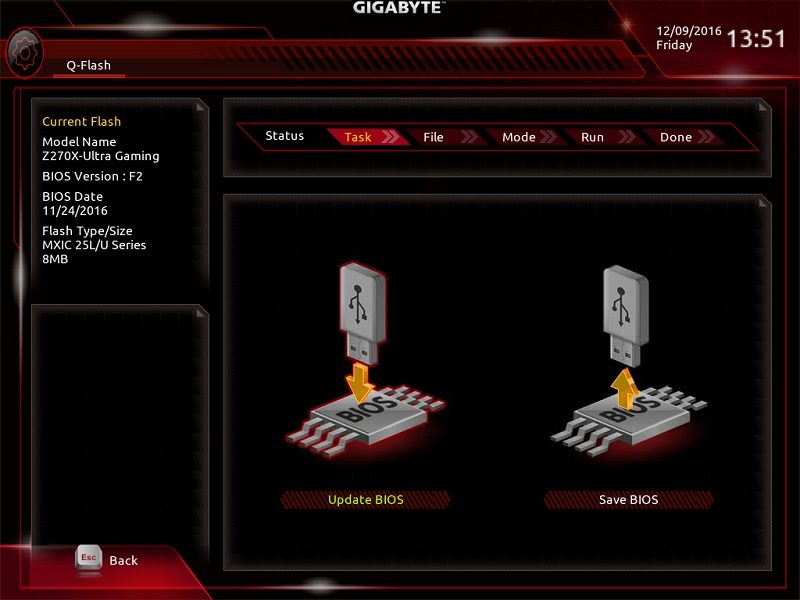
Updating the BIOS directly shouldn’t take too long and the end-user is walked through the process via clear instructions and captivating images. All you have to do is make sure the flash drive is formatted to the correct FAT32 format and click update BIOS.
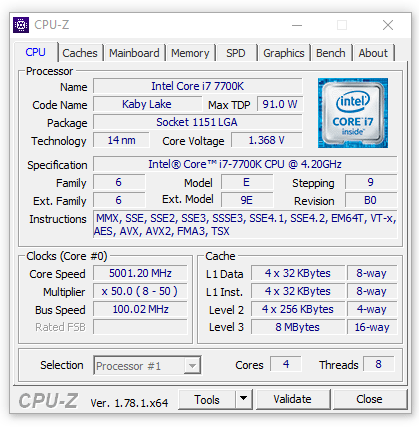
Overclocking
Unlike some of the motherboards which were tested at a later date, the Gigabyte Z270X-Ultra Gaming’s overclocking was conducted using a chip which requires less voltage to reach 5.0GHz. This isn’t ideal and I would have preferred to use the same CPU for all the motherboards, but sampling issues and timing impacted on the process. Nevertheless, overclocking the i7-7700K was a really simple task and the CPU remained stable at 5.0GHz with a modest voltage of 1.368V. Sadly, I wasn’t able to match Gigabyte’s higher-end motherboards which overclocked to 5.1GHz. Despite employing a ridiculously high 1.475V, the 5.1GHz overclock just wasn’t going to happen.