ID-Cooling SE 204K CPU Cooler Review
Peter Donnell / 9 years ago
Installation
The backplate is nice and easy to install, just pop in on the back of the motherboard and put the four long screws through the required holes. There’s a thick padding on the back of the plate too, which will help prevent your motherboard from becoming scratched or damaged.
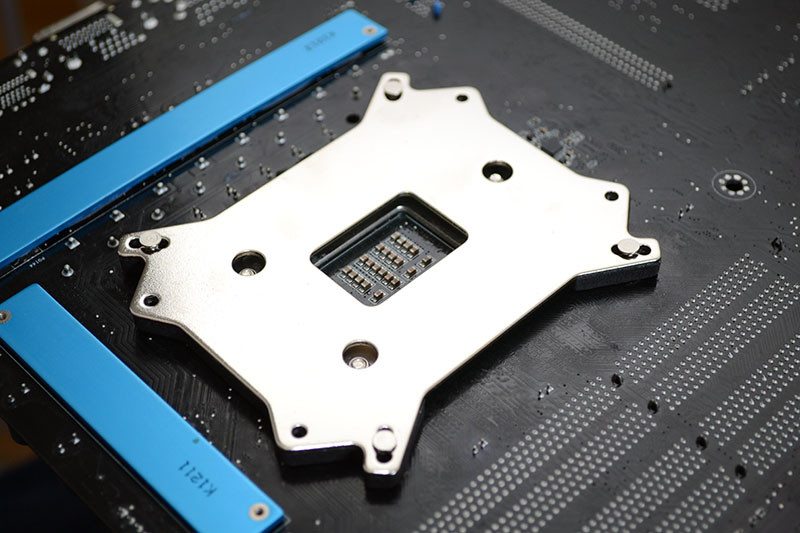
Four spacers and four red washers then need screwing down onto the longer screws, holding everything securely in place and ready fo you to mount the CPU cooler.
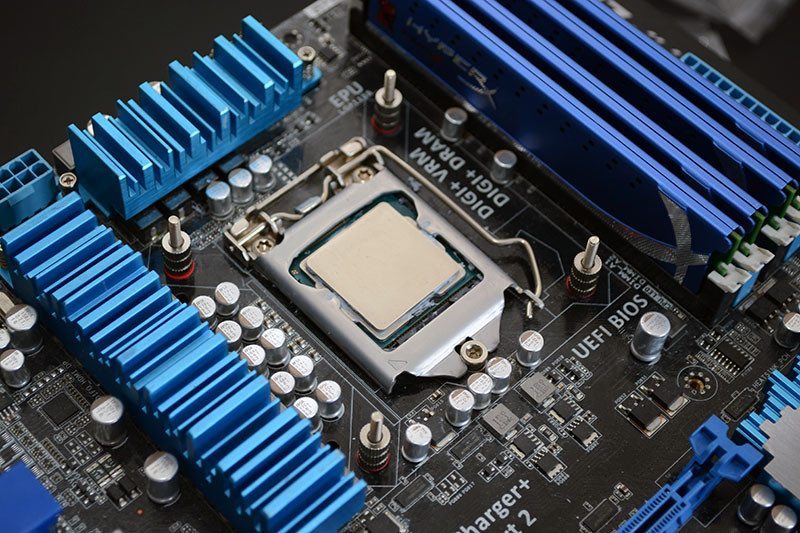
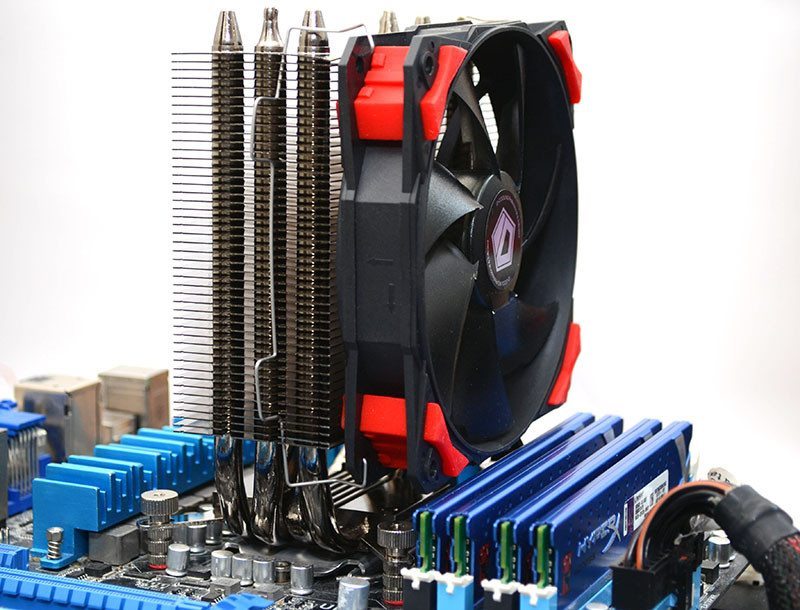
The whole installation process was about 5 minutes, a very easy process. Although, with the washers and screws used, I’d suggest mounting with the motherboard removed from your chassis or with the chassis laid flat on its side. I put the fan on this size of the RAM modules and as you can see, compatibility really isn’t a problem, although very tall models may block a tiny bit of airflow, you could always put the fan on the other side.