Lian Li 011-Dynamic XL Case Review
Peter Donnell / 5 years ago
Interior
Getting inside the Lian Li 011 Dynamic XL is pretty darn easy, and it doesn’t require any tools. There are two thumbscrews at the back of the top panel, which you have to remove first.

Behind that, you can easily get to the dust filters and mounts for the top cooling bracket. However, now the top panel is removed, the two side panels and the glass all just lift right out. It’s that simple, just remove the top, then lift them out!

Stripped
With the glass removed, there’s an enormous amount of space to work with on the interior. The removed front panel gives you plenty of extra elbow room too. For custom looping, this could really make the install process a hell of a lot easier for you.

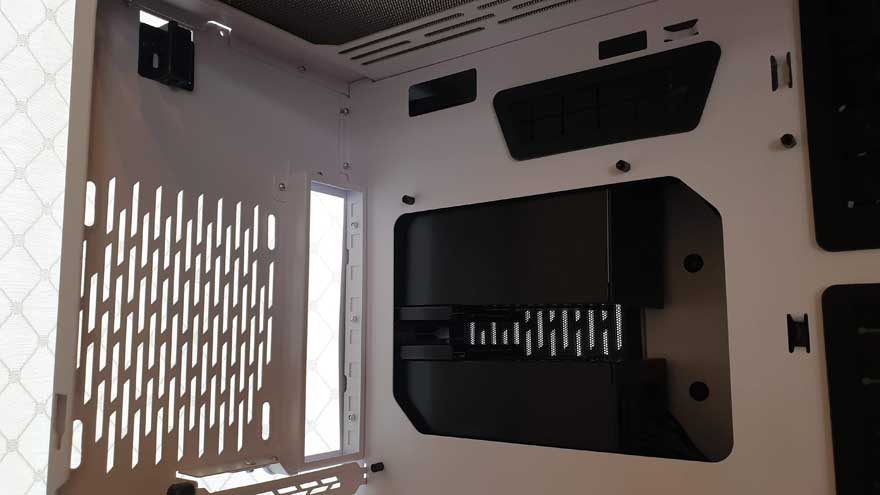
Mounts
Speakings of custom loop, there’s a massive radiator mount right in the base. Of course, you could use this for AIO or just for fans too. What’s cool though, is that there’s clearance here for a thicker radiator, without compromising the lowest PCIe slot on the motherboard.

Expansion
Plus, since it supports massive motherboards, you’ll be able to take full advantage of all eight expansion ports on the rear. Can anyone say Multi GPU monster for me?!?
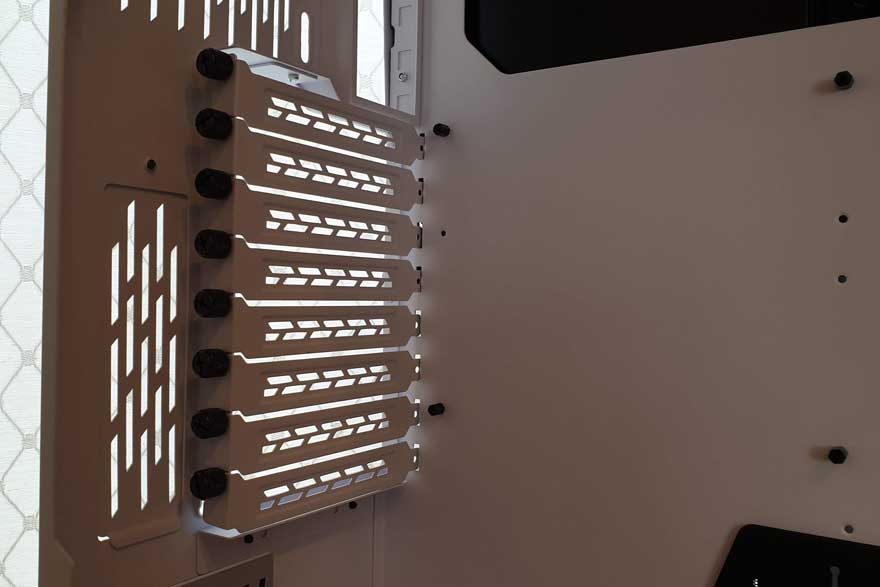
Oh and room for a humble 120mm fitting in the rear here. Now, you’ll notice that there are zero fans in this case. Why? Well, enthusiasts like to buy their own specific brand, so I think any included ones would likely have been removed by the end-user anyway. You’d think that would make it cheaper, but no, ha.
Routing
There are holes, hidden panels, grommets, cut-outs, angled grommets and more everywhere. Seriously, if you can’t get neat cable routing with this fantastic setup, then you couldn’t open a tin of beans that were already open.


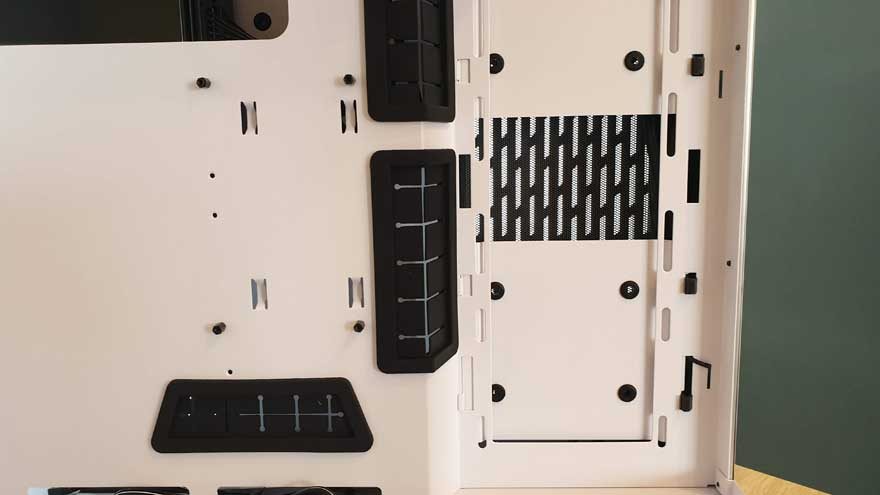
I would like to point out that there are gaps on the right. It turns out two of the back panels had fallen out after being brutally shaken in the UPS truck. They clipped back in later in this review, but they are meant to be removable also.

Around the Back
See those panels on the left? Those are the ones that had fallen off, but again, they’re back now. They can be removed to mount a radiator on the side panel. However, like this, they can be used to mount SSDs and HDDs, or just close it up so it looks neat and tidy.


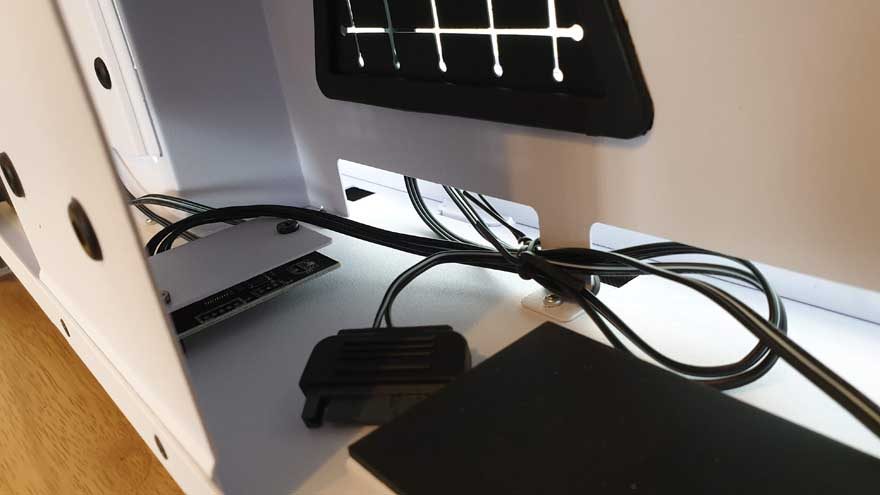
Sneaky Hub
Down here, there’s a load of space for the PSU and a LOT of cables. It all hides behind removable panels, in large holding areas. However, there’s a tiny little SATA powered hub here too. It’s simply for the ARGB on the front panel. Didn’t see the LED lights? You wouldn’t, they’re hiding; more on that in the next page.