Lian Li PC-V359 M-ATX Chassis Review
Peter Donnell / 9 years ago
Introduction

Lian-Li have one of the best reputations in the chassis industry, it’s as if this company finds it impossible to make a product that is anything less than incredible. They are the masters of aluminium chassis construction and time and time again we’ve seen them release award-winning chassis products that offer premium performance, style, build quality and features; and they often come with the premium price tag to match. Today looks set to continue their never-ending combo of excellence, as we take a look at their new Micro-ATX super star; the PC-V359.
There is a big demand right now for a chassis that lets you show off your rig, and the common side panel window isn’t always the best option. People love to show of their high-end components; who would want to spend £1000 on a graphics card if you can’t admire its awesome cooler design? The PC-V359 aims to offer a fresh perspective from its unique front panel and top panel window combo.
Capable of holding a full ATX PSU, tall CPU coolers, a 240mm radiator, extra cooling fans, Micro-ATX motherboards, a few hard drives and graphics cards of up to 320mm, the PC-V359 is a very capable chassis, with the added bonus of four choices of colour; so you’ve got plenty of choice to to help tailor your chassis to match your components.
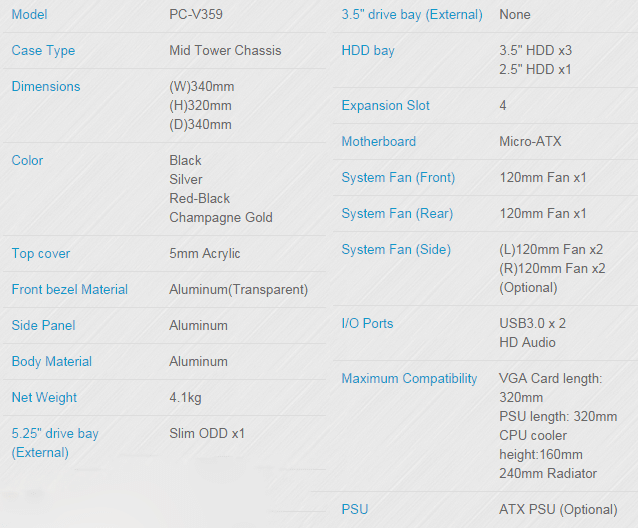
The packaging is pretty standard, a representation of the general design on the front and the specifications (see above) around the sides.

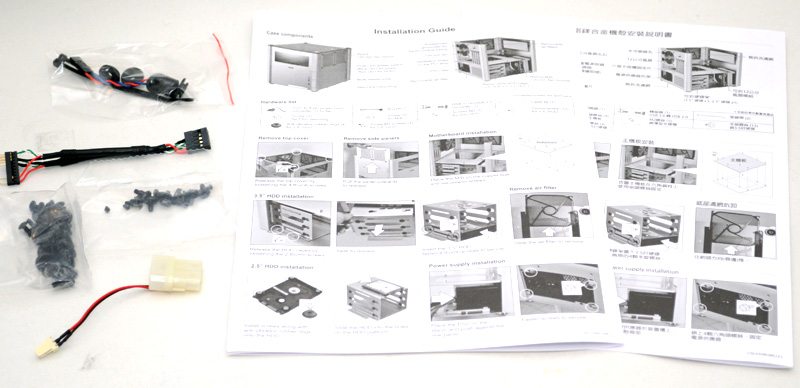
In the box you will find all the usual nuts and bolts required to install your components, as well as an illustrated installation guide.
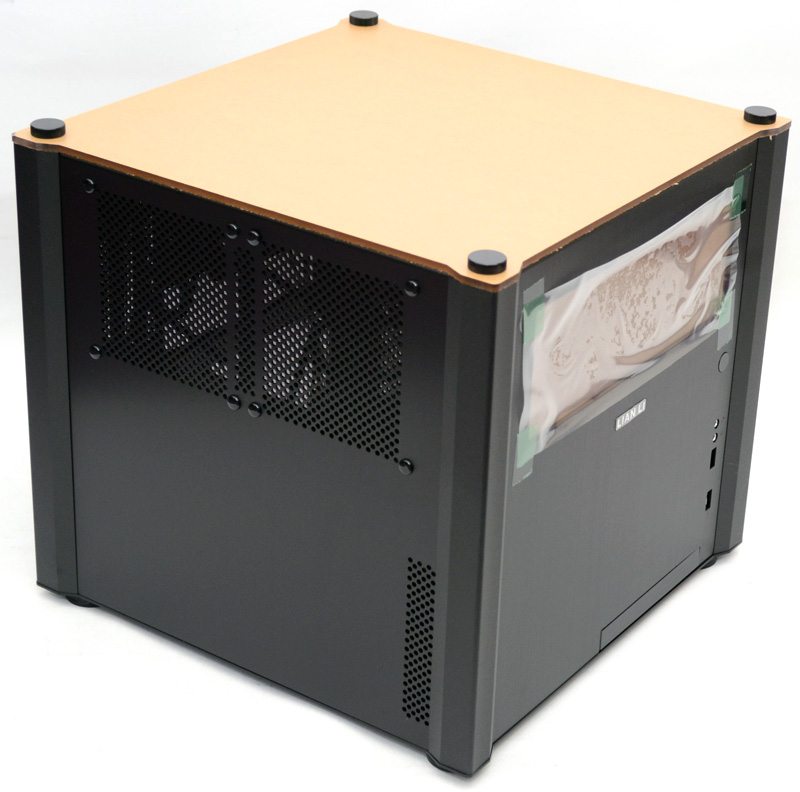
The chassis is very well protected and comes with peel-off brown paper on the acrylic panels to prevent scratching in transit.
Exterior
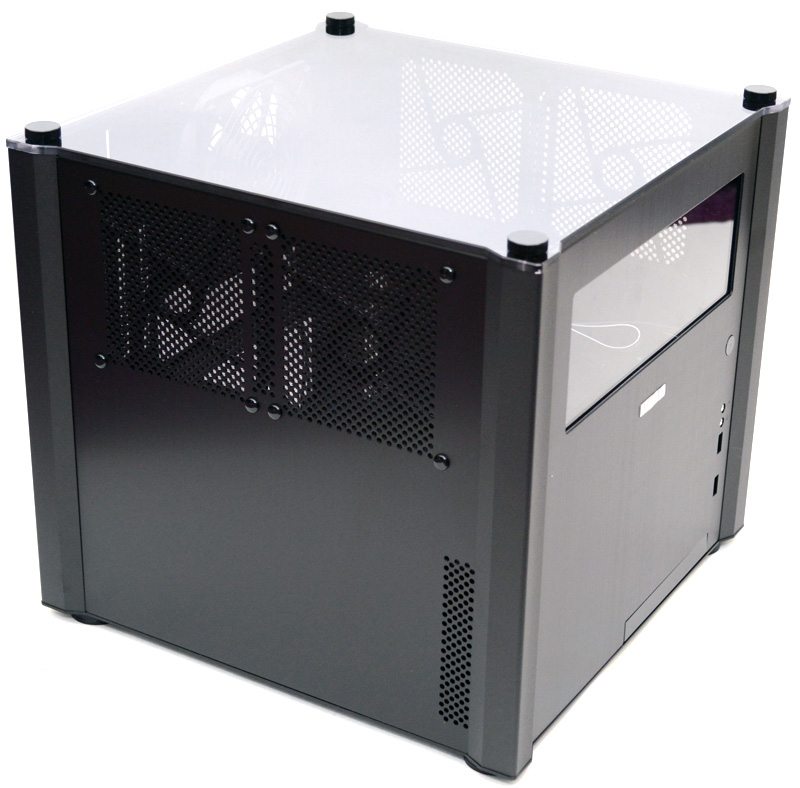
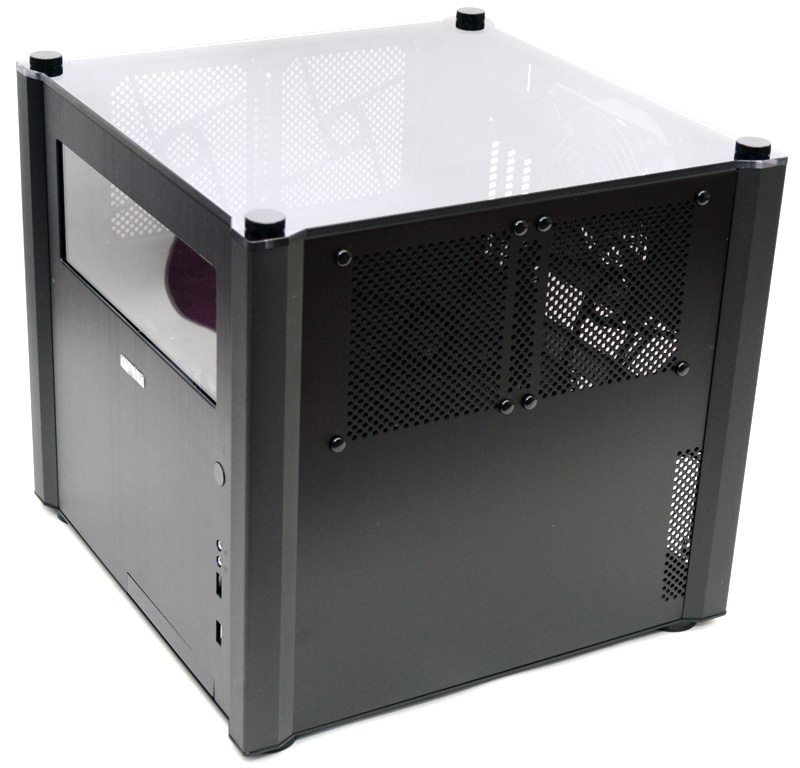
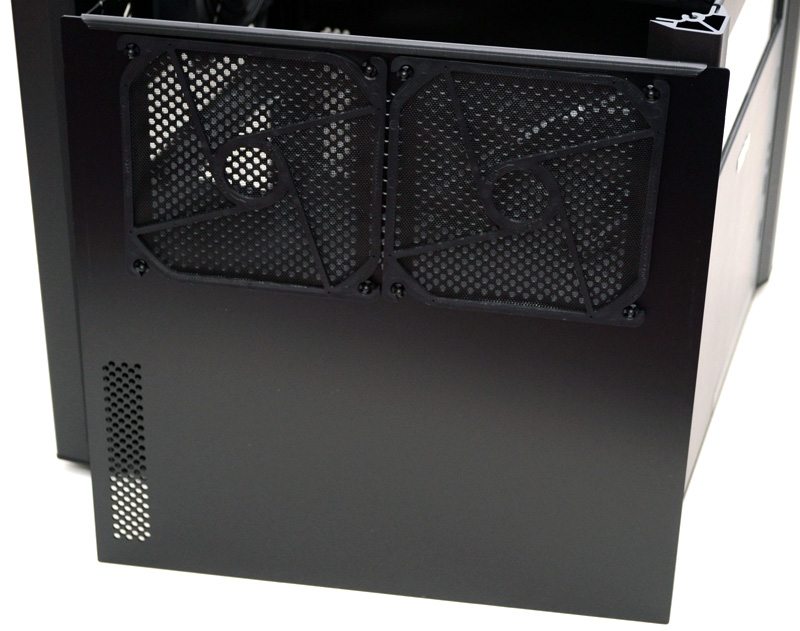
The left side panel features a small strip of ventilation in the bottom right corner and two filtered air intakes which can support 120mm fans; perfect for providing airflow to your GPUs.
The right side of the chassis is very similar to the left, with the only major difference being that the front ventilation is now at the back; this also means that the left and right side panels are interchangeable with each other, not that you really need to given that they’re identical panels.
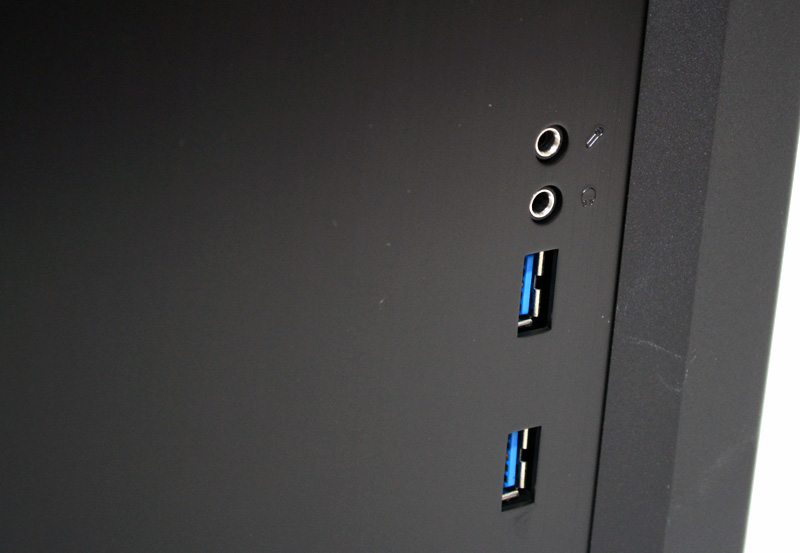
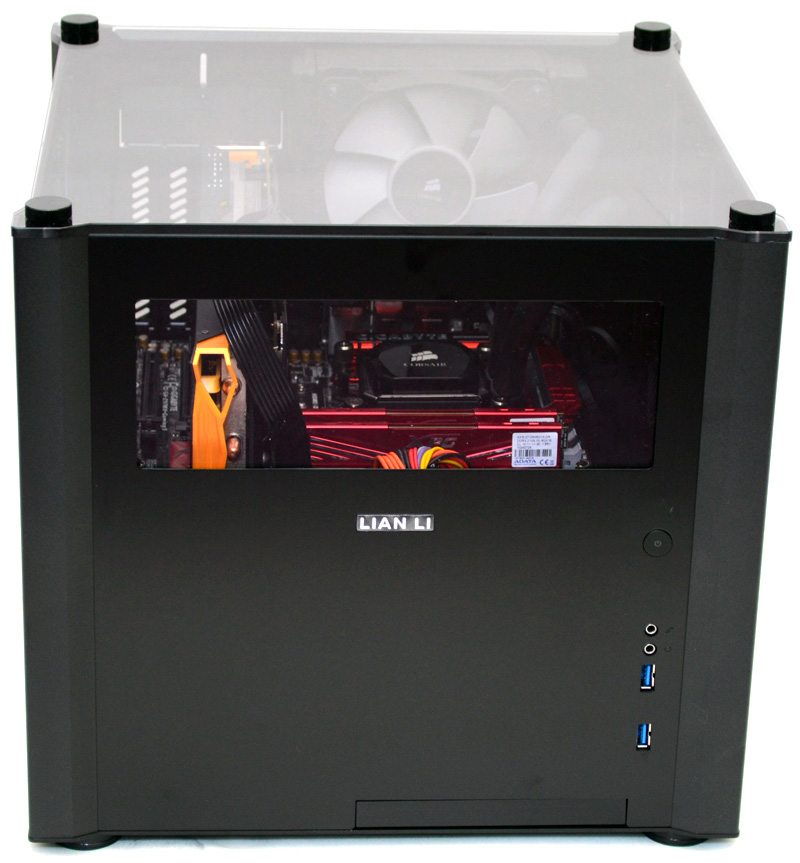
The front panel is nice and simple; a big window near the top to show off the motherboard and other components and a small I/O panel on the right edge.
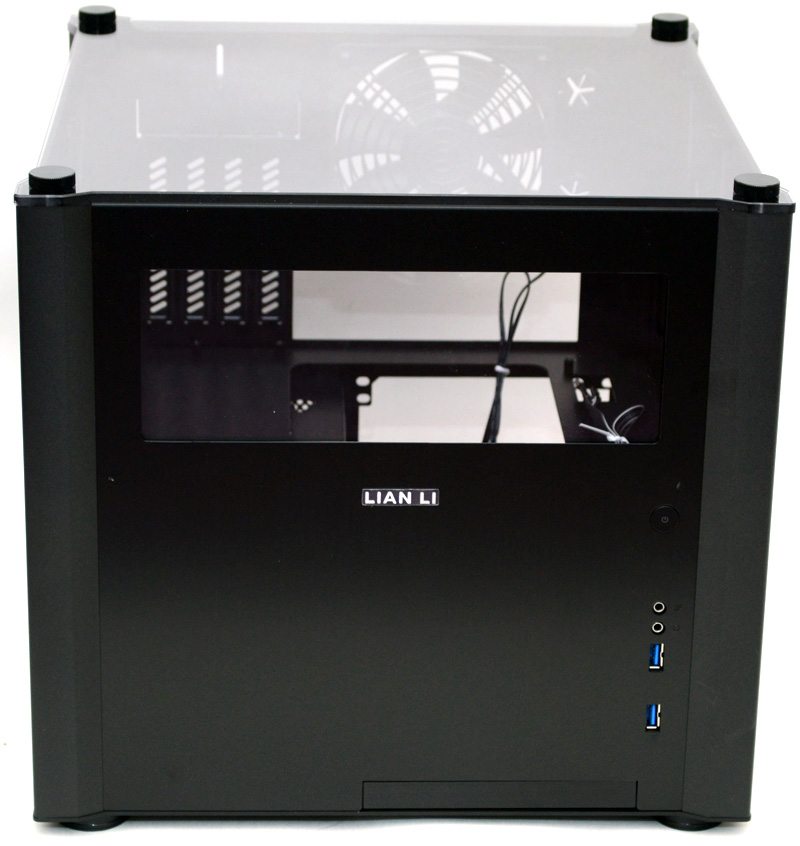
All of the usual ports are present, but it’s also nice to see that Lian Li have dropped the USB 2.0 ports completely; it’s time we moved away from those slower speed ports.
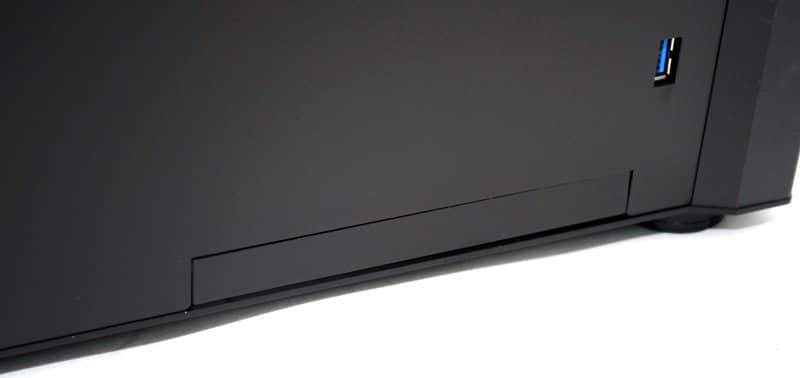
A slim optical drive bay is neatly tucked away in the base of the chassis; perfect for those who want to use this as a HTPC.
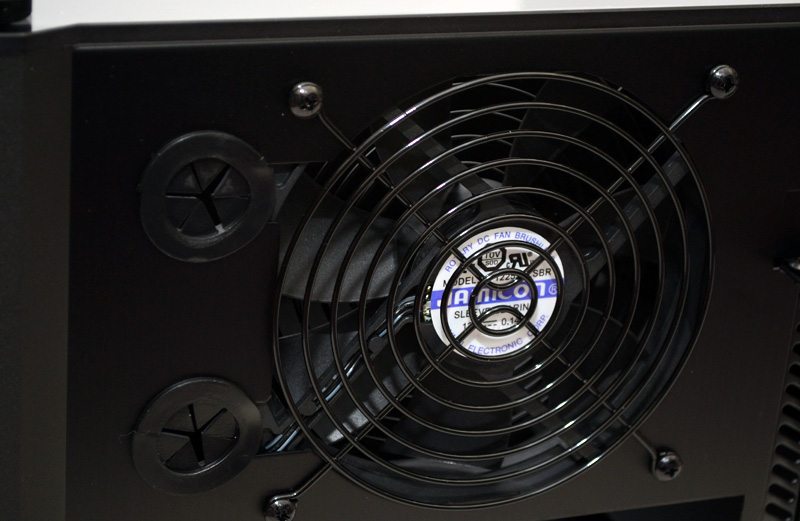
The back of the chassis features two rubber grommets that cut through to the 120mm fan mount, perfect for passing through water cooling pipes on a custom loop/external radiator.
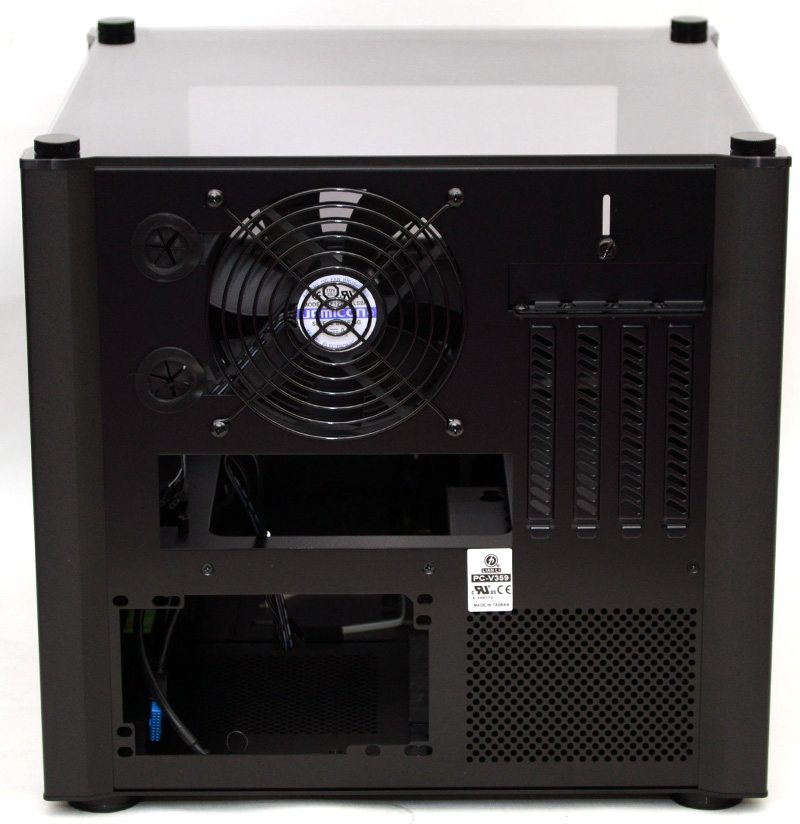
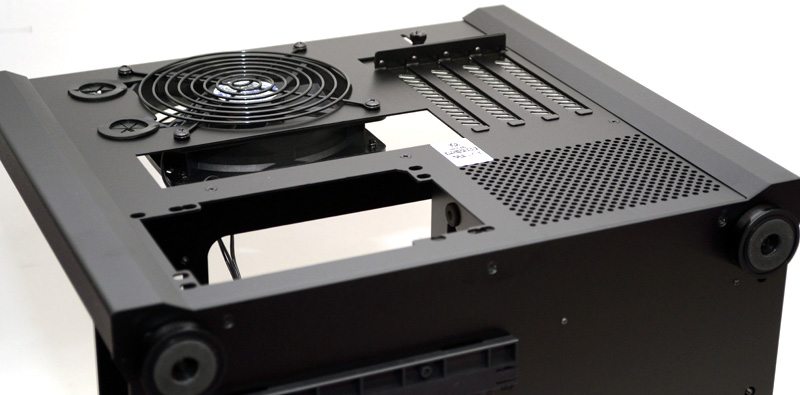
A fan guard is screwed onto the back of the chassis, where you’ll also find a good quality 120mm fan pre-installed.
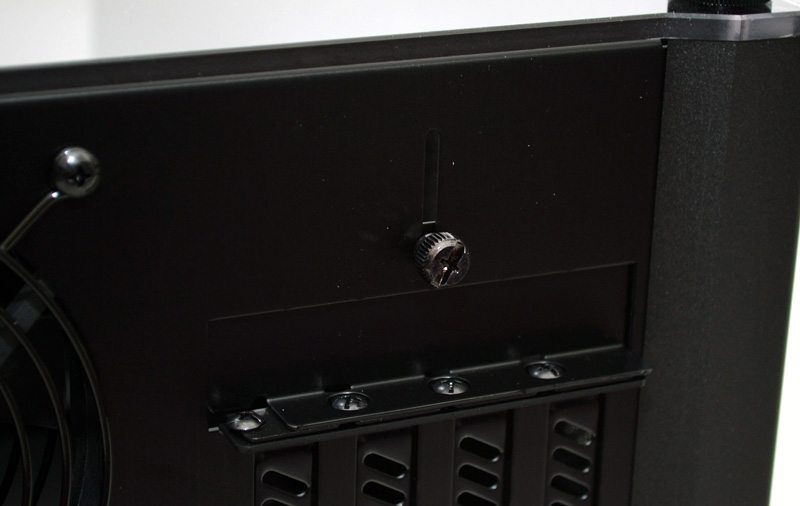
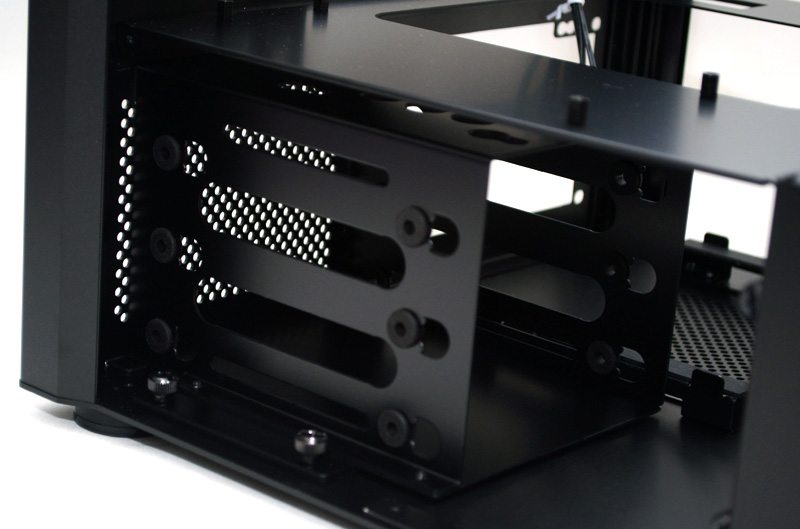
There are four expansion slots with a slide-up panel above them, raising this panel allows a little extra space to manoeuvre your GPU during installation; handy if you’re trying to install a larger graphics card.
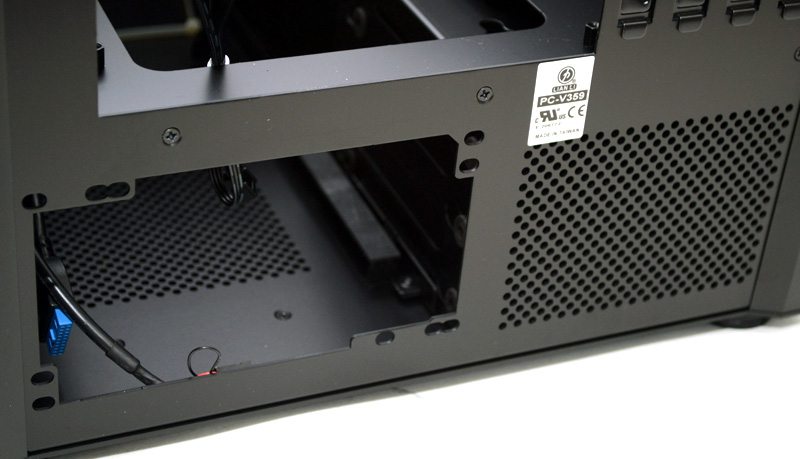
The PSU fittings support normal and inverse mounting, although you’ll have to use inverse (fan pointing down) to use the bottom air vents. The ventilation next to the PSU cut-out allows extra airflow for the hard drive bays located behind it.
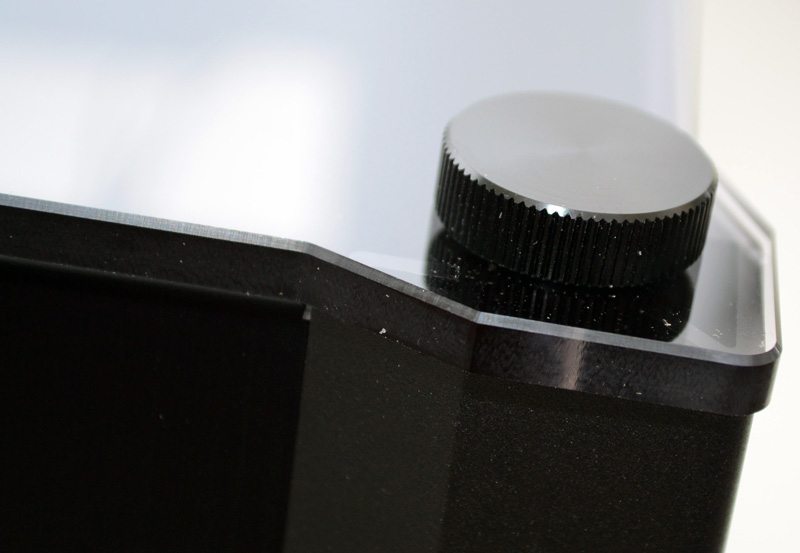
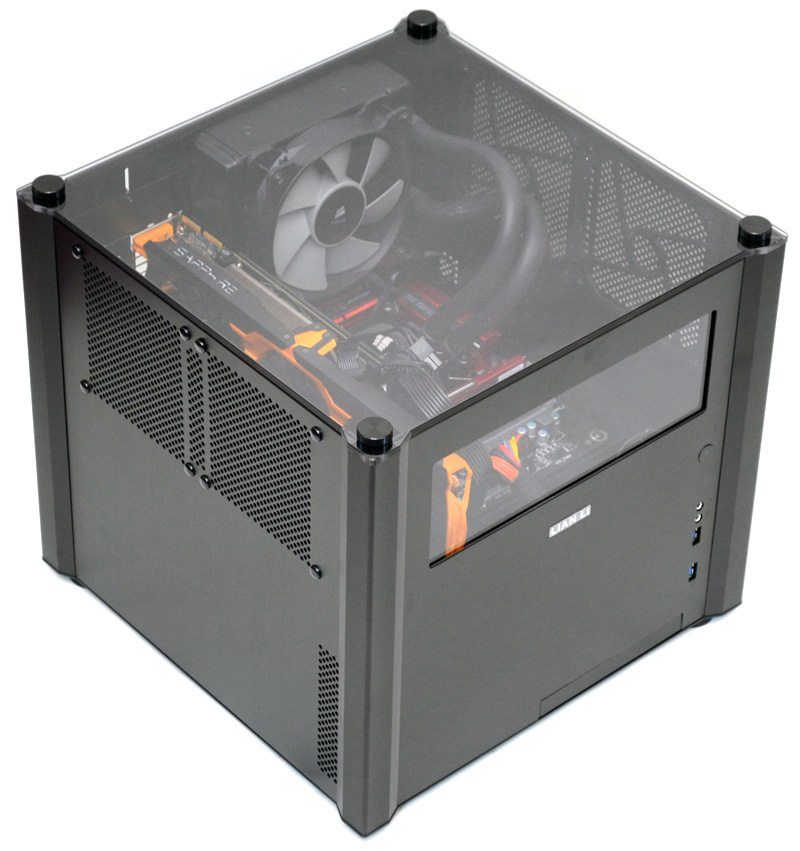
The top panel is a thick piece of perspex, which gives a nice clear view of the chassis’ interior.

There are four large metal thumb screws, one in each corner, each can be quickly undone to remove the top panel.
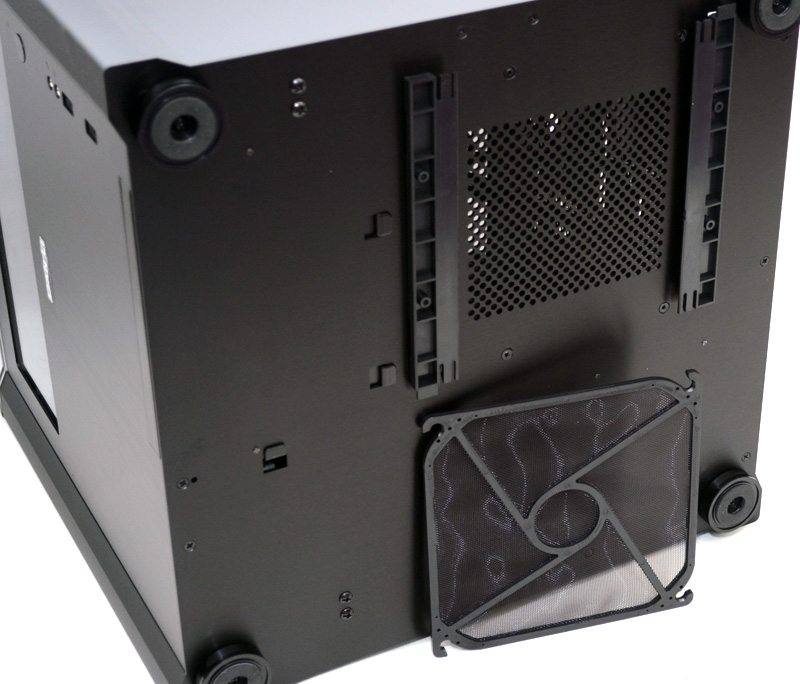
The base of the chassis has four large feet with thick rubber pads on them to help reduce vibration and provide grip on hard surfaces.

There is a large slide-out and washable dust filter on the base; this helps to provide clean airflow for the PSU air intake.
Interior
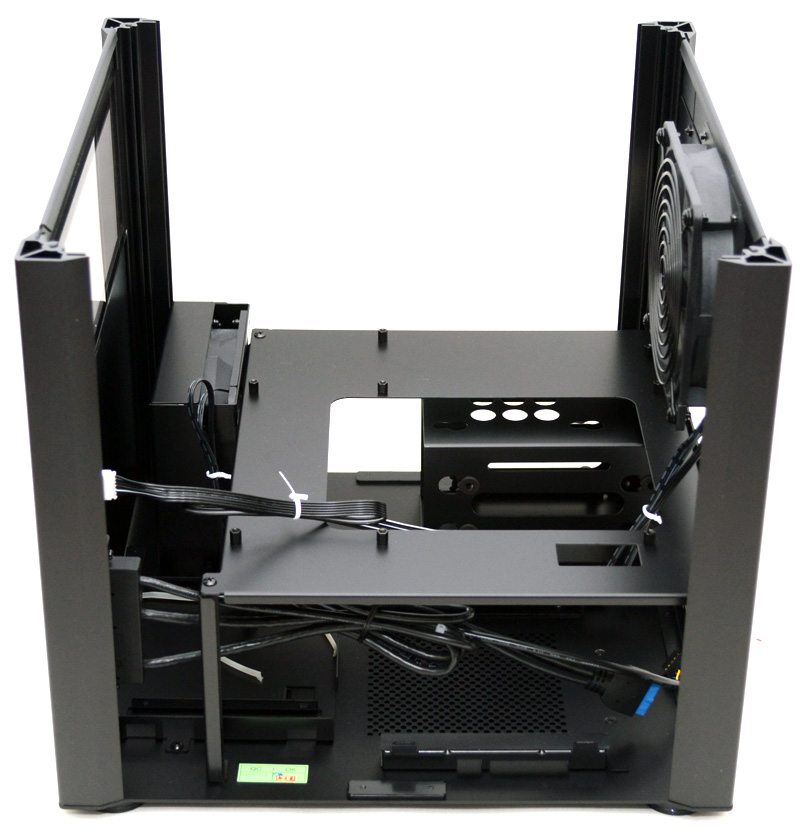
You can access the chassis by unscrewing and lifting off the top panel; giving you easy access to install and maintain your system.
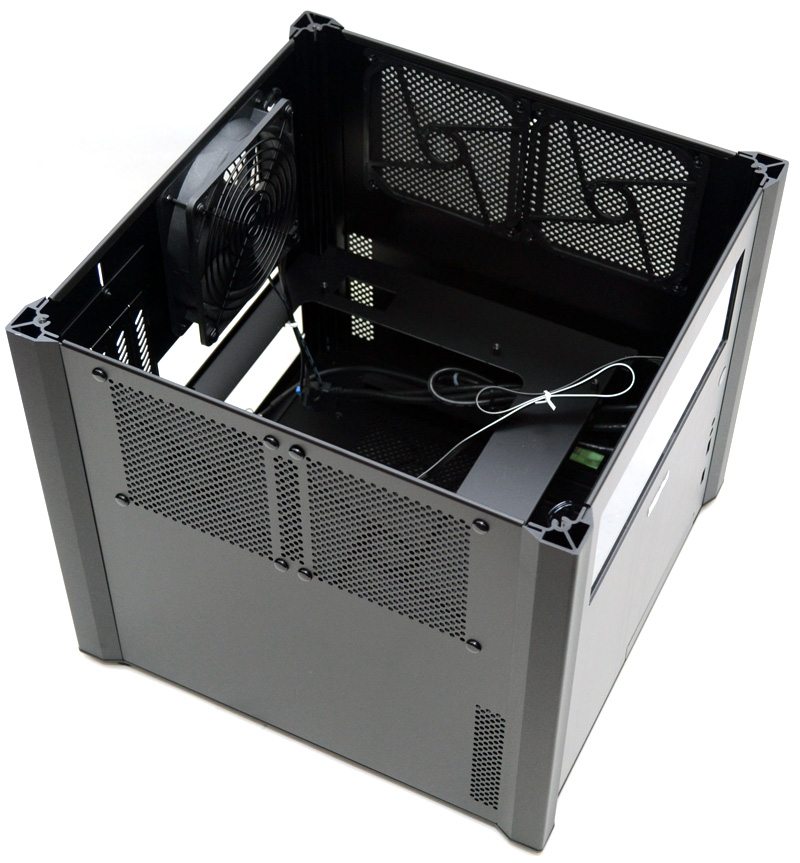
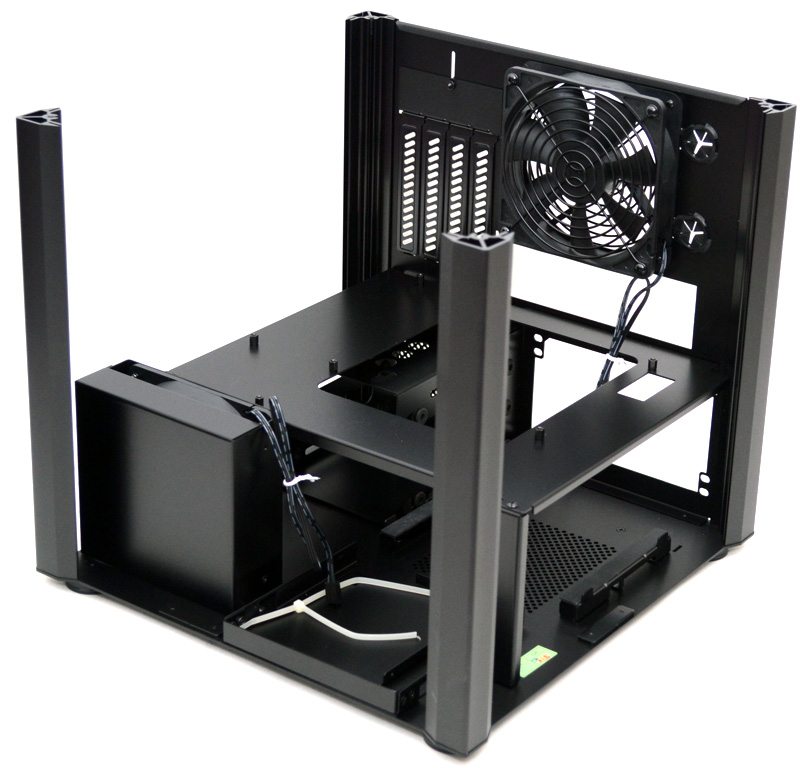
With the top panel removed, the left side panel can be lifted up and out of the chassis; this makes accessing the interior of the chassis a very quick and easy process.
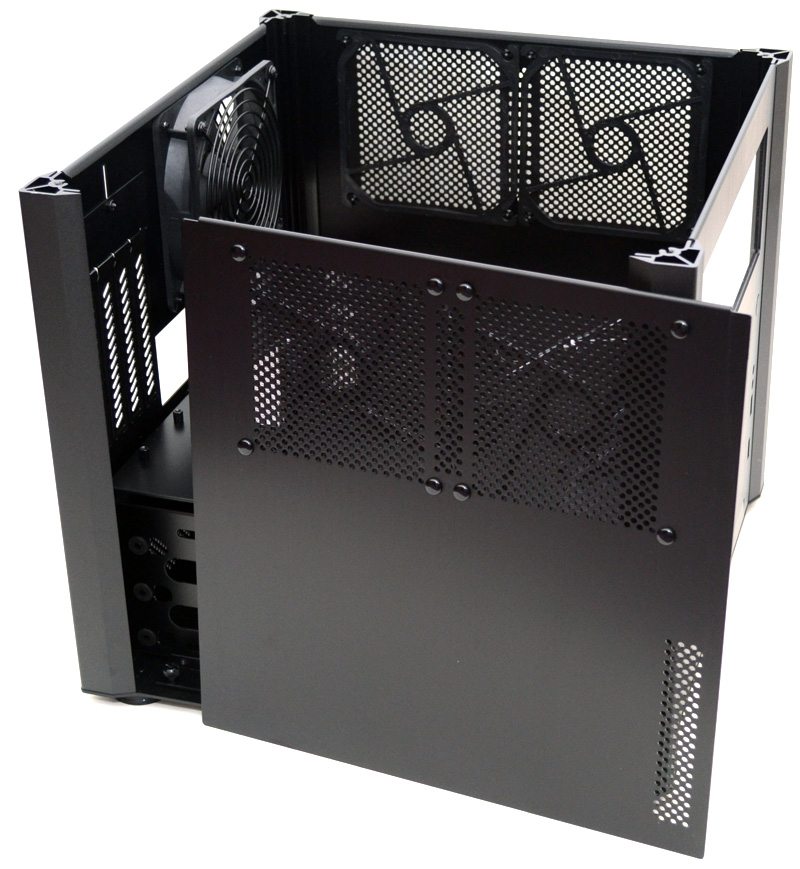
On the inside of the left panel are two clip in dust filters; you can optionally mount two 120mm fans here.
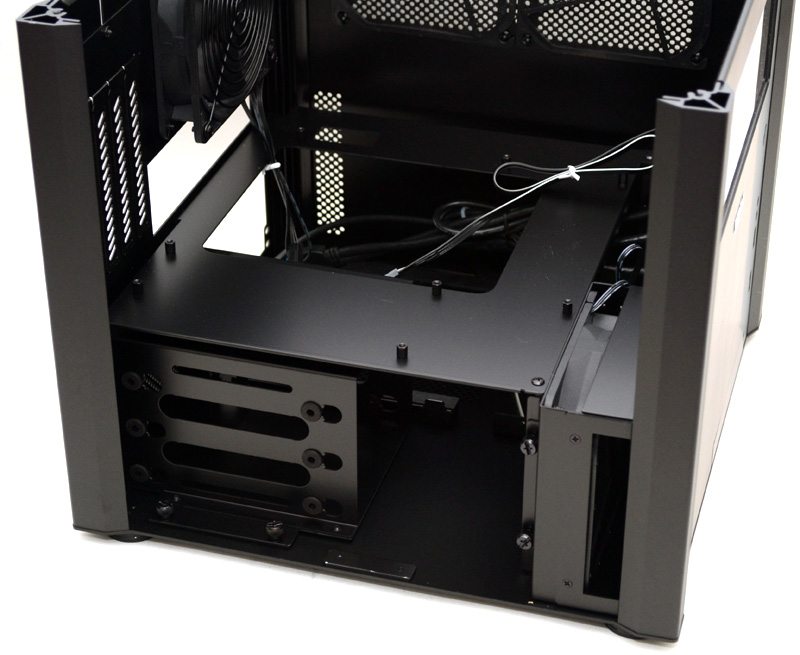
The motherboard stand-offs are pre-installed for both mini-ITX and micro-ATX motherboards. Below the motherboard tray you’ll find the hard drive bay, which support 3 x 3.5″ drives and a single 2.5″ drive.
The right side panel can also be lifted straight out (once the top panel is removed), it also features the same dual filter/fan mount design as the left pane; with this panel removed you can access the PSU installation bay in the bottom of the chassis.
There is a 120mm fan pre-installed in the back of the chassis, with a removable screw-on fan guard on each side; you could easily install these fan guards on your own aftermarket 120mm fan or radiator.

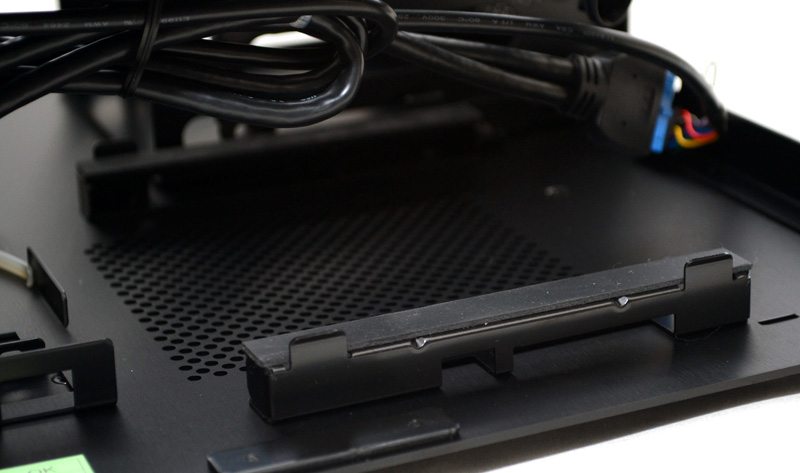
The PSU can be installed from the right side of the chassis once the side panel is removed, where it will sit on a pair of support rails, each covered with an anti-vibration rubber strip.
The front panel can also be lifted out, which is very handy if you need to hook up cables to a modular PSU as it gives you much more space to access the bottom half of the chassis.
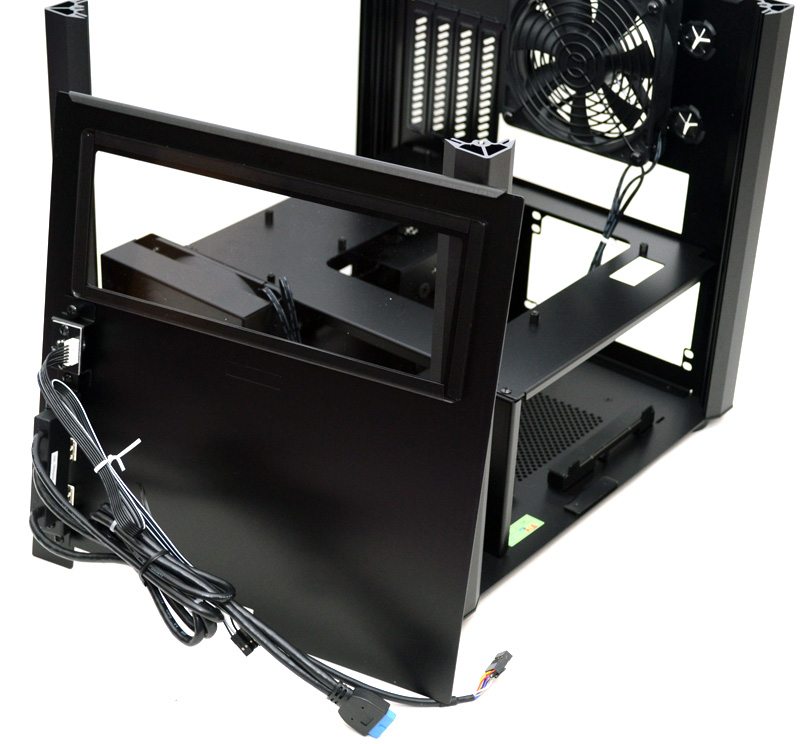
With the front panel removed you can also easily access the slim ODD mounting tray in the base of the chassis.
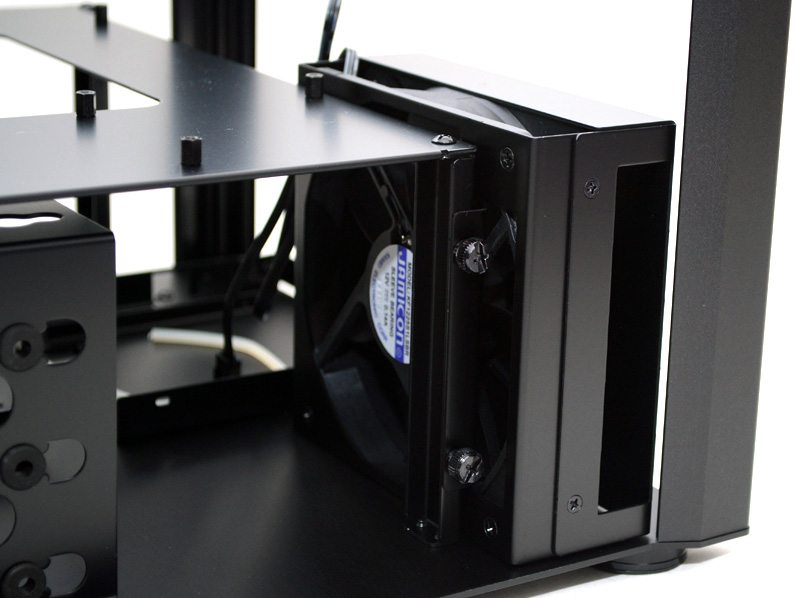
At the front left is a single 120mm fan with a side vent, you’ll also remember there’s some ventilation on the front left side panel to allow airflow into this fan; perfect for keeping your hard drives nice and cool.
The hard drive bay can be removed via two thumb screws and features 3 x 3.5″ drive bays and a single 2.5″ drive bay.
The back panel can be removed, but to do so will require you to remove three screws in the base of the chassis; I’m not sure why you would need to, but I’m sure modders will love being able to strip the chassis down into its various components.
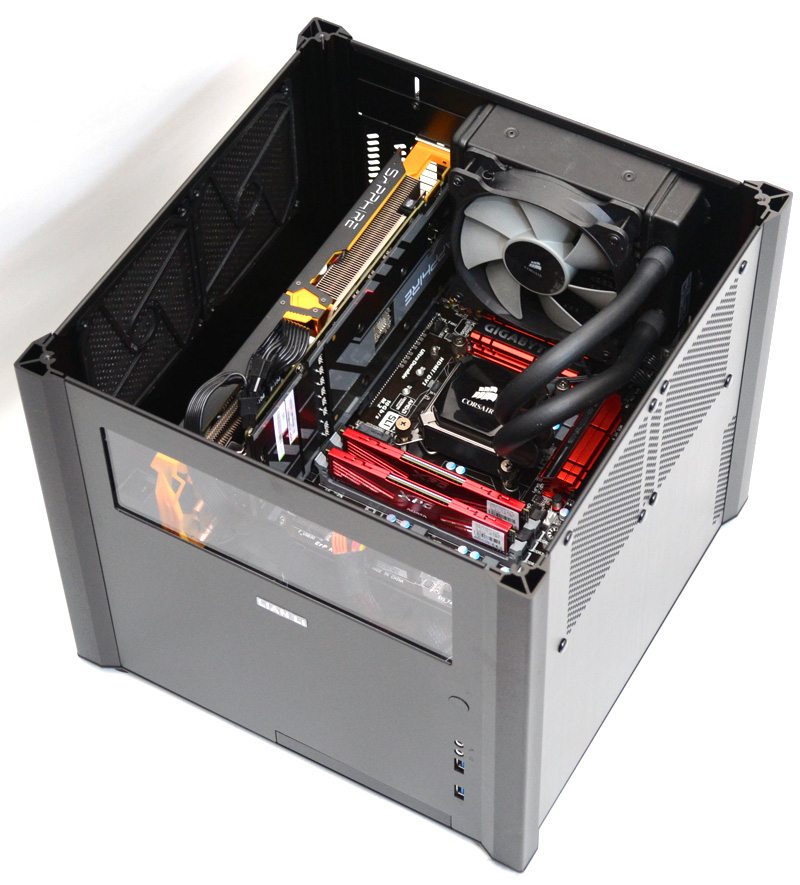
Complete System
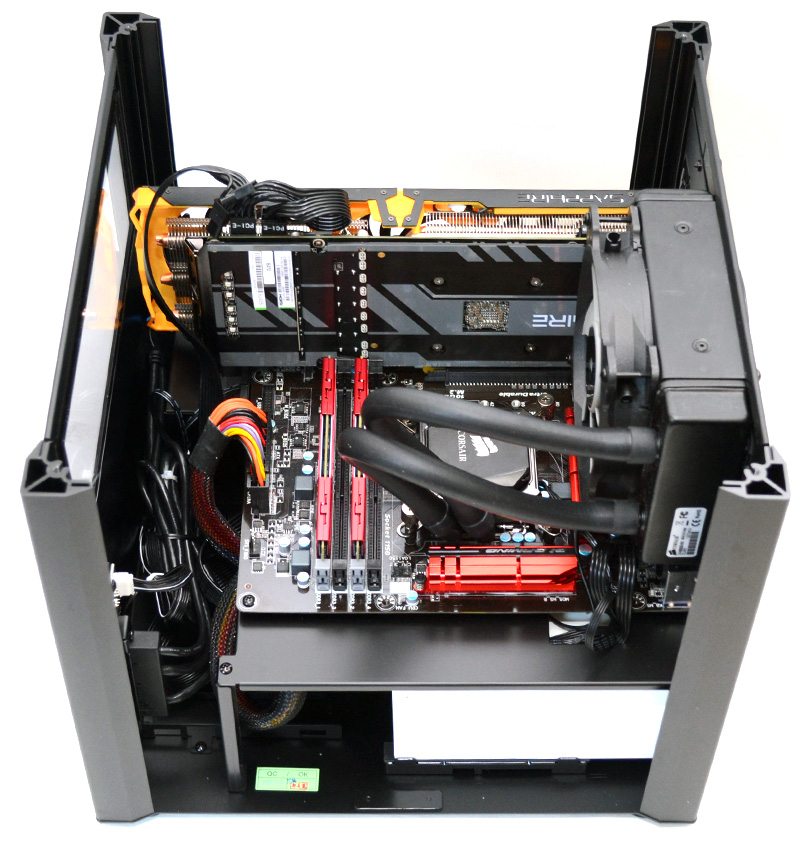
Total build time was just ten minutes, that’s right ten! Although keep in mind that I started with the side panels already removed, but even then you’re only adding another minute at the most. This chassis was incredibly easy to work with and with all the side panels removed it’s as easy as installing a motherboard on an open-air test bench.
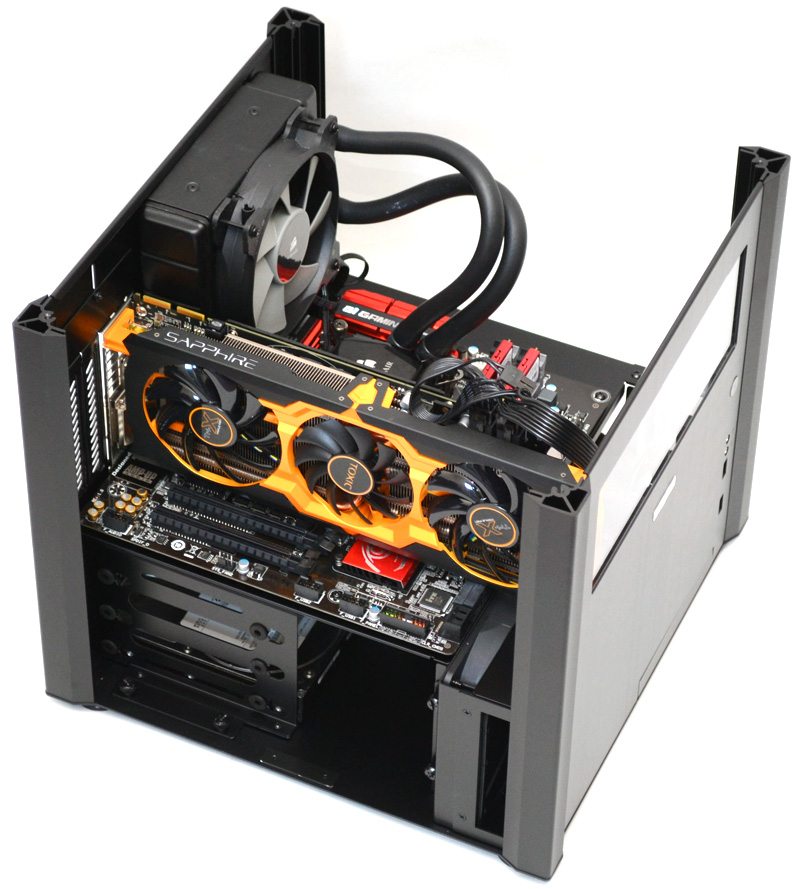
The Sapphire R9 270X fits in with ease and so long as you’re not using the left side panel fan mounts, you could easily install a multi GPU setup.
The hard drive bays are straight forward enough and our drives benefit from the anti-vibration rubber washers on each bay.

The Sapphire R9 270X is a long card and pushes up fairly close to the front panel; but it’s still nice to see a smaller chassis like this handling such a large graphics card.
The small cable routing hole for the CPU power cables is a little shallow, so these cables need to be routed before you install the rest of the PSU or you won’t be able to pass the cables through.
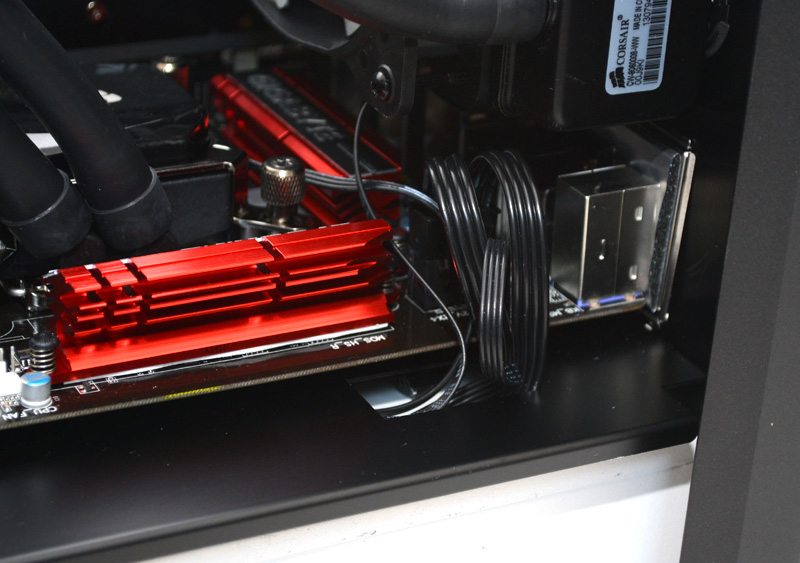
There is a huge amount of space behind the PSU, perfect for storing excess cables and keeping the top section looking neat and tidy.
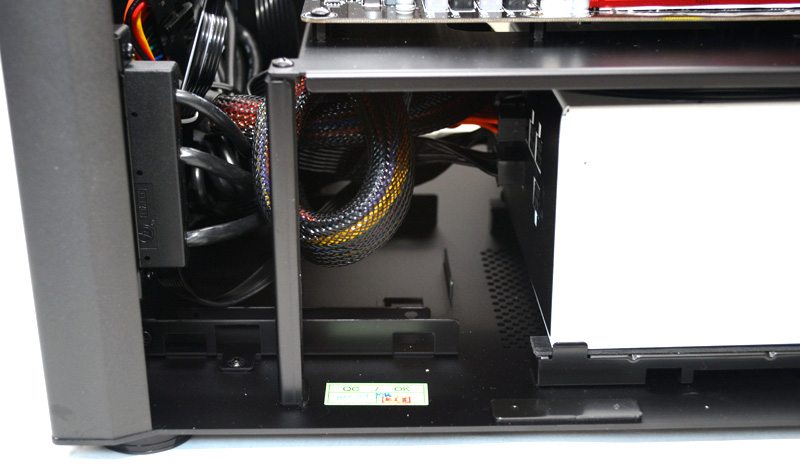
The cable routing may be messy behind the PSU, but the top section does look superb and that’s a big bonus given that we have two large viewing windows on this chassis.


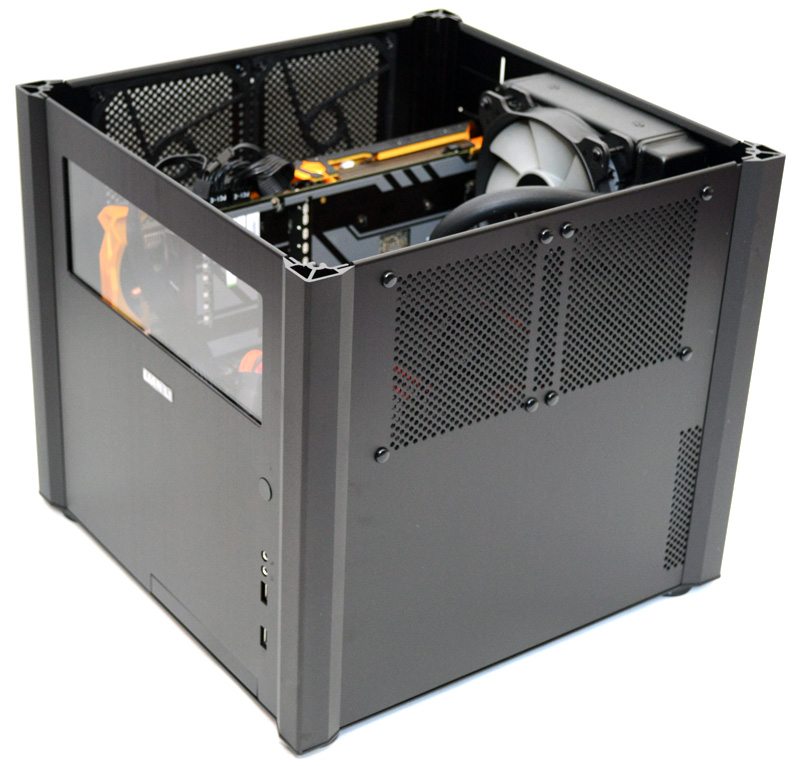
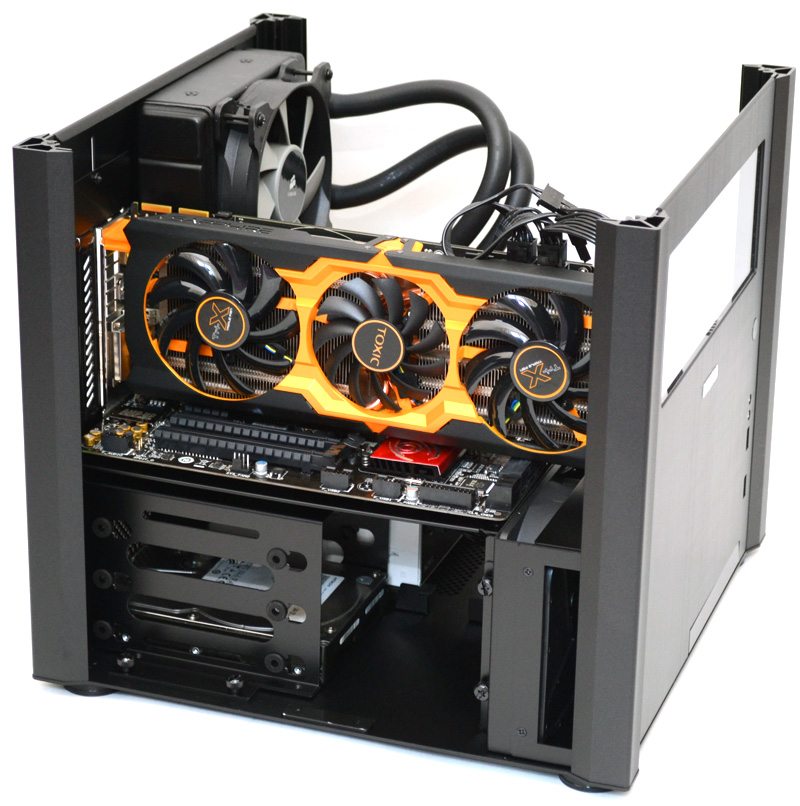
Now that we have all the panels back into place you can see that you still get a great view of the interior of the chassis; this would look great with some subtle under-lighting installed.
The front panel gives a nice view across the motherboard; picking nice looking/colour matched components may be essential to fulfilling the chassis’ full potential.
Final Thoughts
Pricing
As with most Lian-Li chassis, the PC-V359 is pretty expensive; stock seems a little tricky to find at the moment, but our trusty friends at Overclockers UK have it in stock for £132.95 (at time of writing) and you’ll find it for around $180 in the US. This is very expensive for a small chassis, but that’s the price you pay for premium quality aluminium construction and precision engineering from a well trusted brand name.
Overview
The PC-V359 joins the wave of box-style chassis that have been hitting the market this year and while there are some incredibly good options out there from the likes of Antec, Thermaltake, Aerocool and many others, none of them look as slick as Lian-Li’s latest offering. Most chassis in this form factor feature very bland HTPC style looks, or extreme gaming system looks; but Lian-Li have created a chassis would look great on your desk, at a LAN event, as part of your home entertainment system and more. Black brushed aluminium looks superb and while I admit that style is subjective, this is one great looking chassis.
Build quality is on par with everything else Lian-Li have ever done. Everything is well made, there are no rough edges, everything fits together perfectly and the design has been well thought out to make installation, maintenance and even modding of this chassis as easy as possible; it’s very easy to get a great looking build with minimal effort. The top perspex panel and the front panel window are a welcome bonus and offer a unique perspective to show off your build that you don’t get with a side panel window. The only concern is that you’ll need to take good care of your rig; aluminium and perspex both scratch quite easily.
The chassis has a lot of space below the motherboard for cable management, the only limiting factor being that there are only four hard drive bays. There is only one dedicated 2.5″ drive bay, but you could always use a 2.5″ to 3.5″ adaptor bracket if you wanted to install more SSD drives. The top section is spacious enough for a pair of high-end graphics cards, or you can opt for a single card and take advantage the two 120mm fan mounts on each side panel. Those interested in water cooling will be happy to see that a 120mm radiator easily fits the back of the chassis, but you could also install a 240mm radiator on the right side panel if you needed extra cooling performance.
Pros
- Very high build quality
- Premium finish
- Top panel and all four side panels can be removed
- Room for long graphics cards
- 120mm/240mm radiator support
- Unique design
Cons
- Expensive
- Aluminium and perspex scratch very easily
- Only one dedicated 2.5″ drive bay
“A unique design and premium build quality make the Lian Li PC-V359 stand out from the crowd. This is one of the coolest Micro-ATX chassis’ on the market and it’s a great option for those who want to show off their build; so long as you’re willing to pay a premium for it. As part of a HTPC setup, in your office, or as a gaming rig, the PC-V359 is going to look great!”

Lian Li PC-V359 M-ATX Chassis Review
Thank you Lian Li for providing us with this sample.


