MSI GT80 GTX 980M 8GB SLI Titan Laptop Review
Colin Chambers / 9 years ago
A Closer Look Continued
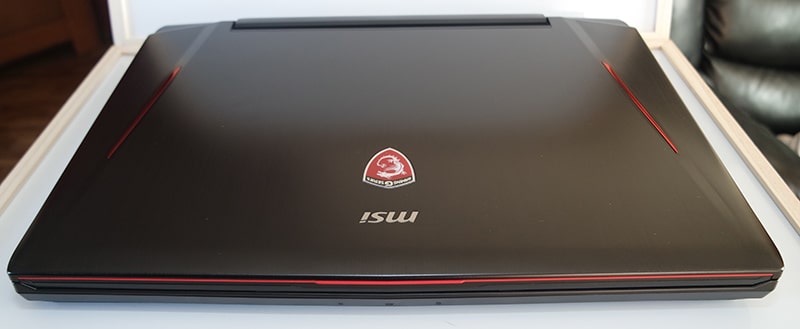
Aesthetically the GT80 ticks all of the right boxes. From the outside, the case looks deceptively sleek despite how thick the chassis is. The brushed metal is gorgeous to look at, feels both robust and of a very high quality to the touch. There’s also a backlit MSI shield sitting proudly on the lid with the MSI logo above it. The red plastic accents provide a break from the metal, yet don’t seem out-of-place either, though mixing plastics with metals is a love or hate thing for many – personally, I like it. Each side carries an array of I/O ports widening to some of the biggest grilles I have seen on a laptop, though rest assured, these aren’t for show, they can help shift some serious airflow. The laptop is very heavy and although not uncomfortable to have on your lap, it is enough to make you feel like you’ve been held down when you finally stand up after an hour or two of use.
On the lower lip of the case are a trio of LED indicators, for WiFi, battery usage and disk usage.

To the left, there is an optical drive, Kensington lock port, card reader, 3 x USB 3 ports, optical audio out and 3.5mm headphone and microphone jacks and of course, a huge cooling grille.

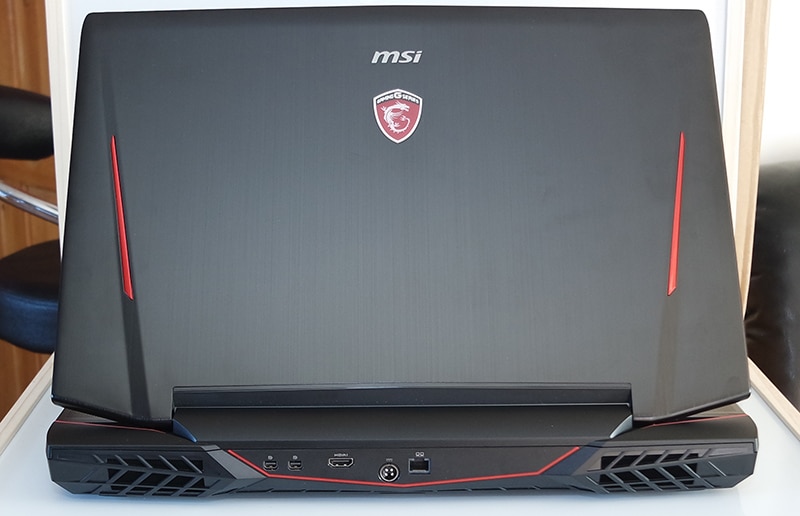
Around the back, you’ll find a microDP, HDMI, power and ethernet ports, with more ventilation grilles on either side.
On the right there is a final pair of USB3 ports and a matching cooling grille.

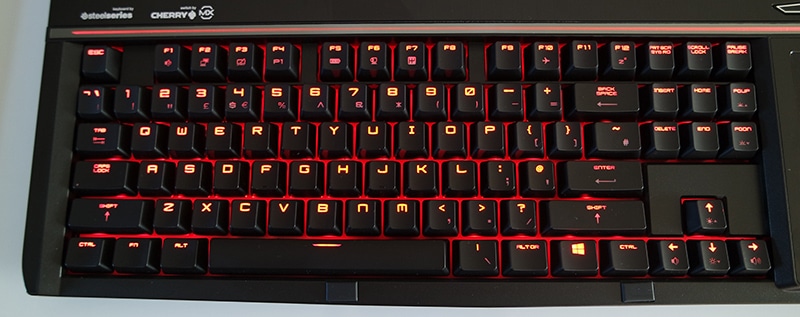
On lifting the lid your eyes are immediately drawn to the backlit mechanical keyboard and you instantly realise this is no ordinary beast you are dealing with. It took me a couple of practise key presses to take in that this was an actual full-size mechanical keyboard that had somehow been put onto a notebook chassis; impressive! The keyboard is created by SteelSeries using Cherry MX Brown switches and it offers the precision you would expect, as well as swappable key caps. The keyboard takes up the bottom three-quarters of the laptop, where traditionally a palm rest and touchpad would be situated.
To the right of the keyboard sits the rather large vertical rectangle touchpad with a large pair of mouse buttons below. The touchpad is very responsive and supports a customisable range of multi-touch gestures. It feels very natural being on the right hand side rather than the middle like normal, though for left handers this may be irksome. The party trick for the touchpad is the ability to turn into a backlit numberpad simply by pressing the top left corner of the touchpad. Pressing it again returns it back normal. It is both brilliant in design and execution, I have a feeling we will be seeing this design technique more often in the future; below you can see the touchpad in trackpad mode.
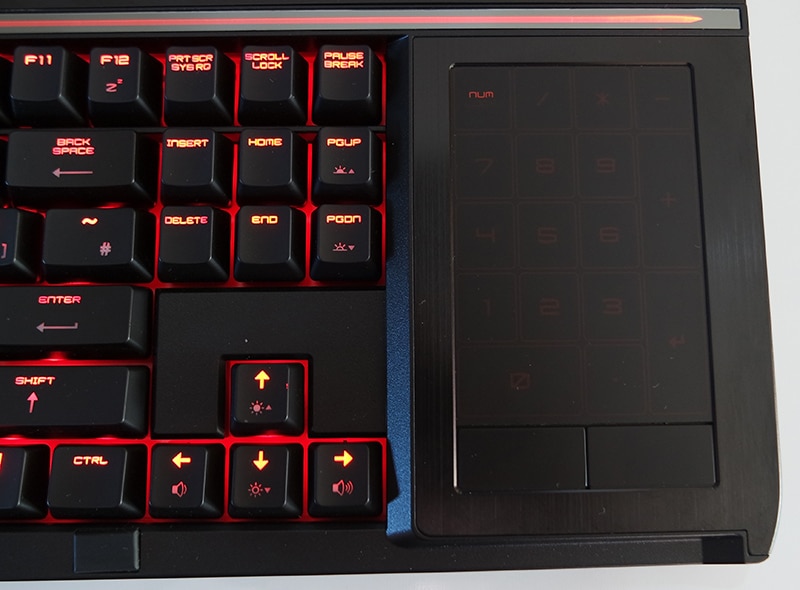
Here you can see the touchpad in numberpad mode.

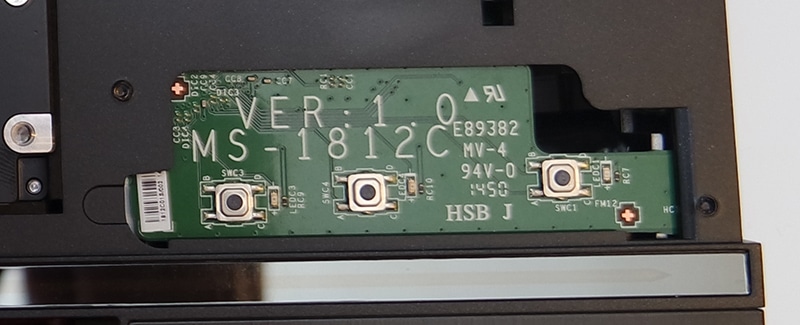
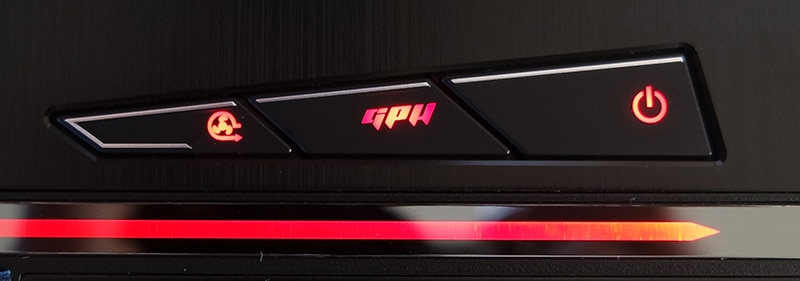
Above the touchpad are three buttons, the first of which controls the fan settings from automatic to maximum. If you intend on gaming for extended periods I would recommend turning it to maximum mode, though only if you are using headphones or you will be distracted by the sound of what can only be described as a hair dryer. Pressing the second button gives you the option of swapping from dedicated graphics to internal graphics (requires restart to take effect) which can help save a decent amount of battery life should you be caught short of a wall socket. The third button is the power button, which does exactly what you would expect it to.
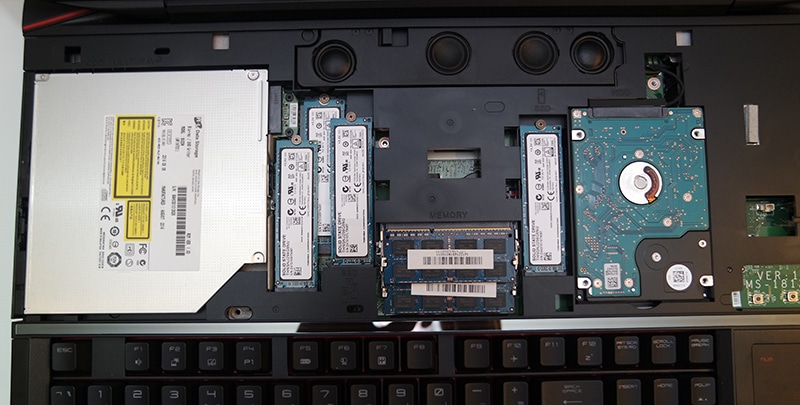
Above the keyboard is a large panel with the MSI dragon on it which reflects the light of whatever is on the screen. It looks really nice in the flesh and there are tiny holes that run across the top which cover the speakers. Once the underside panel has been removed, this top panel can be slid off in order to access the PCIE M.2 SSDs, optical drive, mechanical hard drive and speakers.

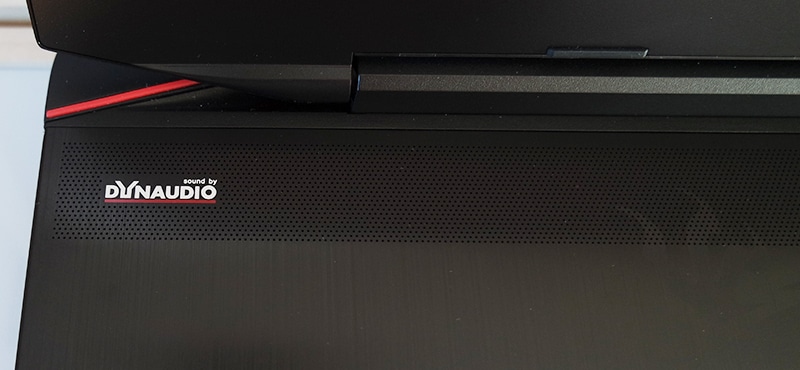
The sound is loud and clear with very little distortion and even at high volumes there was no crackling or sign of strain, whilst still having a good level of treble and bass. The sound has been provided by Dynaudio which consists of a 4 + 1 setup, though although I am personally unfamiliar with Dynaudio I was impressed overall.
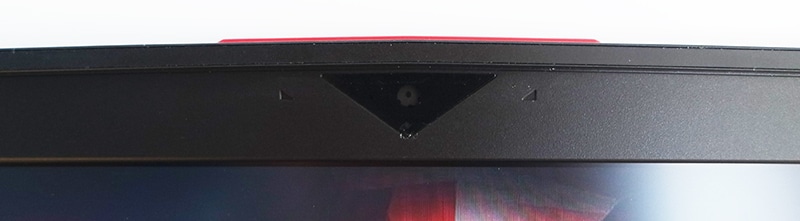
The matte screen is pleasant to look at, supporting decent viewing angles and not suffering from any dead or stuck pixels, and having nice colour gradients without any noticeable banding. It is nice and sharp at full HD 1920 x 1080, though it would have been nice to see perhaps a higher resolution display on such a high-spec system. We did ask MSI and they indicated that there is a global shortage of 18+ panel options of higher resolution, though did not rule out changing this should some become available. Above the screen is a pair of microphones which performed respectibly, picking up sound nice and clear, aswell as a HD webcam which was sufficient for crisp smooth HD video calls and overlaying into game streams.
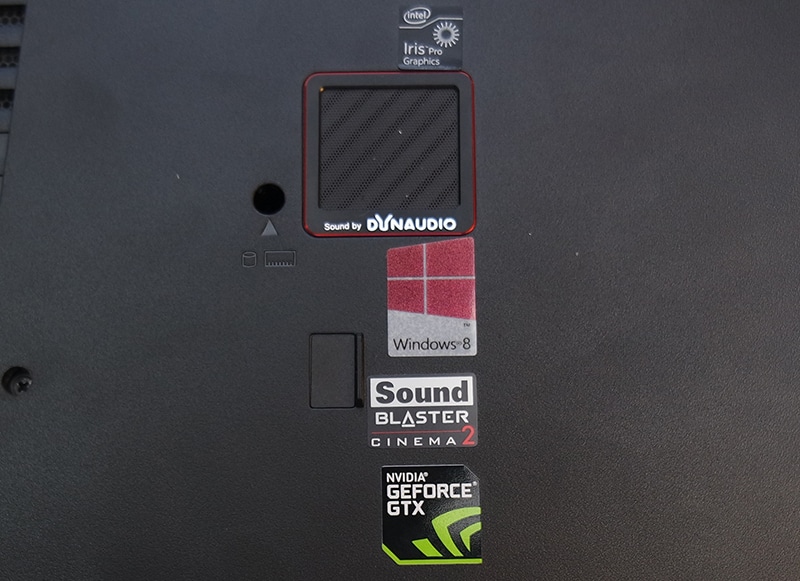
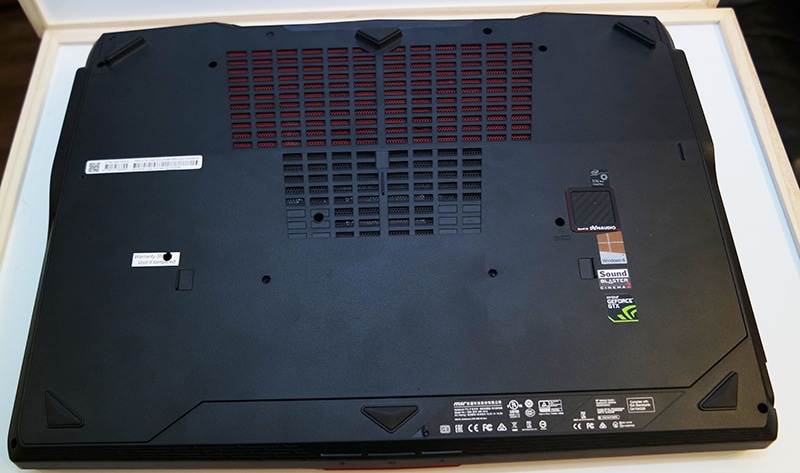
It’s nice to see MSI put the stickers on the bottom rather than the top to not spoil the appearance, the small square vent is for the sub woofer.
The underside sports a large red grille designed to pull as much airflow as possible into the chassis. If you decide warranties are for wimps and want to take the back off, then this can be performed fairly simply by unscrewing 10 small screws on the back and gently prying the panel off, careful though, as your warranty will also be removed at this point as one of the screws is under the warranty sticker.
Warranty voided in the name of science and curiosity.

With the grille off immediately accessible is a truly impressive array of heatpipes and fans, with each GTX 980m being positioned on either side and the CPU sitting in the middle. The heat pipes have been sprayed black which helps prevent them from being seen from the outside of the case, though strangely they have only been sprayed from one side and not all over (you can see the copper if you tilt it at an angle).
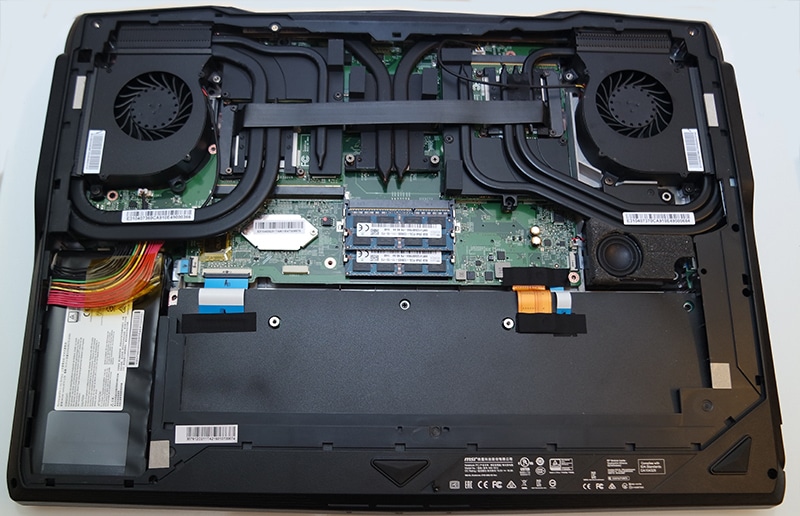
Once the back is off you can slide off the top panel as mentioned earlier, and now you have access to just about the entire hardware inventory from either side. With storage and 2 RAM slots being reachable from the top, the bottom makes available the final 2 memory slots and the intimidating CPU/GPU line up, should you wish to tackle them. Here you can see (from left to right) the optical drive, the four PCIE M.2 SSDs which make up the MSI Super RAID, RAM slots and mechanical hard drive. At the top, there are 4 speakers which when combined with the subwoofer make up the 4 + 1 sound setup.
The control panel for the power, cooling and graphics switches.