MSI GUNGNIR 100 Mid-Tower PC Case Review
Peter Donnell / 4 years ago
Interior
The space inside the GUNGNIR is impressive, and its ultra-clean layout is certainly appealing to me. There’s a huge cut-out behind the motherboard, allowing for easy CPU cooler mounting. Plus there are huge rubber grommets above, to the side, and below the motherboard, which is obviously superb.

PSU Shroud
I love a good PSU shroud, and I’m not left short here. there are two SSD mounts right upfront so you can show off your favourite drives. Plus, two cable grommets behind that for routing cables to the motherboard. You’ll notice a cut-away towards the front too, which gives clearance for any front-mounted radiators.

You’re hardly short on airflow here though. As you can see, there are three lovely 120mm fans mounted in the front panel. What’s neat is that they’re on the other side of the bracket, freeing up space on the interior of the case. Of course, you simply remove the front panel to access them.
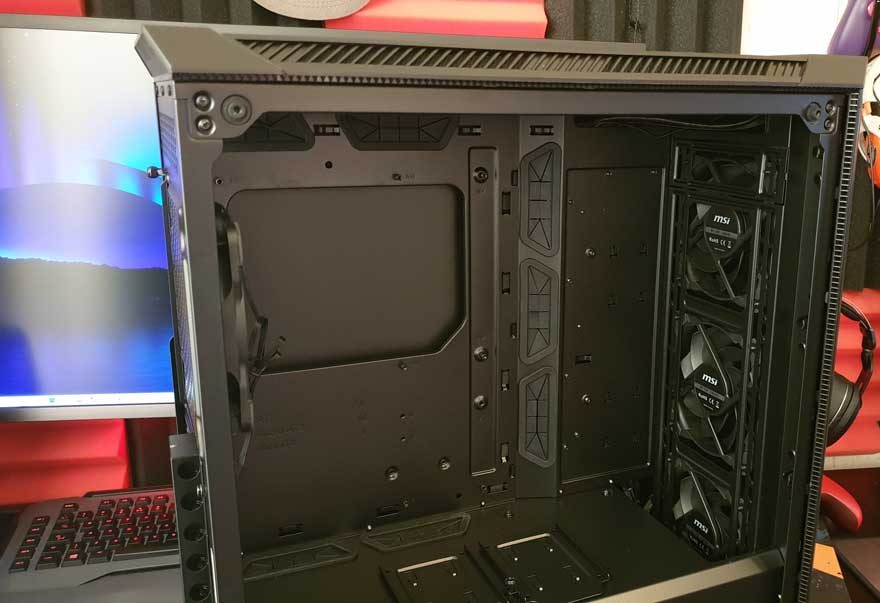
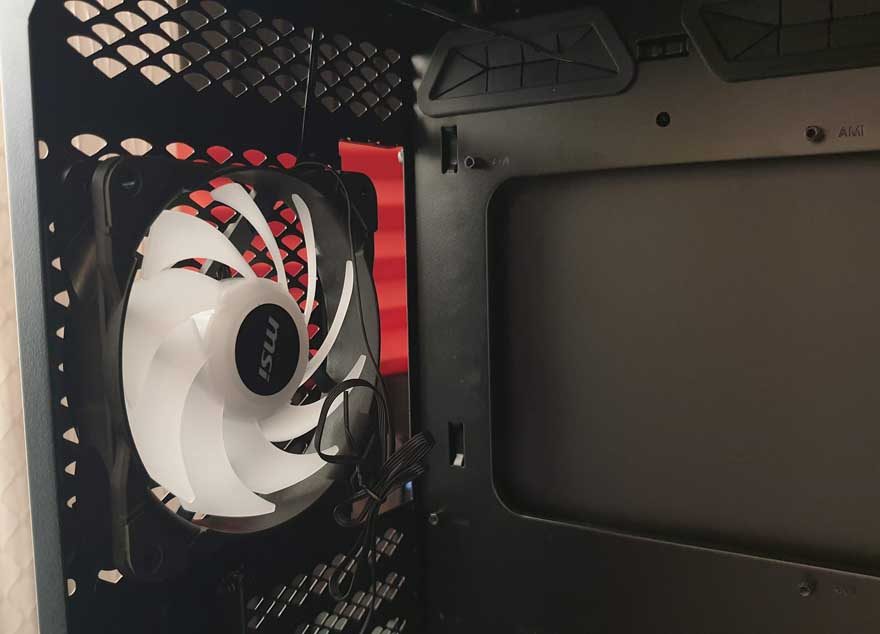
The fourth fan is the one in the rear, which has frosty blades to catch all that glorious RGB lighting it contains. We’ll see that in action shortly though.
Behind the Motherboard
The ultra-clean design continues even behind the motherboard. You won’t see this section when the system is built, but that doesn’t mean it can’t look fantastic too.

There’s a huge cable routing guard running down the middle. It is removable too should you need it out of the way, and there are Velcro straps under there too for double security. Then even cooler than that, two more SSD brackets on the left!

SSD and HDD are covered below the shroud too. There are a couple of 3.5″ drive trays down here should you need them. You can remove the bay completely too should you want this space for a pump, or some enormously long PSU, it’s up to you. There’s a Velcro strap down there too, helping you keep any loose cables in check.

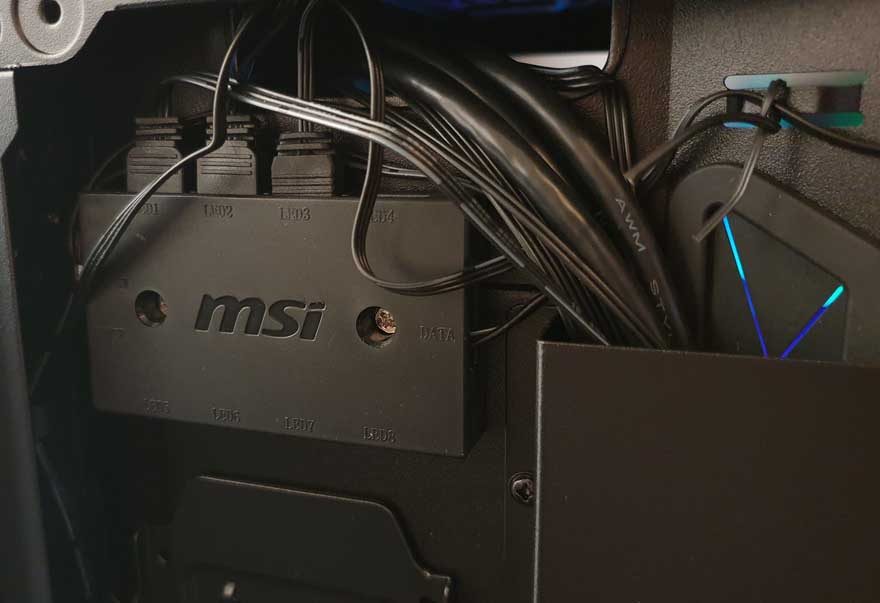
RGB OMG
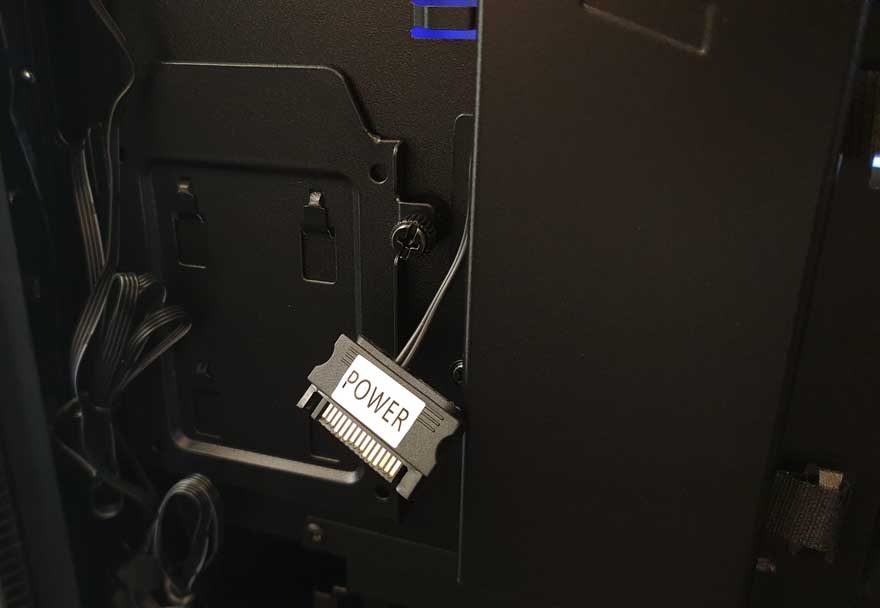
Tucked up in the top, you’ll find a pre-wired RGB control hub. All the fans and case lights are already configured, you’ll just need to connect SATA power and a USB header for control.