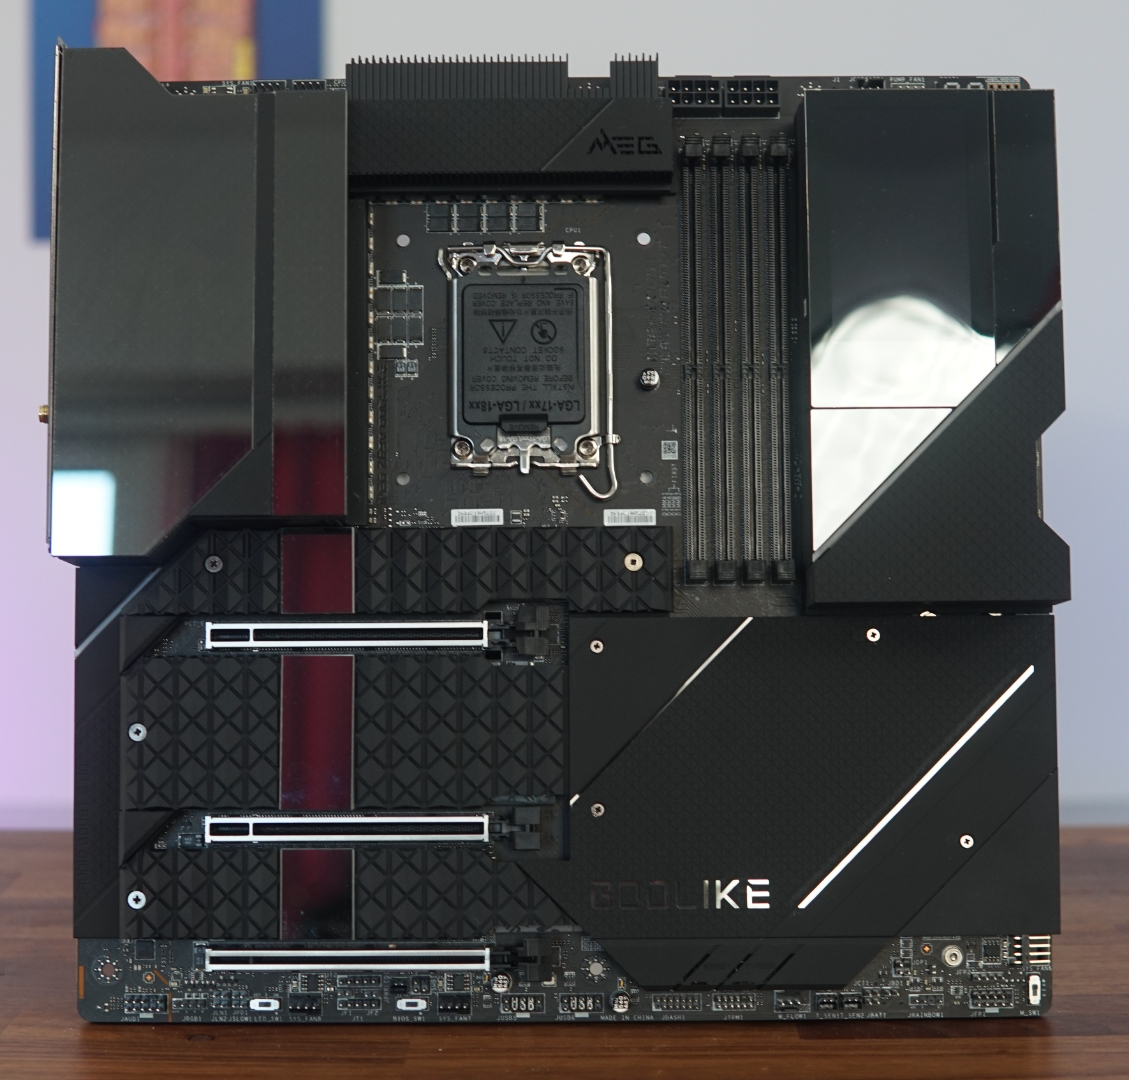
Here it is, the motherboard itself, shiny, very shiny in fact, as I’m sure you can notice, parts of the board are almost mirror-like, and I’d be lying if I said it didn’t make it difficult to photograph. Despite my difficulties with getting photos for you, the board does look fantastic, without any lighting on it it looks clean and mature enough to be considered a professional level board. Once the covers I previously motioned are on and the cooler is attached, you won’t be able to see any of the connectors, adding to the clean look of the board.
Unsurprisingly, the board features a solid metal backplate that, whilst it does have a design, is taking a simpler approach, basic lines to add at least something to it and a “GODLIKE” logo, if you think about it, this is a smart decision from MSI, they have given something here but haven’t wasted resources in designing and manufacturing a more complex pattern on the back.
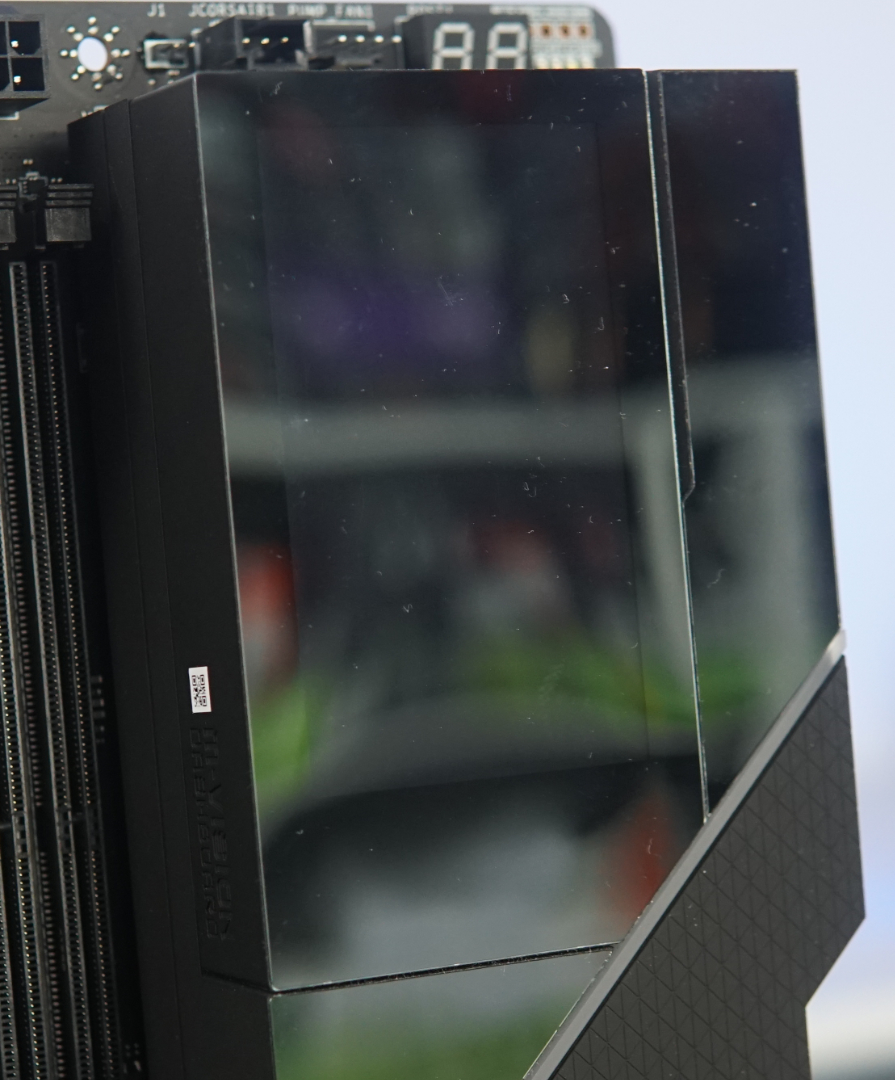
Besides the memory slots of the board is one of the big selling points of this board, the M-Vision Dashboard. The Dashboard is a touchscreen and can be used to control the motherboard either by using it whilst it is attached to the motherboard as is shown here or outside of the pc by connecting it to the appropriate USB connection on the rear I/O using the included cable.
Below the M-Vision Dashboard is a decorative metal plate with a Godlike logo on it and some decorative patterns, it also has a power and reset button attached to it, all these do is press the buttons that are attached to the motherboard below them. Something else below the metal plate is a hidden M.2 slot. Very importantly, at teh very bottom right-hand corner of the board is a switch that has “M_SW1” under it, you need to change the position of this switch if you want to use the M-Vision Dashboard through the USB connection.
To the left of that is the shielded PCIe Slots, they are PCIe 5.0 16x, allowing for the fastest graphics cards available. Surrounding the PCIe slots are shields that cover the M.2 slots beneath them.
Above the DIMM slots for the memory is the CPU power connectors, not much to say here but it’s worth mentioning that once the board is mounted in your case and the covers are in place, you won’t even be able to see them, so how they look isn’t the most important thing here. Interestingly they are located nearer the right side of the board, most other boards have these plugs right near the end of the left-hand side of the board, there is a practical reason for this though, it allows the power to be more direct to the CPU, that’ll help with the stability of the board when overclocking if overclocking is your cup of tea.
Hidden under the M-Vision Dashboard is the ATX power connector, it’s at a 90-degree angle so the cable will come away cleanly and not stick out in an ugly way. Besides that are three fan connectors and one of MSIs JRainbow connectors to control some lovely RGB without the need for a separate RGB controller that adds extra wires and mess inside your build. On the other side of the ATX power is two internal USB 3.2 Gen 2 Type-C connectors.
Moving down from there we can see two USB 3.2 Gen 1 Type-A internal connectors, allowing for up to four External USB connectors. Further down from the USB ports are all six of the SATA connectors, but with a board like this I’m sure these won’t be used for much. Down once more we can see another two fan connectors on the board.
At the very top right of the board is a Postcode display, to help diagnose any issues that you may be experiencing. To the left of the code display is a pump header, this could be used for a fully custom water cooling solution or, more realistically, the included AIO. Moving over to the left once more is a Corsair LED header; by using the included cable you can connect any Corsair branded RGB product and control it without the need for a Corsair Commander module, which would add extra mess to your PC.
Rear I/O is fairly robust, there are ten USB ports, two of these are thunderbolt 4 ports, allowing for up to 40Gbps speeds and by using the included Display port cables you can use the thunderbolt to drive a display if that is something you need. Amongst the USBs are two that are dedicated to specific features, one of them is for the bios flashing feature and the other is for the M-Vision Dashboard if you wish to use it.
The customizable ARGB fans snap together with a magnetic connector that links the fans and…
TKL mechanical keyboard with 88 keys in a UK ISO layout V-silk PBT keycaps with…
ATX case with bezel-less 2-piece panoramic tempered glass panelling PCIe 4.0 riser cable included for…
Introducing the Next Level Racing® Go Kart Plus cockpit, designed for the whole family to…
Weighing just 62g , the Xtrfy MZ1 RGB is wirelessvery light and allows particularly nimble…
Sker Ritual is a new game that has recently come to Steam and it has…