NAS Migration Guide – Synology Edition
Bohs Hansen / 8 years ago
Two-Bay NAS to Four-Bay NAS
Moving from a two-bay NAS to one with more is easier than what we’ve seen on the previous page – although you could use the exact same method here too. But showing that again would be quite boring and pointless. Instead. We’ll use the migrate function that DSM has built in.
To make sure that everything works flawless, it’s still recommended that you install the NAS and update it prior to the migration. Having the latest DSM as the base system will provide the best result with the least chance of anything to go wrong.
Where we previously said that you’d most likely get more hard drives due to the increased amount of drive bays in your new NAS, that will most likely also be the case here and you can use one or more of the new drives to initialize it.
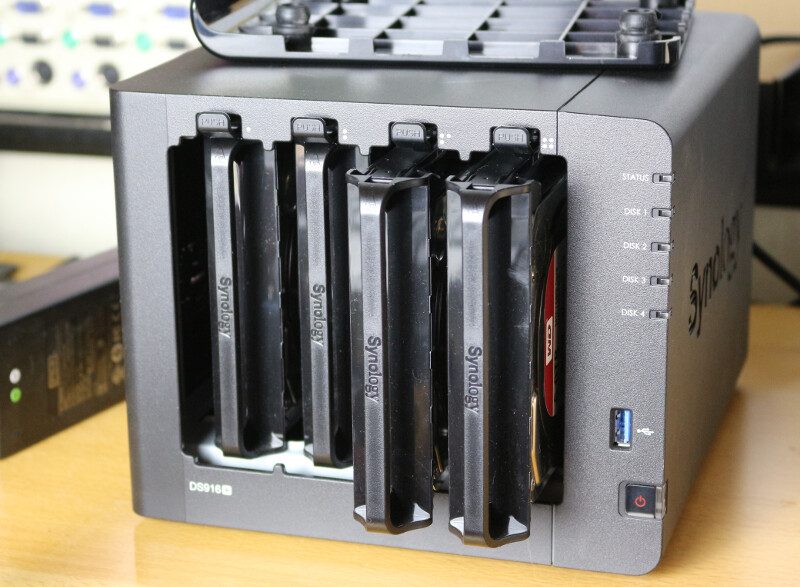
Once you’re done with that, shut both systems down and remove all drives – but remember the order. Now I’ll be inserting the two drives from my DS216j into mt DS916+ and get started with the migration process.
As you might notice in the photo below, I’ve only inserted the two old drives into the system while the two new ones are unplugged. This will make sure that the NAS knows what to do and how to handle the drives. We can always expand our drive setup later and include the last two drives.
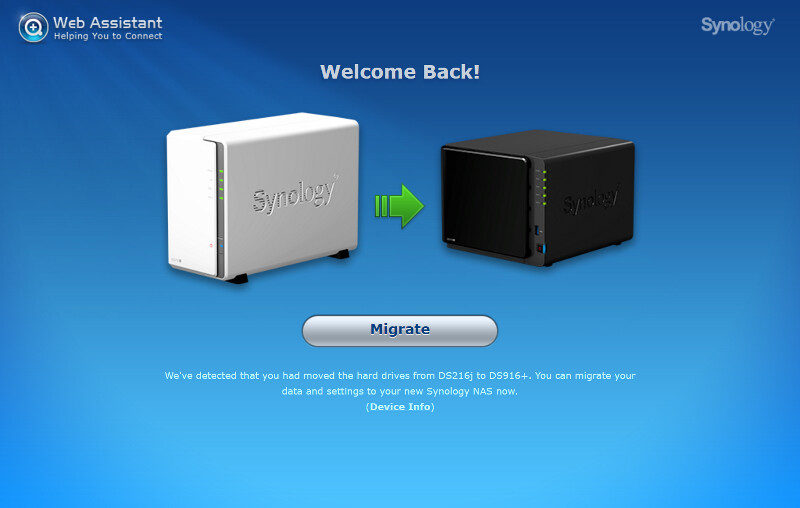
Now that we got our old drives in the new NAS and booted it up, the web interface will present us with the Migrate option. Synology’s DSM even shows us how the NAS look and what model the drives came from.
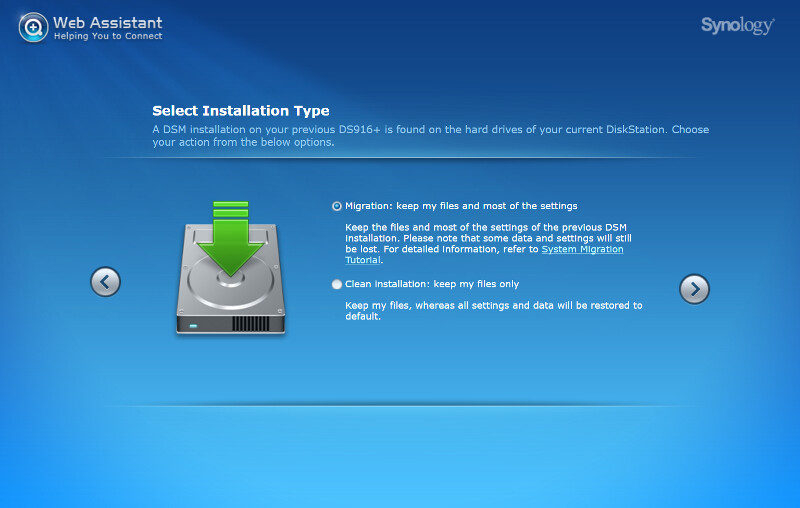
We can choose to keep our files only or migrate the whole thing including most settings. I’ll pick everything as that’s the point of this little guide.
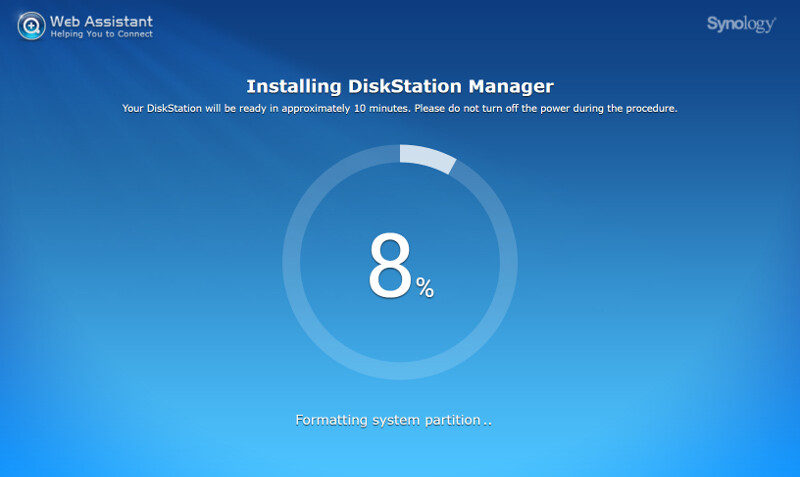
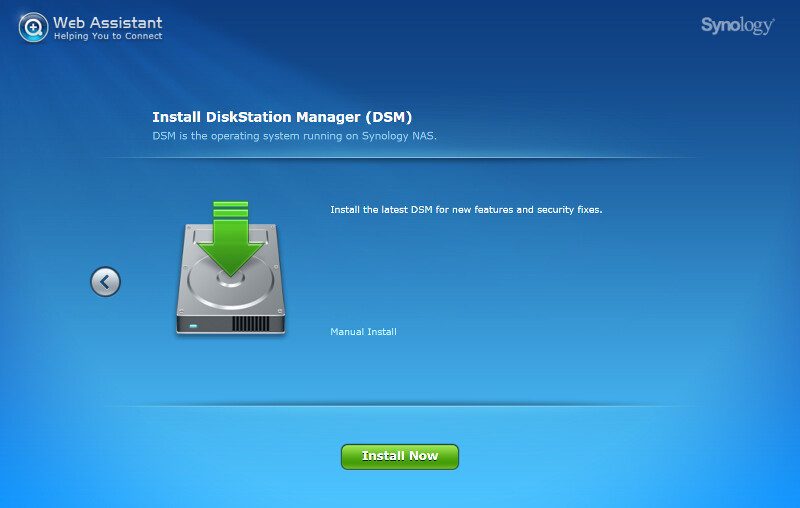
The next step is for the firmware installation, but all we need to do here is hit the Install Now button.
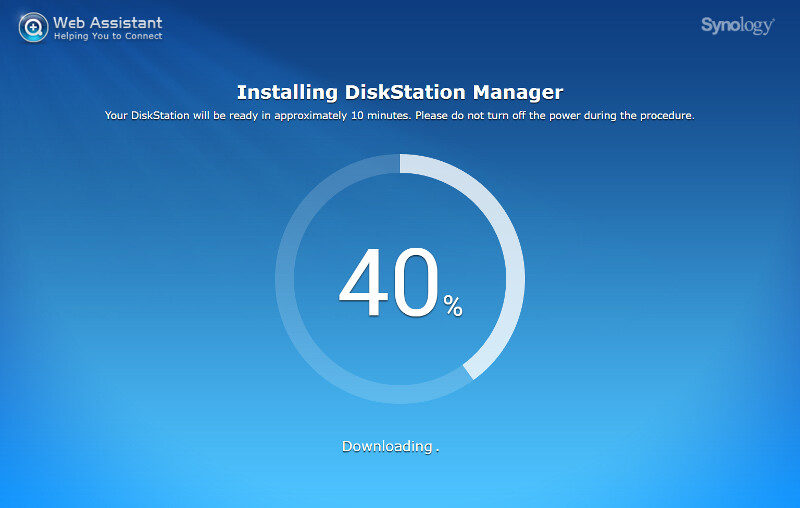
The installation only takes a few minutes after which it is ready for use.
Our new DS916+ is now ready for use while it has all the settings of our previous NAS, including the name.
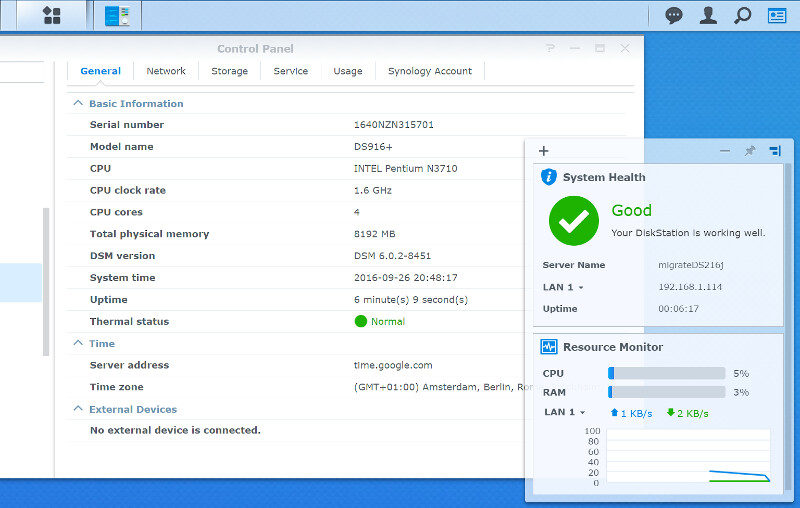
We can continue using the new NAS now as if it was the old one with users and files intact.
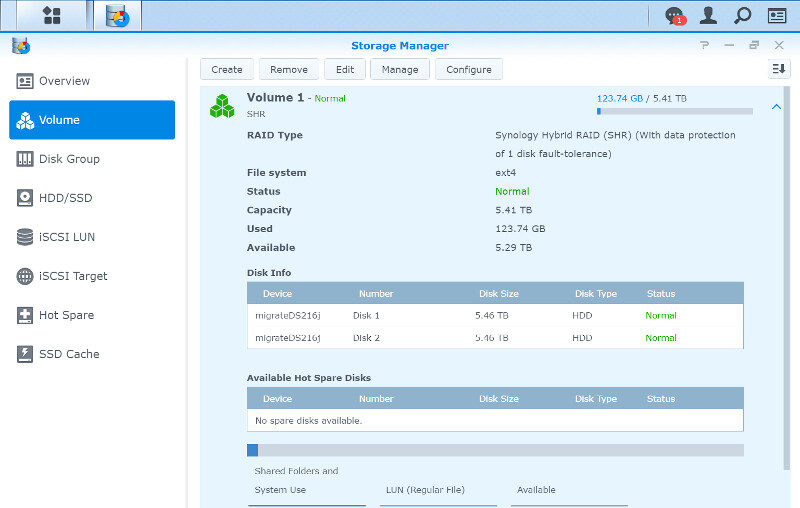
We can also expand the drive volume is quite easy through the manage function within the Storage Manager.
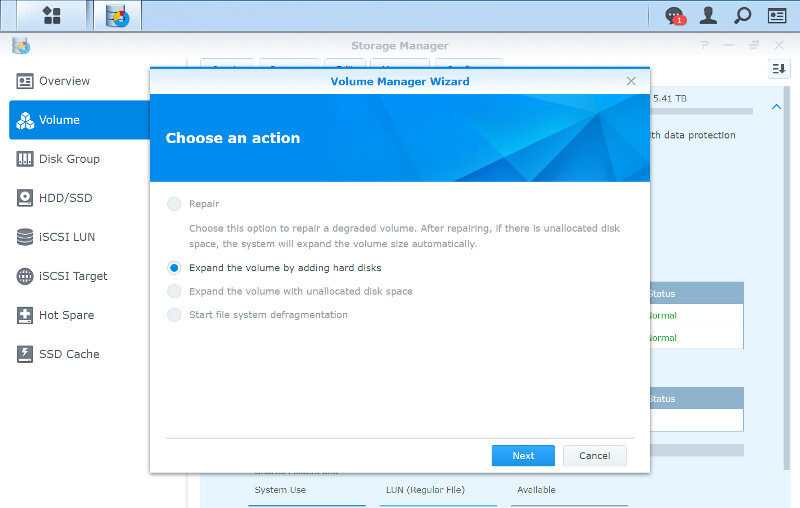
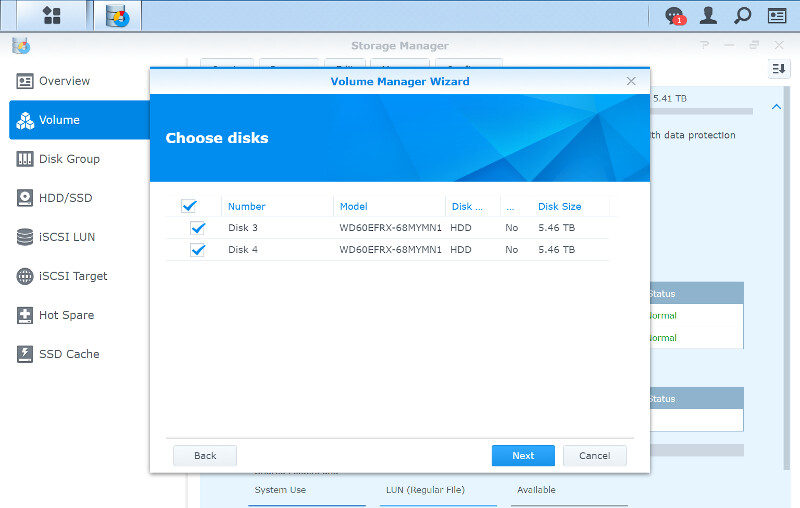
Select the new drives to expand the volume with, or you could create a new one next to the old. We should however keep in mind that since we’re moving from an EXT4 setup, we’re limited to a 16TB max setup and that is something that I can’t do with four 6TB drives as I’m using. This wouldn’t have been a problem if my old system ran BTRFS for example.
And that’s pretty much it. That was pretty easy, wasn’t it? Now you can continue with a brand new NAS while having all your old files and settings intact.


