Neptune Triple 32″ OCUK Monitor Stand Review
Rikki Wright / 8 years ago
A Closer Look
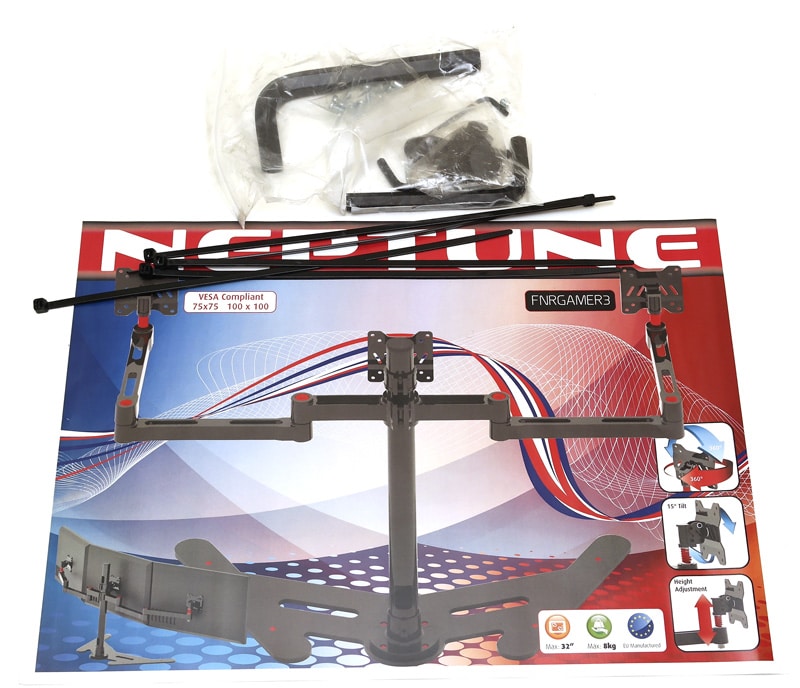
Well OCuK didn’t skimp on the packaging. The box is a multi-layered cardboard which adds to much strength and protection to the contents, but I think the protection is more of to stop the contents coming out due to how heavy it is.

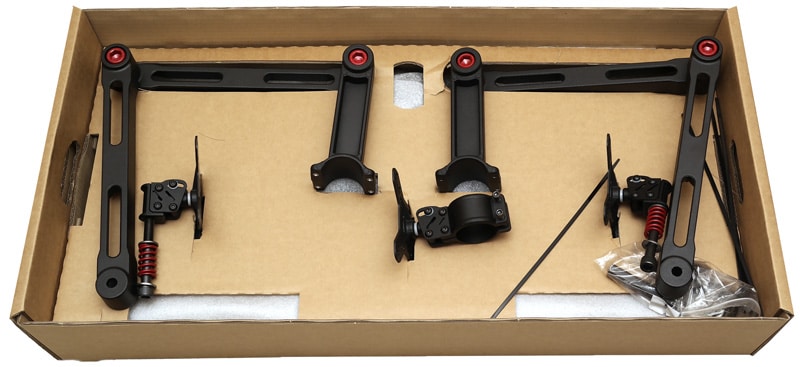
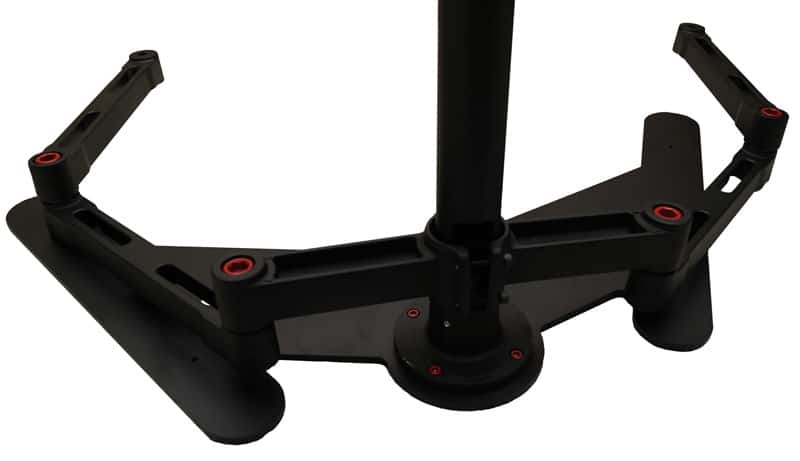
As we open up the top half of the box, we are presented with the two arms and three monitor supports. Just by how well these are finished, you can tell this will be a quality item.
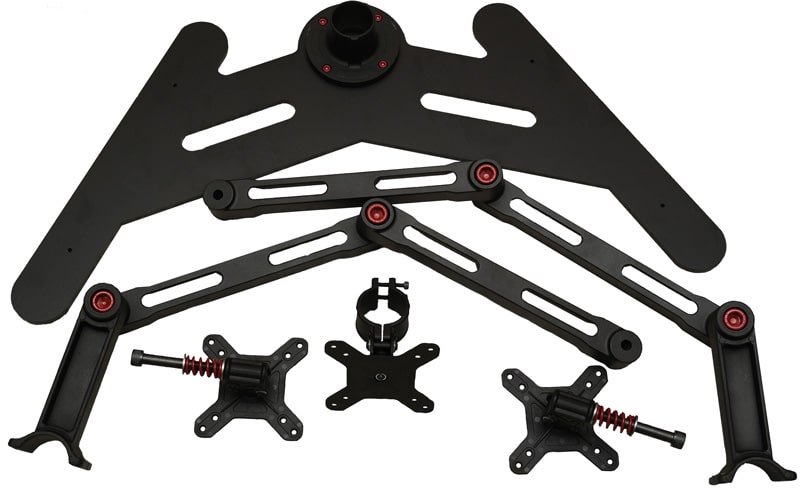
Once most of the parts are out of the box, you know this is going to be a high-quality item. Most of the weight is in the base plate, so be careful if you do buy this, as it can be tricky to handle.
Along with the main parts, you get a simple installation guide, cable ties and an assortment of Allen keys, screws and grommets to cover the red bolts if desired.
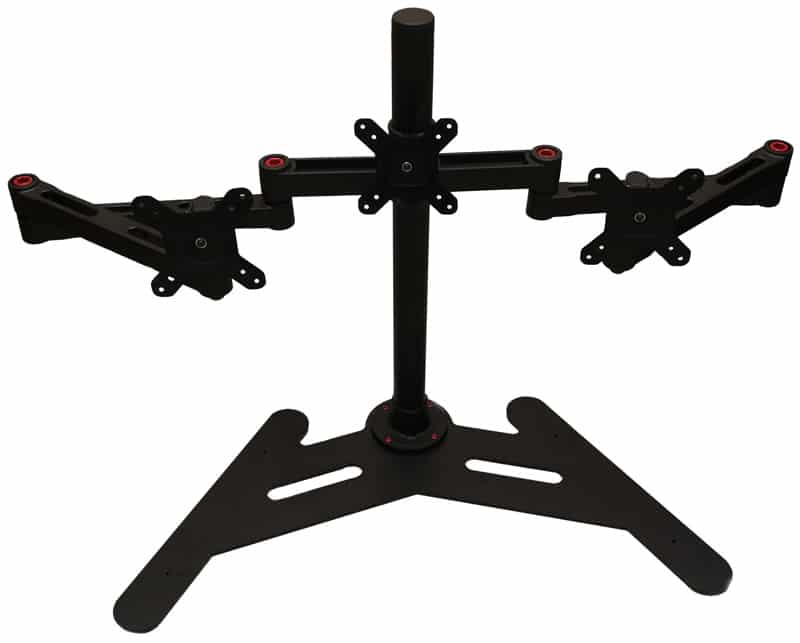
None of the screws or bolts are already inserted, so you have to do a small bit of digging to find out which is which. Insert the upright support bar and secure in place with a retention screw; this screw can be slackened off at a later date to provide swivel movement.
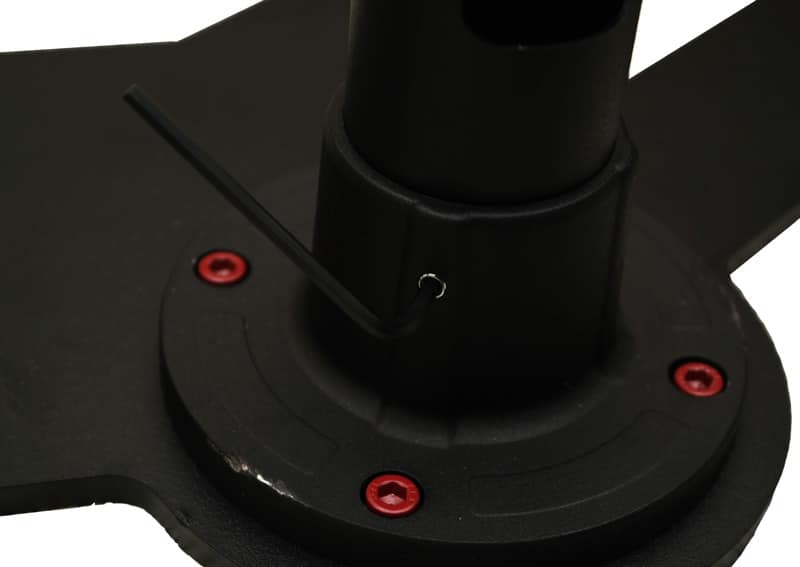
The next step in the instructions is to fit the centre monitor support. You can place this at any height you desire, but if you want to have the option to pivot your monitors from landscape to portrait, place it quite high like we have done. DO NOT over tighten these bolts, there are horror stories on the OverclockersUK forum regarding snapped brackets as these are made of metal and have very little flex compared to plastic.
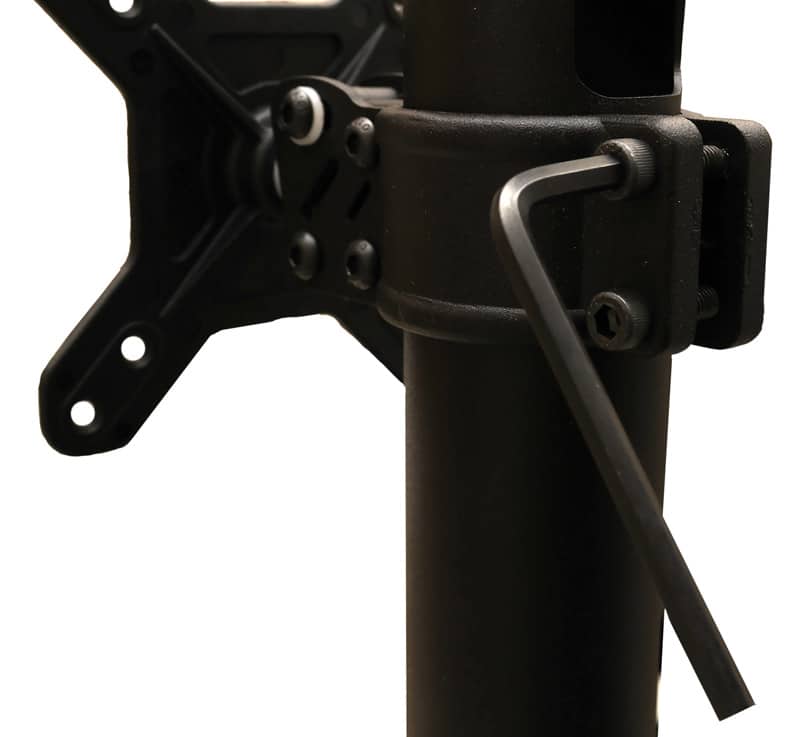
This is somewhat of a two-man job, especially if you’re trying to take pictures while trying to screw in four bolts and support each arm. A way I found around this was to thread the bolts in slightly and raise the arms. When you let them go, they will cause pressure on the support tube and stay still. This isn’t an ideal method, but needs must sometimes.
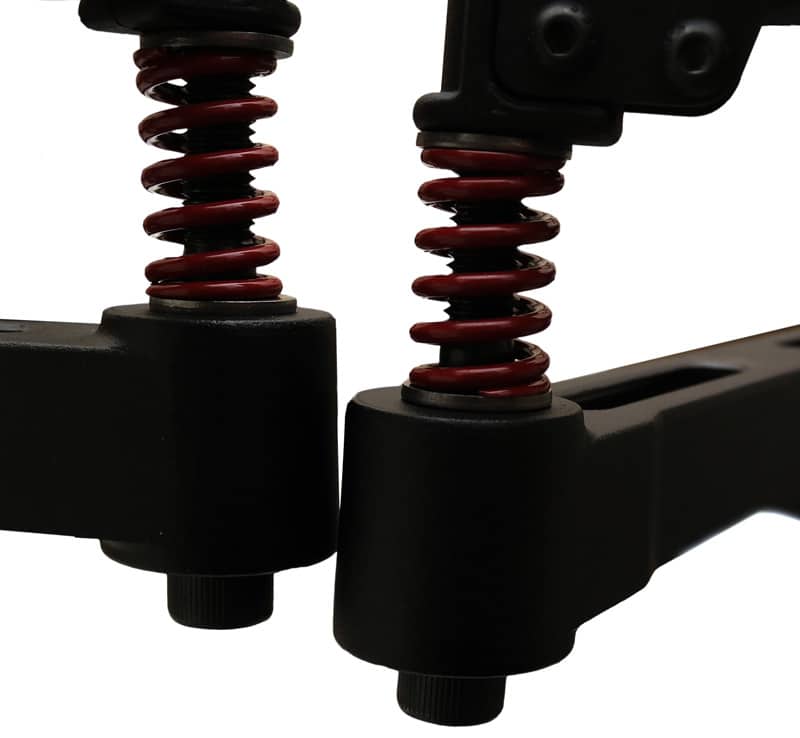
A small issue I noticed with the arms is that one hangs lower than the other. This can be counteracted by tightening the spring supported bolts on the other side to bring the monitor on that side down to the same level, so there is no need to worry here.
Once that has been rectified, add the monitor brackets and job done. I’m going to leave the grommets off for now, leaveing the red bolts on show for a bit of colour.