NETGEAR Nighthawk Pro Gaming XR500 WiFi Router Review
Bohs Hansen / 6 years ago
Interface: Initialization and a First View
When you first set the router up and connect to it, it won’t have an internet connection yet. Even if the cable is connected and everything should happen by DHCP. Don’t be alarmed by this, you haven’t done anything wrong. You just have to go through the initialising first. That is a quick task and nothing to be concerned about.
First Steps
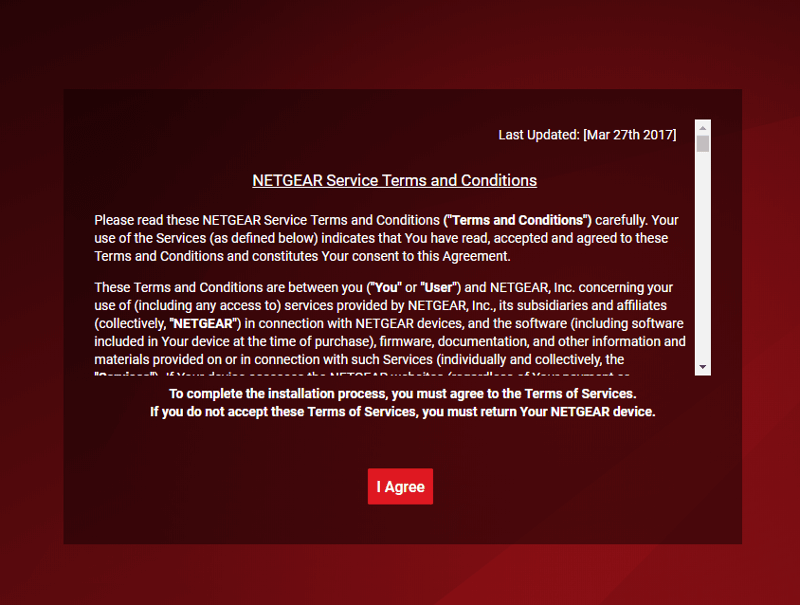
The first step is to acknowledge the terms and condition for the usage.
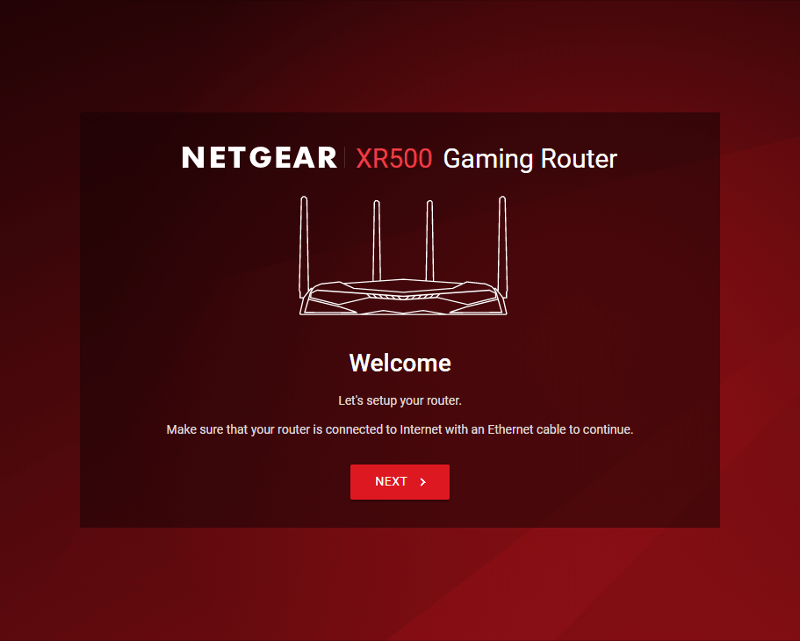
Once you’ve agreed to the terms, you’ll be greeted by a welcome page which reminds you to make sure that you’re connected by cable.
Internet Connection
After this first welcome message, the router will detect your internet connection. If it can’t detect it on its own, you’ll be prompted for details.
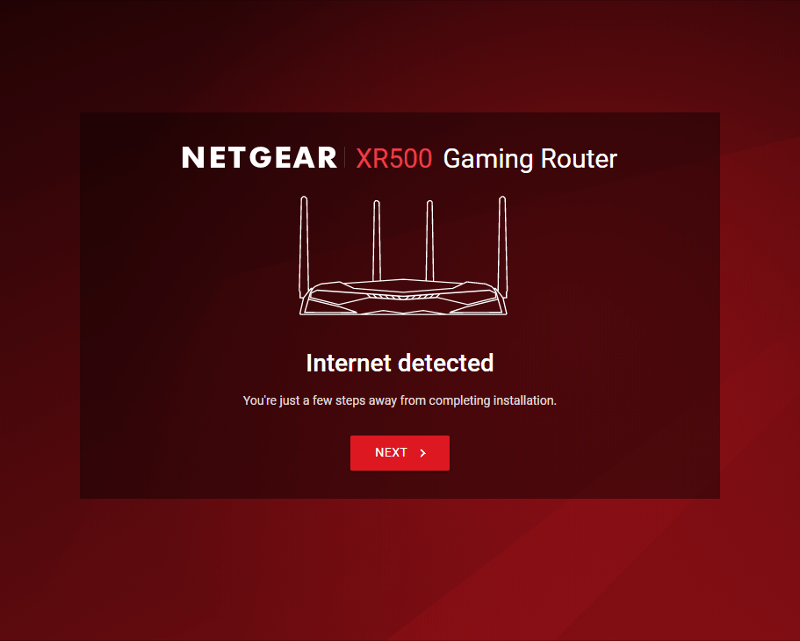
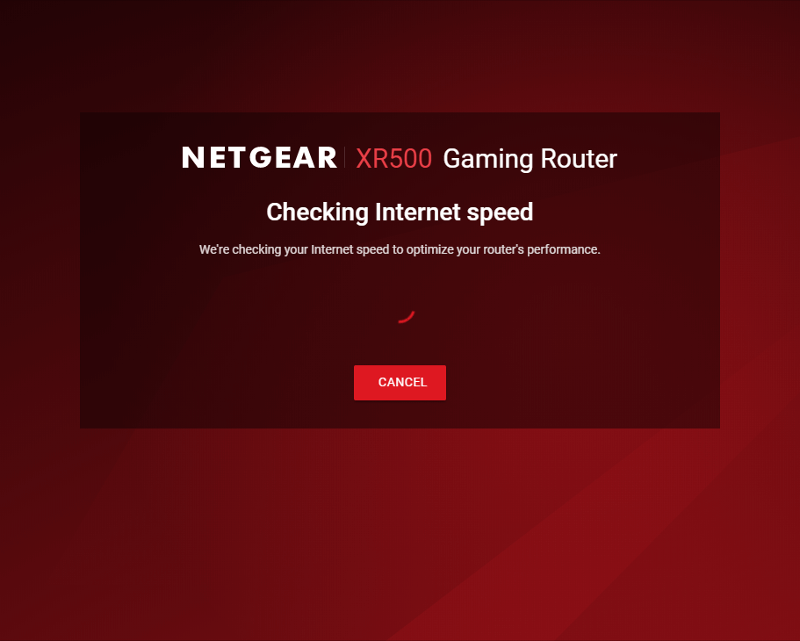
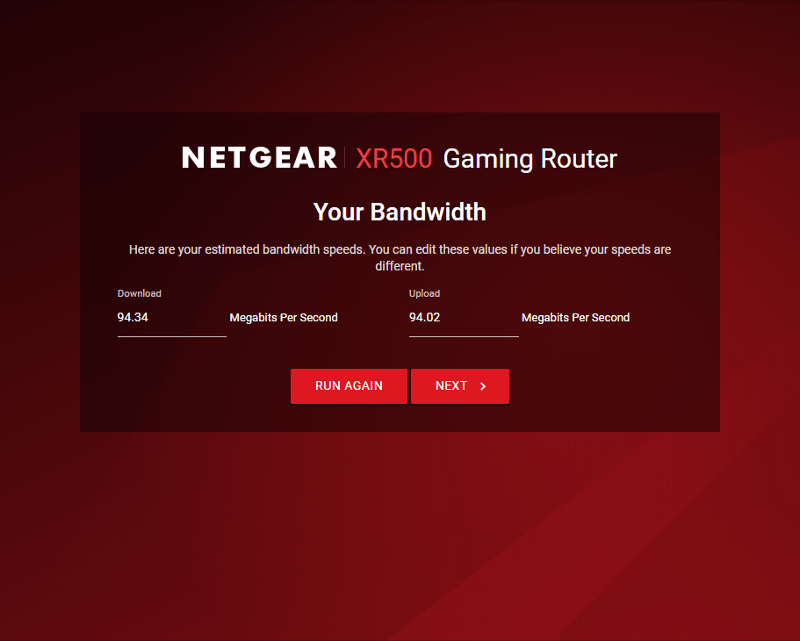
The router doesn’t just detect your internet connection, it also tests it for speed. This step can take a few minutes depending on your connection speed.
In the event that the router doesn’t detect the correct speed, you can change it manually or run the test again.
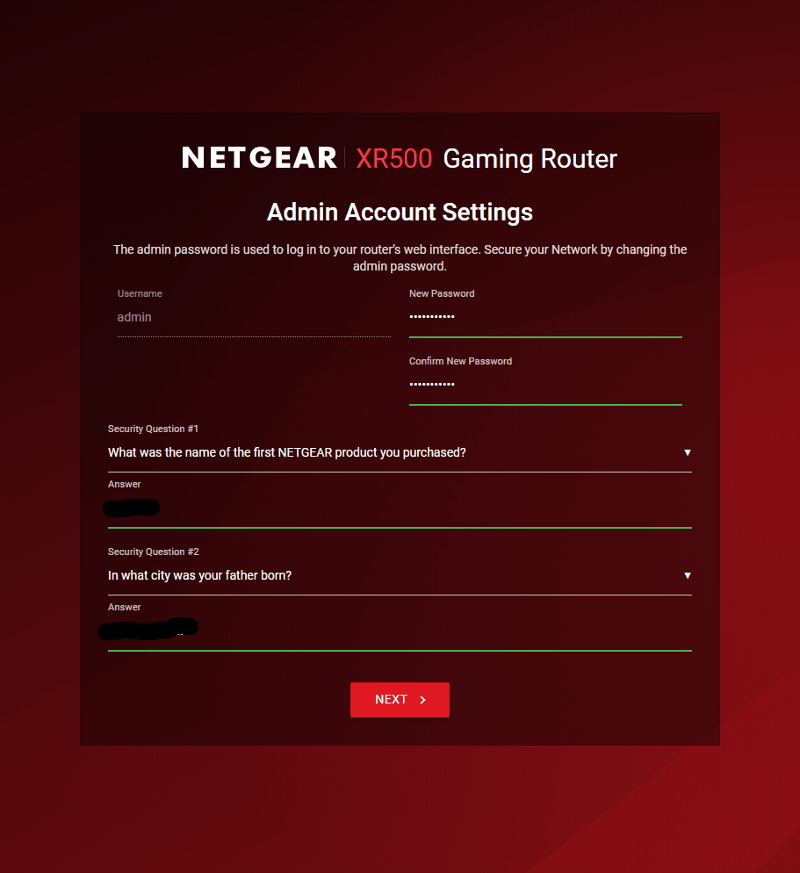
Administration Account
Every device with a remotely accessible interface requires an admin account, it’s no different here. The username is fixed, but the password is up to you – naturally.
The router also asks for two security questions, much in the same way your email address and other services do.These can help you recover access in the event of losing the password. I’ve blacked my answers out here, just in case someone has any bad ideas – even though I didn’t answer them truthfully. With a public review, you can’t be careful enough.
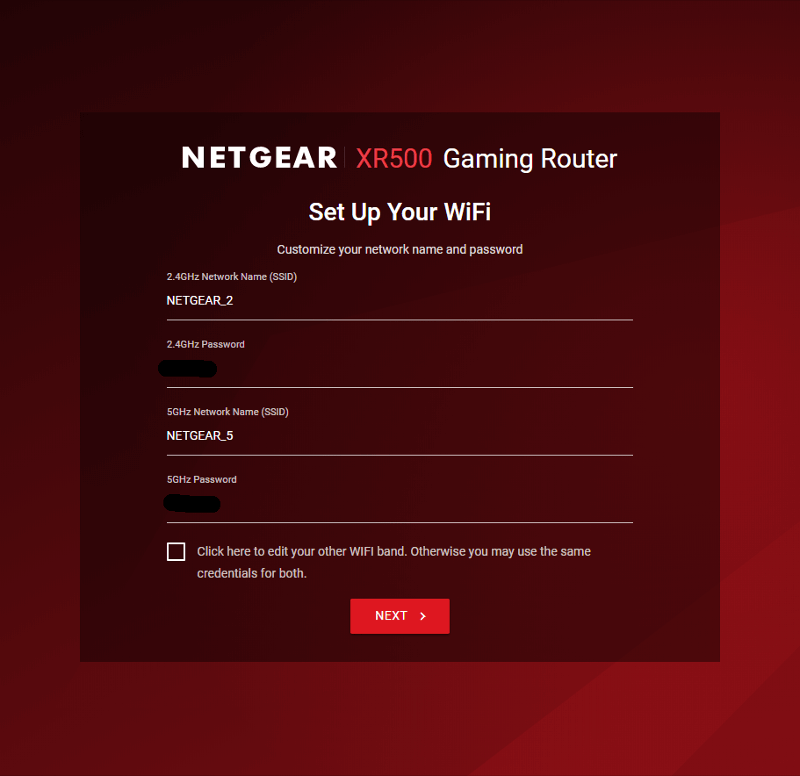
Wireless Network Setup
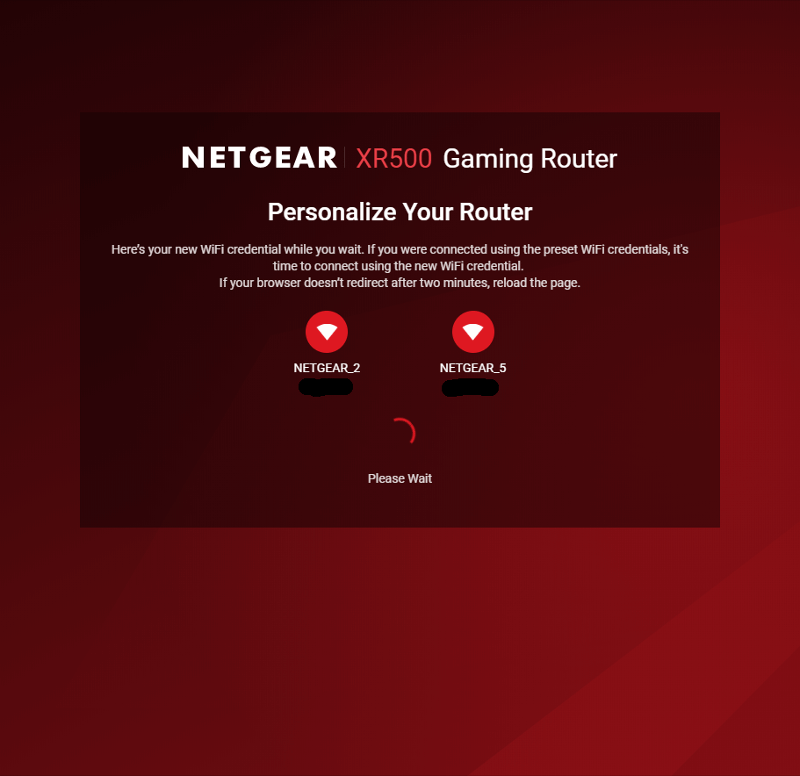
You probably bought this router for the wireless capabilities, at least partially. So, we need to configure that too and it is part of the initial setup. You can combine the two bands into a single smart-band which automatically picks the best speed for your device, or you can split them up as I’ve done here.
The router will now apply your settings and get the last things ready for you.
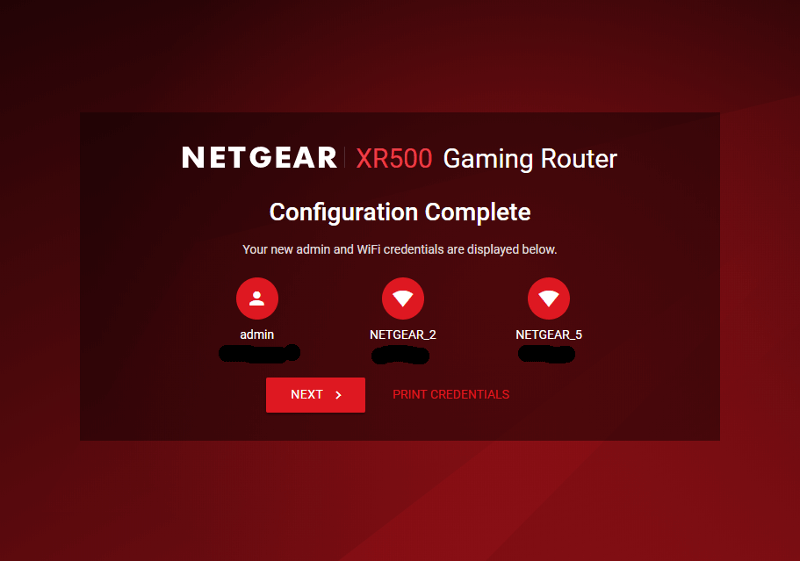
You get a final page with all the passwords and network names which you can print for safe keeping, if you want to.
Keep Things up to Date
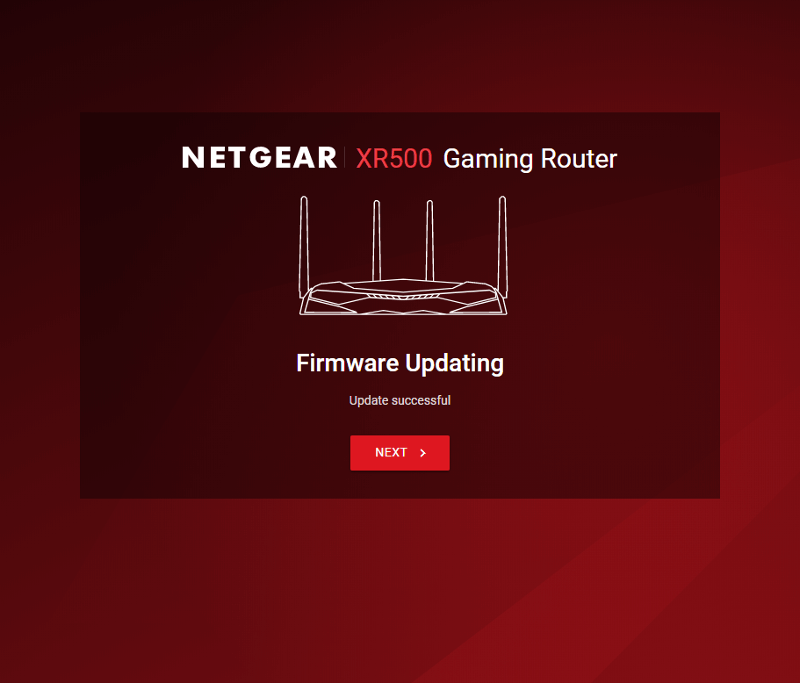
The router will automatically check for the latest version. You should always update this to make sure that you have the latest securiry patches, features, and bug-fixes.
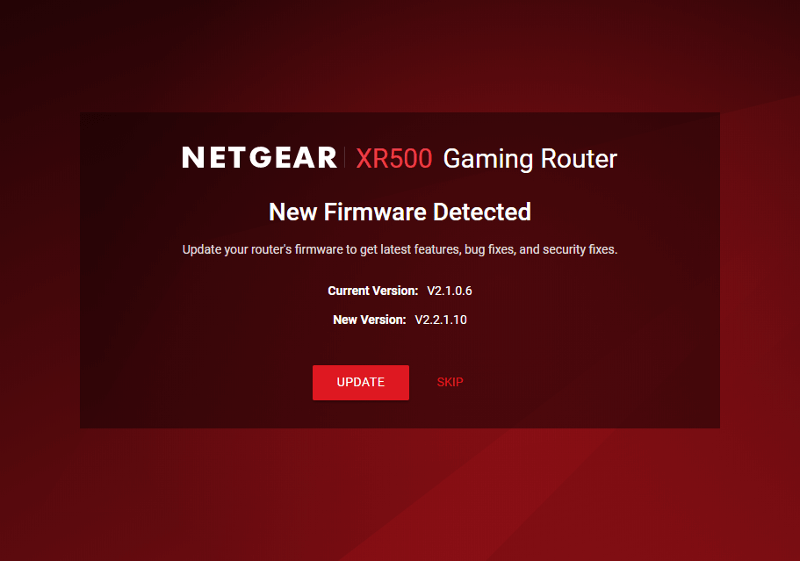
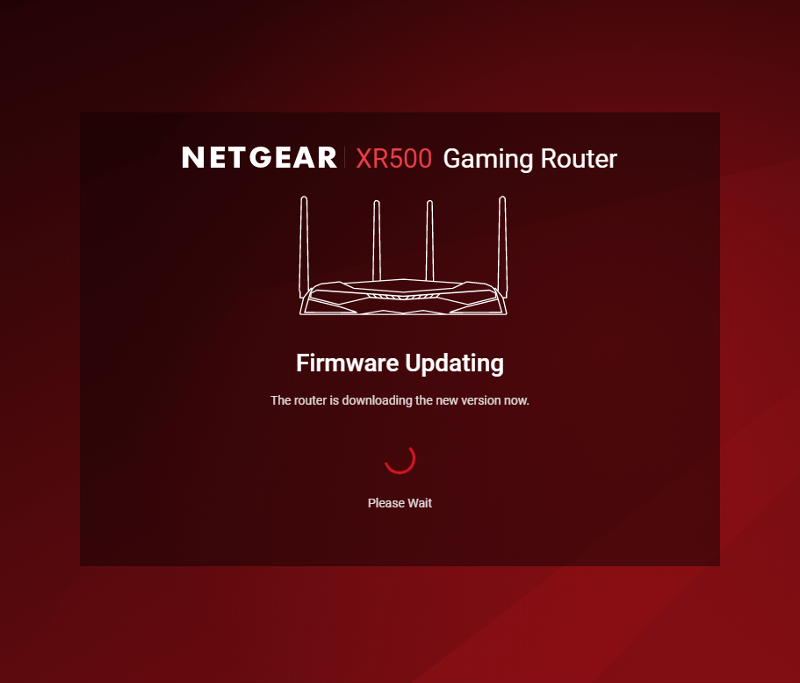
You won’t have to do anymore if you select the update function. It will automatically download and apply the update for you. If there is one.
And that was the last part of the initialisation. Now the guide will take us to the actual user interface.
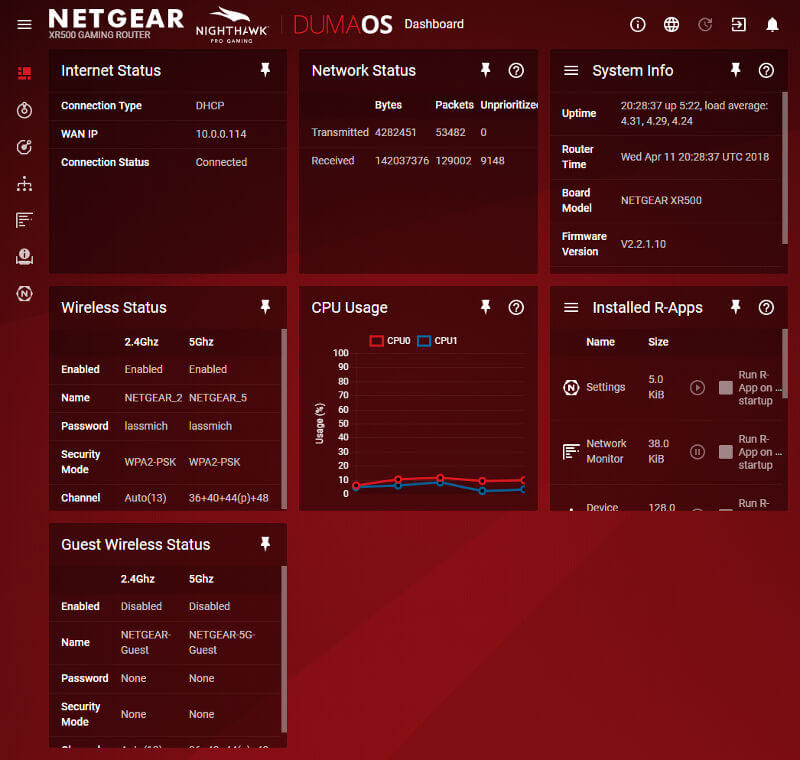
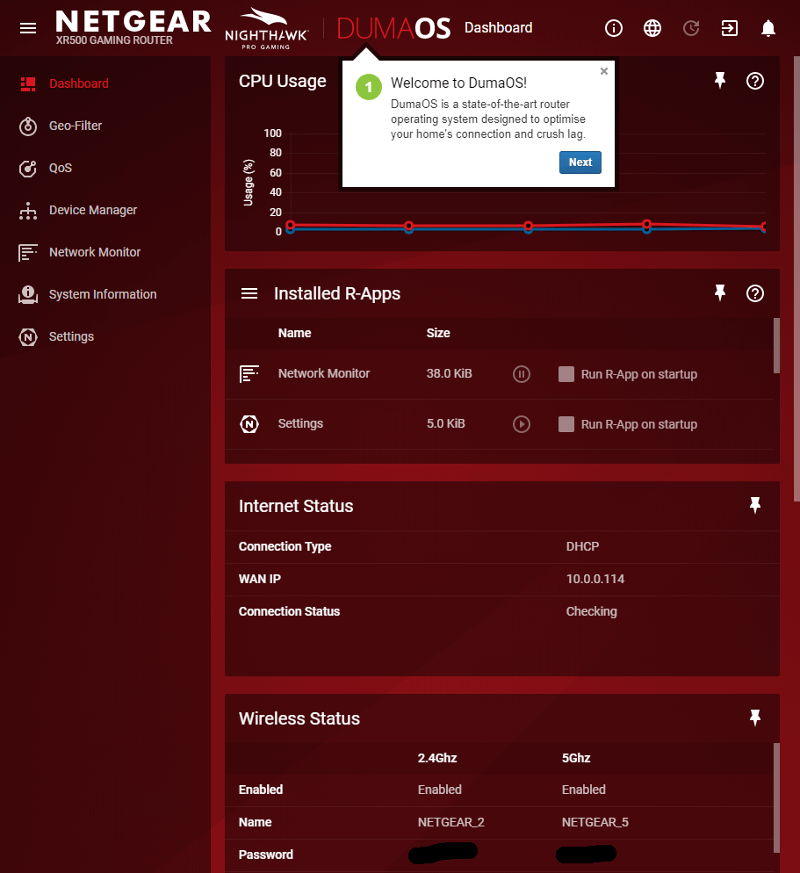
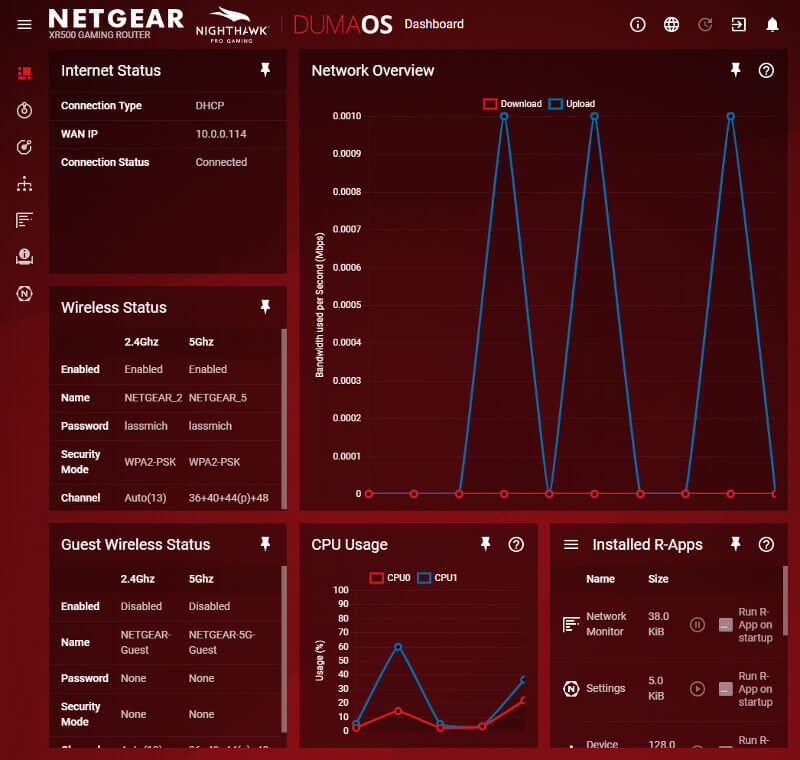
A First Look at the Dashboard
The first time you enter the dashboard, a small guide is launched. It will explain the various aspects of the interface and tell you what is where. If you can launch the guide at a later time too, if you cancel it or just want to see it again.
Dashboard and its Functions
The left-side menu can be collapsed, giving you more visible space for the vital information – or you can leave it open to keep track of where you are in the interface.
The top menu holds links for general information, language selection, updates, logout, and notifications. the notification area will pop in from the right side.
The whole thing will also automatically adjust its size and becomes user-friendly for mobile devices when you get to a narrow width.
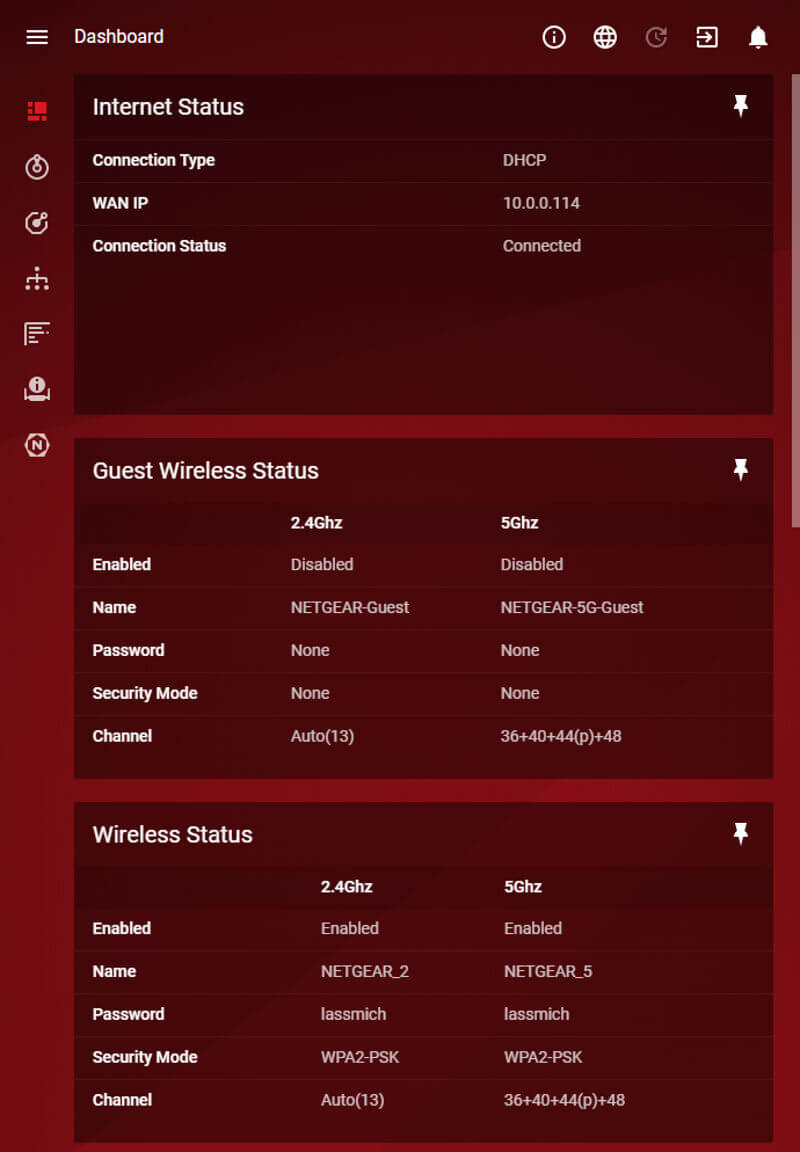
All the shown information fields can be dragged around and reordered. You can also unpin those you don’t want to see here. More can be added from the system information field which we’ll look at in a bit.
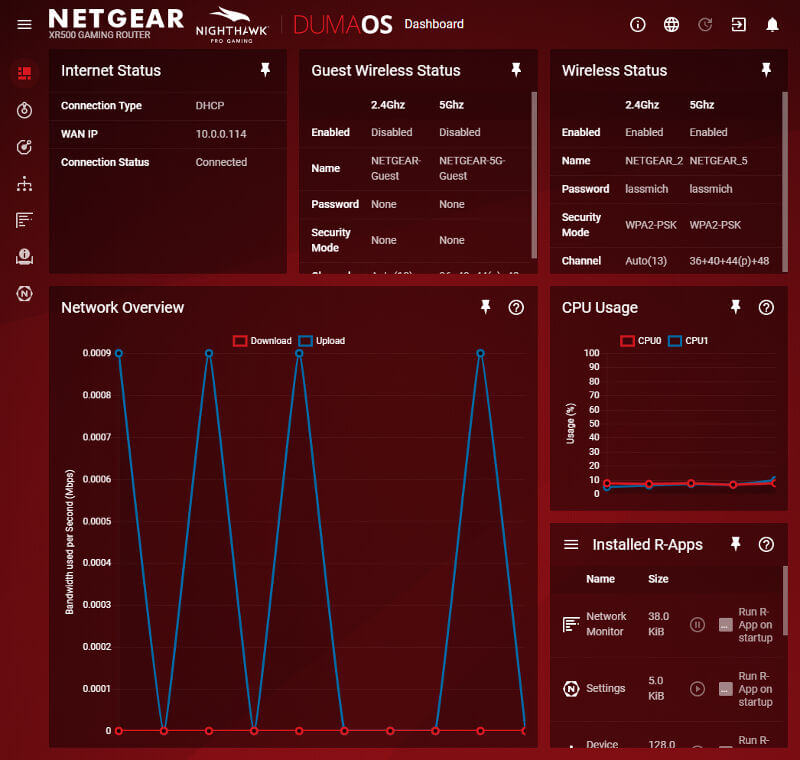
As you can see here, when comparing the screenshot above and below, I’ve rearranged the order of things.
Adding and removing parts takes as little effort as clicking a single time on the pin in each field.