Noctua NH-D9L Dual-Tower CPU Cooler Review
Peter Donnell / 8 years ago
Installation
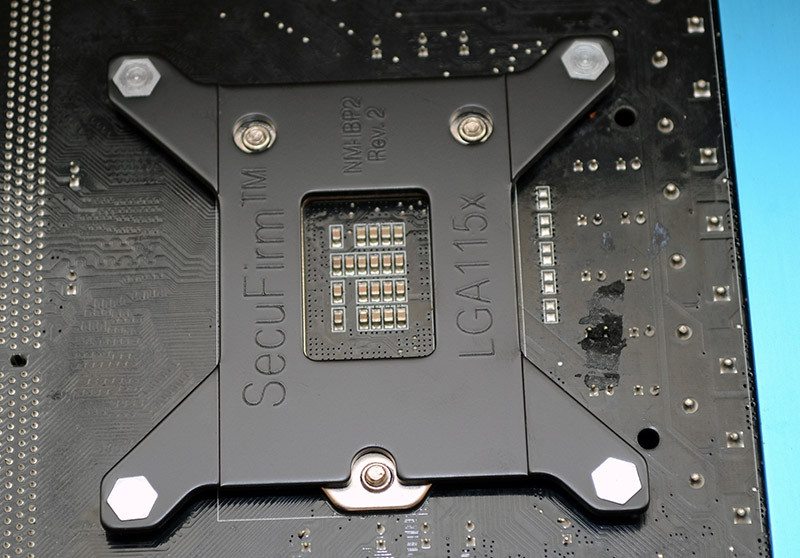
Installing a Noctua cooler is normally a super easy process, and guess what, it is this time too! The backplate is already fitted with pegs, so simply pop it on the back of the motherboard.
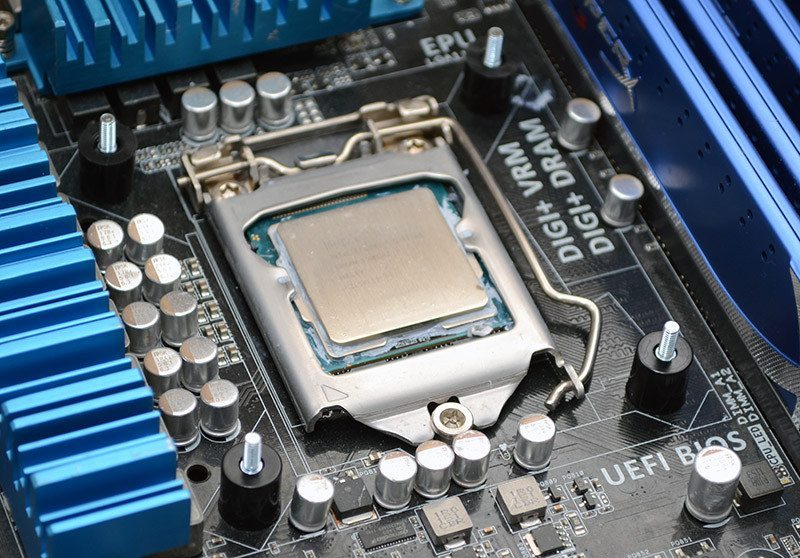
On the other side, add the four spacers.
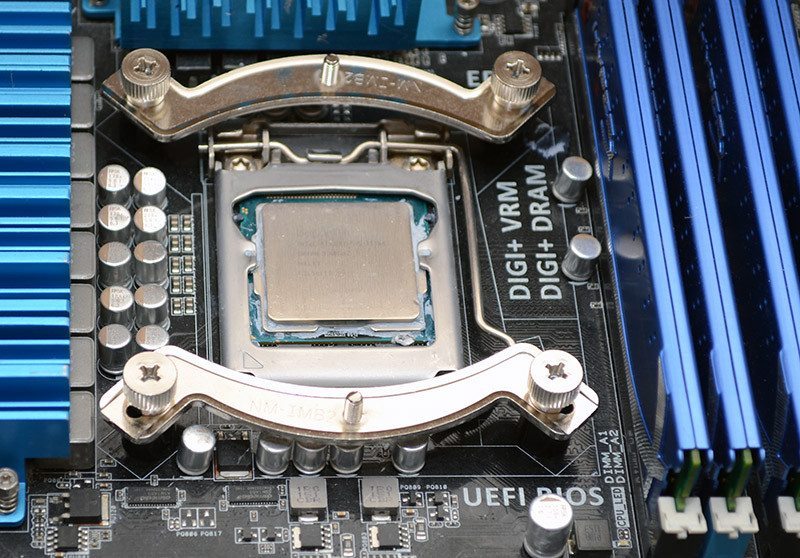
Use the thumbscrews to attach the brackets for the CPU block. So far, this has taken me about one minutes and that includes the time to take these pictures!
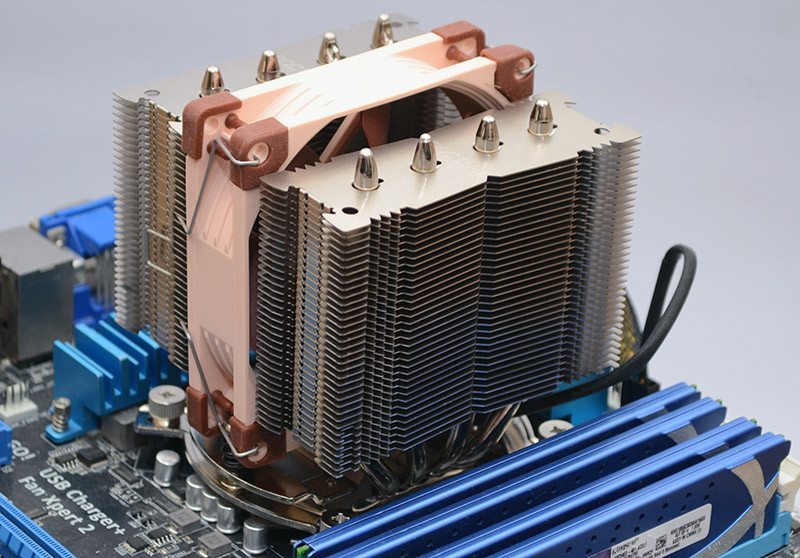
Now you need to screw the tower down onto the bracket you fitted to the motherboard. This is the first part in the process where you’ll need any tools, but if you don’t have an appropriate screwdriver, Noctua kindly included one in the box. Then it’s simply a case of putting the fan back in, which takes almost no effort at all. Within a minute or two, the D9L is installed and you’re ready to rock!