Noctua NH-U9S U-Type Tower CPU Cooler Review
Peter Donnell / 9 years ago
Installation
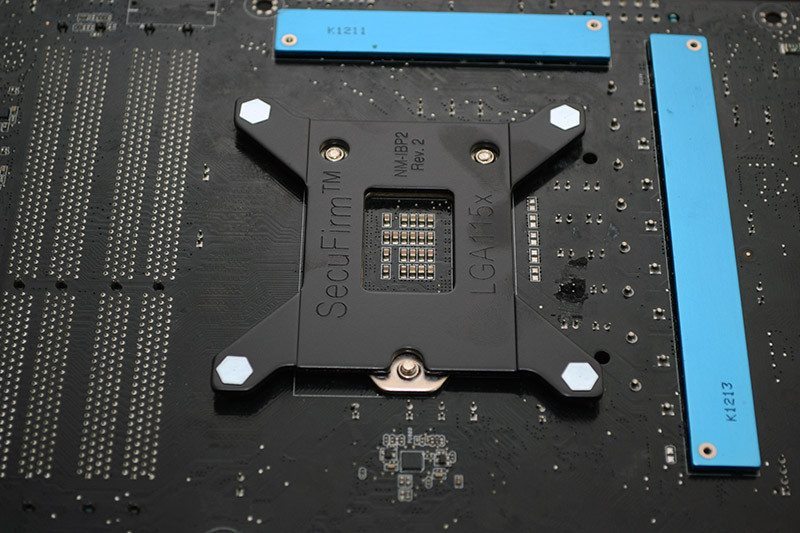
Mounting the NH-U9s is incredibly easy, party due to the very high quality of the components. The back plate comes with the pins pre-mounted and it’s simply a case of popping it on the back of the motherboard.
On the other side, you’ll add four plastic spacers, then fit the two mounting bars with the handy thumb screws; this is a very easy process.
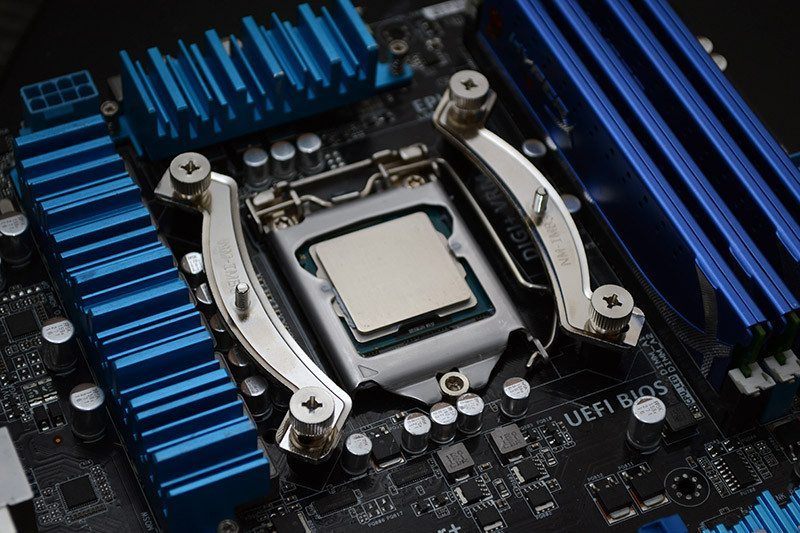
The mounting bracket is pre-installed to the cooler with sprung screws already in place. Just pop the cooler between the two mounting brackets you previously fitted (above).
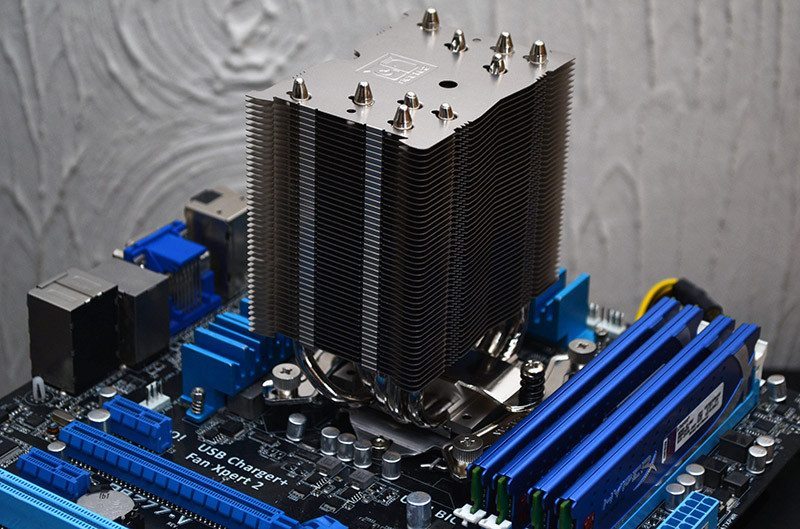
Don’t reach for your toolbox, the Noctua cooler comes with everything you need, including this perfectly handy L-shaped screwdriver that makes easy work of the two screws.
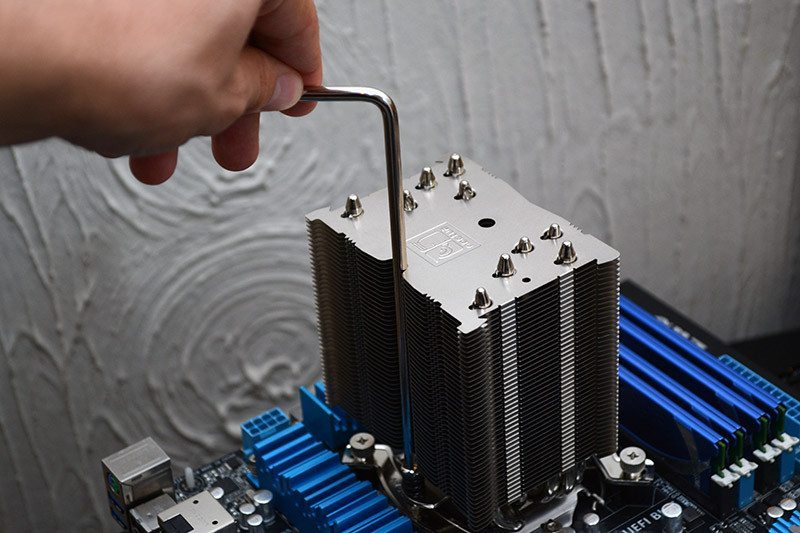
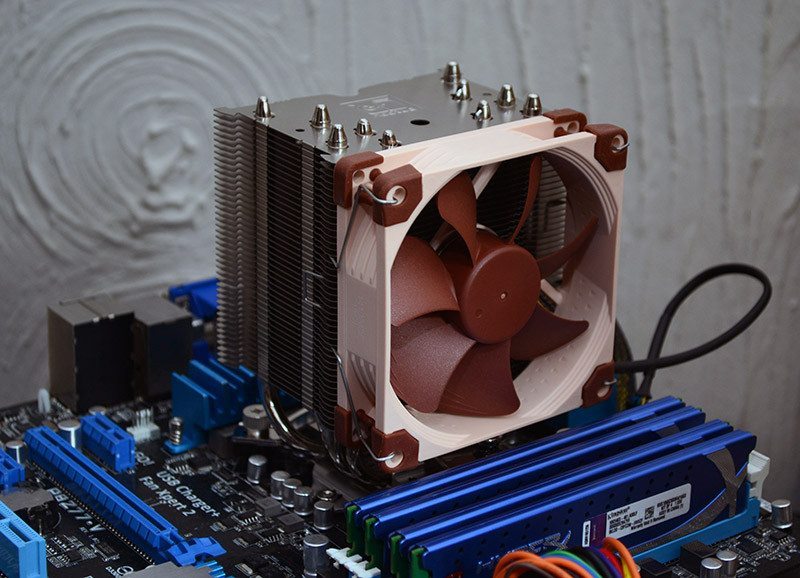
Pop the fan back on and you’re good to go. Also, notice the perfect RAM clearance, good news for those with huge memory modules.