Noontec TerraMaster D5-300C USB-C 2+3RAID DAS Review
Bohs Hansen / 7 years ago
A Look at the Package, Accessories, and Device
The Packaging
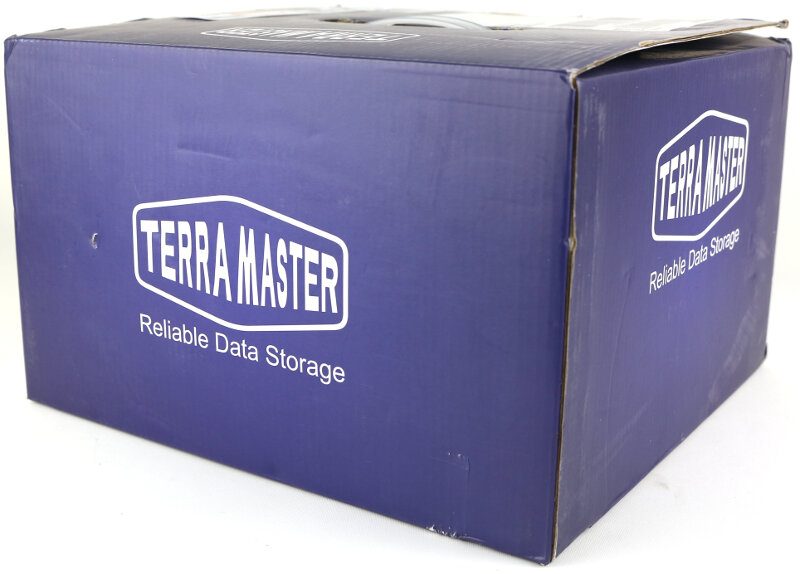
TerraMaster units all come in the same type packaging, a blue box with the TerrMaster logo on all sides.
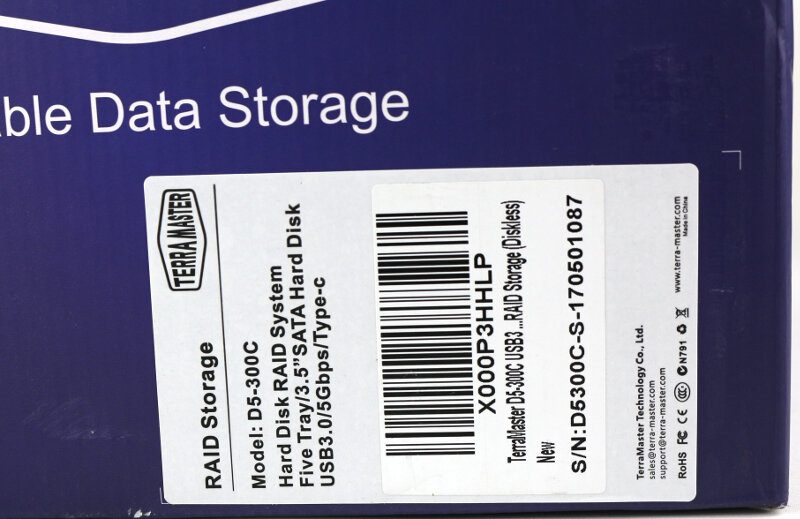
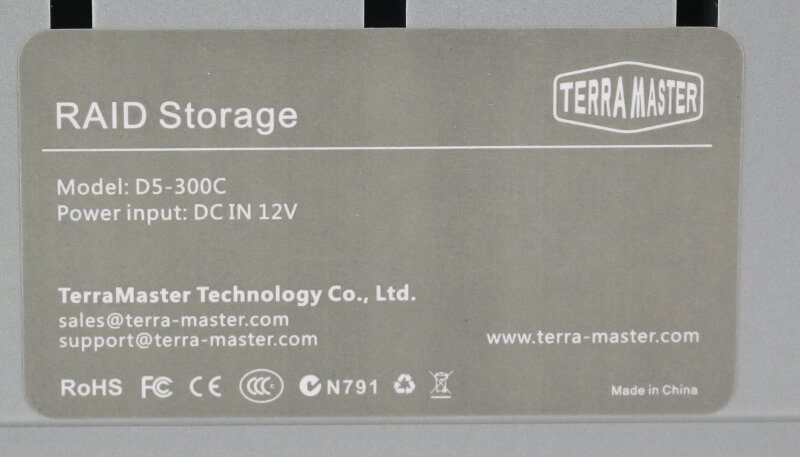
The only thing that will tell what’s inside is the label. While it doesn’t look like it contains a lot of information, it’s pretty complete. The unit model, type, connection type and speed, and drive options are all listed.
Everything is neatly packed inside the box. Each accessory bag is sealed with a TerraMaster sticker and a label telling you what’s inside. That makes the installation very easy.

Included Accessories
So, what do we get with this TerraMaster D5-300C DAS? To begin with, we get screws for 2.5-inch and 3.5-inch drives. There are more screws than needed, so there are extras when you drop or lose some. There’s also a screwdriver included which eliminates the need for you to have any tools yourself.
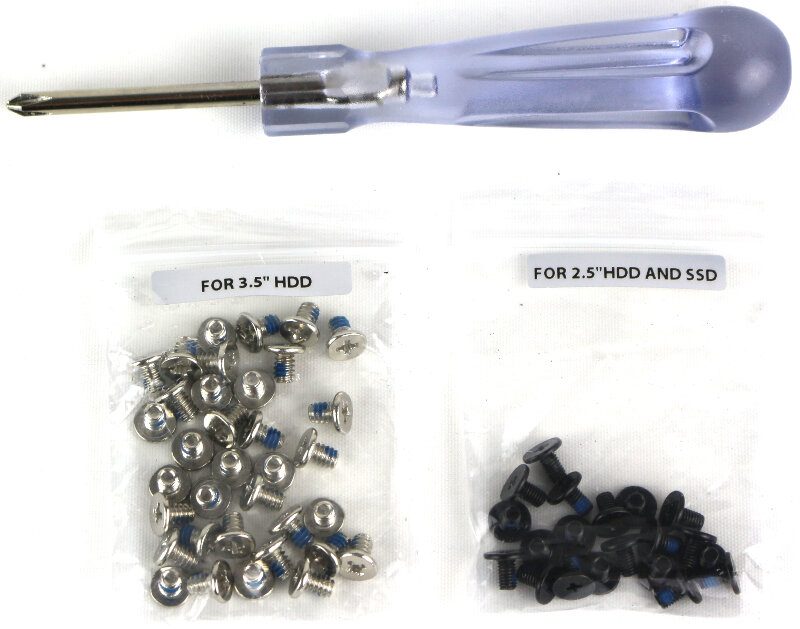
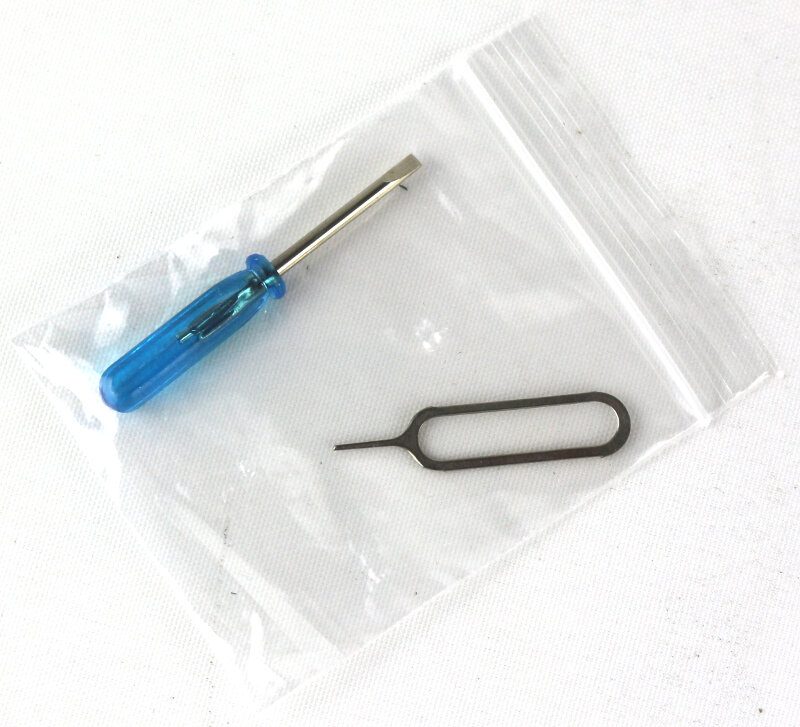
The tiny flathead screwdriver and pin pusher are used to adjust the RAID volume on the first two drive bays.
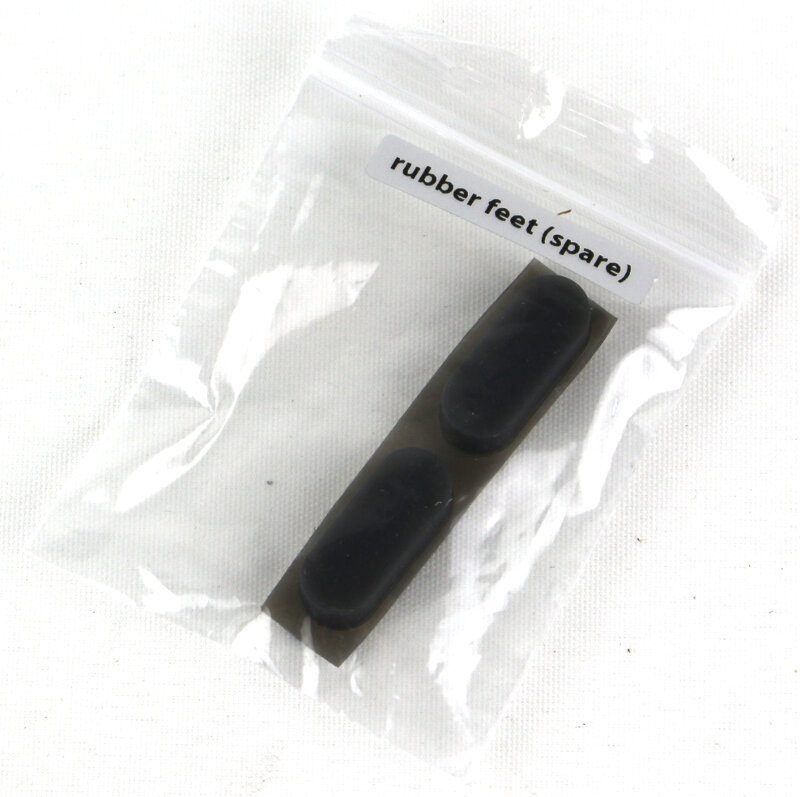
You even get a couple of spare rubber feet, in case you break one of the installed ones off. A nice bonus for down the road.
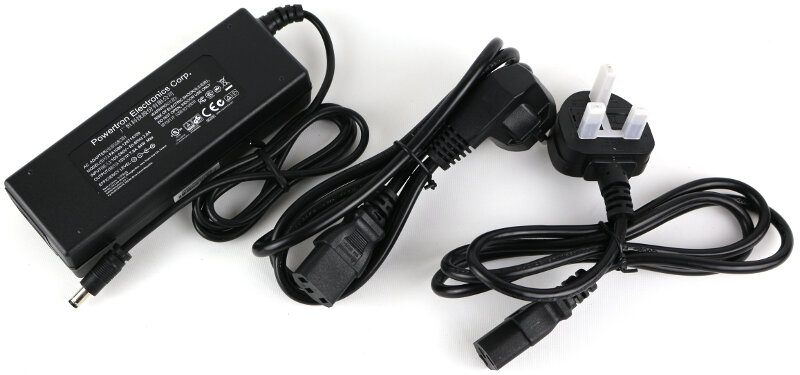
The external power supply will come with a cable that’s suited for the region you purchased it in. In this case, I got a German and a UK cable.
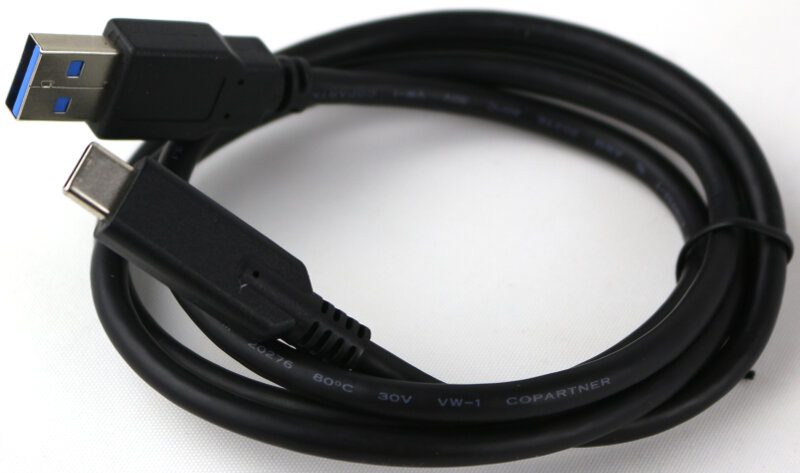
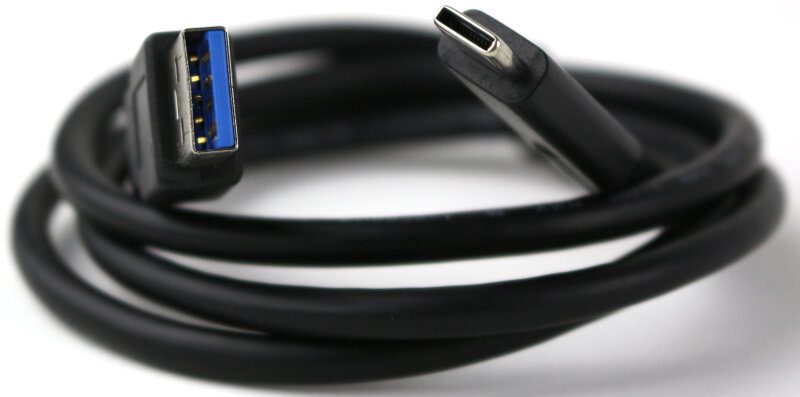
The included USB cable is 1 metre long and comes with has a Type-A connector on one end and a Type-C connector on the other end.
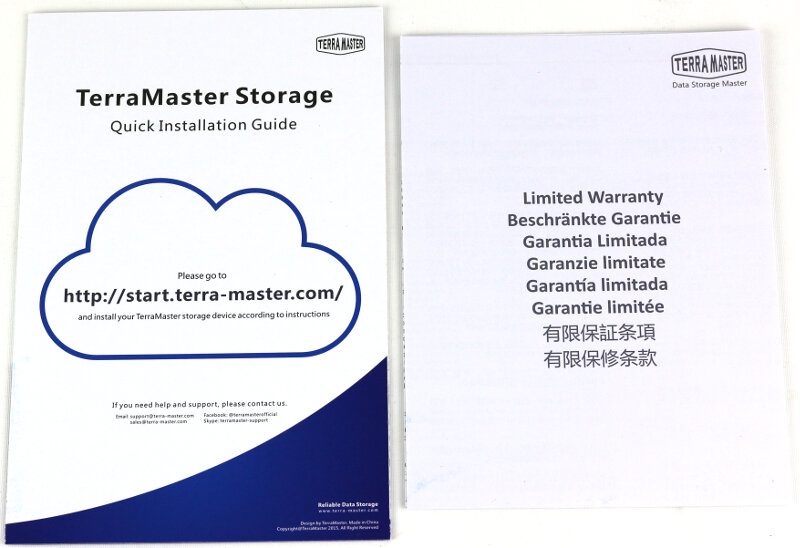
You also get the obligatory Quick Installation Guide and warranty leaflets.
On-Device Help
TerraMaster also placed a couple of stickers on the DAS which will help you use it correctly. On the top is a sticker which explains how to insert the drives the best way. Doing it right is a lot easier and safer for the hardware.
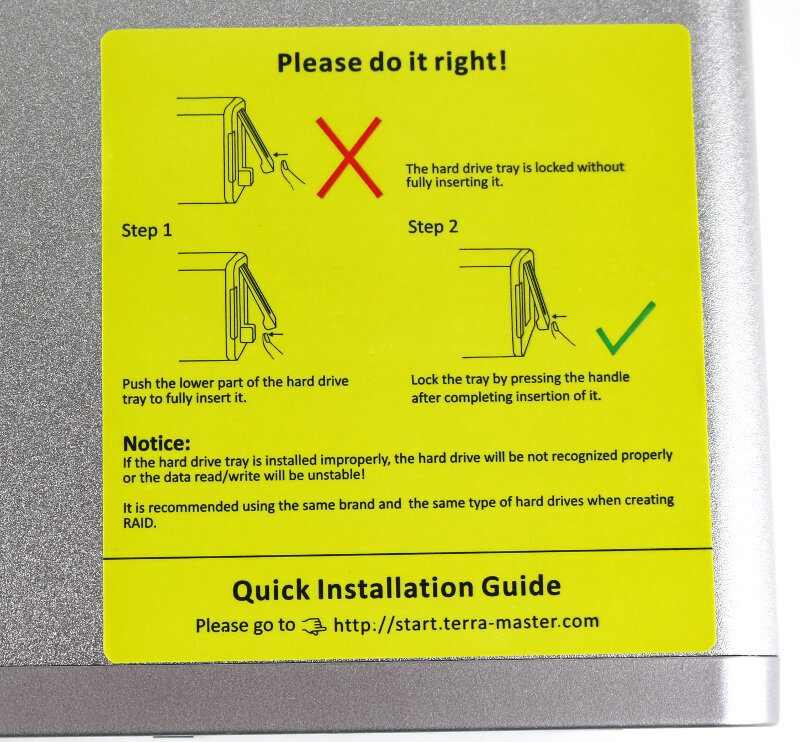
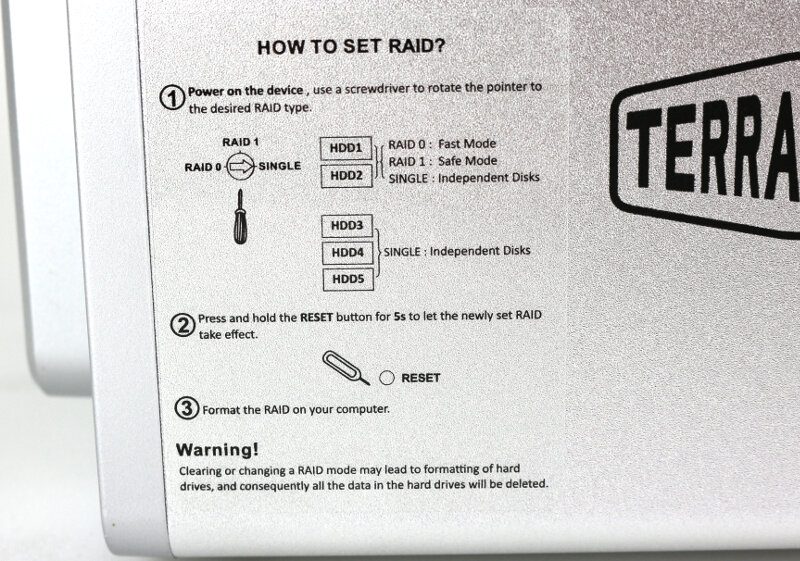
A second sticker is on the side of the unit, and this one explains the RAID selection. These two stickers in combination already tell you what you need to know, so you’ll probably not need the quick setup guide leaflet at all. The stickers are also easily removed should you want a clean looking device.
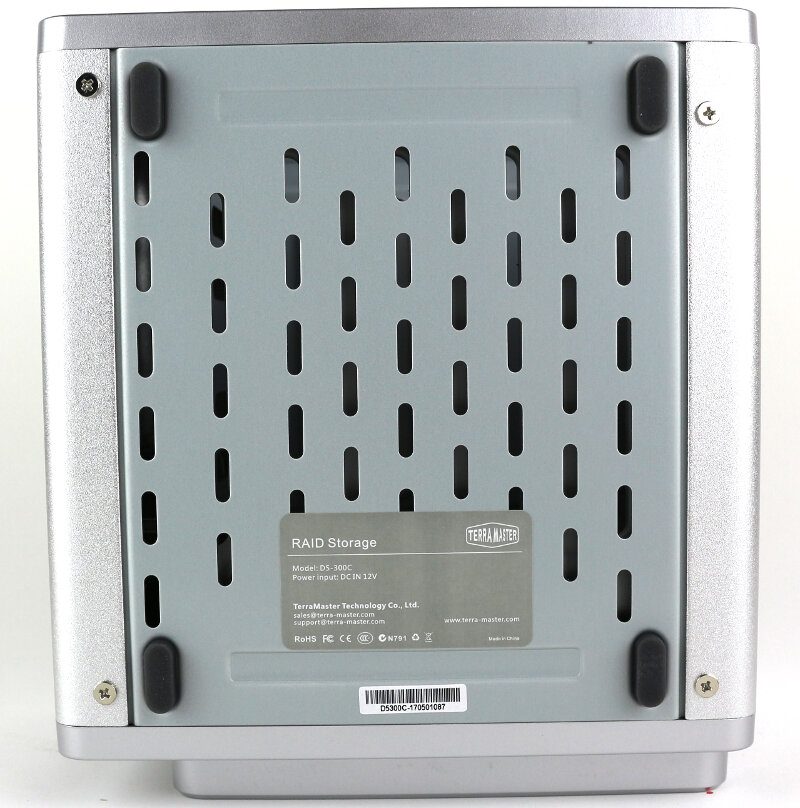
There is also a sticker on the bottom, but it is only relevant if you ever lose or break the power supply. It will tell you the voltage needed. Normally, we’d see an Amp rating too, so we know how big a PSU we need, but that’s not printed on this label.
A Closer Look at the Hardware
There aren’t a lot of details as such on a DAS, at least not in comparison to NAS devices with all their extra connectors. But the TerraMaster D5-300C has a few things worth highlighting.
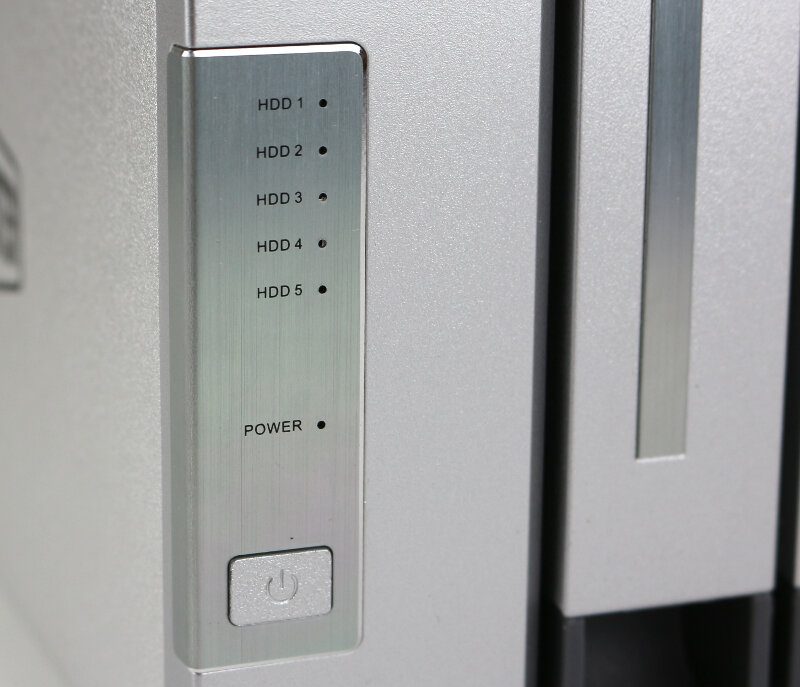
Each drive has its own activity LED, and there’s an additional one to show the power state. The LEDs are all green, and the power button is located right below them.
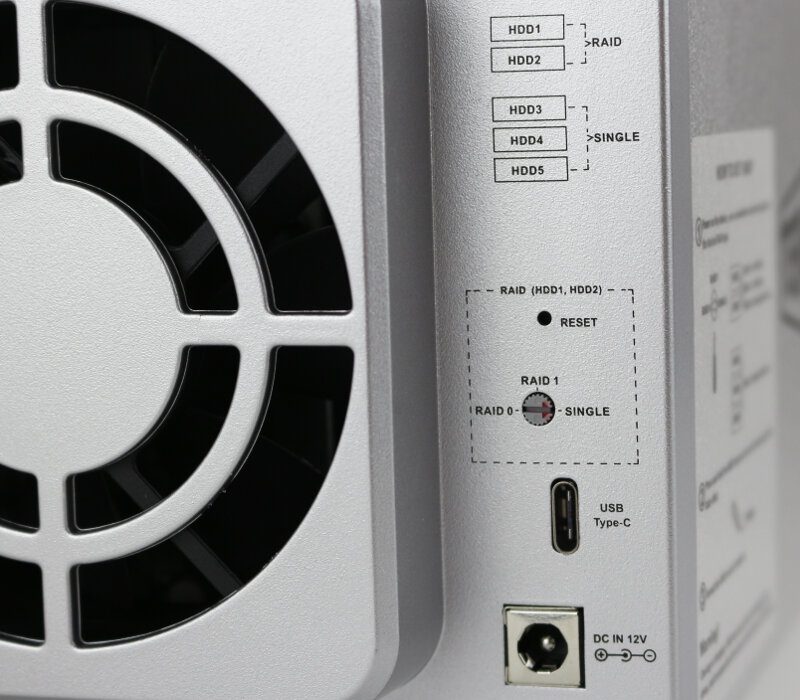
The RAID mode is set on the rear side. There is an extra print of the drive layout as a reminder and setting the mode is as easy as turning the dial and pressing the reset button for 5 seconds. The only other features here are the USB Type-C port and the 12V power connector.
There are four well-sized rubber feet on the bottom which offer a solid stand and prevent vibrations from travelling between the surface and the unit. There’s a whole bunch of vent holes too, allowing the D5-300C to draw in fresh and cold air.
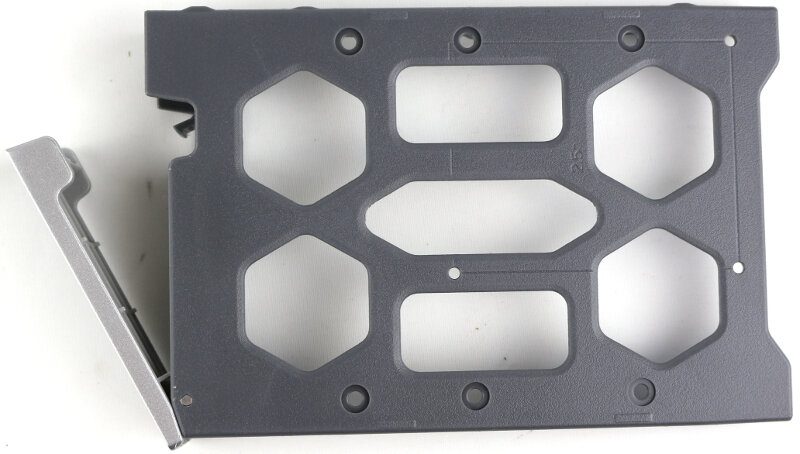
But first, let’s remove the drive trays and peek inside. Yea, okay, it isn’t the most exciting view, but we need the drive trays removed to look at them and install our drives.
The drive caddies are made of plastic which isn’t a bad thing. It should protect your drive well and they work. There are various screw holes for 2.5-inch and 3.5-inch drives, but only on the bottom. Most (99.9%) drives do have the option for bottom-mounted screws, but not all.
The included USB 3.0 cable has the newest Type-C connector for the DAS and a Type-A connector for your system.
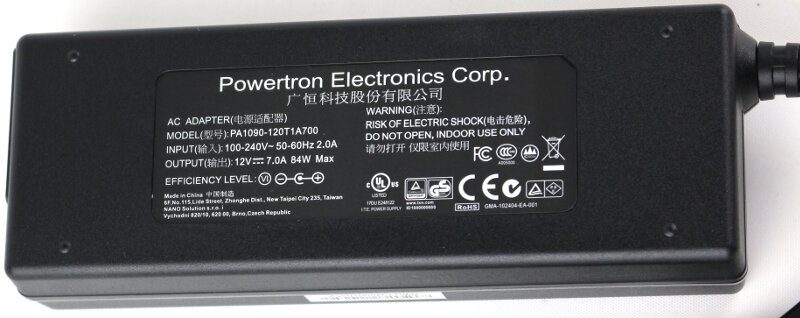
The included power supply can deliver 84W with its 12V 7A rating.
A Look Inside
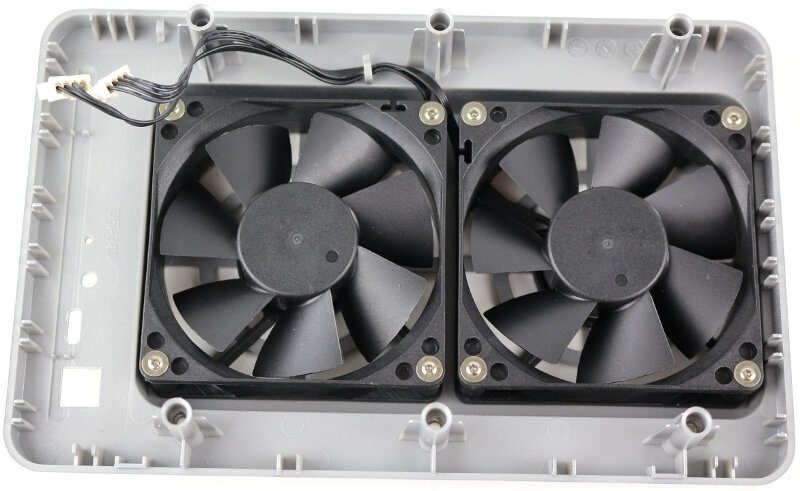
Removing the rear panel with the fans allows you to slide the rest of the unit apart, but there won’t be a reason for you to do so.
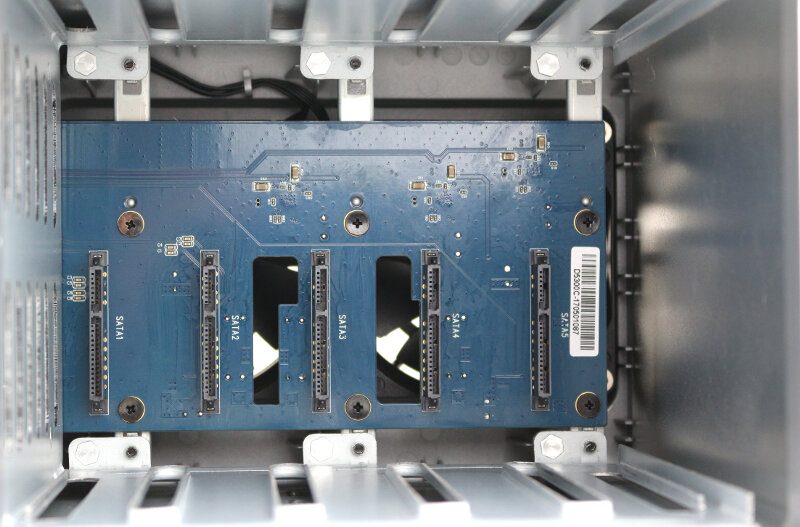
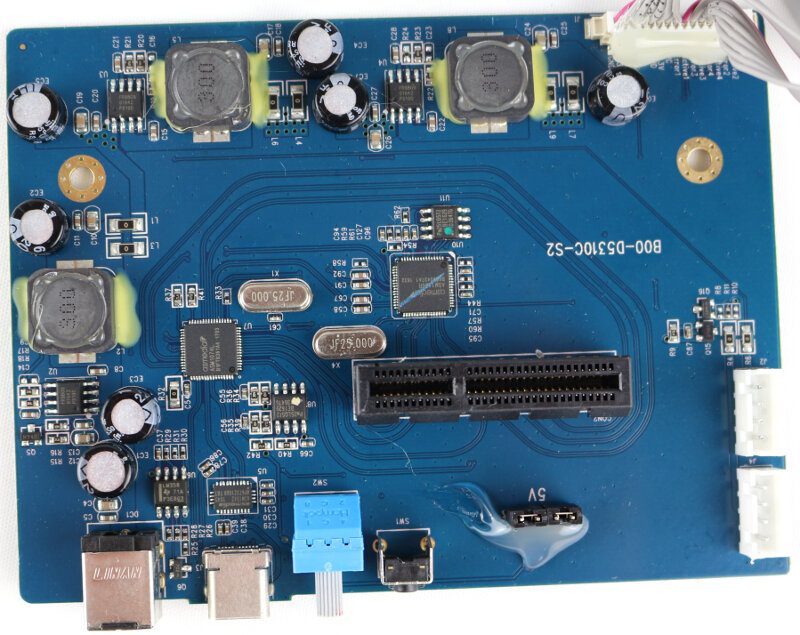
The main PCB doesn’t feature a lot. There are an ASM1074L USB3.0 HUB controller and a yet undocumented ASM1156R chip. The latter is most like a newer version of the SATA PCIe Bridge controller. Fans and LEDs are all connected to this PCB.
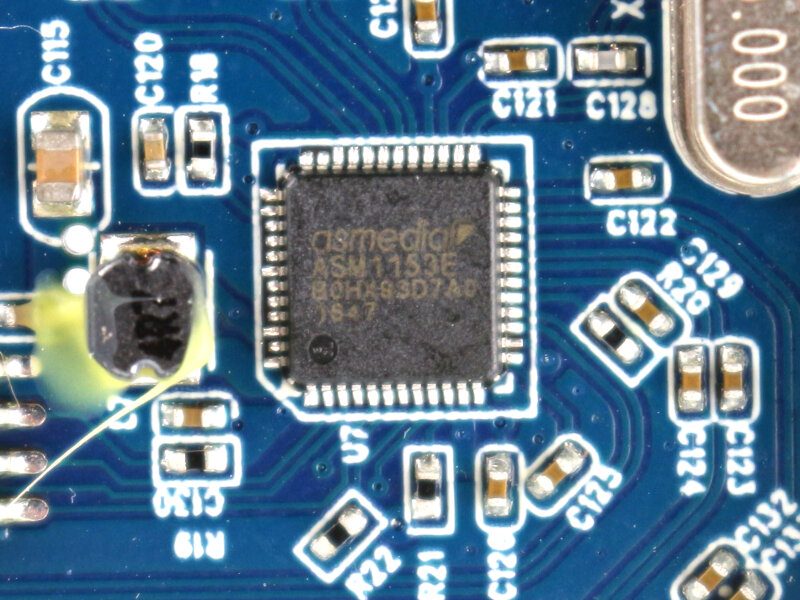
We’ve seen the bridge card from the front already, but it is the rear side where it there’s most to see. The PCB features power stabilisers and three USB to SATA bridge controller.
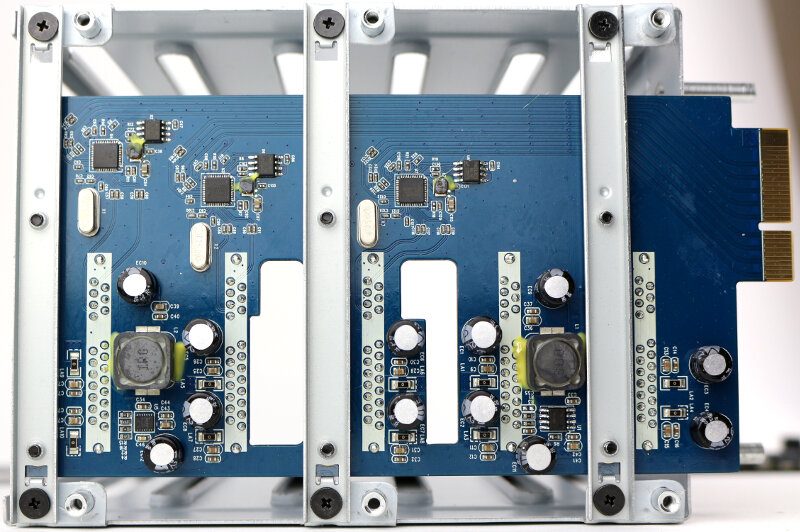
The three ASmedia ASM1153E bridge controllers can control up to 2 drives each, and that’s why we need three of them.