Noontec TerraMaster F4-420 4-Bay NAS Review
Bohs Hansen / 6 years ago
Specifications and A Closer Look
TerraMaster F4-420 Specifications
The specifications are taken directly from the manufacturer’s homepage and they’re valid at the time of review. They may be subject to change in future revisions of the product.

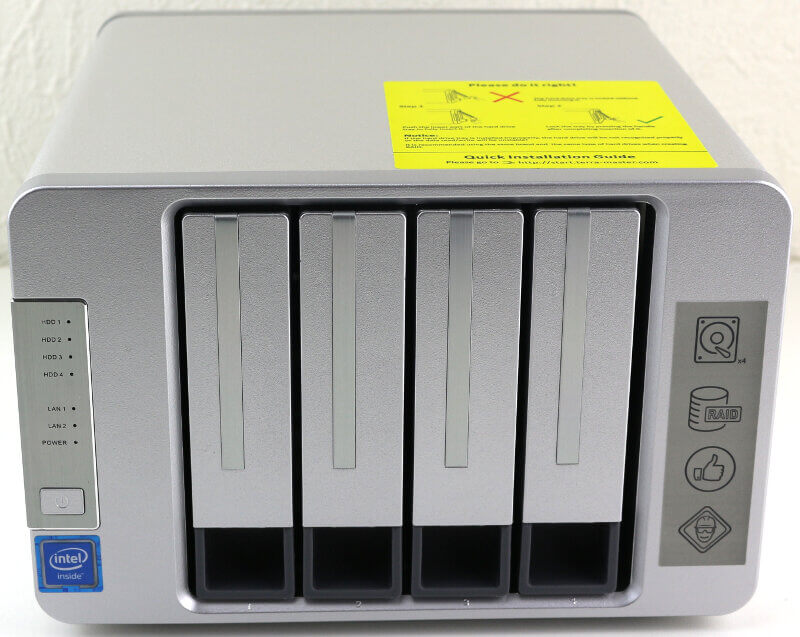
Front View
Now that we know what the F4-420 can do, it’s time to take a closer look at the hardware. The NAS is quite simple in itself, coming in silver rather than black and white look. The front holds the drive bays, power button, and LEDs. Each drive tray is labelled below the tray and as well as on the drive itself, making it easy to place them the right place again after you had them out. Now the position doesn’t matter as such; it’s more for you than for the system.
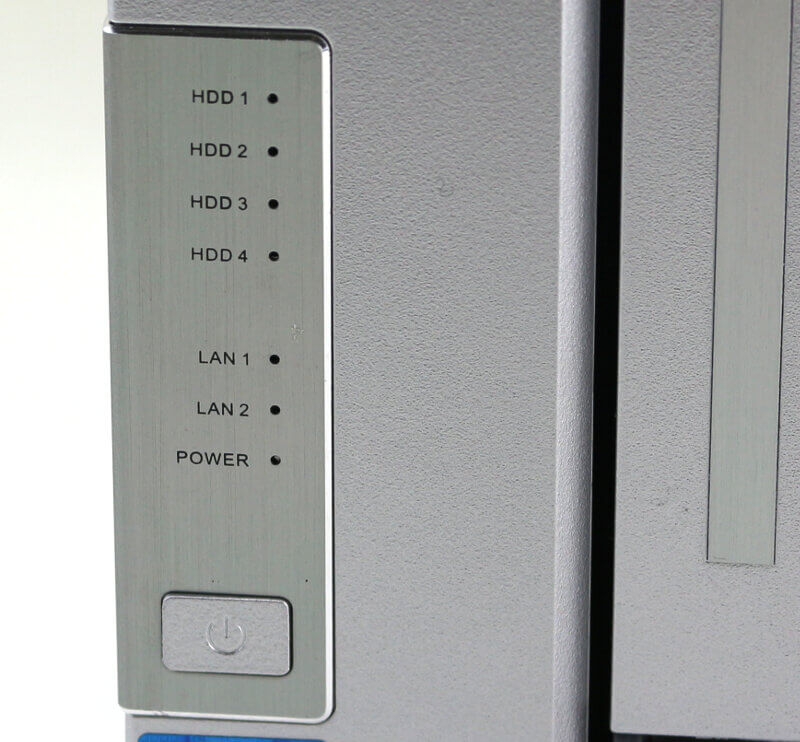
The button and LED area give the NAS a fine look. The brushed metal has clear labels for the various LEDs and the power button is located below them. The pin-hole sized LEDs look epic when the device is powered on and give the feeling of a premium device.
The stickers you’ve seen above and on the previous pages are easily removed. So you don’t need to worry about them messing up the overall look. They’re there to help you get going and to know with what you’re dealing.
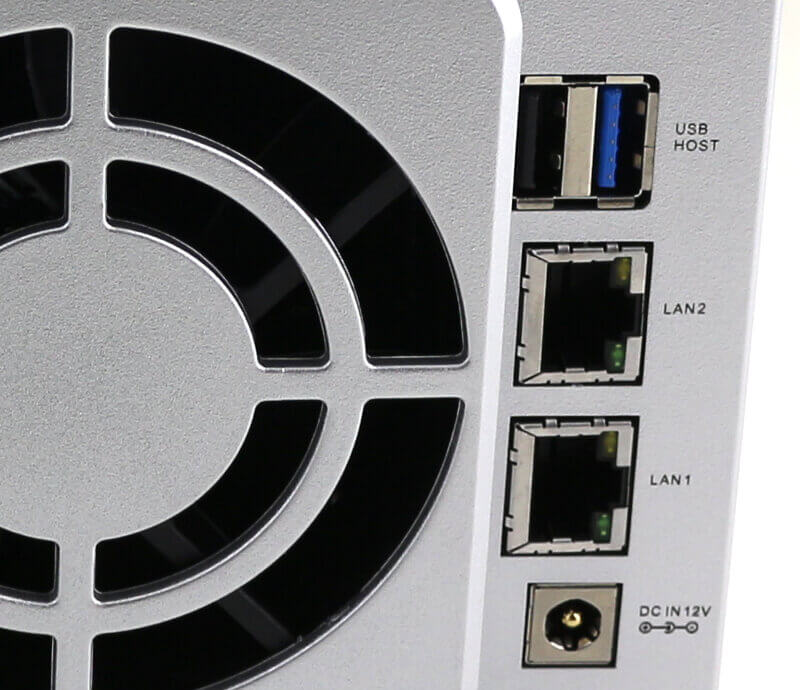
Rear View
The rear side has a little expansion which holds the two 80mm fans. The fans do a good job at pulling fresh air through the device, making sure that everything is cooled nicely.

Next to the fans are all the connection options. You get a USB 2.0 and a USB 3.0 port at the top. Below are the two RJ45 Gigabit Ethernet LAN ports followed by the 12V power connector for the PSU.
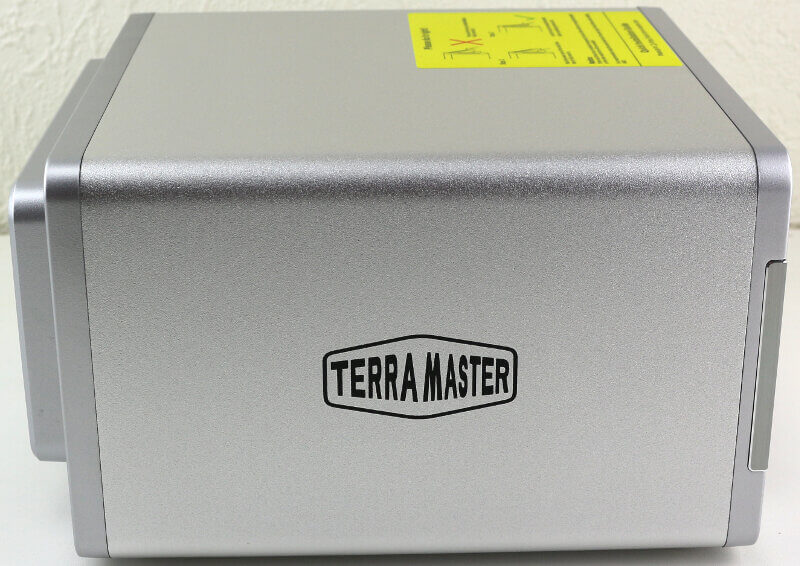
Side View
The sides don’t have any features as such, but they do sport the TerraMaster logo.
Bottom View
The bottom has four rubber feet for stable positioning and to prevent vibrations from moving between the NAS and the surface. The bottom is filled with air intake holes, so, heat won’t be an issue for this NAS.
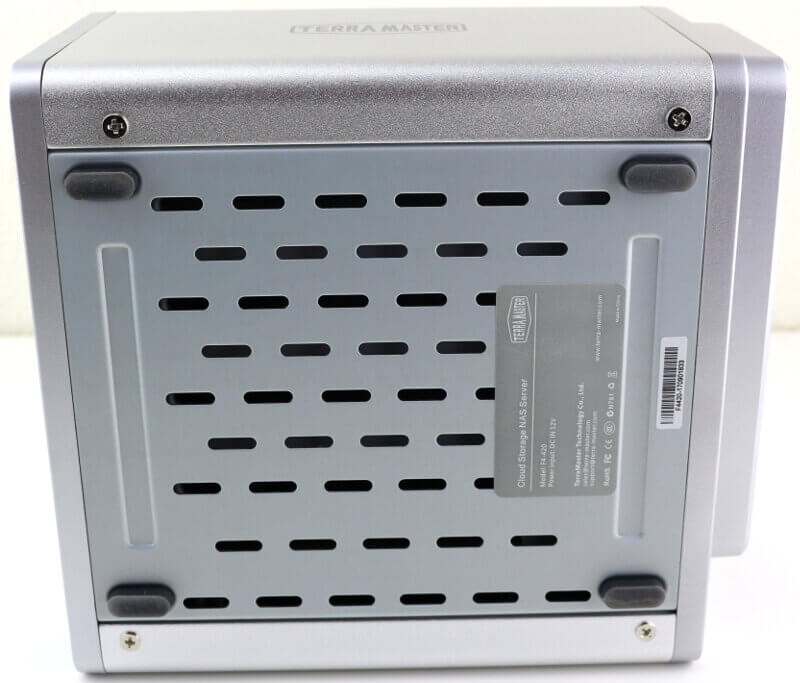
The small sticker at the bottom doesn’t hold a whole lot of information except for the model name and power requirements. For more information, we’ll have to refer to the getting-starting guide.

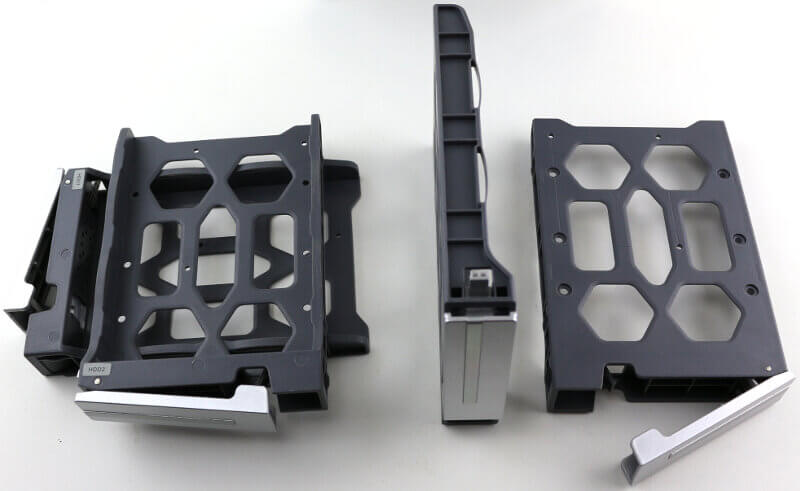
Drive Trays
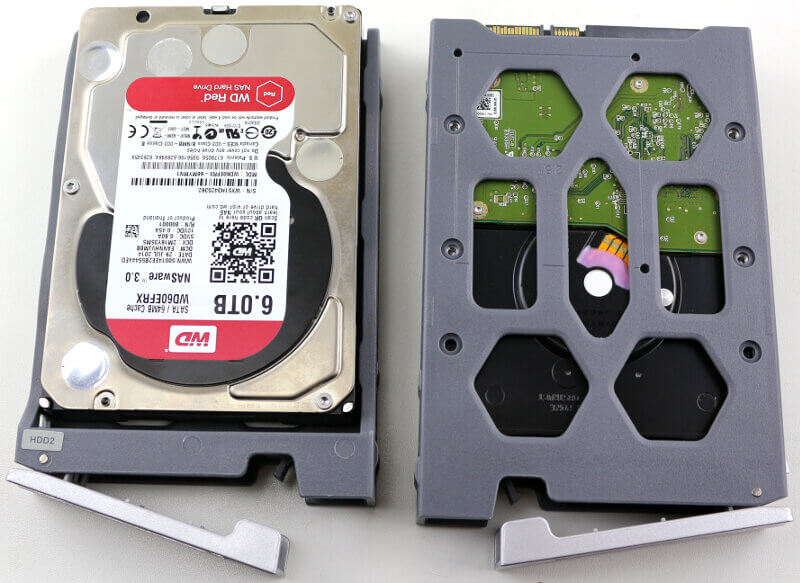
The drive trays are quite simple. There are no tool-less installation options, but you get everything you need included with the NAS. Both screws and a screwdriver. You can mount either 2.5-inch or 3.5-inch drives; the trays will take it all as long as the drives have bottom-facing screw holes. The trays are held firmly in place within the slots by the small arch you see in the middle of the below photo.
Here we see how it will look with drives installed in the trays. The holes line up perfectly, as they should.
Accessory View
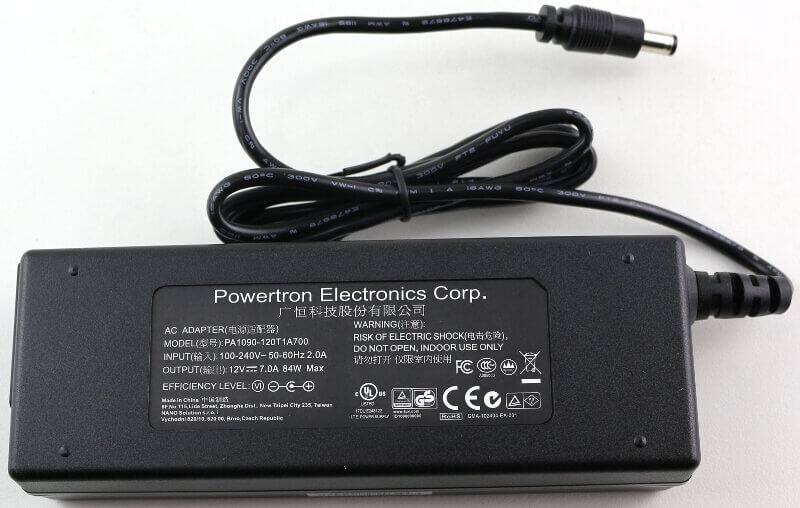
The power supply is quite large, but I don’t think anyone will be bothered by that. It can deliver 7A at 12V which equals to 84 watts. Plenty for a power efficient system such as the TerraMaster F4.
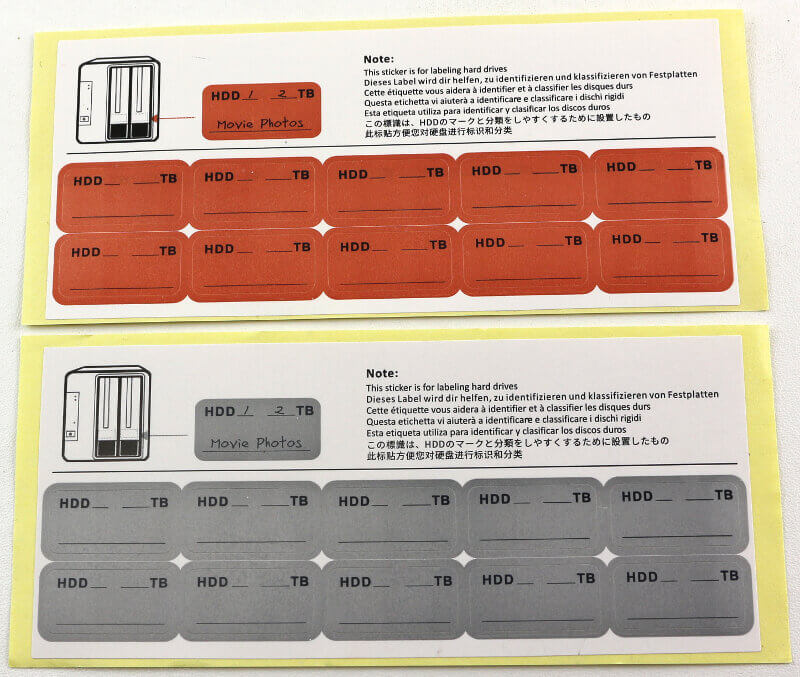
Included with this NAS are two sets of stickers for your drive trays. With these 20 tiny stickers, you can label your drive trays with what’s on the installed drive. It’s a small thing as such, but an awesome one if you ask me. No need to dig out your Dymo label maker or cut up other stickers to make them fit. These are made in the right size and allow for proper labelling.
A Look Inside
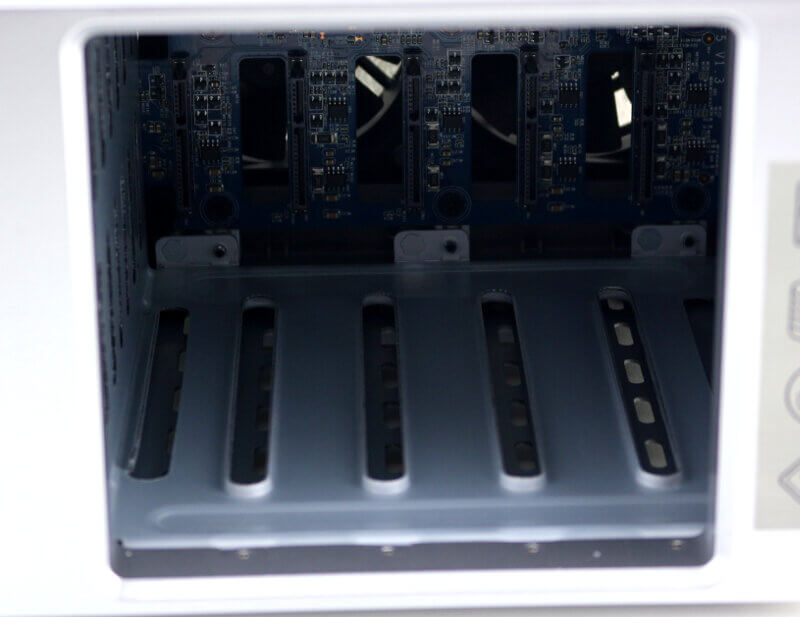
Before I take the whole thing apart to look inside, let us look inside. When you remove the drive trays, you get a good look at the backplane. Right here, we know that this is a premium product. TerraMaster made sure that every drive gets the best possible connection and stable power at all times.
Opening up the NAS
Under normal circumstances, you won’t need to open your NAS up. However, if you do, it’s easy. The rear panel comes lose with 6 screws after which you get easy access to the fans. This could be for cleaning or maintenance.
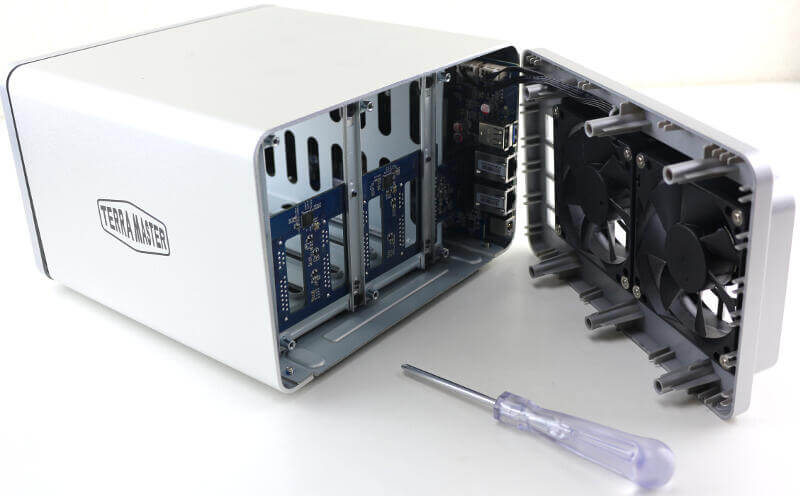
Sliding the cover off and you’ll reveal a hidden feature. You can upgrade the RAM.The DDR3 SO-DIMM slot isn’t mentioned in the specifications which means that it might be removed on future revisions of the motherboard.
Motherboard / Main PCB
Looking on the other side of the PCB and we see the CPU located in the middle. It has a quite large heatsink attached which will keep the quad-core Intel processor cooled. TerraMaster used solid capacitors all over the board which is something we love to see.
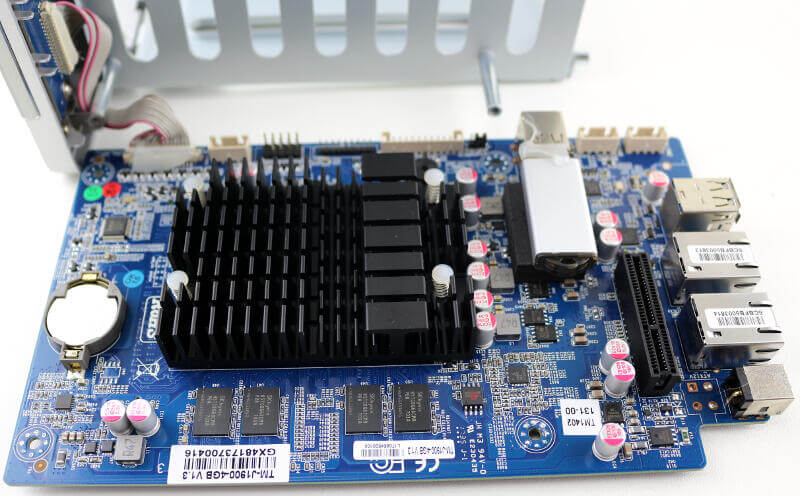
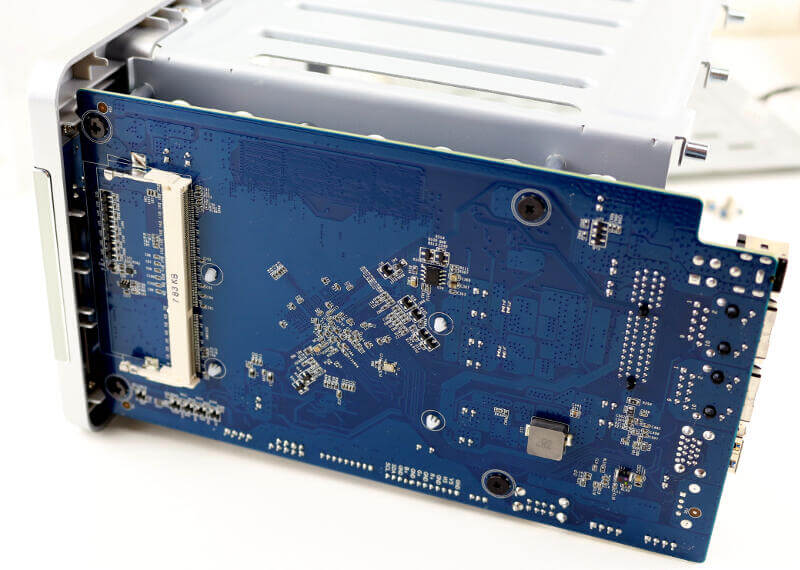
The original RAM is soldered onto the PCB.
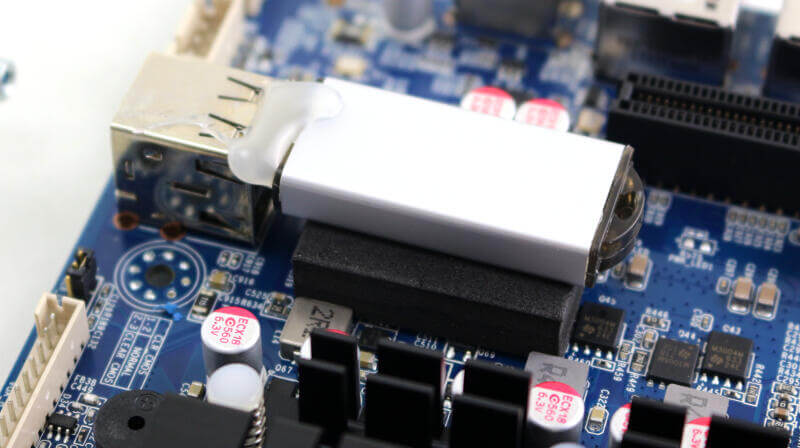
The OS drive is actually a USB thumbs drive, connected to an internal USB 2.0 port. There is a second free port below the OS stick, but it isn’t sure whether it’s wired or not.
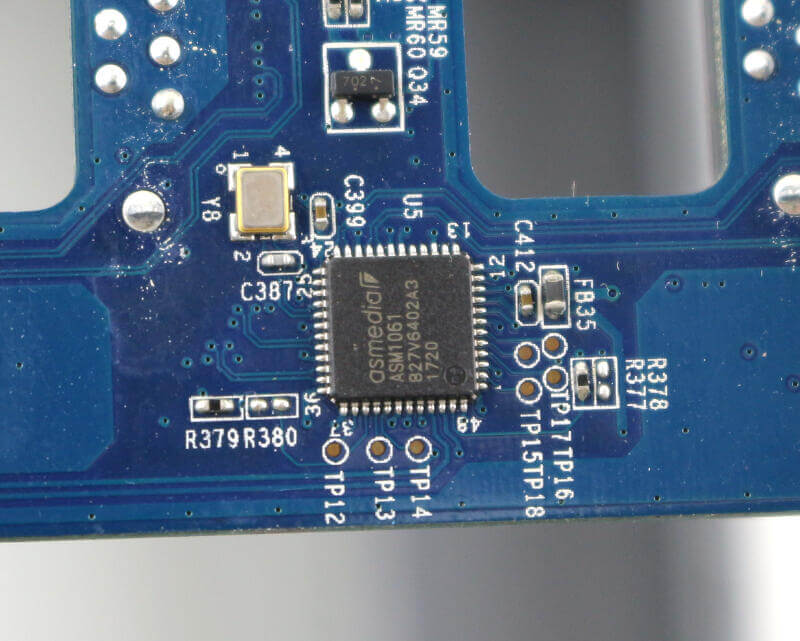
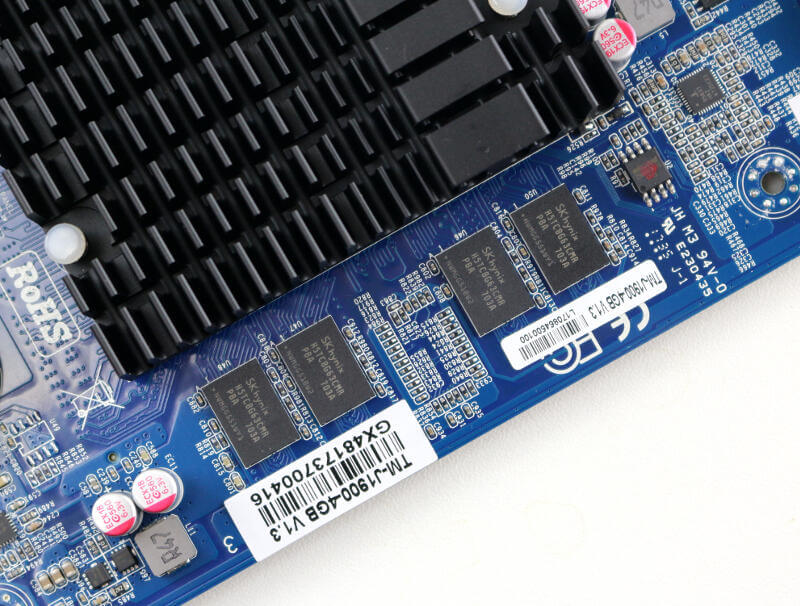
Daughterboard / Backplane
The PCIe expansion board for the drives holds another surprise. There are in fact five connectors and not just the four you’d expect from a 4-bay NAS. Again, it isn’t sure that it is supported for use and it might get removed in future updates. But with it, the internal USB ports, and the extra SO-DIMM socket, the F4-420 holds quite a few surprises. The casing is big enough to jerry-rig an internal drive to the fifth port, so, it may be worth a try.
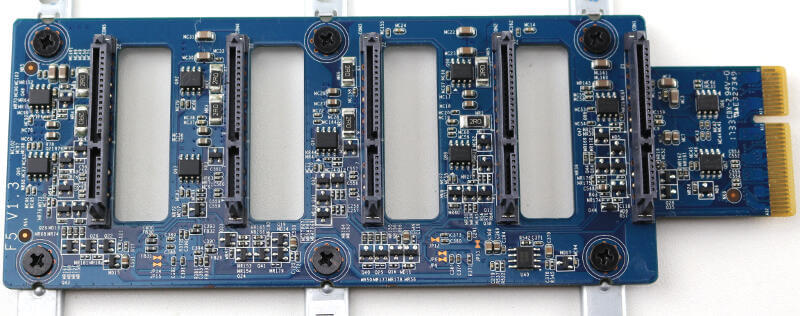
The backplane has two ASMedia ASM1061 controllers which can control two drives each. So the fifth SATA connector might not be connecter. But it might be connected otherwise. Again, worth a shot if you’re looking to upgrade your existing solution with a little more.