InteriorTo take the side panels off, four black thumbscrews are included, but we found are quite tight and had to use a screwdriver to start loosening them off.
Removing the side panels reveals the same sound deadening material used on the inside of each door.
We then get our first proper look inside the chassis which reveals the white colour scheme continues here. A bunch of front panel connectors and USB headers are tied together for transit. There was also a box inside which included the accessories that we looked at earlier.
The other side shows the potential of the cable management as all of the cables will pass through and be tied and arranged on this side of the case.
The top of the case from the inside shows the space available for mounting an optional 140mm fan.
We get our first look of the rear 120mm fan with white blades to match the colour scheme of the case. It operates at 1200RPM and assists in exhausting any hot air out of the back of the case.
We took a look at the hard drive docking station that the case has on the top a little bit earlier on. From the inside we see the bottom of this unit and the connectors already fitted for quick installation.
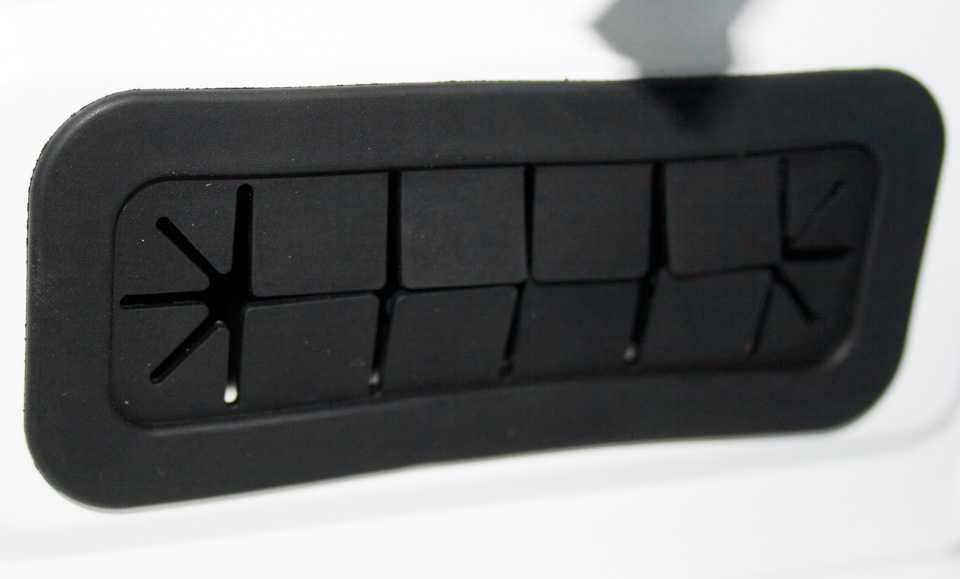
To help with cable management and to give a slightly classier feel to the case we find a couple of rubber passthrough grommets for putting your cables and connectors through.
Going back to the installation of optical drives and taking a look at the second part of it. Once you have slid your drive into place, there is a very unique locking mechanism which involves putting the NZXT branded block into the unlock position and then lifting the back of the plastic outwards. You can then slide your drive further in, push it back down and slide the block into the lock position. Complicated as it may sound, it’s fairly simple but does feel like it’s going to break.
Installing a hard drive or SSD is a fairly simple operation that involves opening the front door, removing the fans and sliding your chosen drive bracket out of the front of the case. Once your drive has been fitted, you can slide it back into place and use the included thumbscrews to lock it into place on each side of the hard drive cage.
To remove the seven ventilated expansion brackets, it’s a simple tool-less thumbscrew design and is nothing out of the ordinary.
The PSU installation area includes a ventilated area which has four rubber mounting points to raise the power supply slightly to give the best air flow and to aid in reducing vibration. There is ample space for even some of the largest power supplies on the market including Thermaltake’s ToughPower series units.
Upgrade your gaming setup with the Pure Base 500DX case from be quiet! This impressive…
The C1 is a premium mid-tower ATX case that brings together stunning aesthetics, a wide…
Designed for new and experienced system builders looking for a versatile, reliable enclosure for the…
All from your smartphone, all with AI: The Galaxy S24 Ultra allows you to effortlessly…
ULTRA-ESCAPISM - You can’t escape… the FUN that comes with this ultrawide, 1500R curved display.…
Connect your notebook with one USB-C cable VA display delivers awesome images with wide viewing…