NZXT H700i Mid-Tower Chassis Review
Peter Donnell / 6 years ago
A Closer Look – Interior
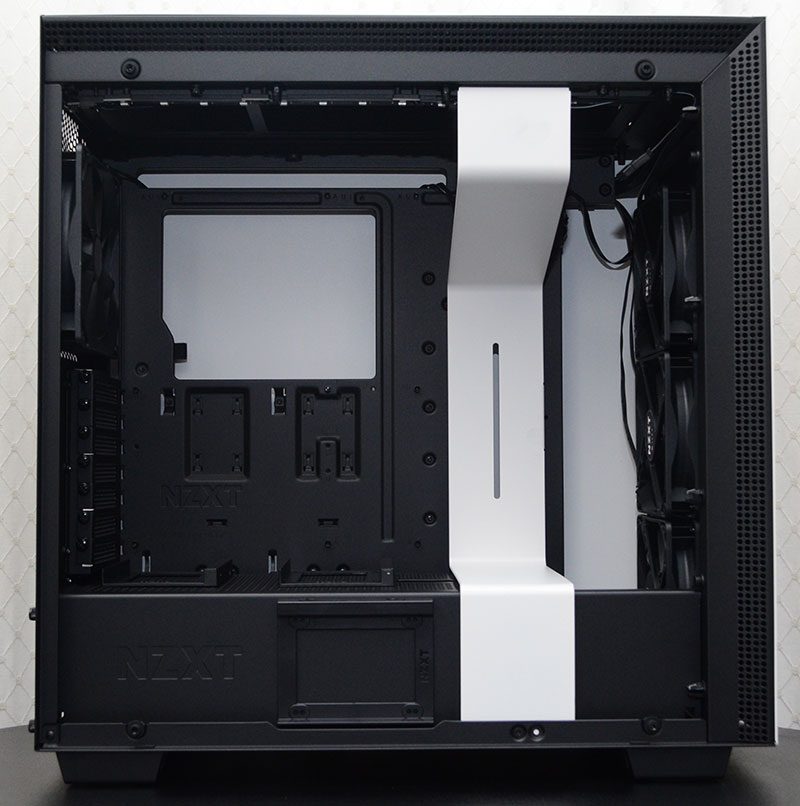
The glass panel is easily removed, just undo the four thumb screws, and it lifts away. Now you have access to that gorgeous interior, where you’ll find room for an ATX motherboard, and your expansion cards can use the full length of the chassis, so even the biggest GPUs will fit with ease.
RGB
Tucked into the top, a lovely RGB LED strip is pre-installed, and there’s a second one included in the box, which I’ll show you shortly.

The header for the second RGB strip.

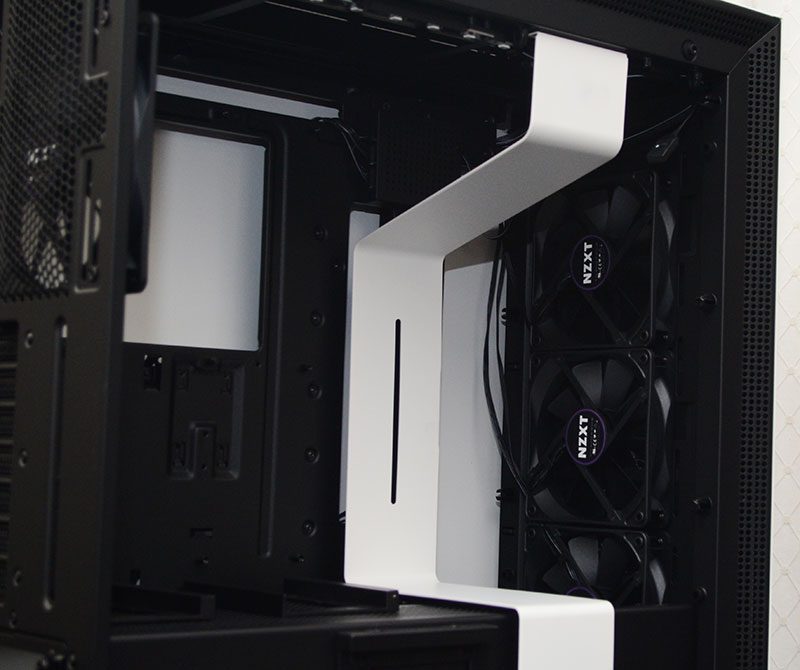
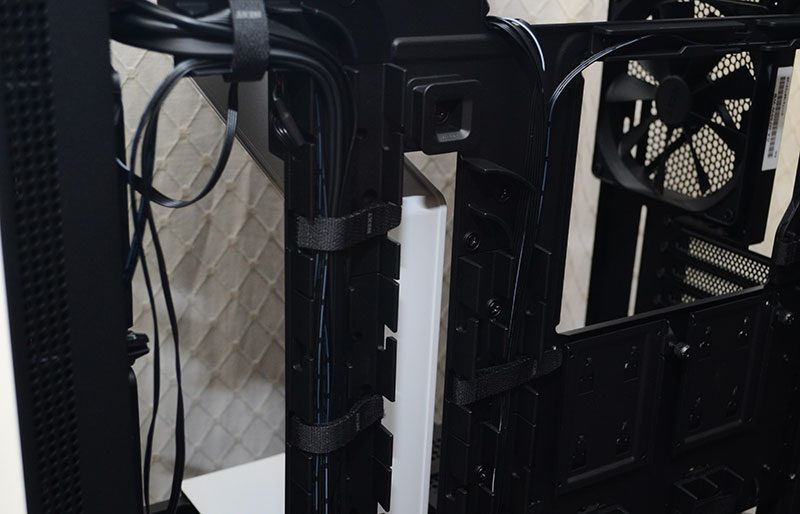
The gorgeous white bracket provides a great cable tidy. It’s a thick piece of metal too and just adds to the overall style and strength of the chassis. What’s neat, is that there’s a long screw mount on the back; perfect for mounting a bit of water cooling hardware.
Pre-installed Fans
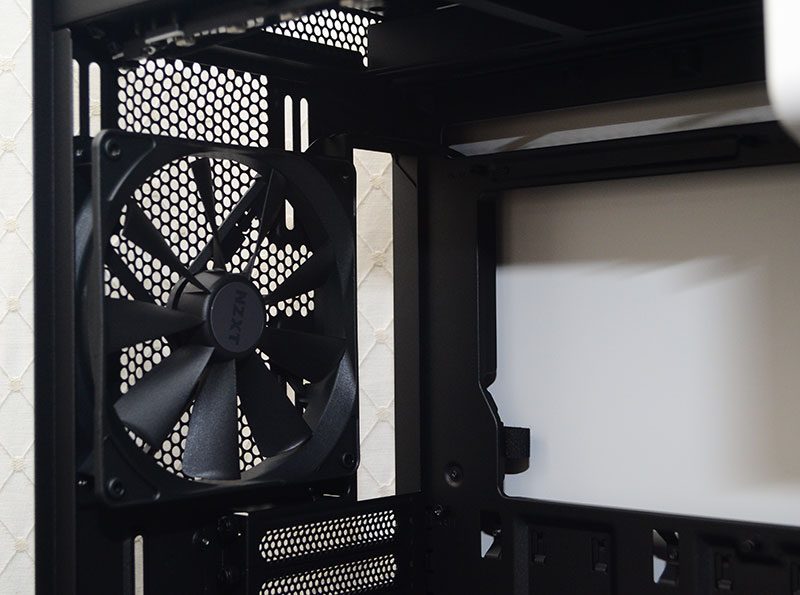
Tucked in the front, you’ll find three high-quality 120mm fans, with a fourth in the back. Four pre-installed fans are a nice bonus and help to justify a bit more of the big price tag.

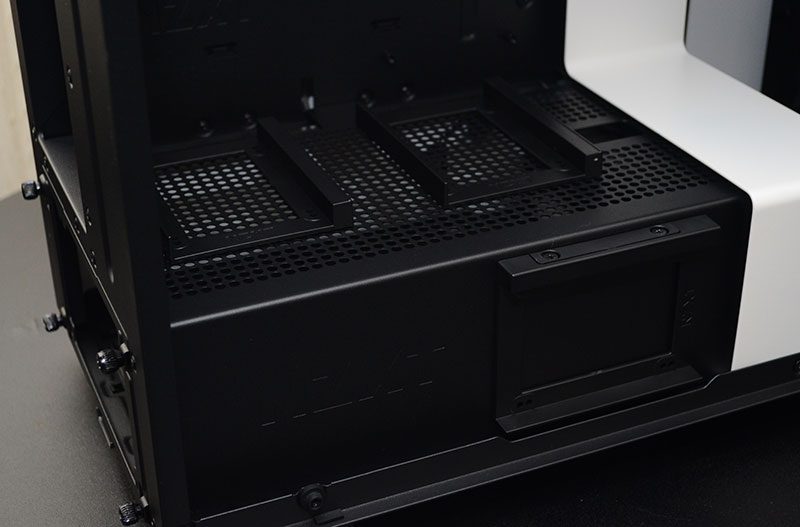
There’s a PSU shroud built-in. This shroud is great, as it provides space to hide those ugly PSU cables and some hard drives out of sight. However, there are three 2.5″ drive mounts on the outside of it; perfect for showing off your SSDs.
The expansion slots are fitted with reusable metal covers, and there’s another elongated screw hole at the back, handy for more water cooling mounts.

Speaking of water cooling, the rear fan mount is height adjustable too, which will help accommodate a radiator or AIO cooler much easier.
Cable Routing
There’s an impressive amount going on around the back too, and it shows that NZXT has put a huge amount of time into the design here.

There are some lovely pre-built cable runs all over the back, with pre-installed Velcro straps to ensure you can keep everything super neat and tidy.

There’s a large pass-through here for all your motherboard cables, and again, plenty of routing channels and cable catches to keep it in order.
Dedicated Drive Mounts
There are two 2.5″ drive mounts here with removable brackets. Below the drive mounts, more cable channels and straps to tidy up your storage cables too. There are some cable tie loops too for any cables that don’t fit in the Velcro straps.

A large opening at the top for more motherboard cables and top mounted fans. You’ll notice a lot of pre-routed cables, these are for the pre-installed fans and the RGB lighting strip.

Tucked under the PSU shroud, a removable 3.5″ hard drive caddy, with support for two drives.

Removable Storage
Removing it makes more room for cables, or a huge PSU, a water pump and more; your imagination is the limiting factor really.

In the HDD bay, a small component box houses all the usual screws, as well as a secondary LED strip, and a little note explaining why it’s there.


