NZXT Manta Mini-ITX Chassis Review
Peter Donnell / 8 years ago
Interior
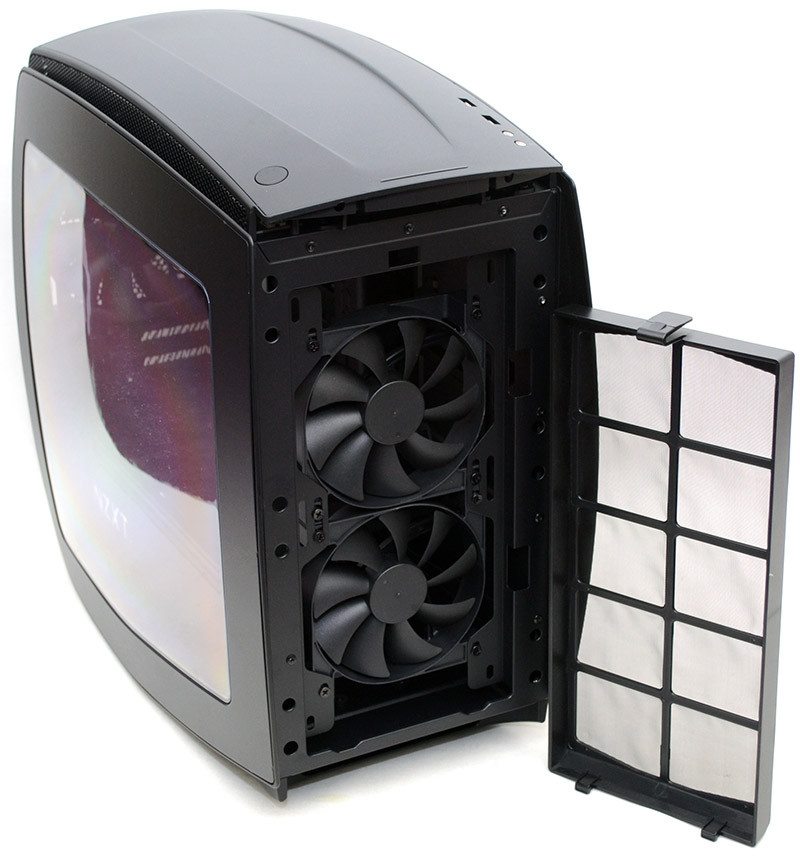
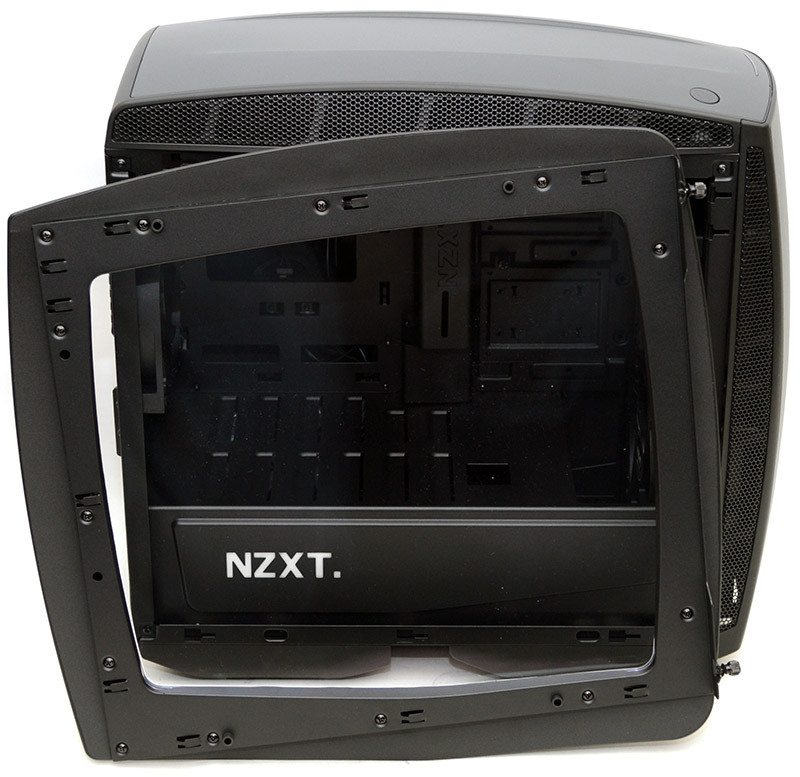
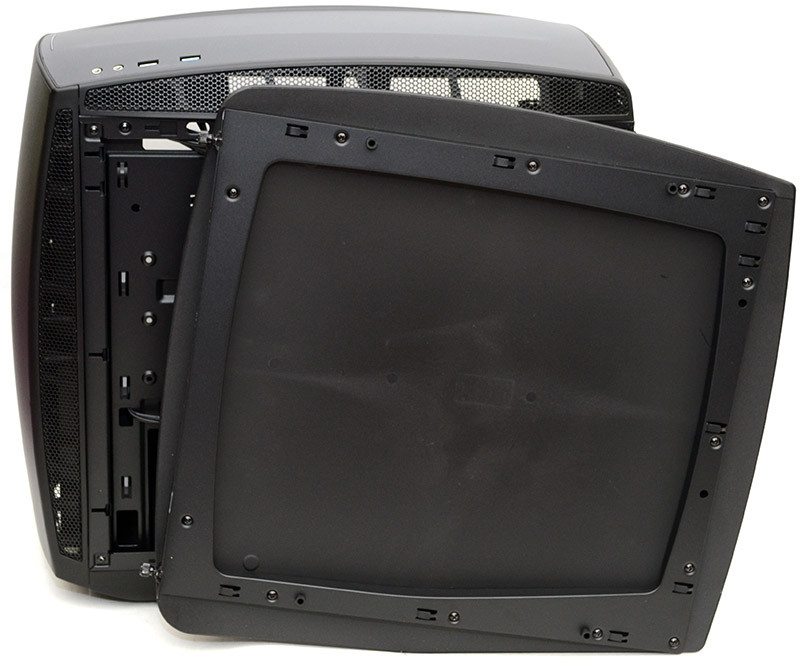
First up, let’s get that front panel pulled off and take a look behind it. As you can see, we’ve got a large washable dust filter, behind which you’ll find a pair of high-quality 140mm fans, giving us a powerful wall of cool air that draws in from all around the front panel, which should provide exceptional cooling performance for your hardware.
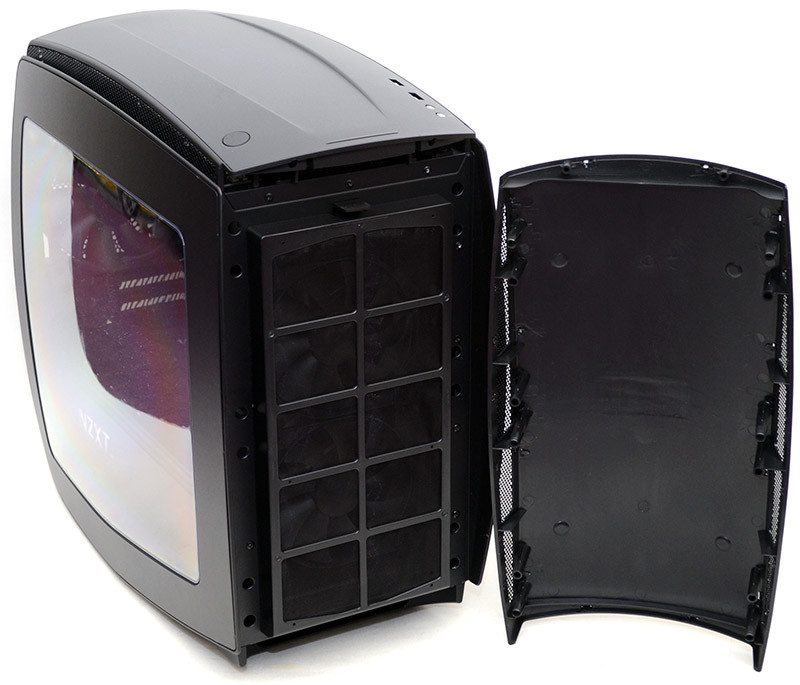
If you want even more cooling performance, you could you can easily install an (up to) 280mm radiator in the front, and if you’re eager for a push-pull fan configuration, the deep design of the dust filter should allow for fans on the outer side of the front panel easily enough.
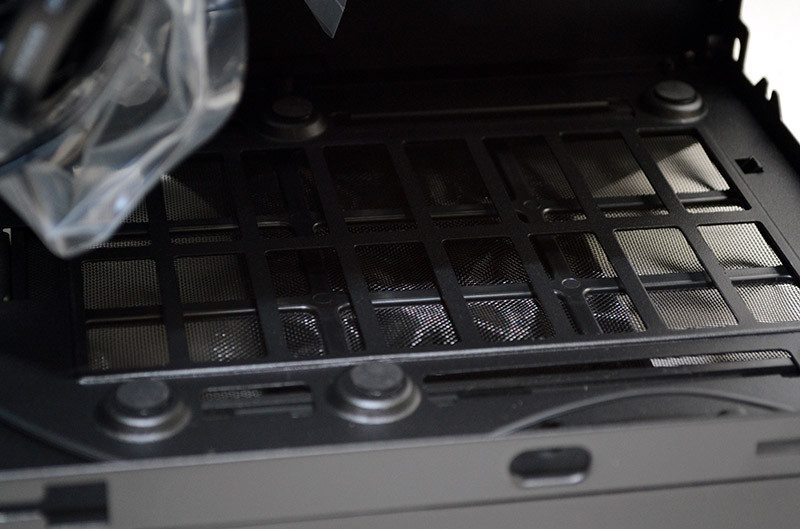
The same goes for the top panel, with room for two 120mm or 140mm fans, with room for a slim radiator which can be mounted on top of the frame, leaving you with much more free space and a clean look on the interior of the chassis. Of course, the option to mount fans on the outside of the front and top panels is due to that oversized design, but if it means a clean looking interior build and fantastic cooling performance, it seems like a pretty good tradeoff to me.
With the left side panel removed, you’ll notice the panel is really well reinforced, and there’s no flex or rattles to be found here, which is always nice.
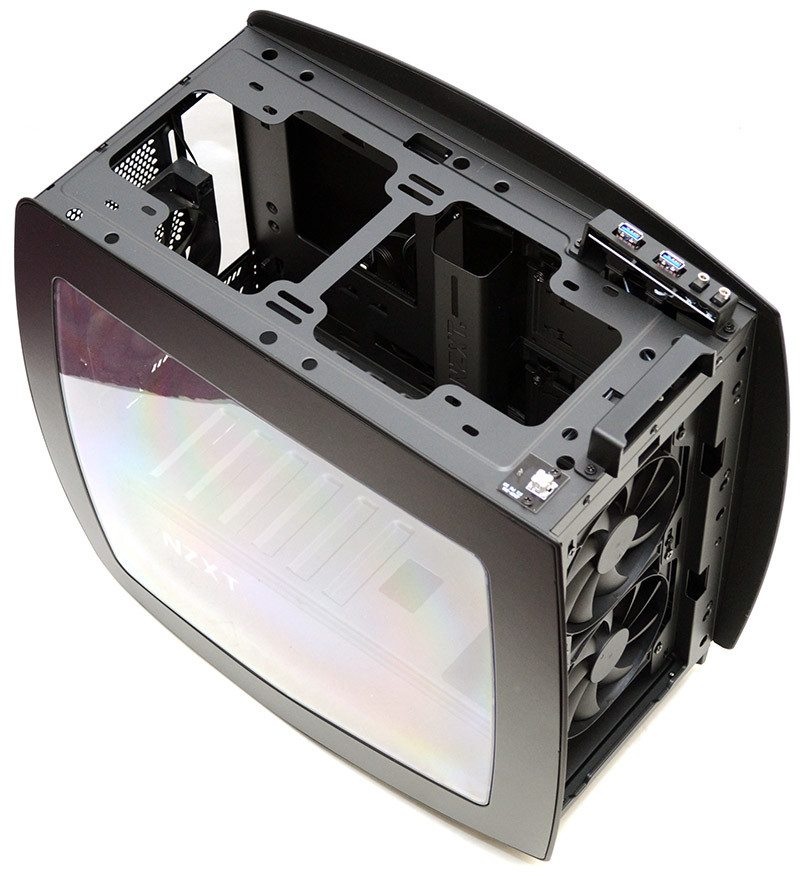
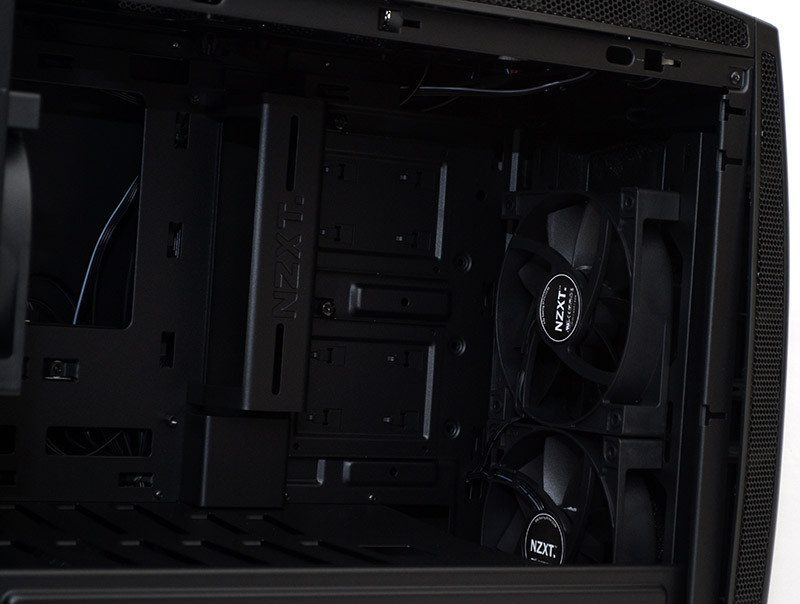
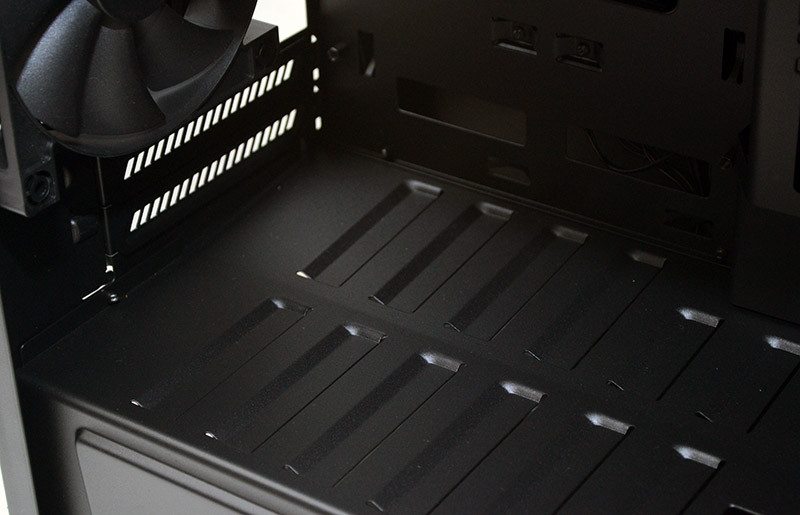
Now we finally get a more detailed look at that stunning interior. There’s a good size CPU cooler mounting cut-out on the backplate, and the four motherboard standoffs are pre-installed; both of which should help speed up the installation process. As you can see, there really is a vast amount of room in this chassis, it’s easily the biggest mini-ITX chassis we’ve ever seen here at eTeknix, but that space certainly isn’t wasted. There are some side-mounted 2.5″ drive bays here, which are going to give you a great way to show off your SSD drives. The two fans barely take up any room, but you can certainly see the potential for a thick radiator here also; helped in no small part by the cutaway in the PSU shroud towards the front of the case.
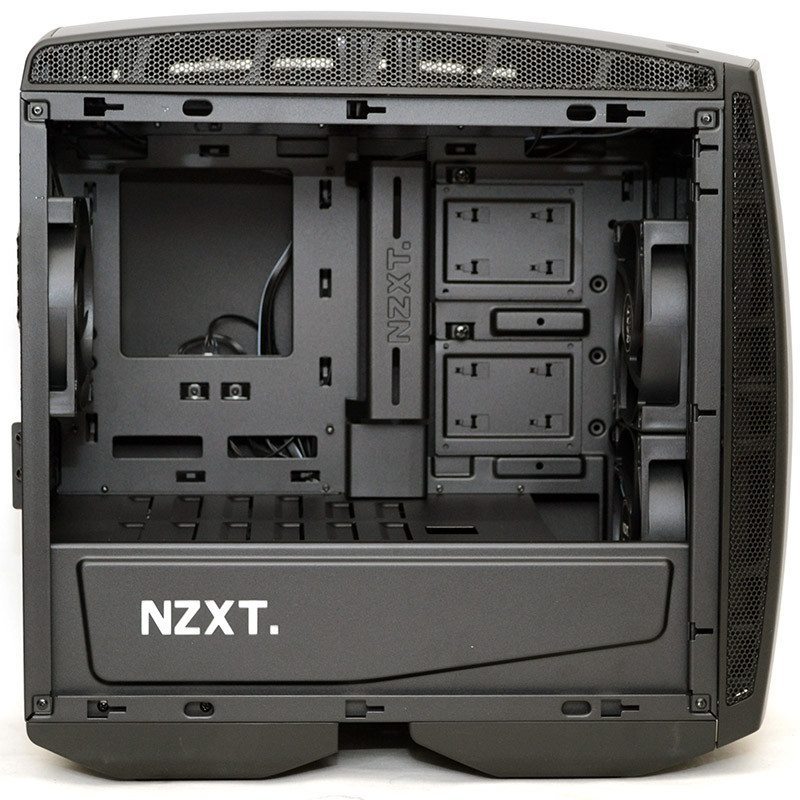
Cable management is helped by a raised metal section with the NZXT logo, which is similar to the design used in the S340, but thanks to a few long screw holes cut into it, it may also serve for mounting a reservoir for those of you who want to add a custom water cooling loop to your build.
There’s a nice raised section to the side of the PSU shroud, matching the way the side panels rise up at the bottom front edge and just carrying those lines throughout the rest of the design. The NZXT logo cut into the side is LED backlit too, giving a nice little touch of style to the build; not that it doesn’t have a lot of style already.
In the back, another high-quality fan is mounted as the exhaust, bringing the fan count up to three, which certainly adds some extra value for money.
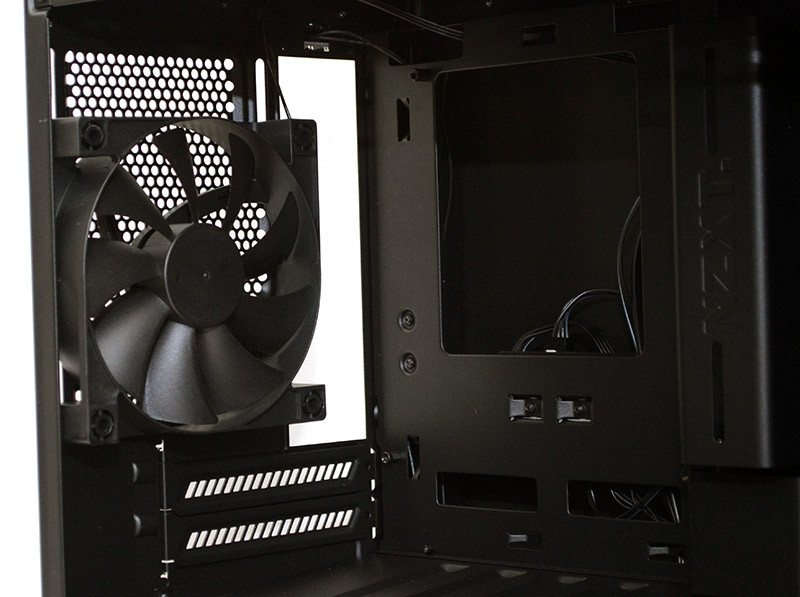
Below that, you can see we’ve got dual expansion slots, so most major GPUs should fit easily enough and without a doubt, the length of the GPU isn’t going to be an issue in this chassis!
There’s a huge recess on the right side panel, as well as a thick border that adds exceptional durability.
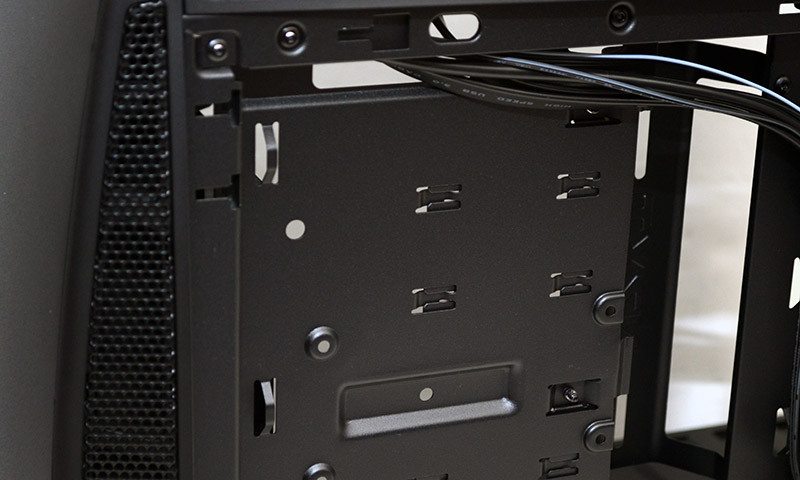
There’s a huge amount of space behind the motherboard, so even if you’re particularly lazy with your cable routing, you’re unlikely to run into any issues here. To help keep things a little more tidy, you’ll also find cable tie loops around all major areas.

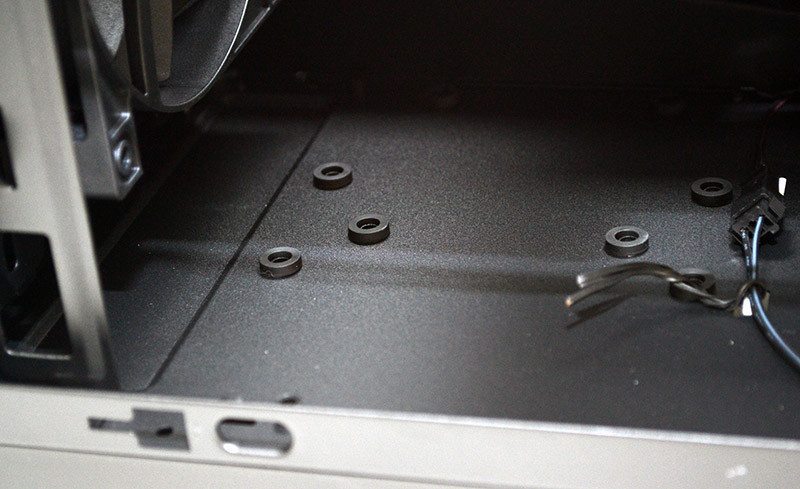
There’s room to screw in a pair of 3.5″ drives behind the motherboard too, although you do need to remove the 2.5″ bays at the other side to do so. This is annoying, but so long as you install the bigger drives first, it’s not going to be a major issue.
There are three fans pre-installed, with room for two more in the top. Having the possibility of a push-pull configuration on any radiators you have and more, fan connectors could be an issue for virtually all mini-ITX motherboards. Thankfully, NZXT has taken notice of this and added an integrated PWM fan hub, so your fan obsession can be pushed as far as you need it.
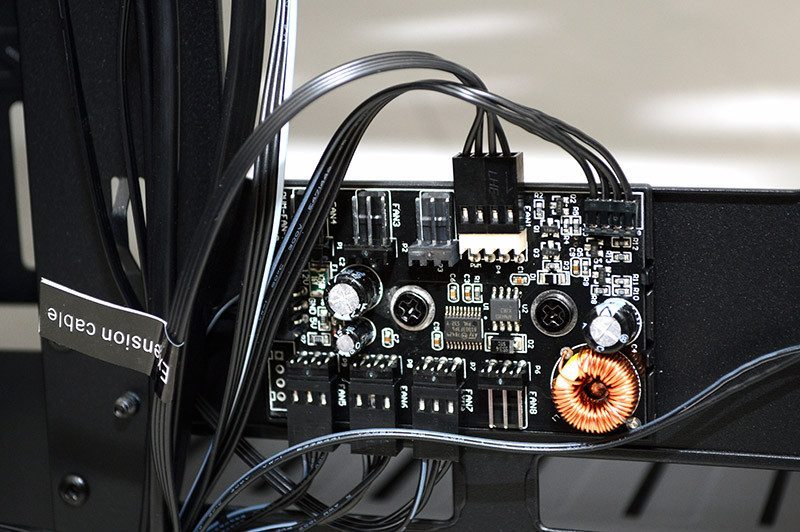
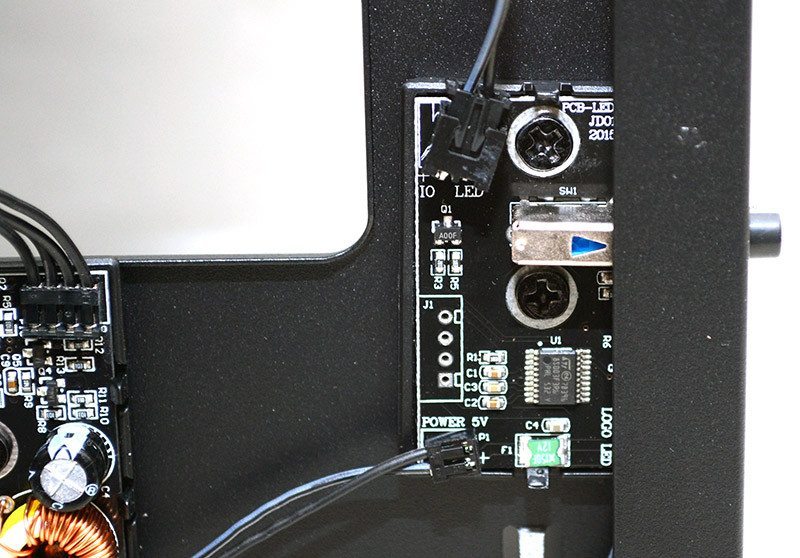
Here you can see a smaller PCB which powers the rear panel lighting, as well as the light switch sticking out to the right there.
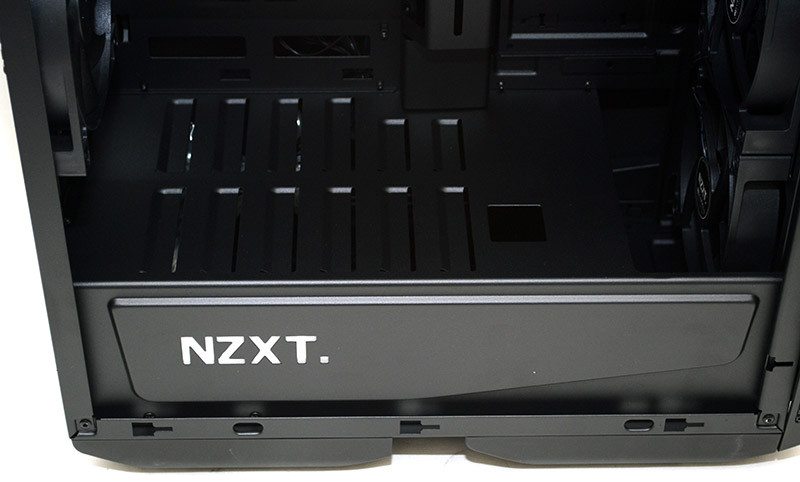
The PSU mounting area is vast, with the length of the PSU being limited to almost the full length of the chassis. This is going to prove extremely handy for cable management, as you can stuff any excess down here and out of the way. It should also leave the modding crowd with room for a good size water cooling pump too.
The only thing to consider is the 3.5″ drive mount towards the front here, if you’re using it, it could limit some other hardware (such as pumps), but with four other drive bays in here, I can’t see many people needing it anyway.