Phantek Enthoo Mini XL Super Micro Tower Chassis Review
Peter Donnell / 9 years ago
Interior
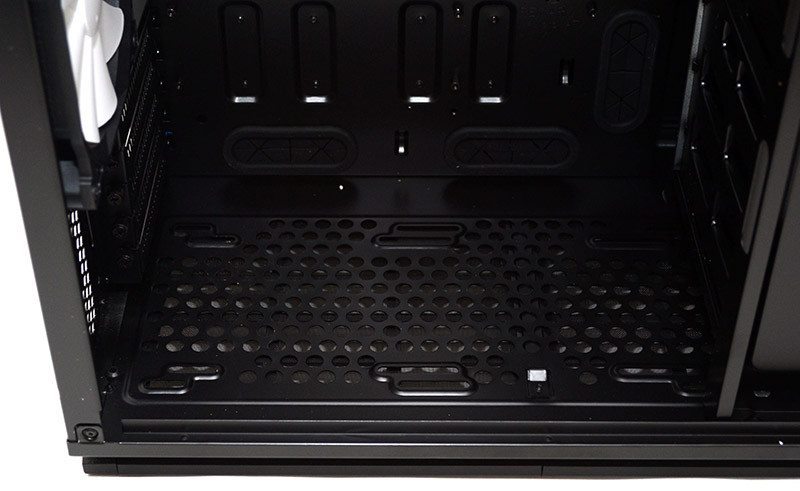
The interior of this chassis is vast and you’re likely not going to have any issue fitting a humble Micro-ATX motherboard in this monster, although when it comes to flagship graphics cards and extreme water cooling, you’ll be grateful for all that extra space. There are six high-quality rubber grommets located in all the places you’re likely to find them useful; cable management should be very good overall.
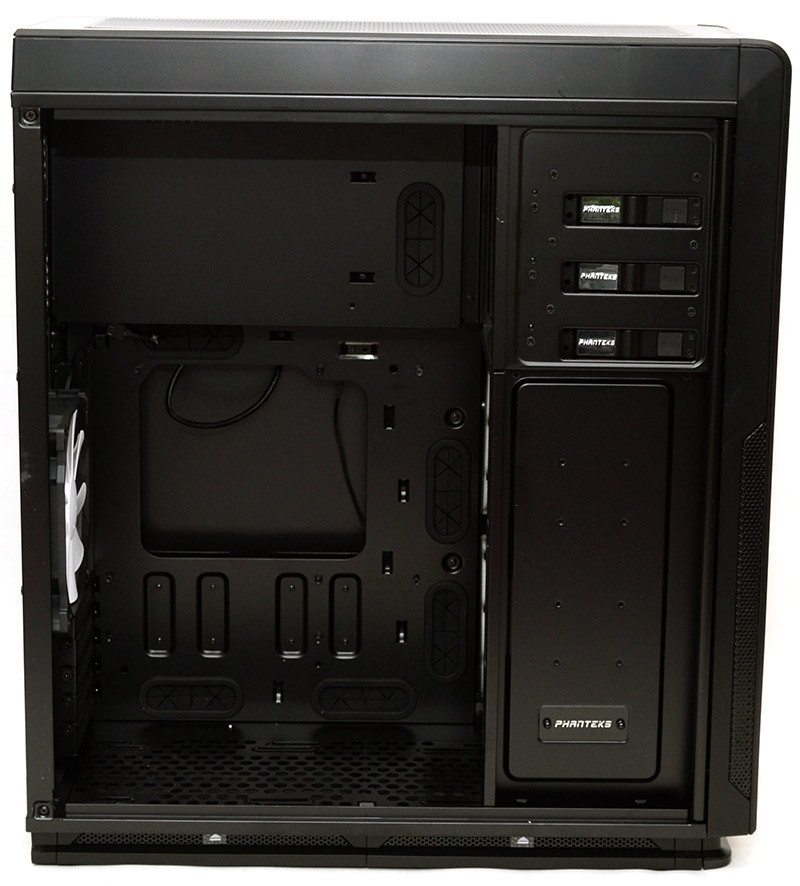
There’s a huge amount of clearance above the motherboard section, allowing for extra thick radiator configurations with push-pull fans, although this will be limited with the optional mini-ITX motherboard configuration.

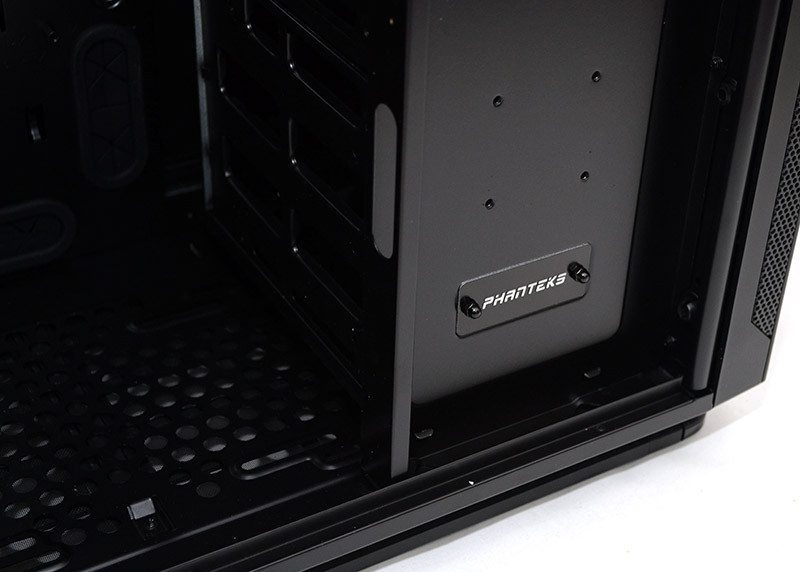
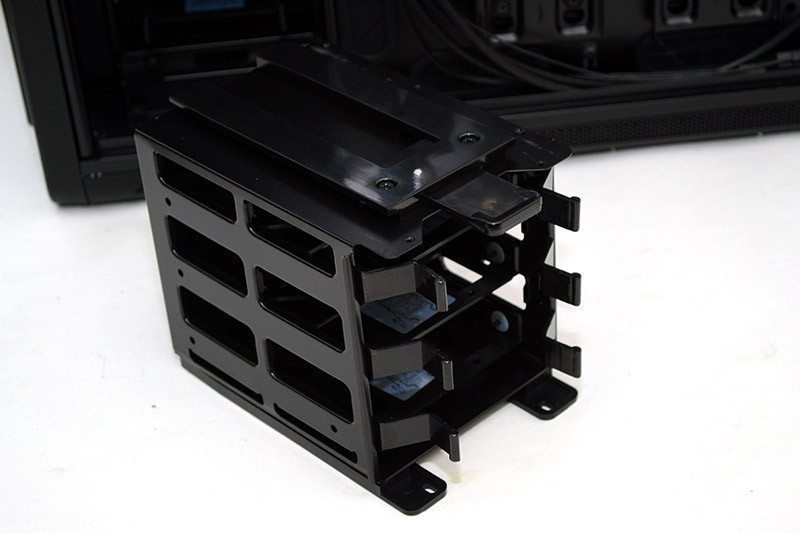
There’s a pair of optional 2.5″ drive mounts on the visible side of the primary hard drive trays.
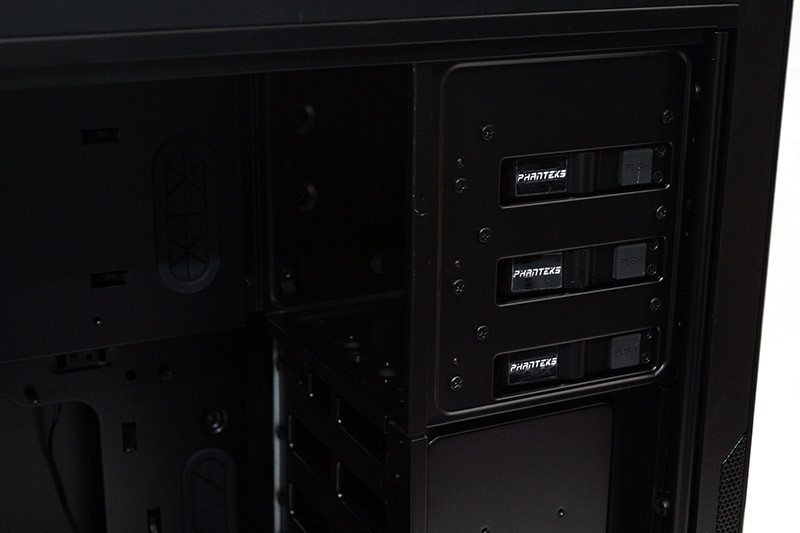
Tool free quick lock mechanisms on the 5.25″ drive bays, which have enough clearance to allow for additional 5.25″ compatible water cooling components.
120/140mm spaced universal fan and radiator mounts in the base; just keep in mind that thicker radiators would start taking up space for graphics cards.
Ventilated and reusable metal covers for each of the five expansion slots, each fitted with easy access thumb screws.
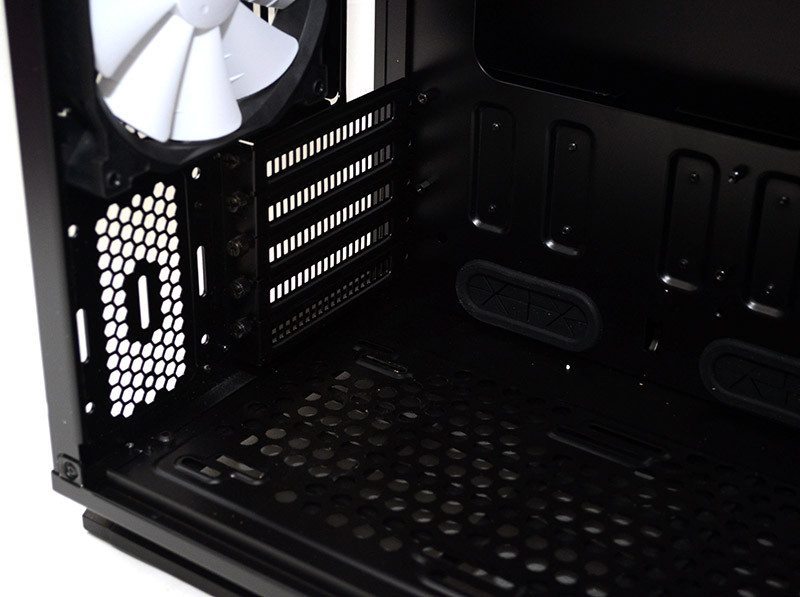
As with everything else on this chassis, the rear 140mm exhaust fan is of a very high quality.
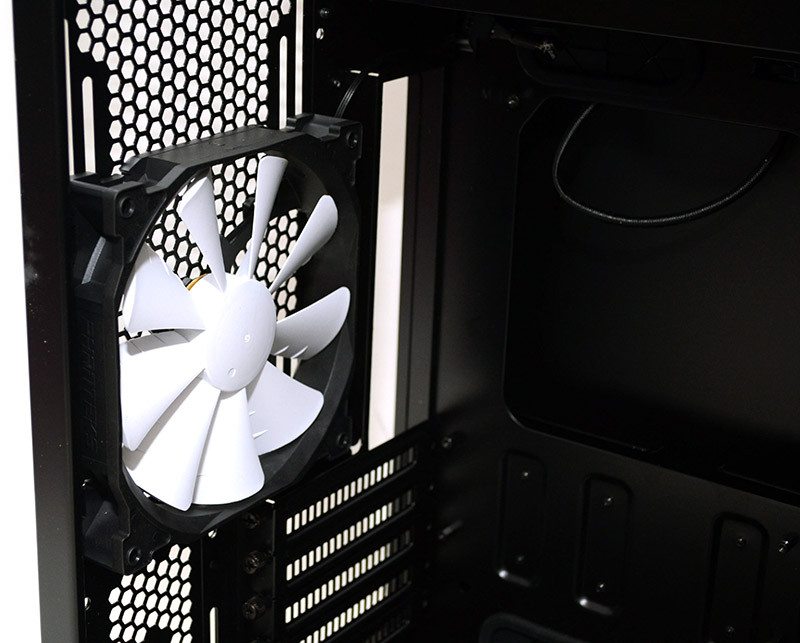
And there’s certainly enough room for another should you feel the need, although I suspect many will opt to use this for a large rear radiator.

Behind the motherboard, you’ll find a good amount of space for cable routing.
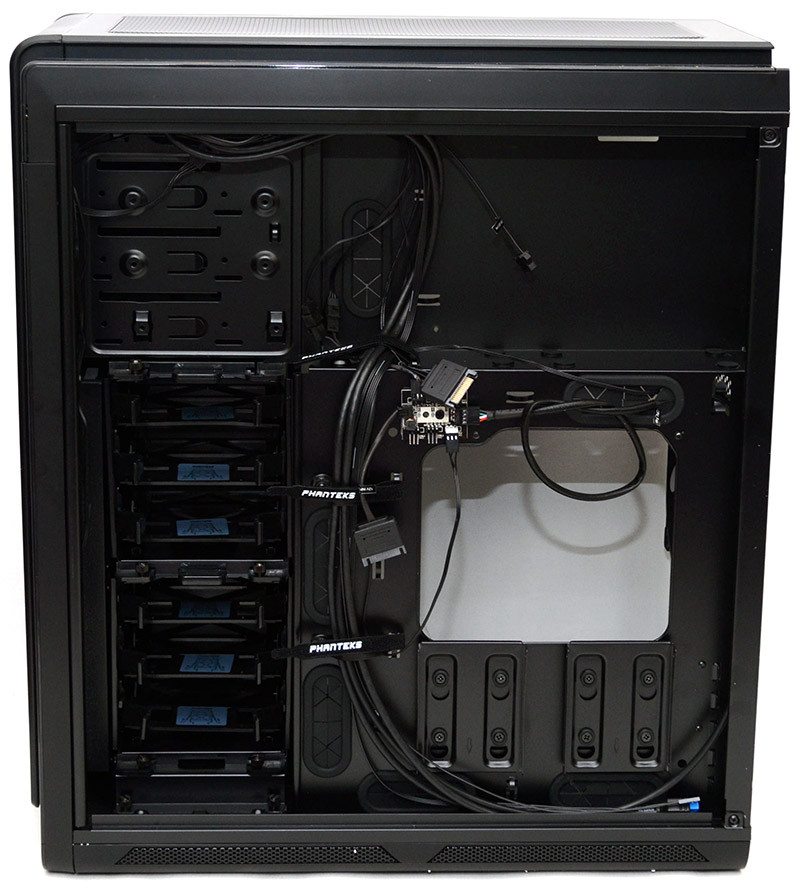
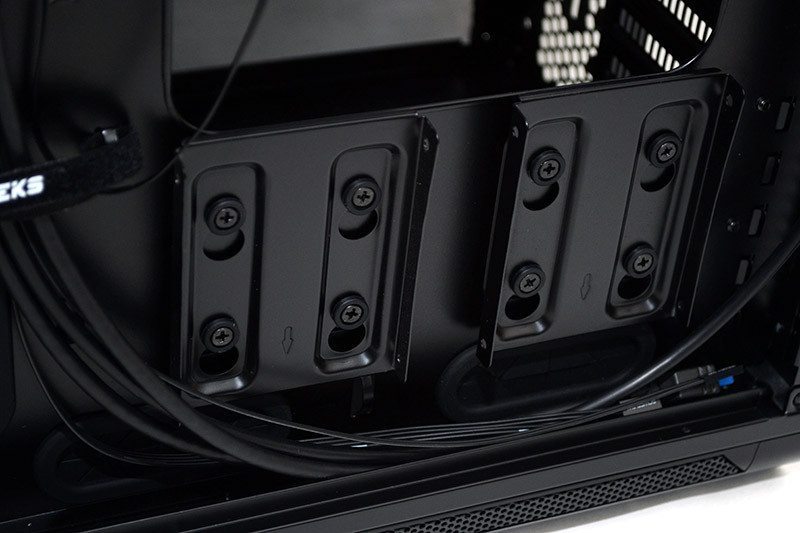
Two stealth mounted and tool-free 2.5″ drives, these will be very handy to those who need to remove the 3.5″ drive bays.
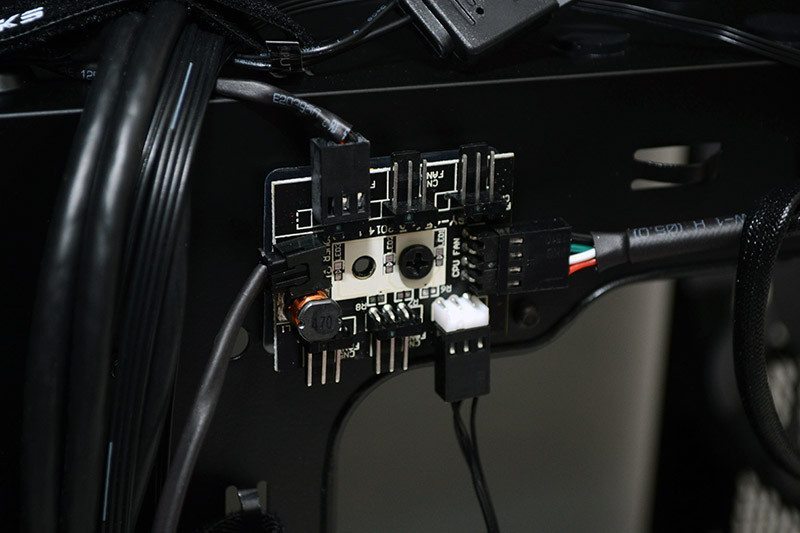
A PWM-controlled fan hub for up to six fans.
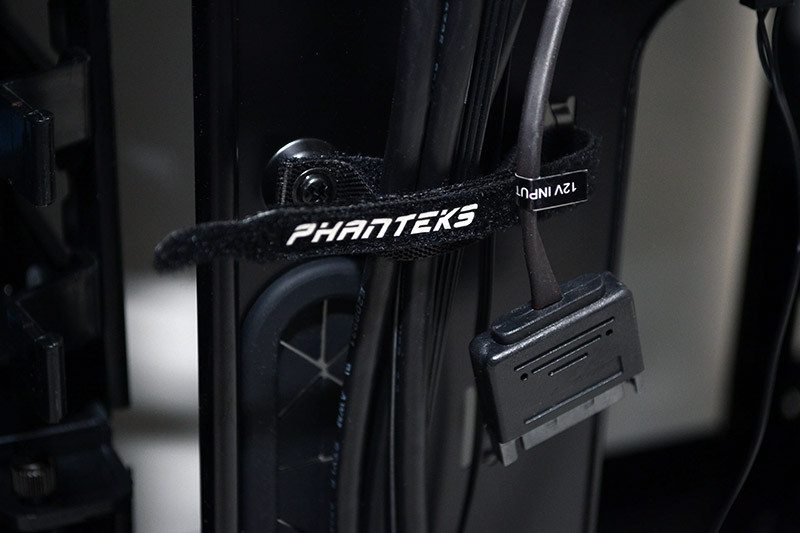
High-quality Velcro ties pre-fitted to help with cable management.
Dual 3+3 hard drive cages with support for both 3.5″ and 2.5″ drives.

A few thumb screws as the base is all that you need to remove to slide out each of the drive cages, allowing you more room for water cooling, longer graphics cards and other mods.
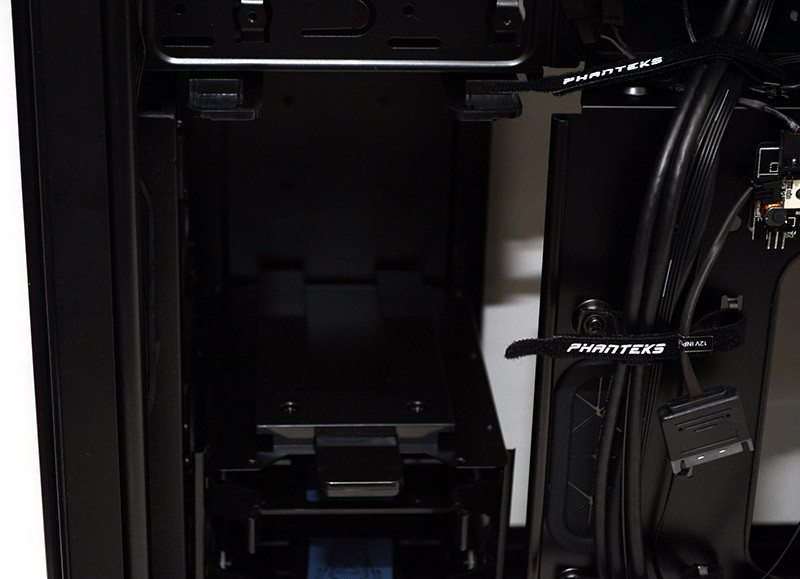
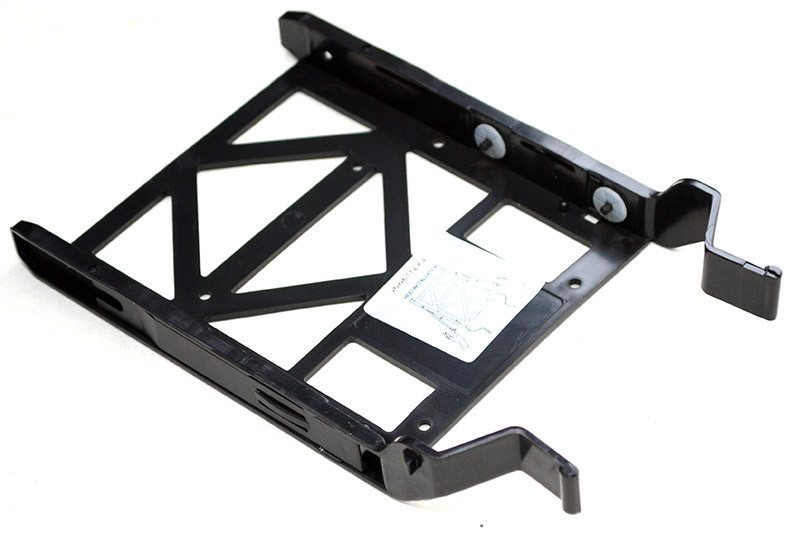
The drive cages are nice and strong, but also very easy to remove and re-install should you need to make quick and easy adjustments to your system.
The drive trays are tool-free for 3.5″ drives, but there are screws included in the box for mounting 2.5″ drives.