Phanteks Enthoo Pro M Tempered Glass Chassis Review
Peter Donnell / 7 years ago
A Closer Look – Interior
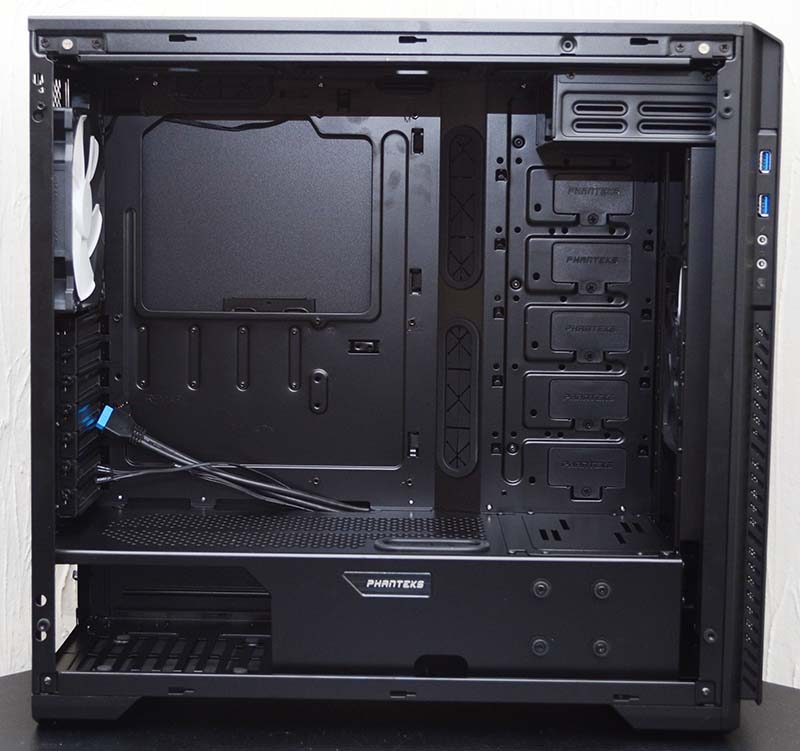
With the side panel removed, you can better appreciate that lovely uniform black finish on the chassis interior. The only white highlights you’ll find are on the fans, as well as the small Phanteks logo on the side of the PSU cover. There’s a lot of space in here for hardware too, as all the HDD bays are on the backplate, or tucked under the PSU cover and behind the motherboard.
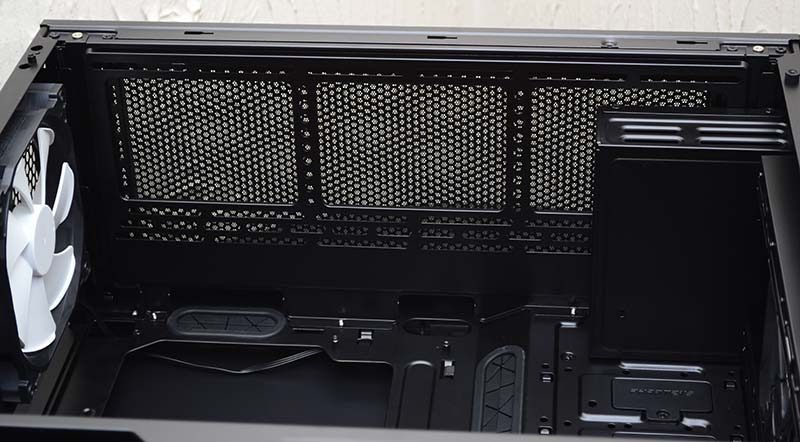
In the top, you’ll find a universal fan and radiator bracket with all the spacings you could possibly ask for to ensure maximum compatibility. This means you can mount the cooling hardware closer or further away from the motherboard, avoiding conflicts with large VRM heatsinks, etc.
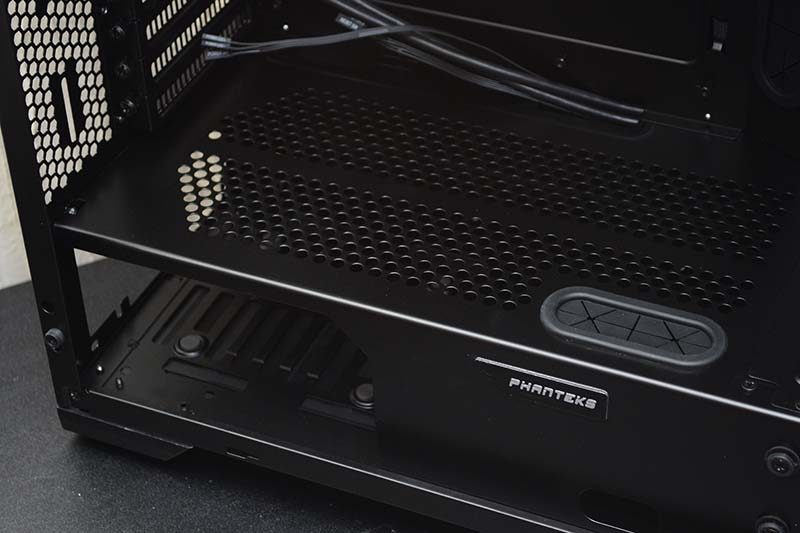
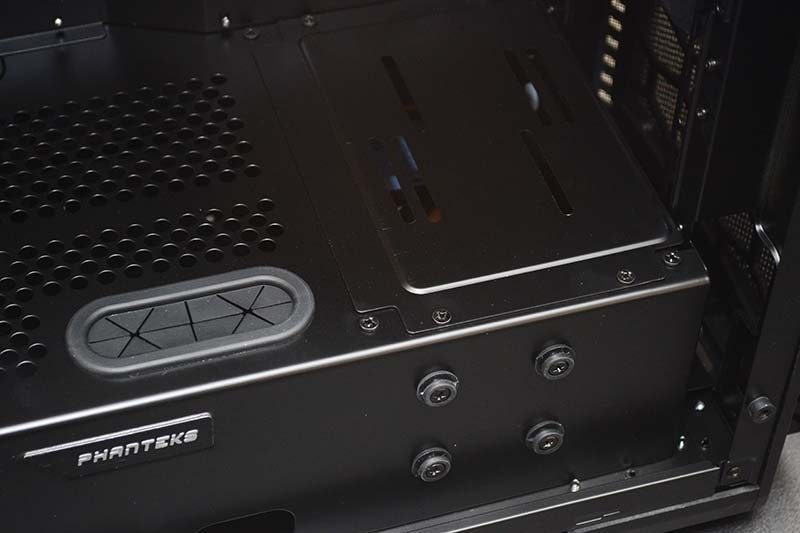
The PSU cover in the base has a large cutaway on the side, so you can still show off the PSU design, and there’s lots of ventilation on the top too. What is will do, however, is hide all the cable mess, as well as some storage bays, keeping the build looking neat and tidy. One of the best features is still the rubber grommet at the edge, which is perfect for GPUs that have side-loading power cables.
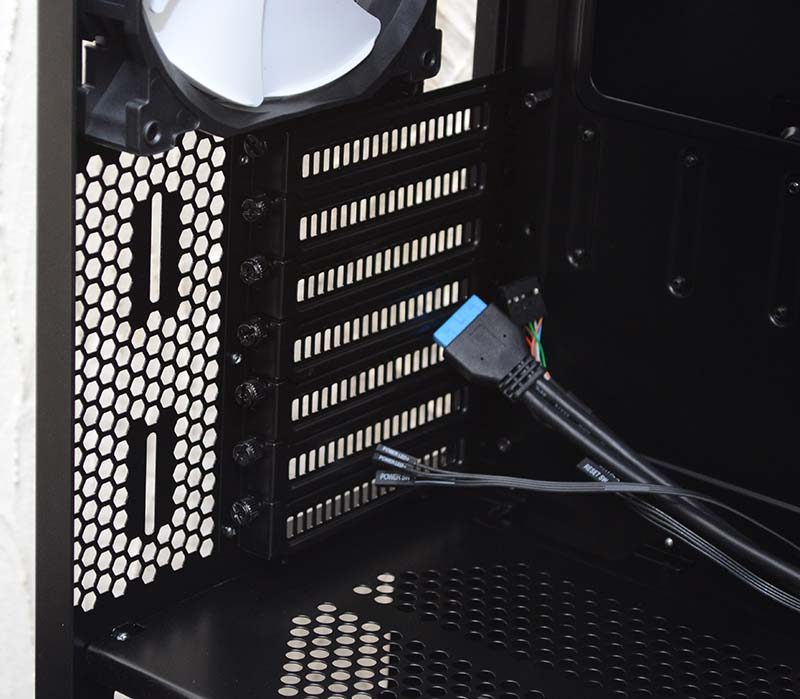
In the back, you’ll find all of the expansion slots come fitted with reusable metal covers and easy access thumbscrews.
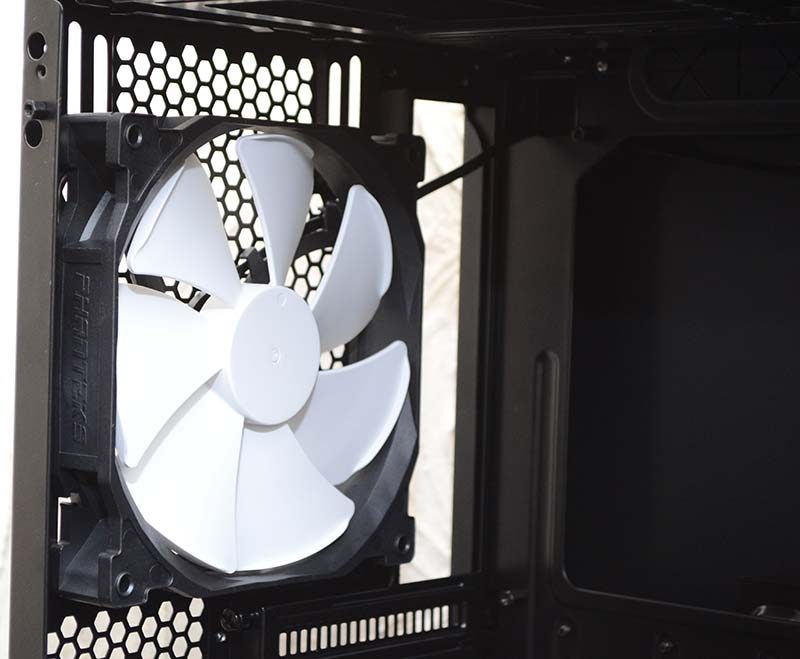
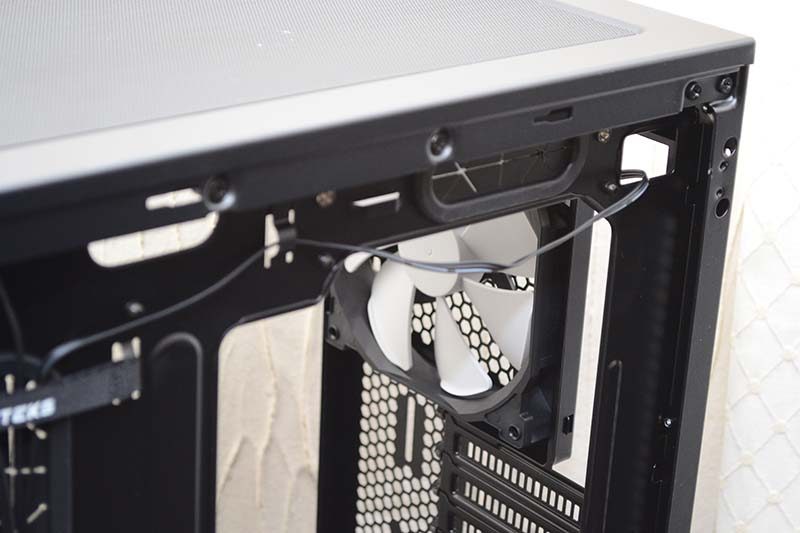
The rear fan is one of Phanteks own and comes with a lovely white design and custom fan blades for improved airflow and low noise operation. Of course, you could easily swap this out for your own 120/140mm fan or radiator too.
Up front, a 5.25″ drive bay, which is also removable should you need the space for more cooling hardware.
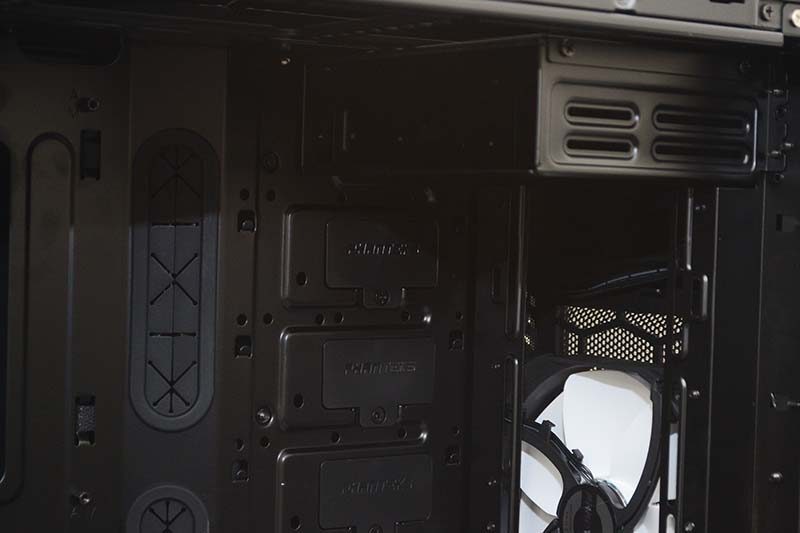
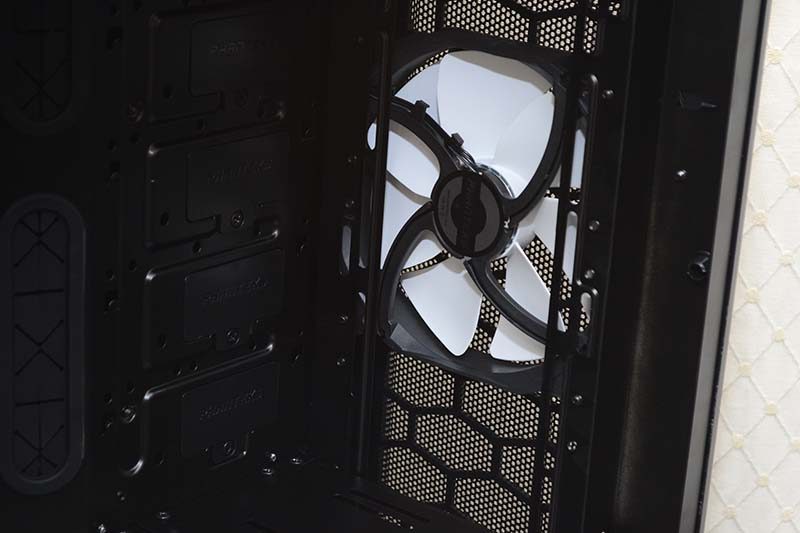
Another pre-installed 140mm fan, but with room for 120/140mm fans and radiators up to 280/360mm if you need them.
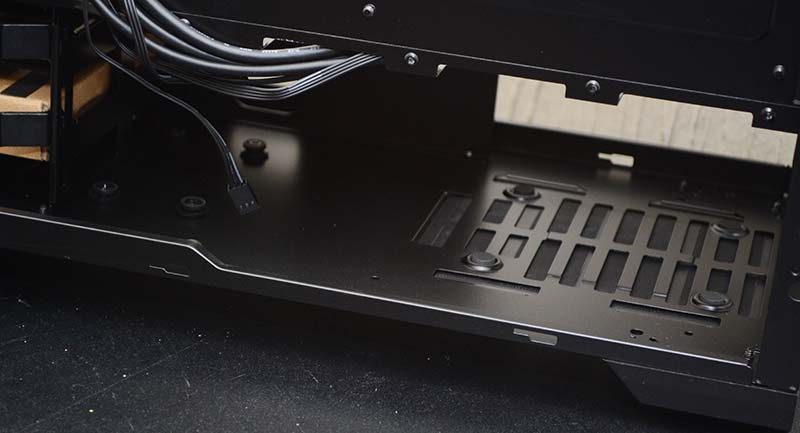
There’s a removable plate on the PSU cover, which offers up pump mounts as it is, but can be lifted out to make room for full-height radiators in the front. There are also four rubber pegs on the side, as you can mount an SSD here, giving you a nice place to show off your favourite drive.
Lots going on around the back too! With plenty of room for cable routing, including a bunch of Velcro straps to keep the bulk of your cables neat and tidy.
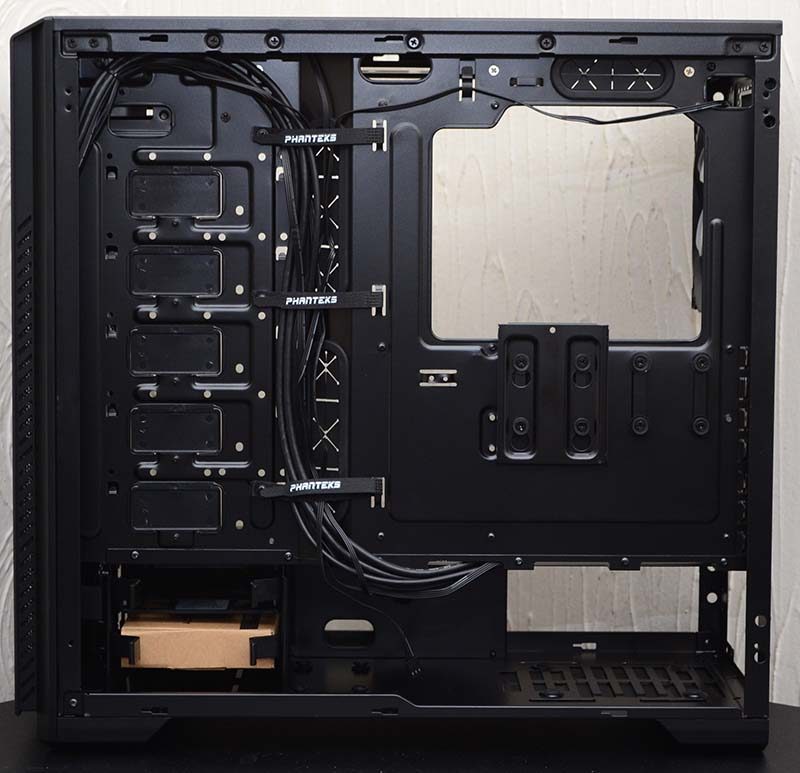
Routing grommets and cutouts dotted around the motherboard tray to deal with any additional cables with ease.
There’s a stealth mounted 2.5″ tray back here too, which can be moved to the mounts on the front of the PSU cover if you wish. You can also purchase more of these mounts separately should you need them.
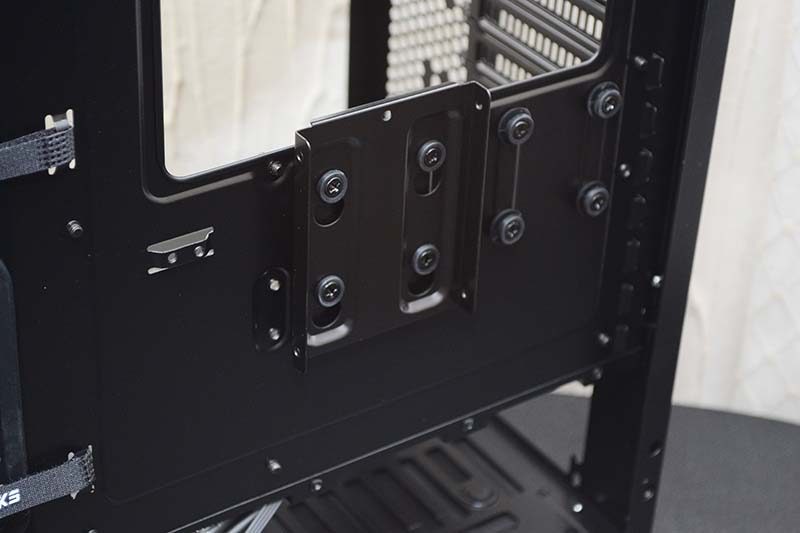
A large recess in the bottom for the PSU and excess cables, as well as four more rubber pegs to mount one of those 2.5″ drive trays.
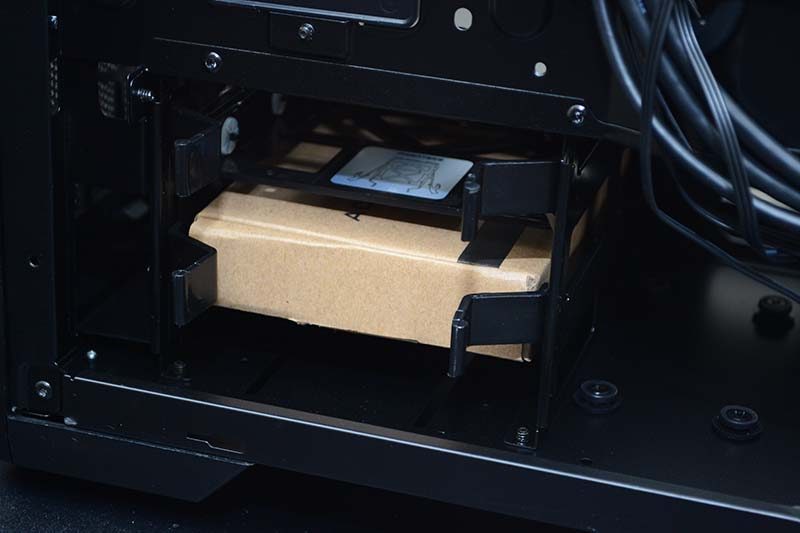
Towards the front, a 3.5/2.5″ HDD tray, which is also moveable and removable to suit your needs, keeping with the modular nature of the rest of the chassis.