Phanteks P600S Mid-Tower Chassis Review
Peter Donnell / 5 years ago
A Closer Look – Interior
As I said before, opening up the chassis couldn’t be easier. Just pull on the edge of the panel, and you’ll release the magnetic holder.
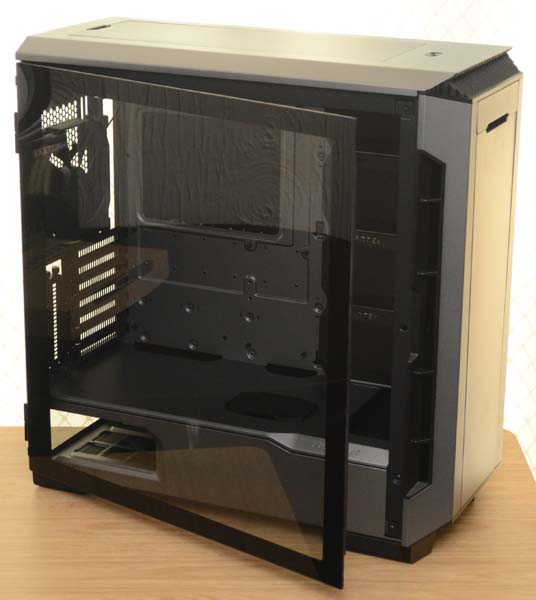
The panel is mounted on two smooth open hinges. However, you can see that the glass even has a noise proof/airtight seal around the edges; a nice touch. Furthermore, open the doors right back and you can simply lift them up and remove them entirely.

With the panel removed, we’ve got unimpeded access to the chassis interior. There’s a lot of space in here, with support for (up to) ATX motherboards. There’s a huge cut-out behind the motherboard, as well as plenty of cable routing above and below it.
PSU Shroud… and More!
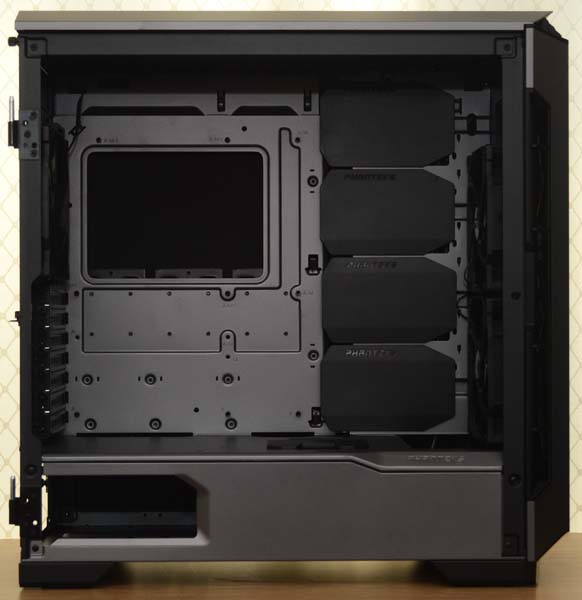
Down in the bottom of the chassis, there’s a hard-fitted PSU shroud offering a nice and clean aesthetic.
A large cut-away towards the rear allows you to show off your power supply, and we will want to, as we have a sexy Phanteks unit to put in there today.

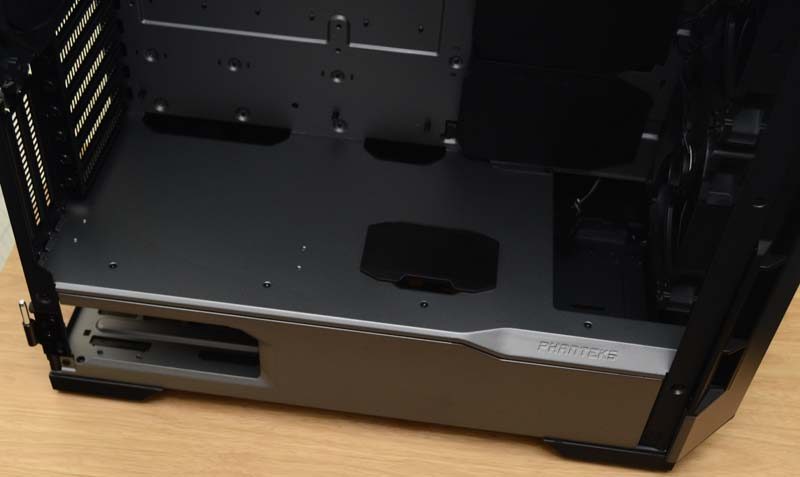
Towards the front, there’s a large cut-out for any front mounted fans/radiators to get clearance. I love the little angled Phanteks logo too, subtle but stylish. There’s one more trick here also…

This is a hard-plastic cable grommet, but how do you pass cables through it?

Simple, it slides back and forth! Just open it, pass-through cables, close it up a bit to hold the cable in place and you’re good to go.

The right side of the motherboard has the same slide-grommet system too. Albeit these ones are much larger and move left-right rather than up and down. To the right of those, you’ll also see two lovely Phanteks 140mm fans, although 120mm fittings are also supported.

Behind the Motherboard
You’ll notice a theme with all the panels we’ve looked behind so far; noise dampening! There’s a lot more of it back here, and that’s not counting the bomb-proof thickness of the panel on its own!

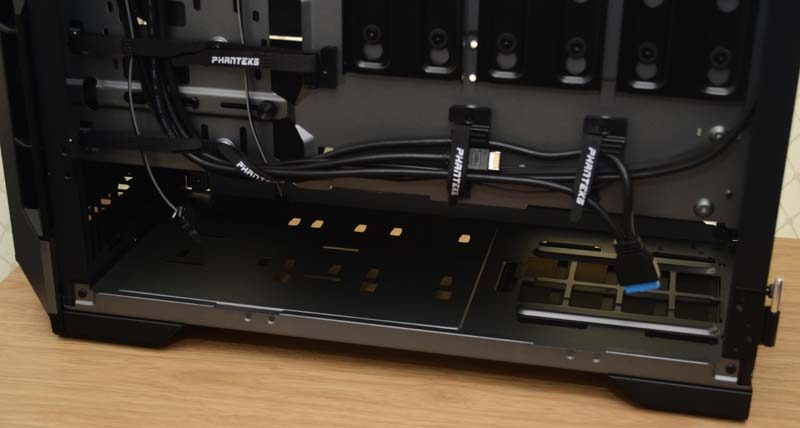
There’s so much doing on here, where do we begin! It’s quite spacious back here, so routing all of your cables shouldn’t be an issue. Of course, you have the PSU shroud anyway, so you can cram excess cables down there if you really need to.

It’s massive down there too, with space for any PSU you can think of. Those key-hole cutouts are for the extra drive mounts which were included in the accessories box too, should you need them.
However, with three SSD mounts on the rear, most builds are already well taken care of here.
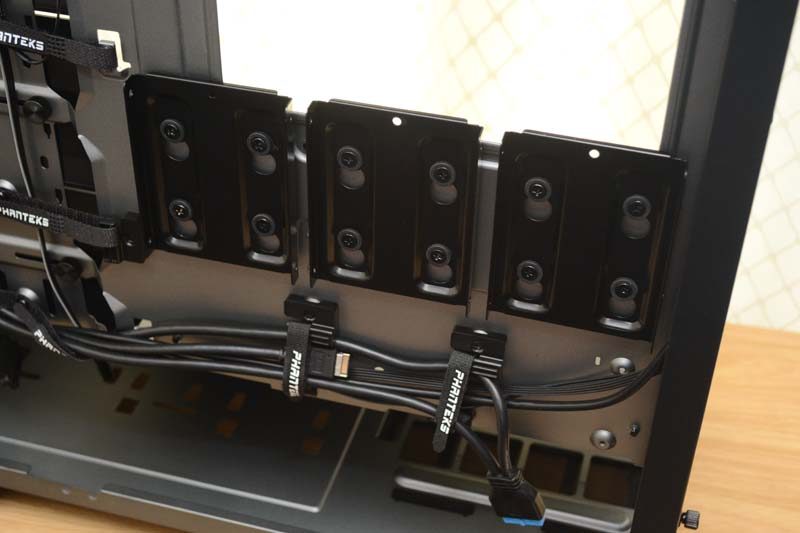
They lift-off tool-free, and there are loads of screws included to mount all your drives in the box.

Towards the front, you’ll find massive cable ties, allowing you to strap down everything and keep it neat and tidy.

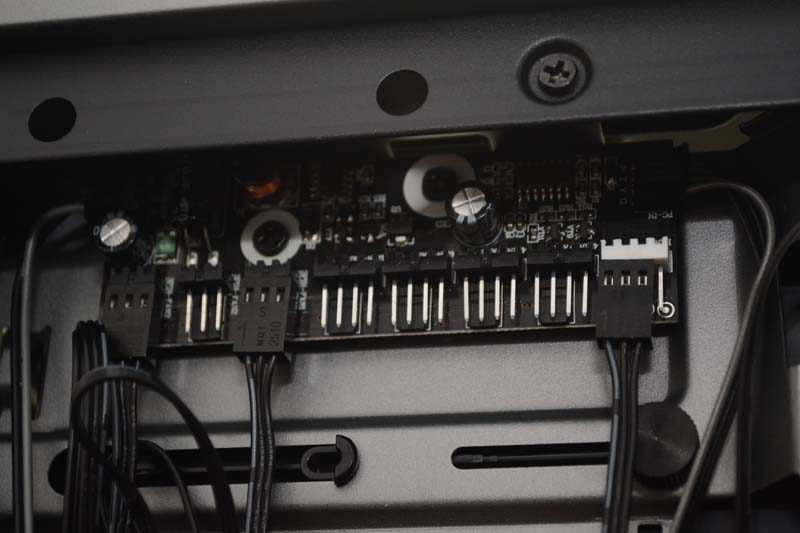
while a sneaky fan hub at the top covers all the pre-installed fans, but still offers room for plenty of cooling expansion too; it’s powered by a single SATA cable.
As for the cable management. These tool-free thumbscrews just need slacking off.

You can then slide the panels into place to open up the channel.


