Philips Brilliance 28-inch 288P6 4K Monitor Review
John Williamson / 7 years ago
A Closer Look
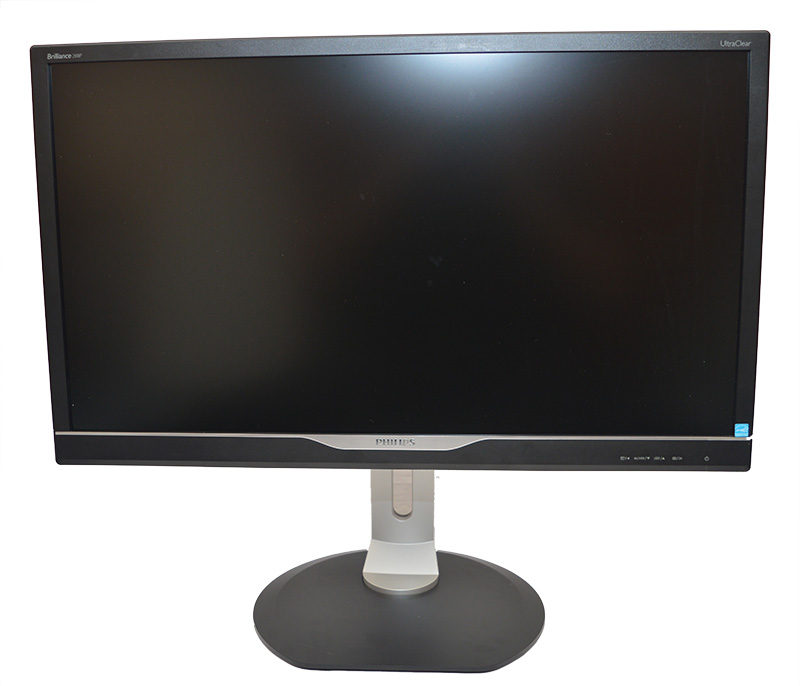
The product’s visual design is probably going to polarise opinion and it’s not particularly inspiring to look at. While the silver accent is a neat touch, it doesn’t really create a sense of excitement or help the monitor to stand out from the competition. On the other hand, it’s important to adopt a neutral style without ostentatious elements as a way of ensuring the end-user focuses on the panel. The monitor’s bezels are a sensible size until you view the bottom portion. The distance between the bezels’ edge and the panel is larger than I’d like although I’ve encountered worse in the past. As expected, the monitor employs an anti-glare coating which reduces screen reflections.
Interestingly, the Philips Brilliance 288P6 has passed TCO Edge certification which is given to products which go the extra mile beyond TCO requirements. To achieve this accolade, products need to use a minimum 65% of post-consumer recycled plastics and 100% recycled packaging. This showcases Philips’ commitment to creating environmentally friendly and energy-efficient displays. On a similar note, the monitor has received the EPEAT Gold certification which ensures it has low emissions of climate changing greenhouse gases. The Gold rating is provided when a monitor employs at least 30% plastic from Post Consumer Resin, which reduces the prevalence of toxic materials.
Another great feature is the Philips MultiView which allows you to hook up two devices at the same time and view both sources side-by-side. This greatly improves multi-tasking and your productivity. Also, it could be used to work on spreadsheets or other office work while glancing at a live sports event.
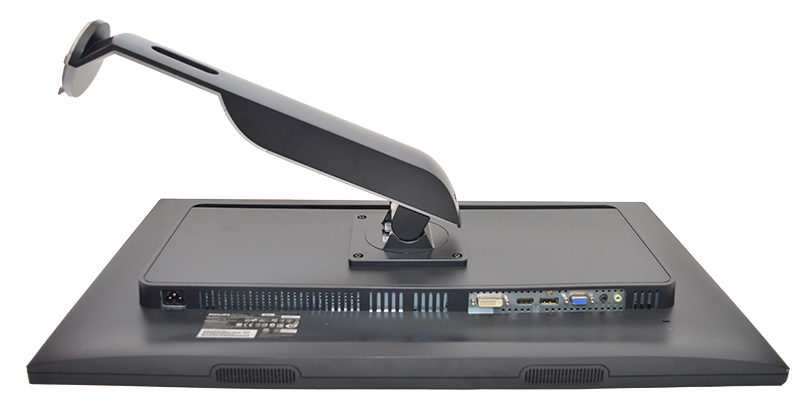
On the rear section, there’s nothing too noteworthy to speak of apart from the ample supply of ventilation grilles. This level of cooling is welcome and ensures there’s adequate airflow across the PCB and internal components.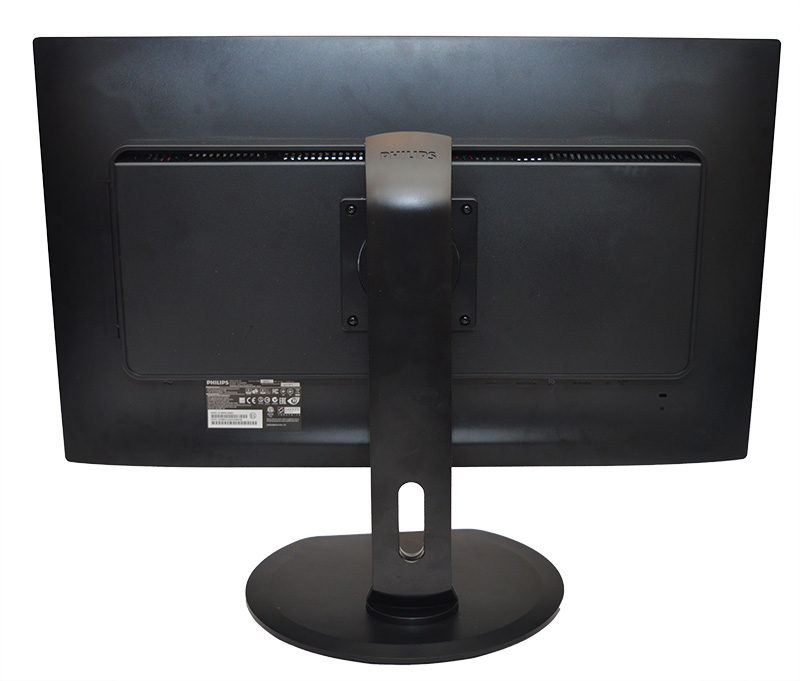
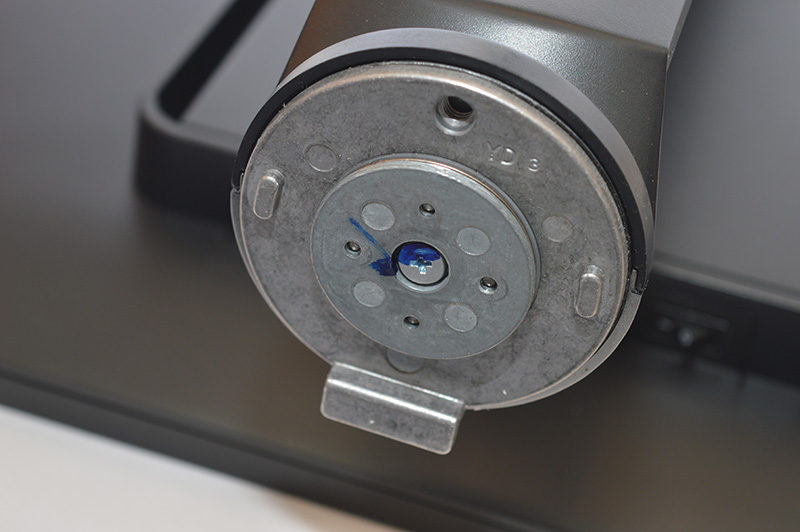
The monitor’s mounting mechanism relies on a heavy-duty rounded piece and multiple angled joints. To connect the base, simply align the stand correctly and tighten a thumbscrew positioned underneath the base. As I alluded to earlier, the mounting point is extremely reliable and I wouldn’t expect the monitor to apply undue pressure on the fixture.
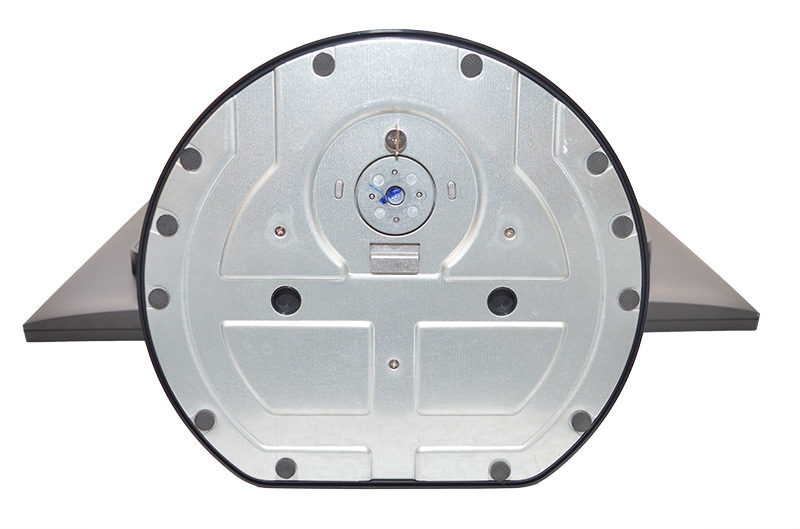
Here we can see the final result once the base and stand have been connected. From this image, it appears the base is gargantuan in size and not very good for smaller desks. Thankfully, this is just a perspective issue and the base shouldn’t pose any problems.
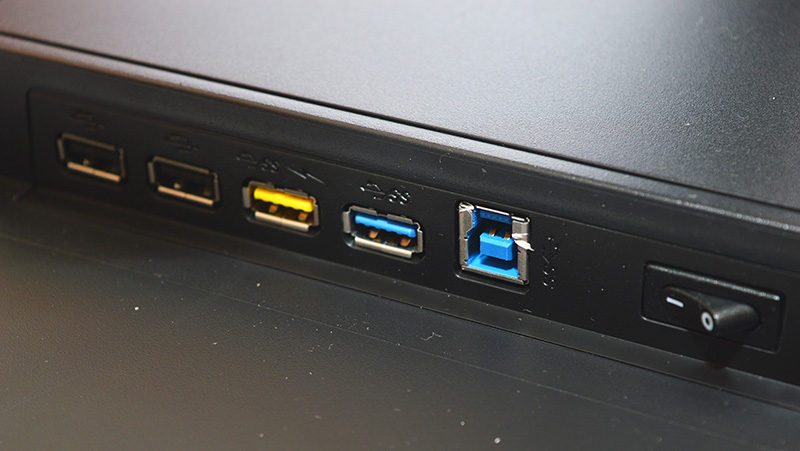
Connectivity-wise, the monitor has two USB 2.0 ports, two USB 3.0, an AC power input and manual power switch. Please note, the yellow USB 3.0 port supports fast charging which may come in handy when your phone’s battery is running low. Also, I love the idea that you can cut the electricity by flicking the power switch instead of being forced to remove the AC cord. This is more convenient and useful to reset the monitor if a power surge or a signal error occurs.
The product’s Mobile High-Definition Link allows you mirror the image on a supported smart device and view photos, movies, games and other content using an optional cable. This makes it possible to have footage running on an external display and bring different forms of entertainment to life.
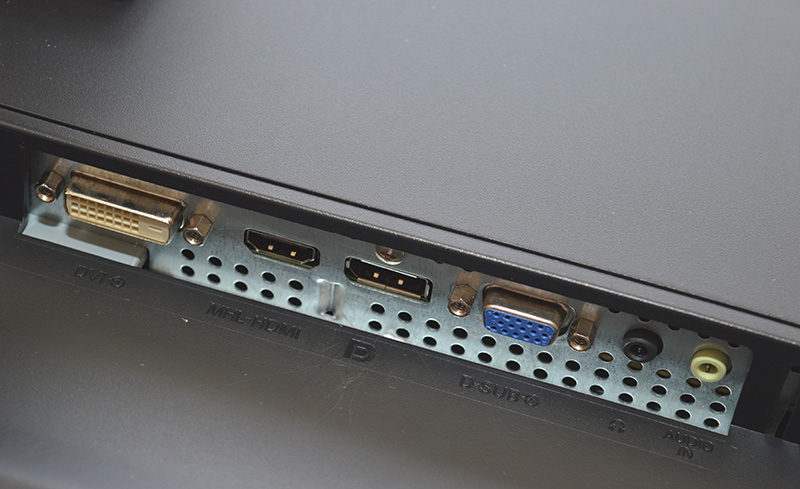
The monitor incorporates a good array of ports including dual-link DVI-D, MHL-HDMI 2.0, DisplayPort 1.2, D-Sub, audio in and a headphones jack.
Philips have positioned the 2-watt stereo speakers well out of sight and tried to use as much space as possible to maximise the soundstage.
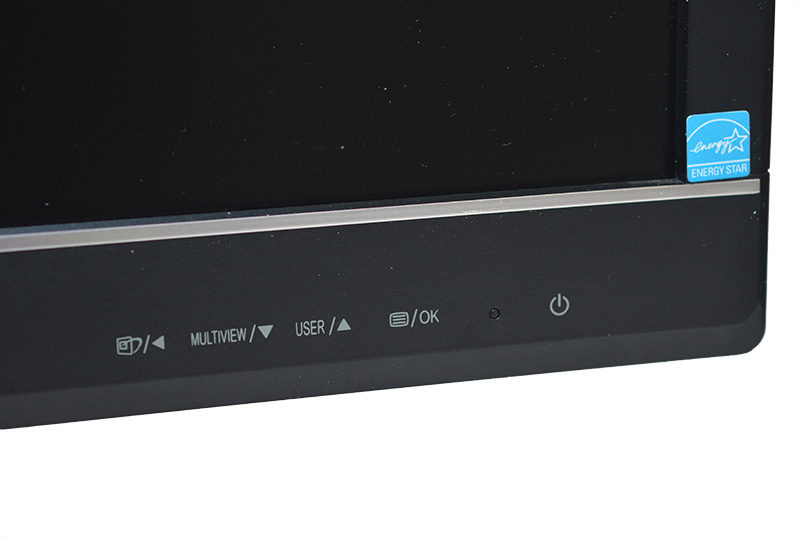
In a rather unusual move, the monitor doesn’t have any membrane buttons to navigate through the OSD and make visual alterations. Just above each icon is a touch sensor which reacts to specific commands. These functions change depending on which sub-menu you’re browsing and the end result is pretty intuitive. However, the touch controls are severely lacking because they tend to respond in an unpredictable manner. For example, when holding down the up or down pad to adjust the brightness, the values change at a blistering pace.
Not only that, the number doesn’t alter in a gradual way which leads to a frustrating experience. It almost seems random and there are times when the touch panel doesn’t detect any pressure or it takes some time to recognise your commands. Honestly, the touch interface is poor and significantly worse than using traditional buttons.
Menus
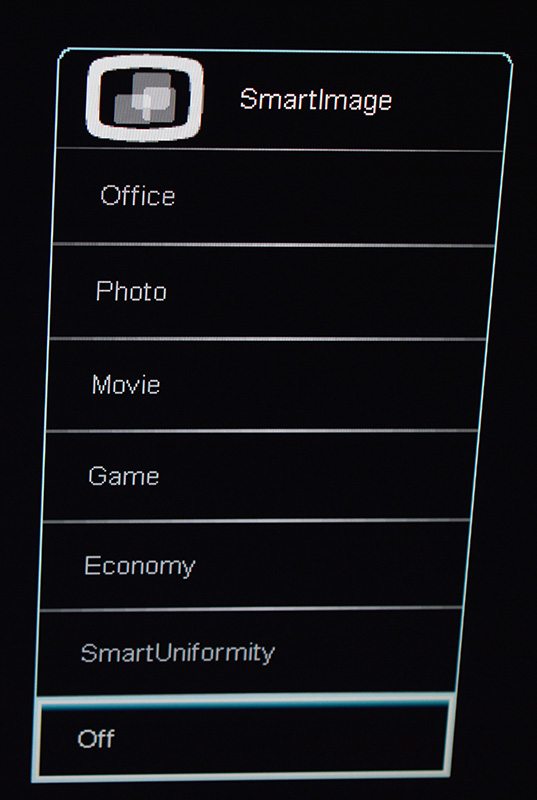
The monitor’s OSD is based on a simple white and black theme which can easily be read from different angles. Pressing the touchpad furthest to the left launches the SmartImage menu which allows you to cycle between a number of visual profiles. The profiles are tuned pretty well and look different enough to be useful for contrasting case scenarios.
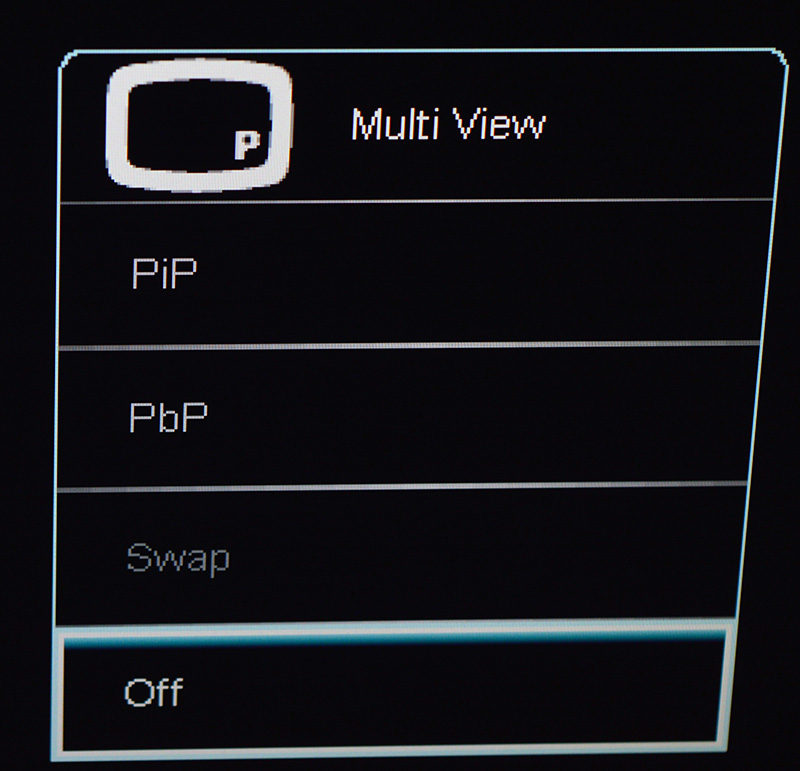
The Multi-View page is handy to configure two sources and decide which form you what the images to be displayed. It’s possible to select picture-in-picture, picture-by-picture or turn this feature off.
On the audio tab, you can alter the input and volumes of different connections which carry an audio signal.

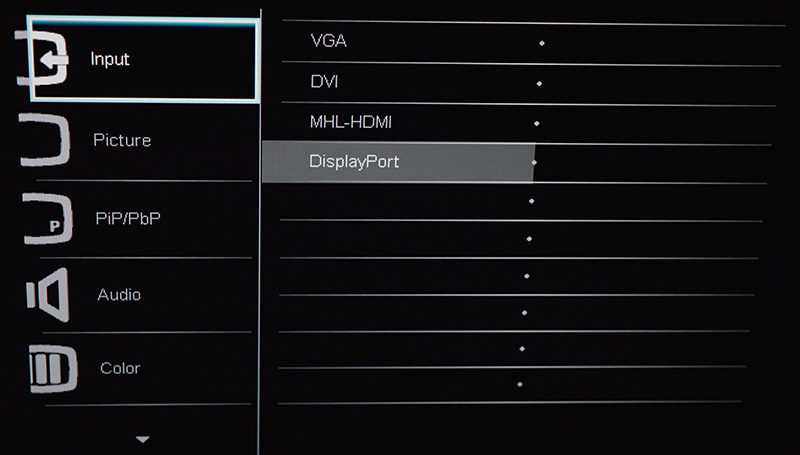
Here we can see the main menu page which houses an impressive array of settings. Firstly, the input sub-menu lists different connections which can be accessed and switched to in a quick fashion.
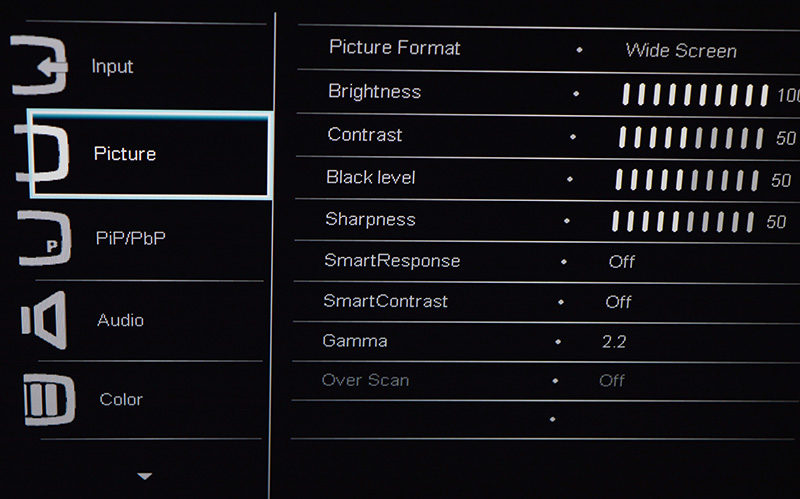
Next up is the picture tab which contains an assortment of tweaks to change the monitor’s brightness, contrast, black level, sharpness and enable or disable the SmartResponse technology.
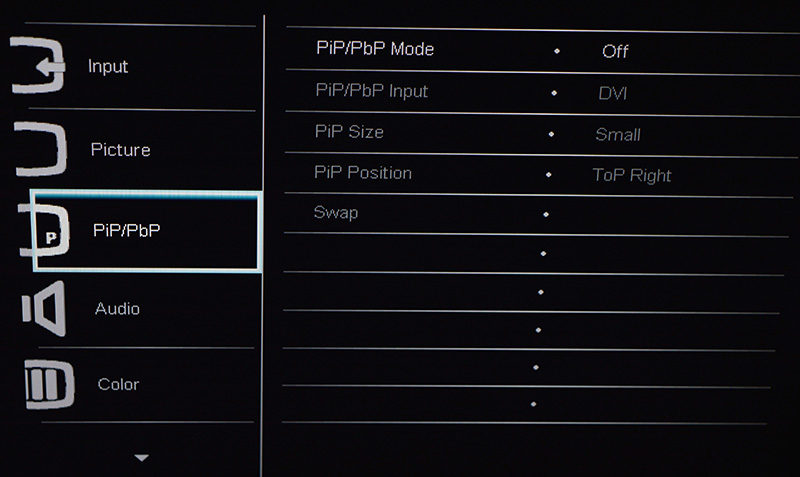
As previously mentioned, the PiP/PbP screen has a good amount of customisation available and you can change the mode, input, size and position.
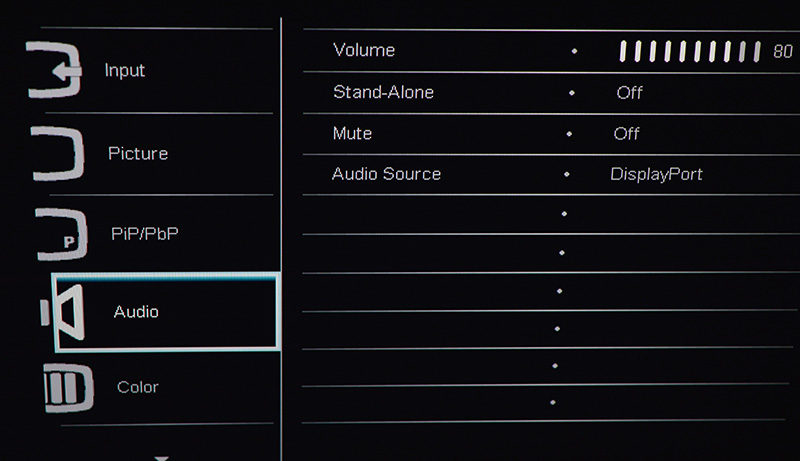
The audio menu allows you to modify the volume output, mute the speakers and select either the 3.5mm jack for audio or HDMI/DisplayPort.
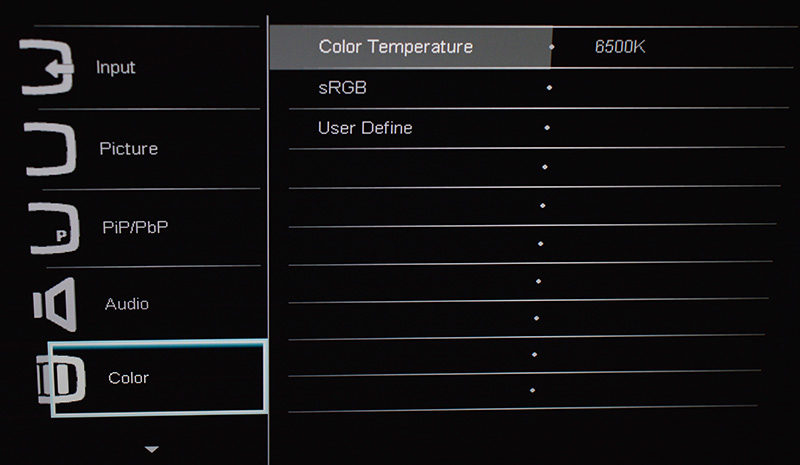
Advanced users might want to fine tune and colour temperatures and investigate the monitor’s sRGB settings. This shouldn’t be a concern for most users and the default values are perfectly fine.
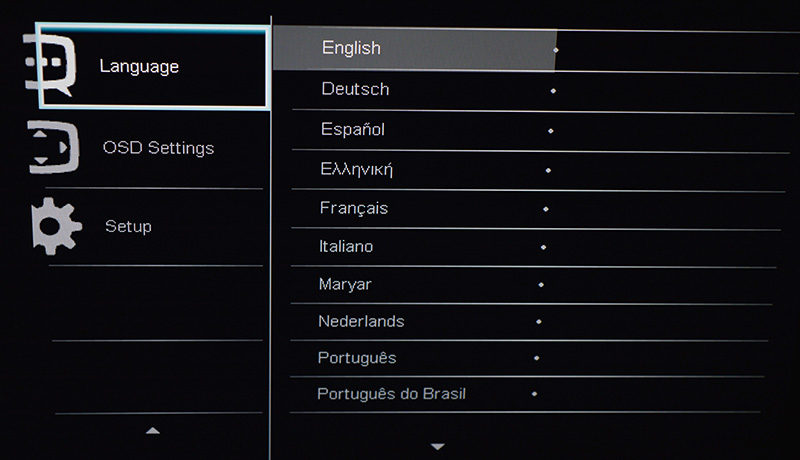
The monitor supports many languages which widen its appeal to different geographical regions.
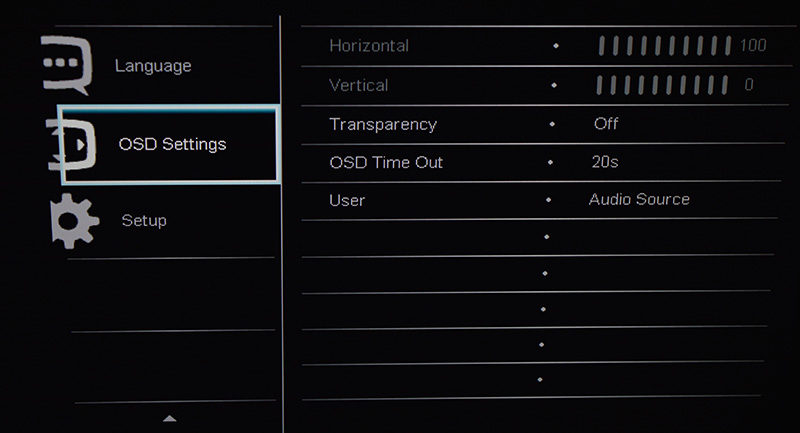
On the OSD page, you can change the menu’s screen position and appearance.
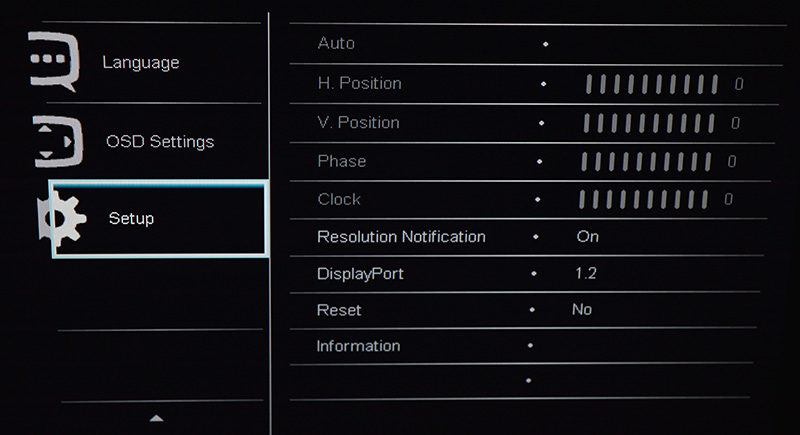
Finally, the setup menu has the option to adjust the horizontal/vertical sync area, phase, clock, reset to factory settings and select DisplayPort version 1.1 or 1.2. Please note, the DisplayPort runs at the 1.1 protocol unless it’s been manually adjusted.
Functionality
Philips’ SmartErgoBase is a versatile solution and provides the end-user with a host of ergonomic alterations. More specifically, the monitor supports height adjustment up to 150mm, pivot up to 90 degrees, swivel on a -65/65 degree axis and tilt from -5/20 degrees. This level of customizability is excellent and ensures you can find a viewing angle which corresponds with your posture and measurements. The ability to set the monitor’s height at desk level is invaluable for anyone who uses bifocals, trifocals or progressive lens glasses.


