QNAP SilentNAS HS-210 2-Bay NAS Review
Chris Hadley / 10 years ago
A Closer Look
When we see a desktop NAS, typically we find the drive bays orientated in a vertical fashion and whilst this results in a small footprint, in a home theatre setup, this is not necessarily the best format to have. To address this QNAP have rotate the drive bays to sit flat and beside each other, resulting in a system that is no bigger than a typical DVD or Blu-Ray player.
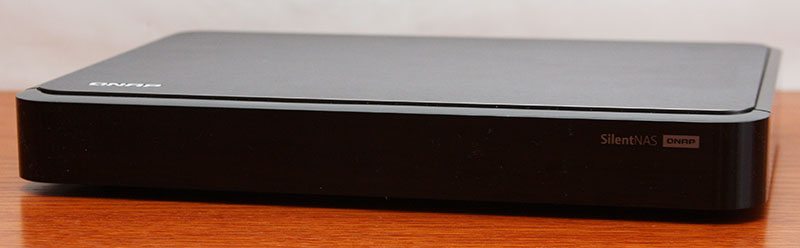
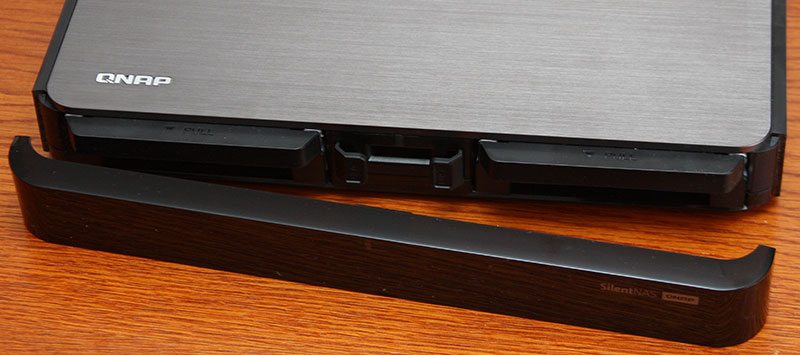
As highlighted on the previous page, QNAP have identified that drive bays are not always the most glamorous things to look at so on the HS-210 we find a magnetic front panel that attaches over the drive bays to hide them out of sight, resulting in a sleek appearance. As the front panel is offered up to the system, the magnet is quick to take hold of the panel and keep it firmly in place. Behind the cover we can see the two drive bays positioned to either side of the system with the tray latches and system LED sat between them. On the upper face of the HS-210, QNAP have finished the NAS off with a brushed metal coating and a single QNAP badge sits towards the front left corner.
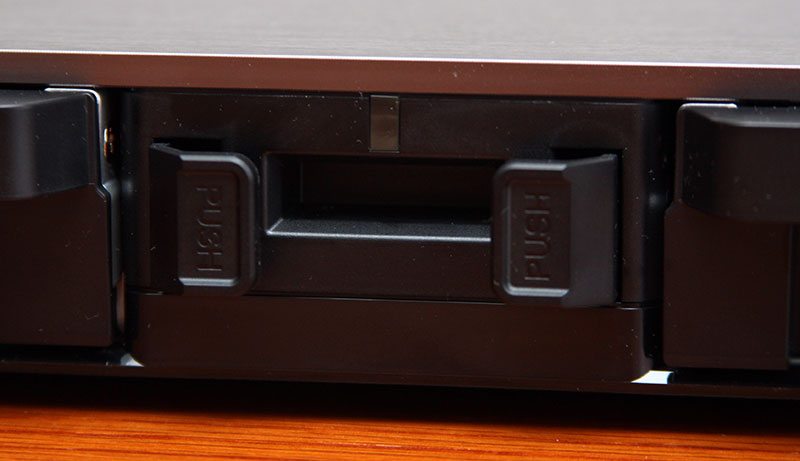
Looking closer between the drives we can get a better view of the two push latches that hold the drive trays in place with the system LED sat at the top of the system. Although the front panel appears dark, the LED is powerful enough to shine through the plastic, making it visible from a glance, a red LED would indicate that their was a problem with the system whilst green shows everything is OK. Below the LED is a small recess inside which is the magnet to hold the front cover in place. Setting the magnet back ensures that the front cover sits flush and square with the rest of the chassis when fitted.
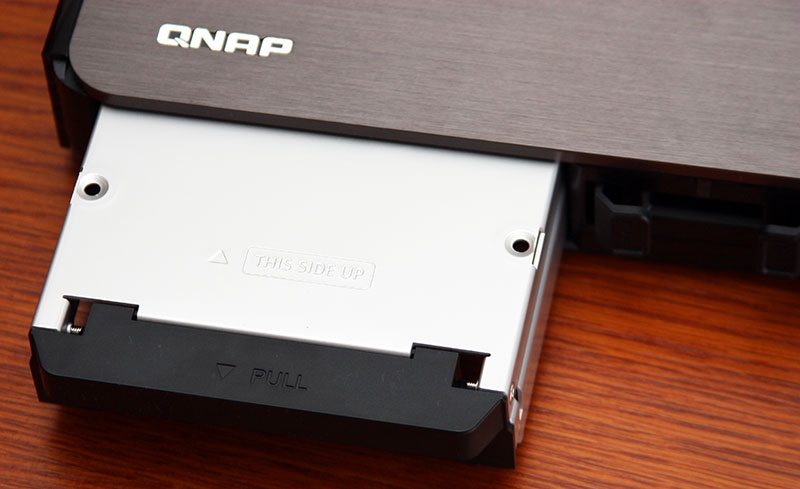
Sliding each drive out of the chassis, it would first appear that QNAP have installed the trays upside down, however as we will see further down, there is a reason for this upside-down approach for the drives.
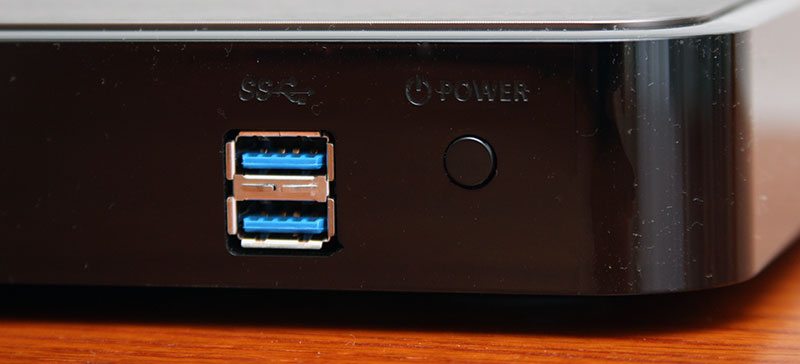
Around on the back of the HS-210 we find a number of connectivity options starting off with a pair of USB3.0 ports towards the right of the system as we look at it. Beside these ports is a power button which we would typically expect to see on the front – moving it round to the back helps to keep the front of the system clean and tidy and as the system falls into sleep mode where it uses only a small amount of power, the power button is only really needed to turn the system on.
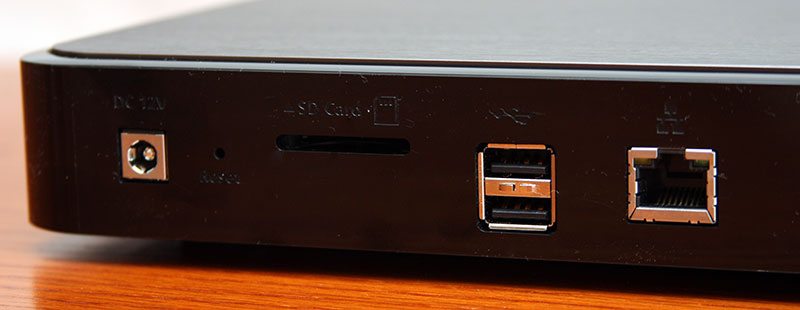
Further along towards the left hand side we have a further two USB ports, this time of USB2.0 specification, a Gigabit Ethernet port, SD card reader and a DC power jack.
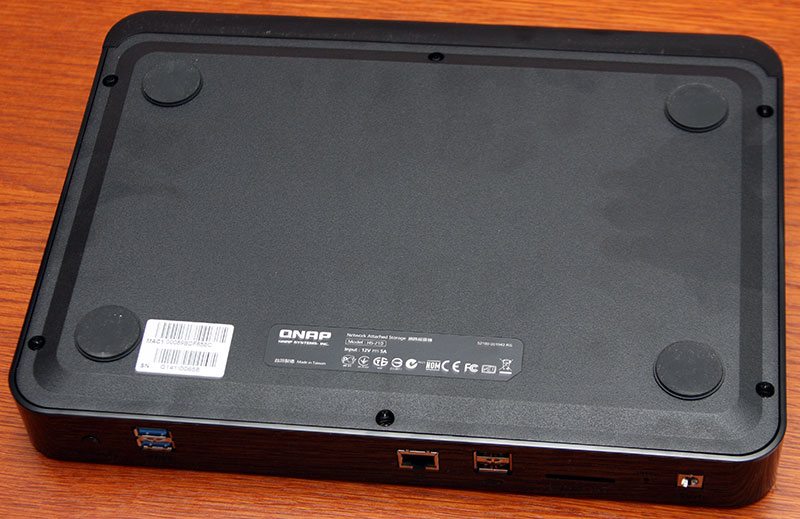
On the underside of the NAS four soft rubber feet assist in giving the HS-210 it’s ‘SilentNAS’ labelling by reducing the resonant noise of any spinning platters that may be in the drive bays.
Lifting off the cover, which is actually on the bottom of this setup, we can see two metal plates which assist in keeping the drive trays in place as they are inserted into the system.
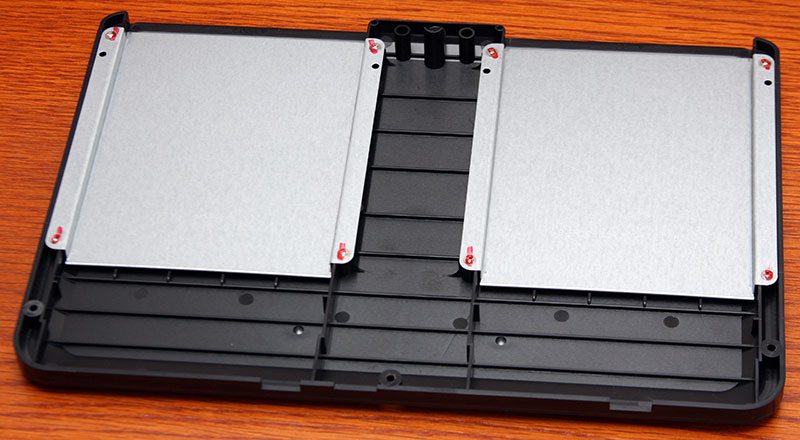
Turning the open system upside down and having a look inside we can see where each of the drives slides into place with the motherboard positioned at the rear and running in between the bays. This design means QNAP are able to give the HS-210 a slim appearance that would easily fit in with other devices that would be in a home A/V stack under the TV. Additionally, by having the system mounted upside down so-to-speak, heat generated by the drives and the CPU rises up to the thick metal plate that acts as the top cover. The two drive trays have a very close contact with this plate as well and this, along with the rubber feet, is where QNAP aim to keep the system virtually silent. How this affects the system and drive temperatures is yet to be found out, but in theory it could work rather well.
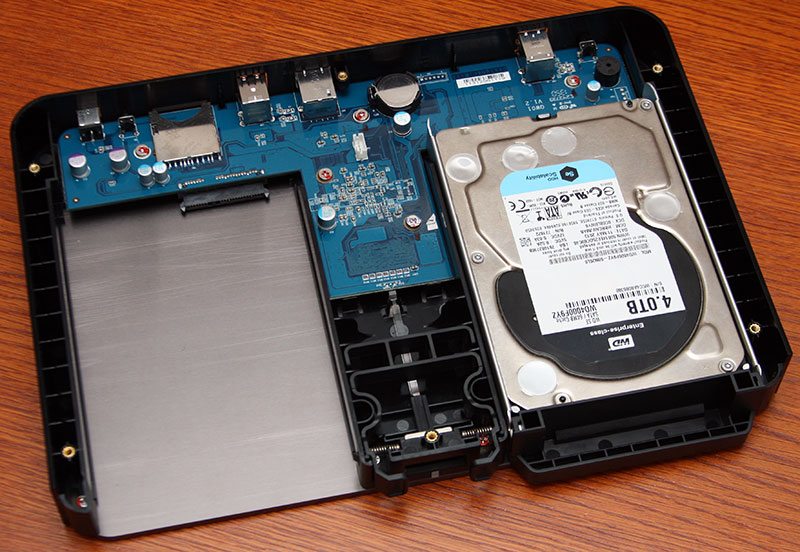
Lifting the motherboard out, below where the CPU is positioned we find a pair of metal discs that are attached to the metal casing with a thermal pad on top. These discs act as a heatpipe if it were, giving the CPU as passive cooling method. With no fans present in this design, using a small heatsink like we typically find would not be as effective due to the fact there is no form of air flow through the system.

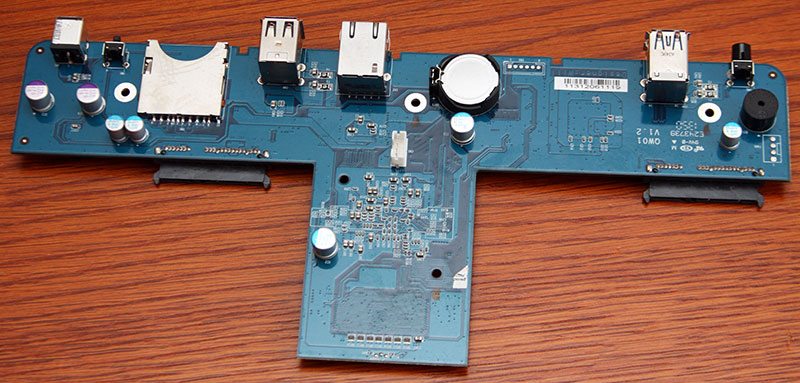
Looking a little closer at the motherboard we find that all of the I/O is mounted on to the underside of the board, with the addition of a speaker for system alerts and a battery for the BIOS.
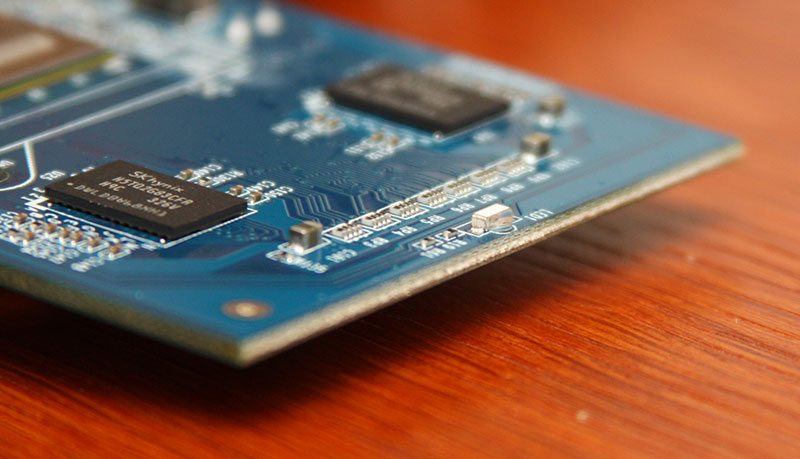
Over on the other side of the board and looking at the processor to start with, the core of choice here is a Marvell 88F6282 1.6GHz single core ARMADA SoC paired with 512MB of SKhynix H5TQ2G83CFA 1333MHz RAM.
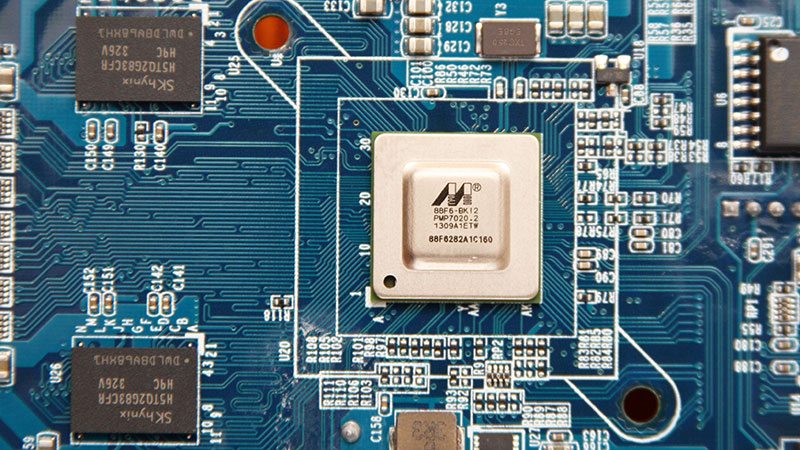
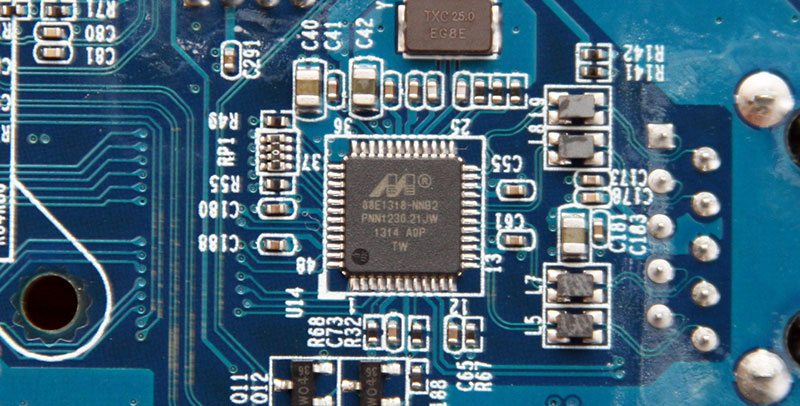
Although the SoC is capable of driving an Ethernet port itself, a separate Marvell 88E1318 Gigabit LAN controller is used, taking a small amount of load from the processor, which will assist in keeping the load and temperatures down overall.
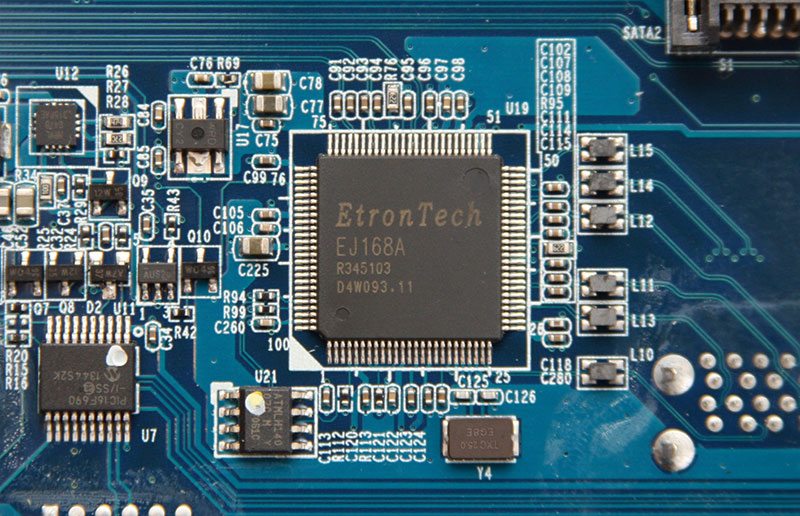
Further round the board we once again find the USB3.0 ports being taken care of by the trust EtronTech EJ168A USB3.0 host controller.
Lastly on the very front of the motherboard is a surface mounted LED which, with the aid of a clear plastic strip, illuminates on the front panel of the system.