QNAP SilentNAS HS-251+ 2-Bay Passive-Cooled NAS Review
Bohs Hansen / 8 years ago
A closer look
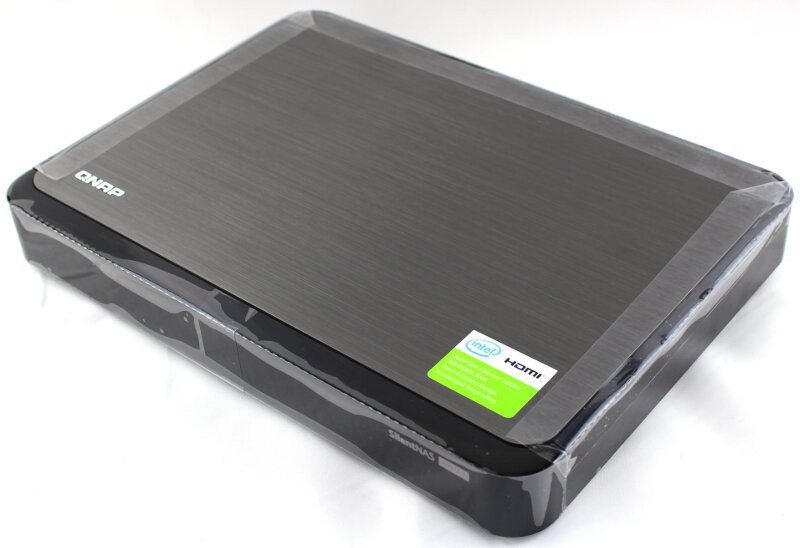
QNAP wrapped the HS-251+ good and all sides are covered in a protective film when you unpack it. This is a minor thing, but a great one that will make sure that your NAS arrives in perfect condition and stays that way until you get it to where it has to be.
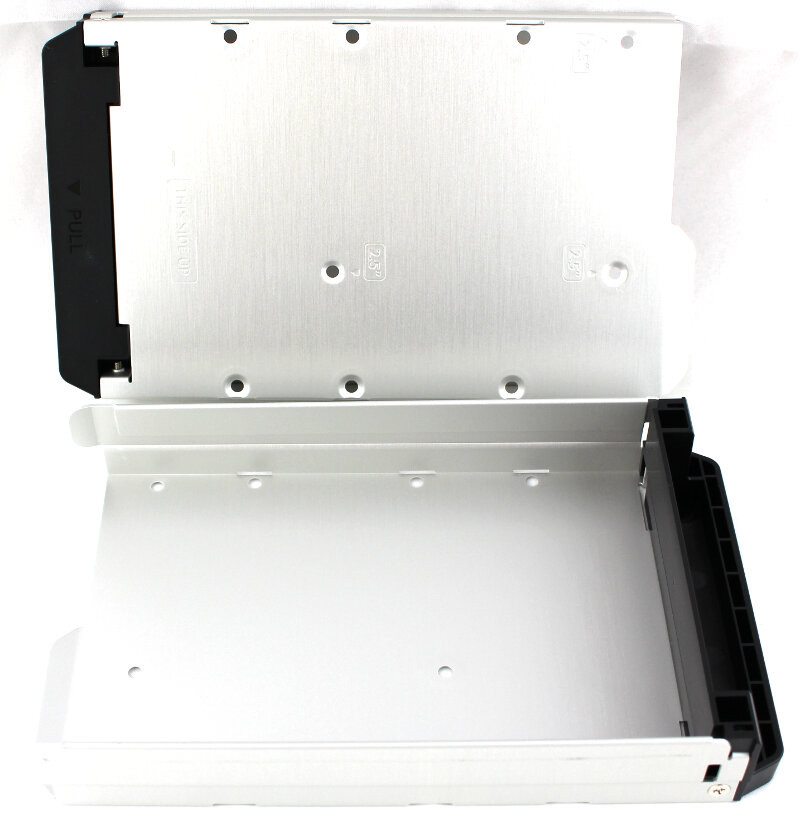
Once we stripped the protective film from the NAS, we can remove the magnetic front cover and get access to our drive bays. The drives are mounted upside-down compared to what you’d think, but there is a thought behind that. This way the metal drive caddies have direct contact to the top aluminium plate and that in return gives your drives the best possible cooling in such a passive unit.
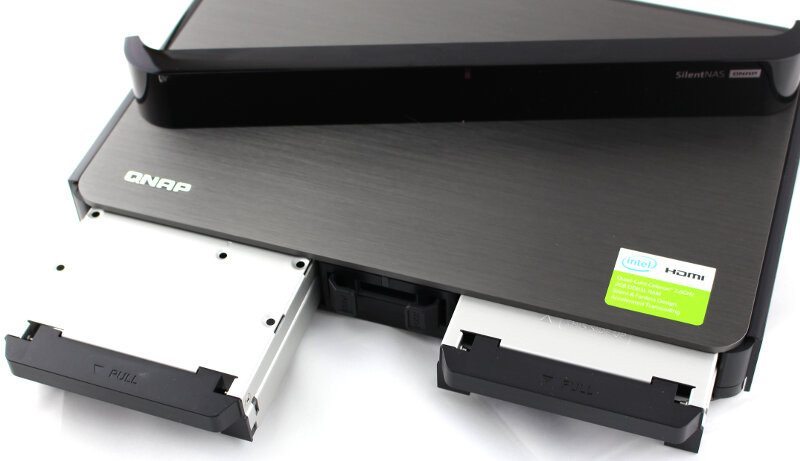
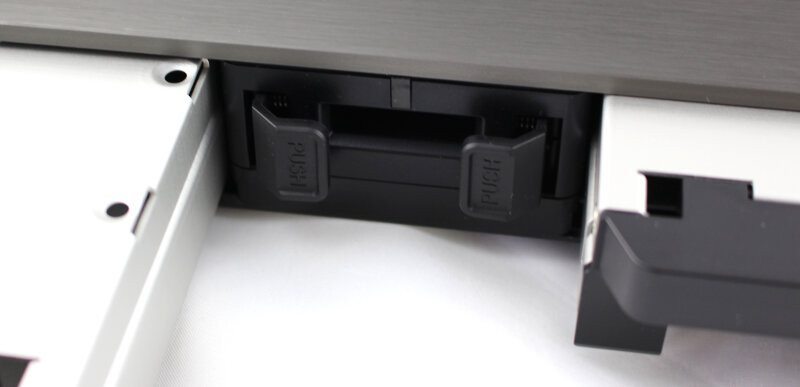
The drive trays are easily ejected with the use of the push buttons located between the two bays. Push it to the center and pull out the drive tray. The HS-251+ also supports hot-swapping, in case you wondered.
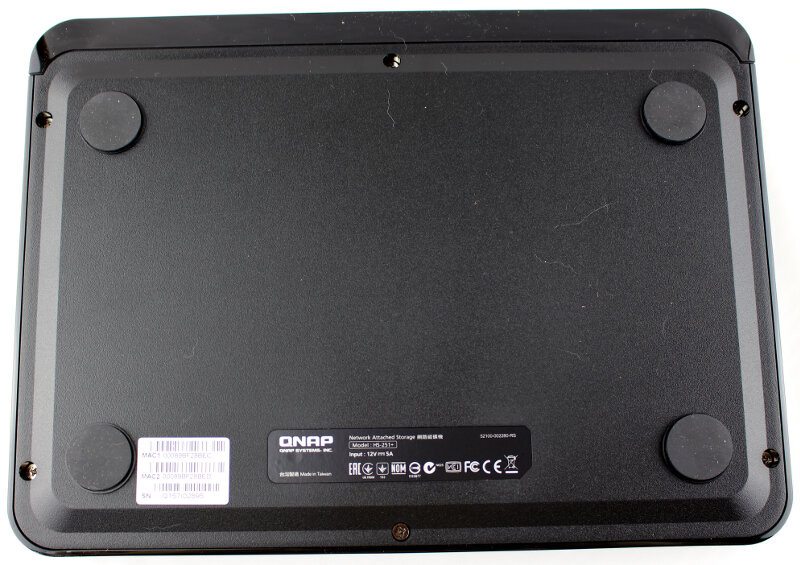
When we flip the NAS over, we see four large rubber feet that will prevent vibrations from the drives to be transferred to whatever surface you have placed it on. They also make sure that the NAS has a firm stand and won’t move. The relevant stickers with default information such as MAC addresses and the NAS certifications are also found on the bottom of the unit, leaving the rest clean and minimalistic.
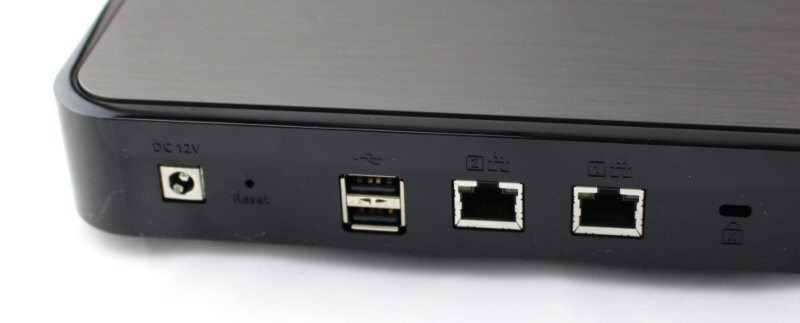
Having a look at the rear of the NAS, we see the power connector and reset button all the way to one side and out of the way from the other connections. The two USB 2.0 ports are placed next to the RJ45 Gigabit LAN ports which again are followed by a Kensington lock in the middle.
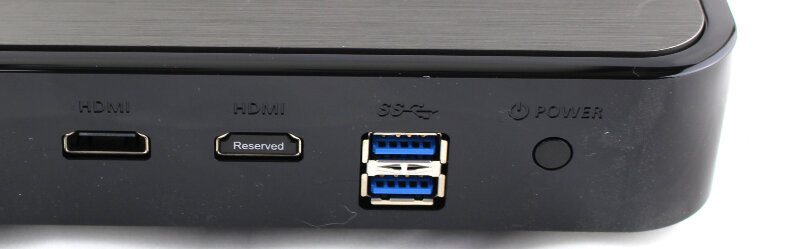
Moving on we see the HDMI port as well as a reserved HDMI port for maintenance. The second one is most likely not one that you’ll ever use and it has a plug to prevent dirt from settling in it while it’s unused. At the end, we find the two USB 3.0 ports as well as the soft-touch power button.
The drive trays are very simple and consist of a single metal piece with a plastic front. The caddies allow for the use of both 2.5-inch and 3.5-inch drives, giving you the option to pick what you want to use from the massive amounts of available storage drives.
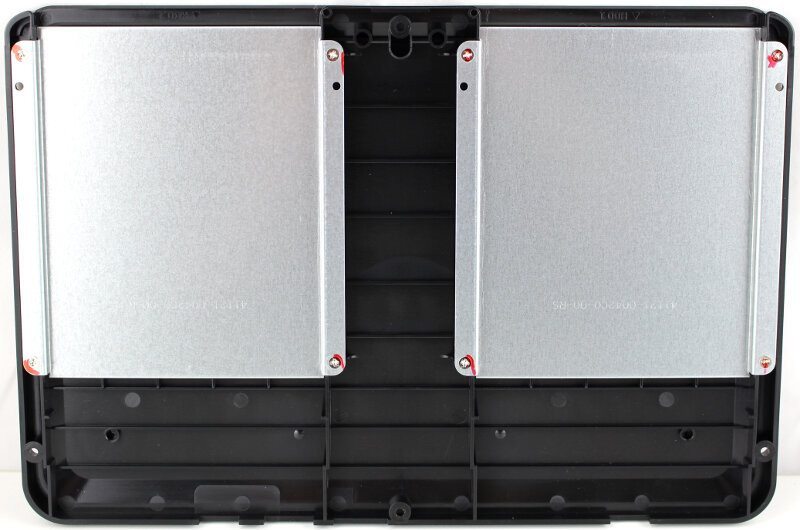
The NAS is easy to take apart, but it isn’t something you’ll ever need to do. The HS-251+ doesn’t feature upgradeable memory and there is a good reason for that as you’ll see in a bit. The top seen here is actually the bottom and doesn’t hold much besides the two drive tray alignment plates.
The top is where the actual motherboard is placed and in this NAS it is shaped like a T to make room for everything between the two drives while maintaining the small and compact form factor.
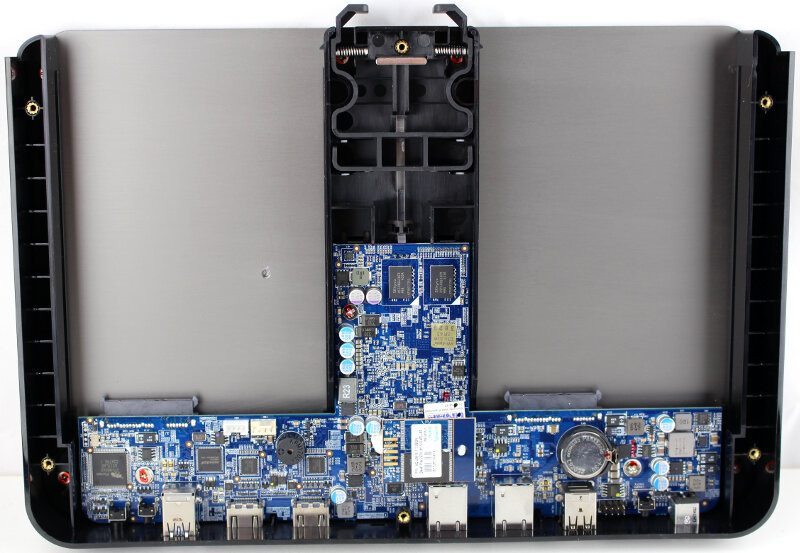
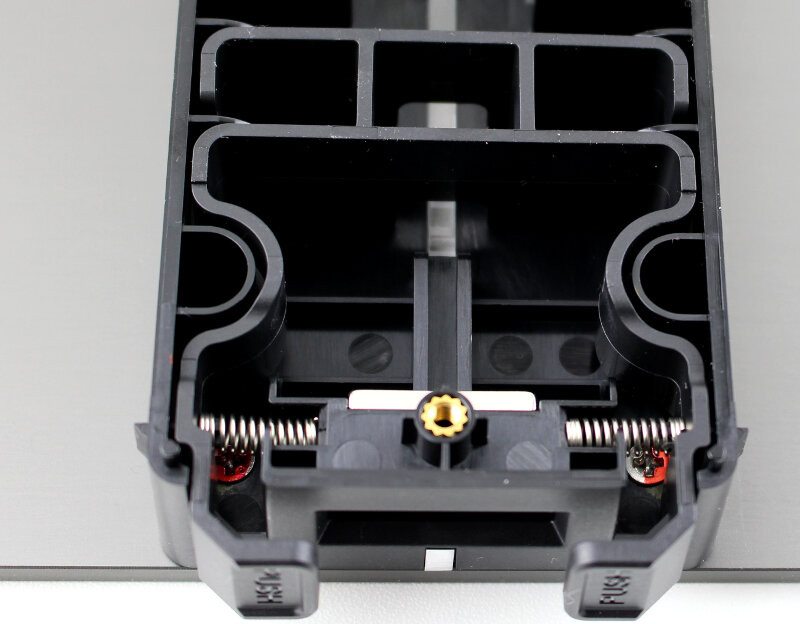
Now that we have the NAS open, we also see how the drive release mechanism works. It is real simple, but effective.
Once we remove the motherboard from the chassis, we see the built-in heatsink that connects the CPU directly with the large aluminium top plate which lets it act as a cooler for the NAS. The heatsink is connected with a heat-transfer pad to the CPU itself.
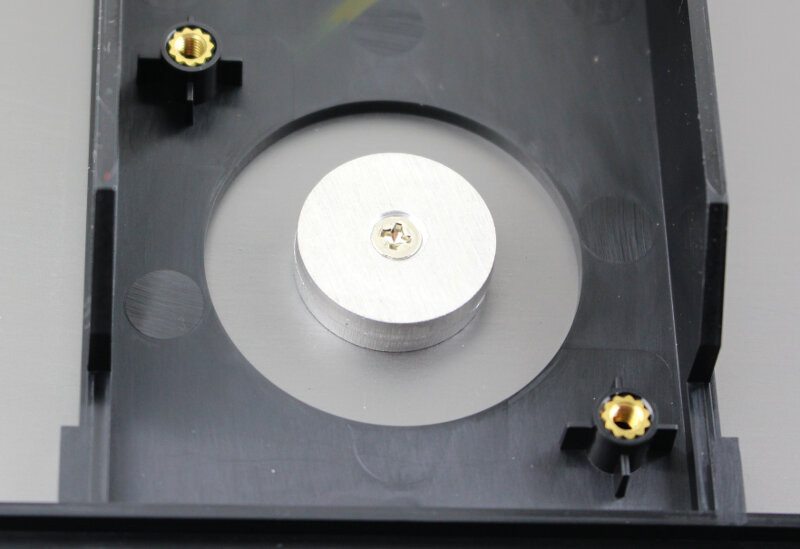
Having removed the motherboard, we see why it doesn’t feature upgradeable memory. There simply isn’t room to place large DIMM or SO-DIMM slots on this motherboard. It is tight as it is.
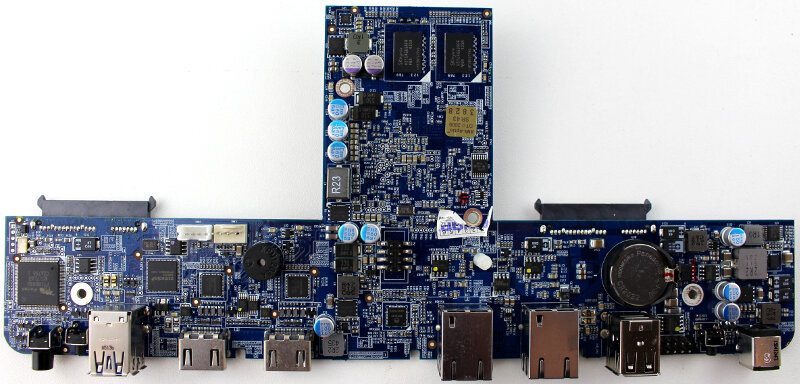
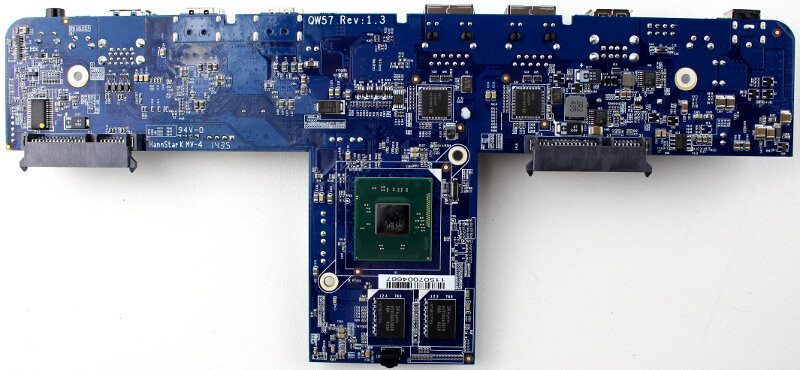
The Intel Celeron CPU is soldered onto the motherboard and there are four RAM chips placed next to it. Two on each side of the PCB.

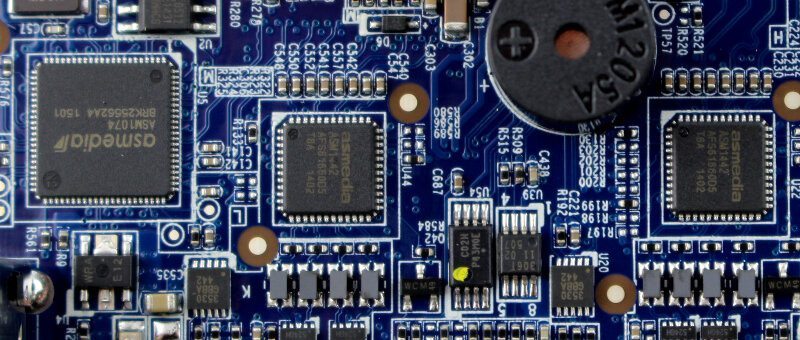
Other chips include ASmedia ASM1074 four port USB3.0 hub controller and two ASmedia AS1442 high-speed TMDS level shift ICs for the HDMI ports, one for each.
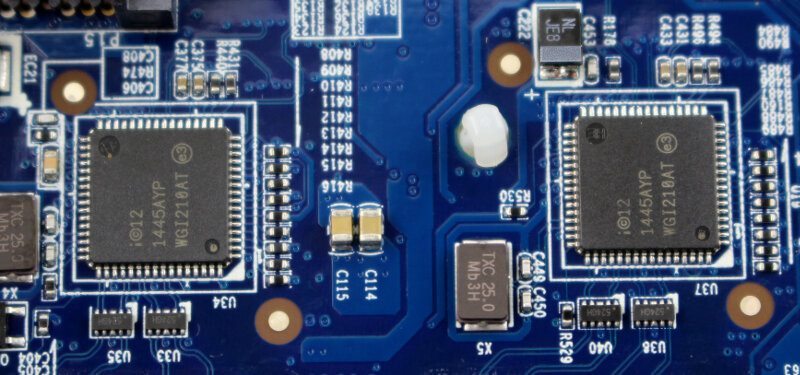
There are also two Intel i210 Gigabit Ethernet controllers on this motherboard, again one for each port.
The Fintek F71869AD chip provides the NAS with some more sensors and monitoring features among others.

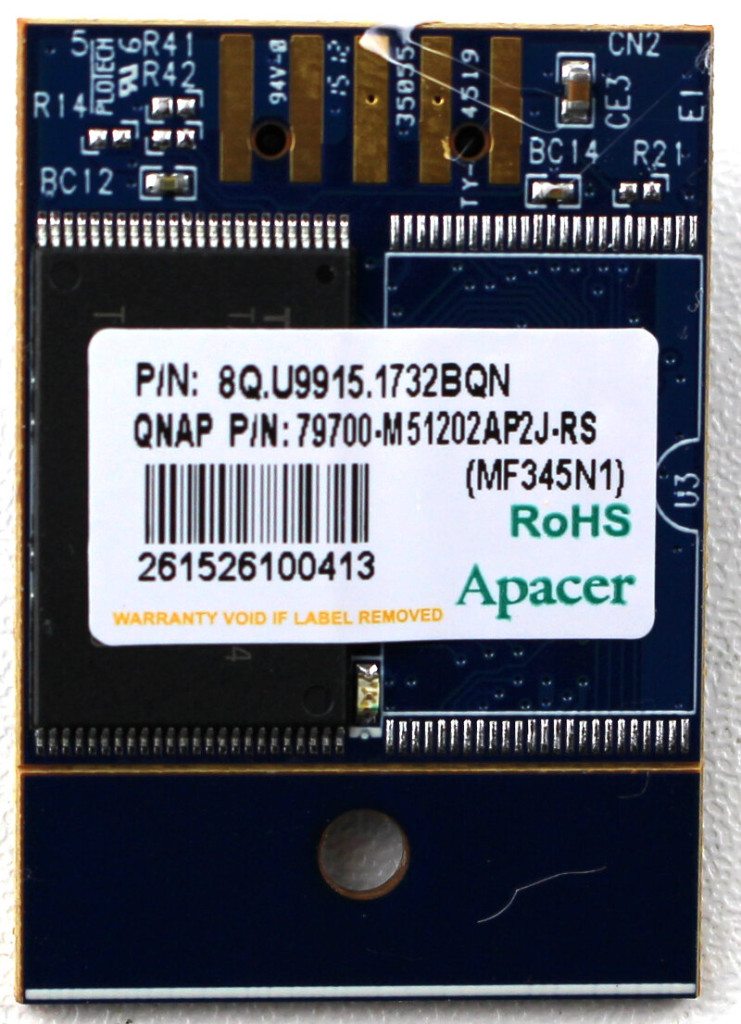
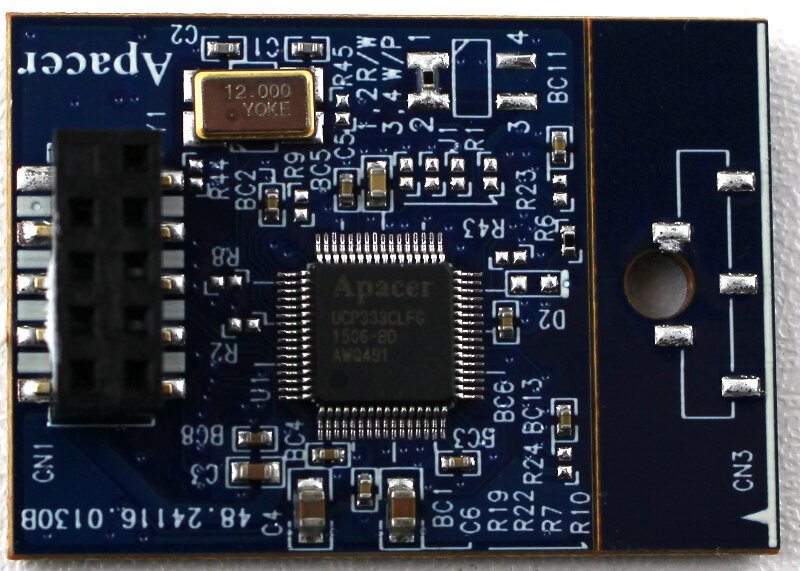
The system itself has a default USB-based DOM by Apacer as it has been seen a so many NAS before. A proven and reliable system.