be quiet! Silent Base 800 Windowed Edition Mid-Tower Review
Peter Donnell / 9 years ago
Interior
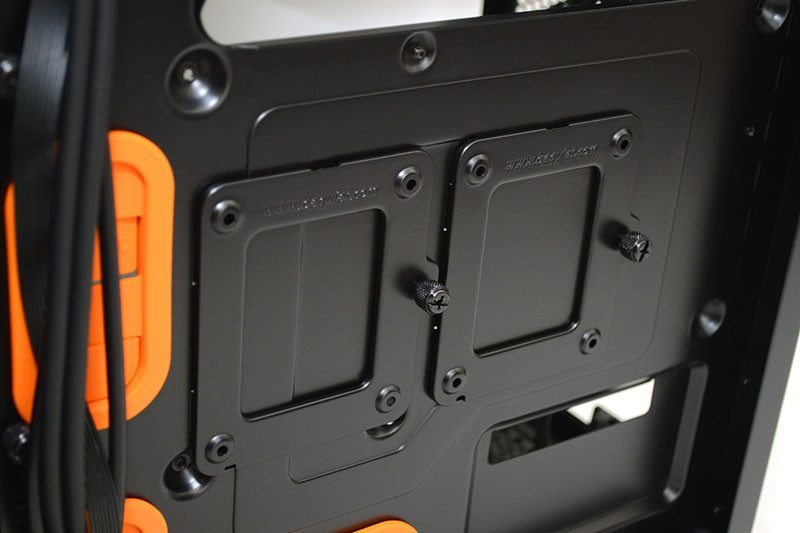
The interior of the Base 800 is just as stunning as the exterior; a stark mixture of black and bright orange that really catches the eye. There’s a huge CPU cooler mounting cut-out, built-in stand-offs and four huge cable routing grommets.
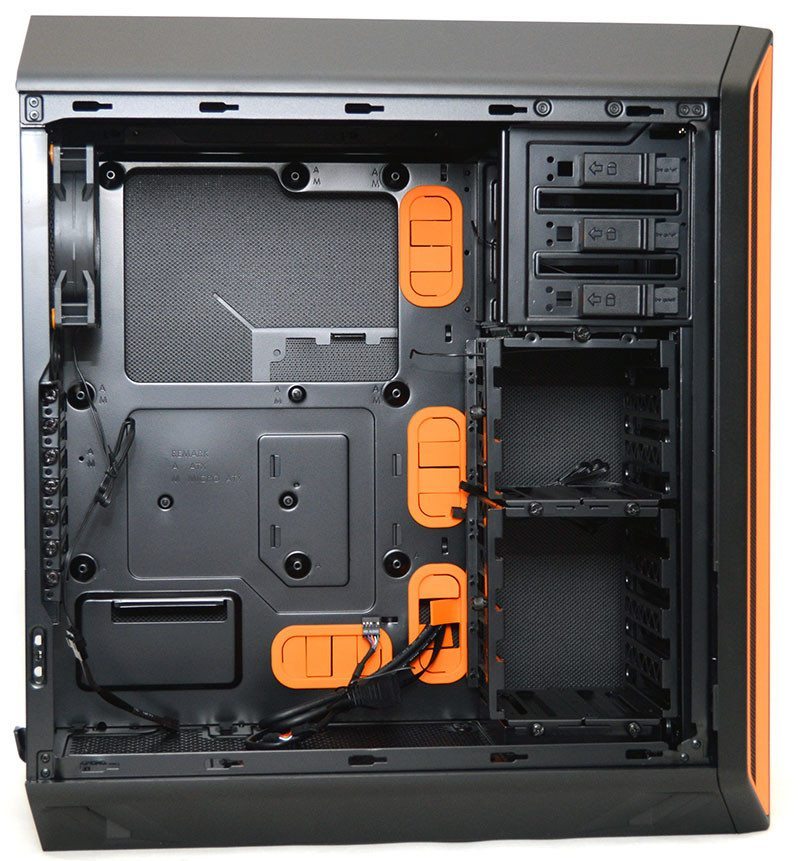
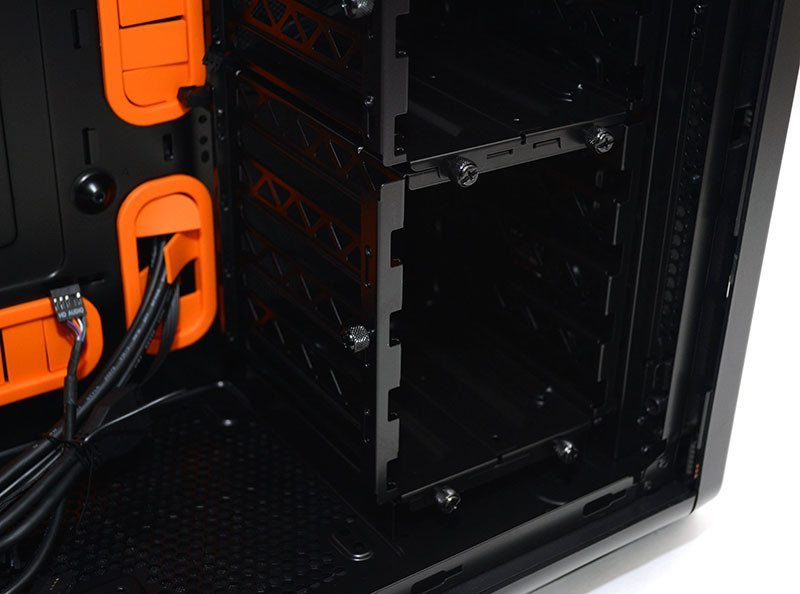
Easy access thumb screws on each of the seven expansion slots.

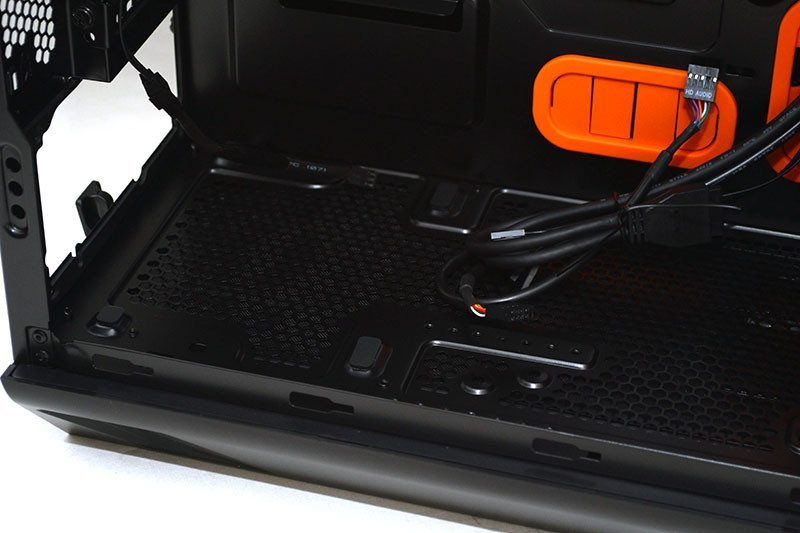
A rubber membrane around the PSU cut-out as well as four rubber mounting pegs to, you guessed it, help reduce noise and vibrations.
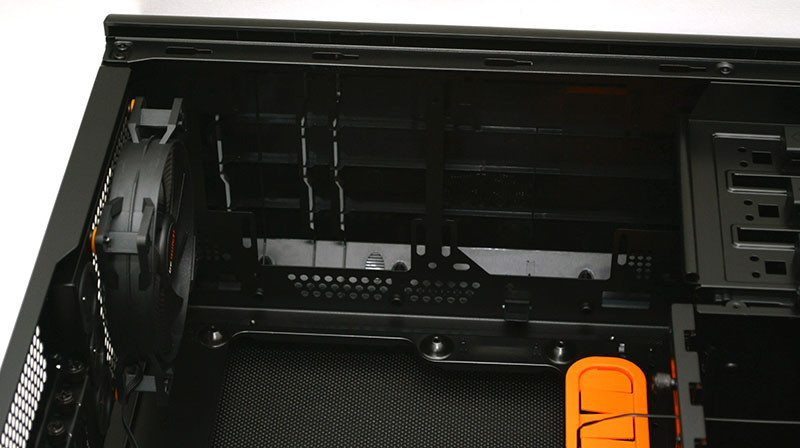
Lots of space in the top for extra cooling solutions.
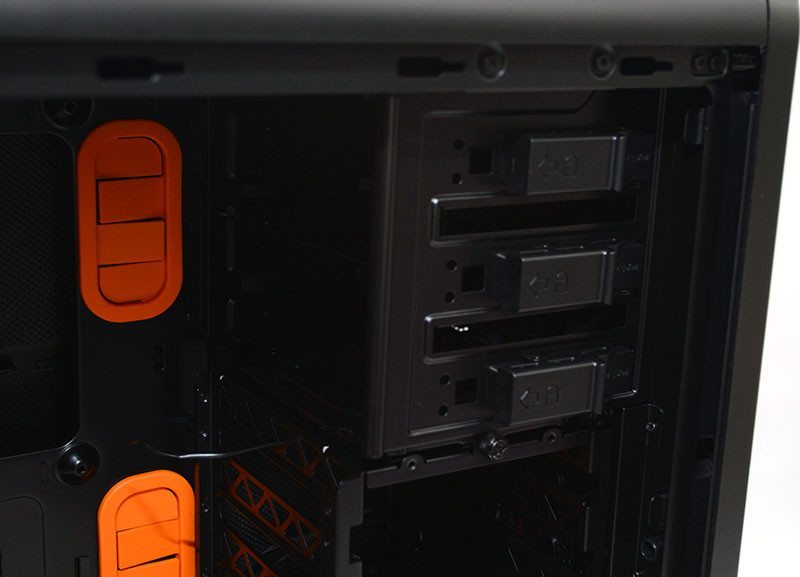
Fully modular hard drive bays, perfect if you want to strip them out and install a radiator in the front. All 3.5″ bays use rubber strips as rails to help reduce vibrations and noise.
Three tool-free 5.25″ drive bays.
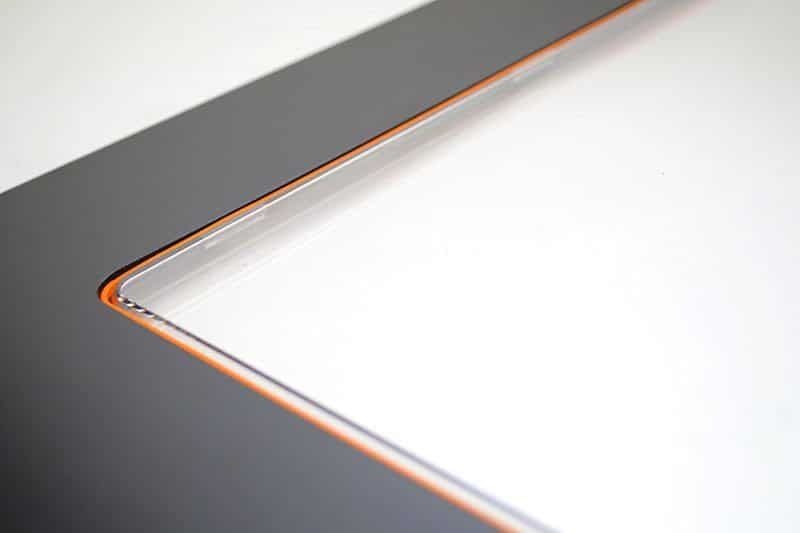
Now onto the new addition to the Base 800, that stunning side panel window. It becomes immediately apparent that this is no standard perspex panel. There are three screws on each side, as well as a rubber membrane around the edges, this thing looks like it’ll keep a strong storm out, let alone sound waves.
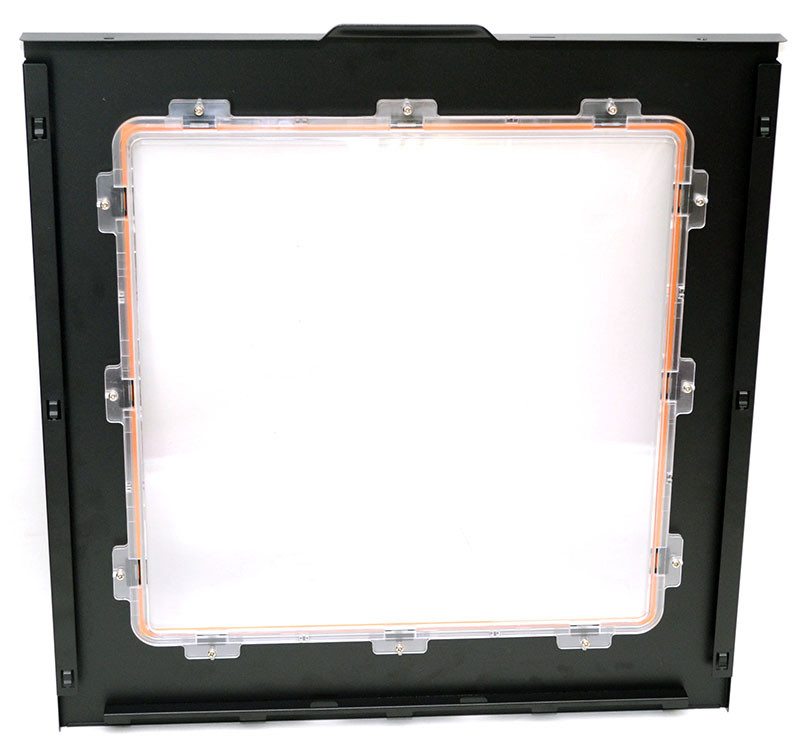
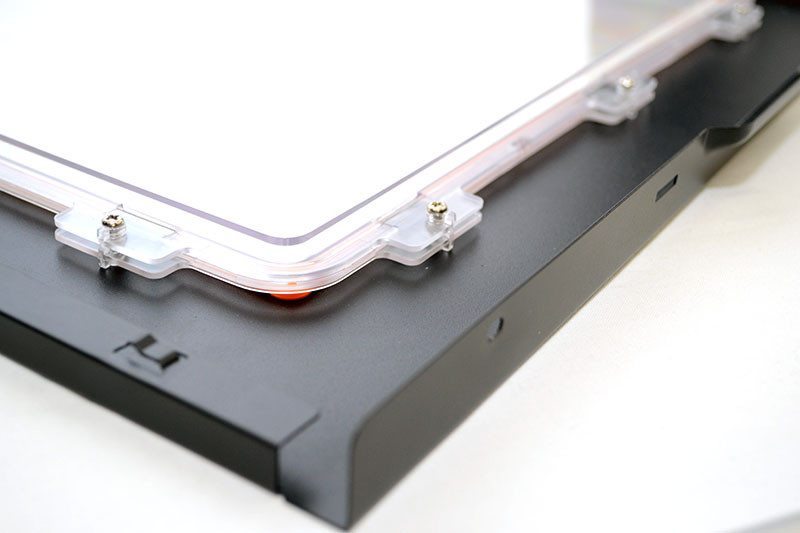
The seal is pretty snug and as you can see, this isn’t one window, but two windows deep; that’s right, double glazing on a chassis! What’s really interesting is that you can remove one panel if you really wanted, as this would give you more CPU cooler clearance, albeit at the cost of sound noise suppression capability.
The inside looks a little industrial, but the exterior finish is very neat and tidy, which is great as this is the side you’re going to see most often.
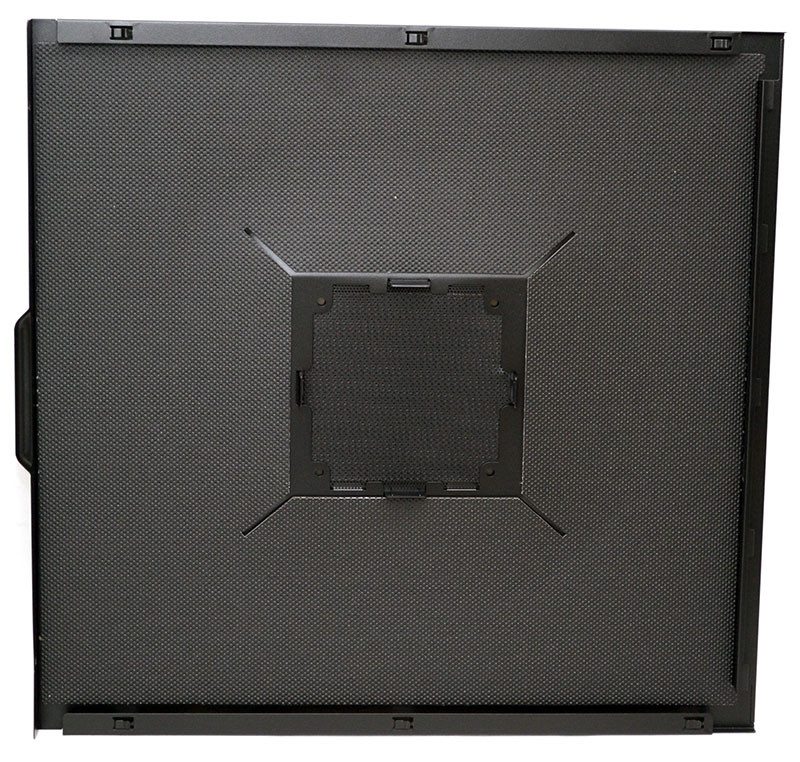
The right side panel is packed with sound-dampening materials, although that’s hardly a surprise given that every other aspect of the chassis is sound-proofed. There’s a fan mount in the middle, but this is redundant as you likely won’t fit one behind the motherboard, it’s just a clone of the regular left side panel.
Loads of room behind the motherboard for cable routing, as well as a couple of cable tie loops to help keep things tidy.
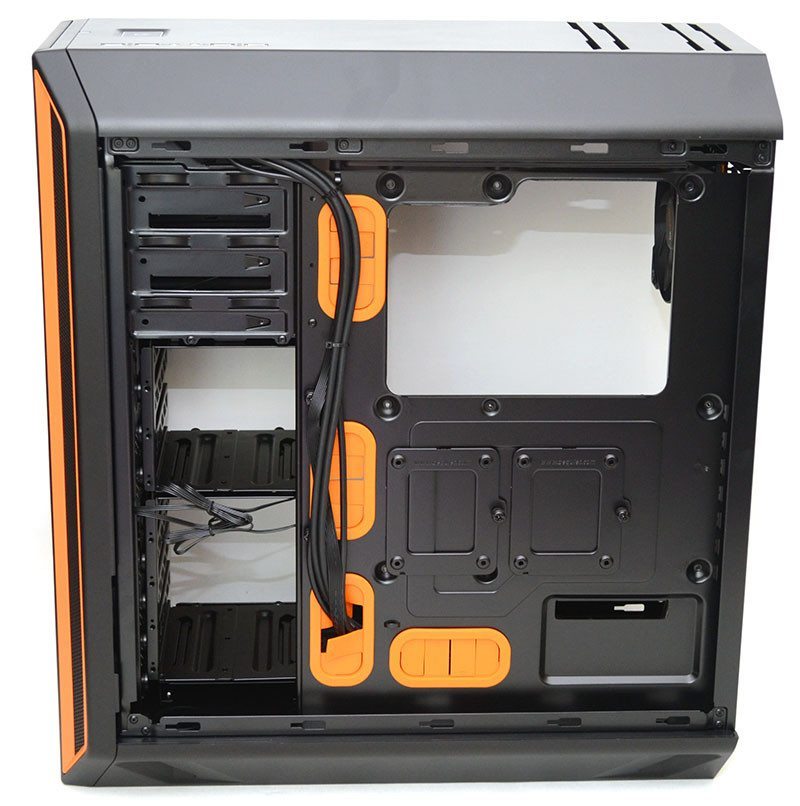
Taking out the front hard drive bays? No problem! As you’ll find two 2.5″ drive mounts hiding around the back.