Raijintek Ophion M Evo Case Review
Peter Donnell / 3 years ago
Exterior
One thing I do like about this case is that it lends its design from a lot of previous Raijintek cases, as I really like the designs they’ve used in the past, and this is a nice evolution of that look. That being said, the look is pretty sleek and understated. It won’t draw much attention by its self, but when you do look at it, you can see it’s a quality product.

The side panel is 3 mm tempered glass, which is a little thinner than most, but that does save quite a bit of weight too. There is plenty of ventilation towards the front too, with a full-height intake on each side of the case.

No need for tools to open it up either, just use these four thumbscrews and you’re good to go.

I love the overall finish of this case, though, the brushed aluminium looks stunning, especially with this rounded and polished silver edge.

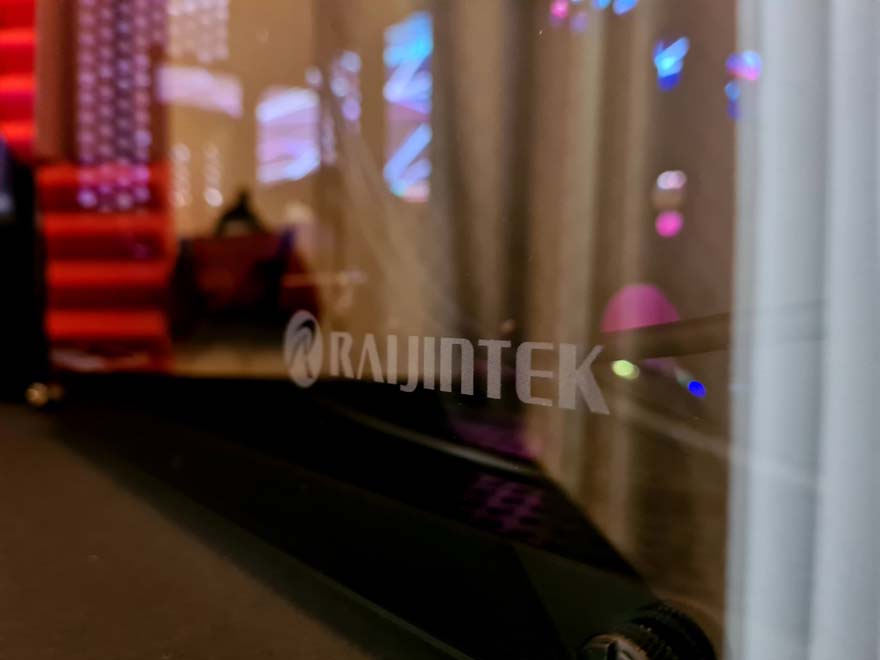
A tasteful Raijintek logo is etched onto the glass on the left side.
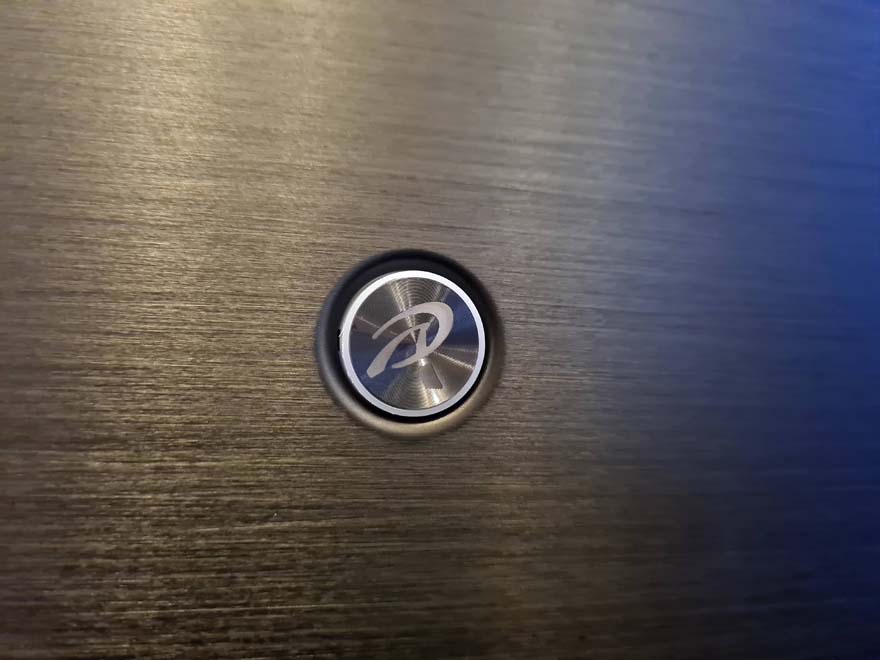
Rather than put their name on the front too, they just have an LED lit power button with their logo on it. I like how it’s been slightly recessed too, it’s the little details like this that take a case to the next level for me.
Tucked into the bottom left corner, a single USB 3 port, and a USB C port. That’s not a lot, but for a headset or controller, it’s really all most of us will need.

It’s certainly a case you’ll want up on top of your desk rather than under it. At least, off to one side though, not slap bang in front of your monitors like I’ve got it, that’s just impractical.

Up on the top, you’ll find a huge dust filter. It’s magnetic too, so just pull it off and give it a quick clean when required.

Below it, you’ll find a plethora of mounts to ensure compatibility and avoid fans or radiators conflicting with your motherboard.

On the right side of the case, you have another tempered glass window. But why? Well, this case is quite clever, as the motherboard and cooler are on this side, while the other side of the case is for the graphics card. That means you can show off all your hardware from multiple angles. It’ll look pretty interesting once I’ve got my test build in here.

Around the back of the case, you’ll see there’s a lot of ventilation, so getting rid of heat at the back of the case should not be difficult.
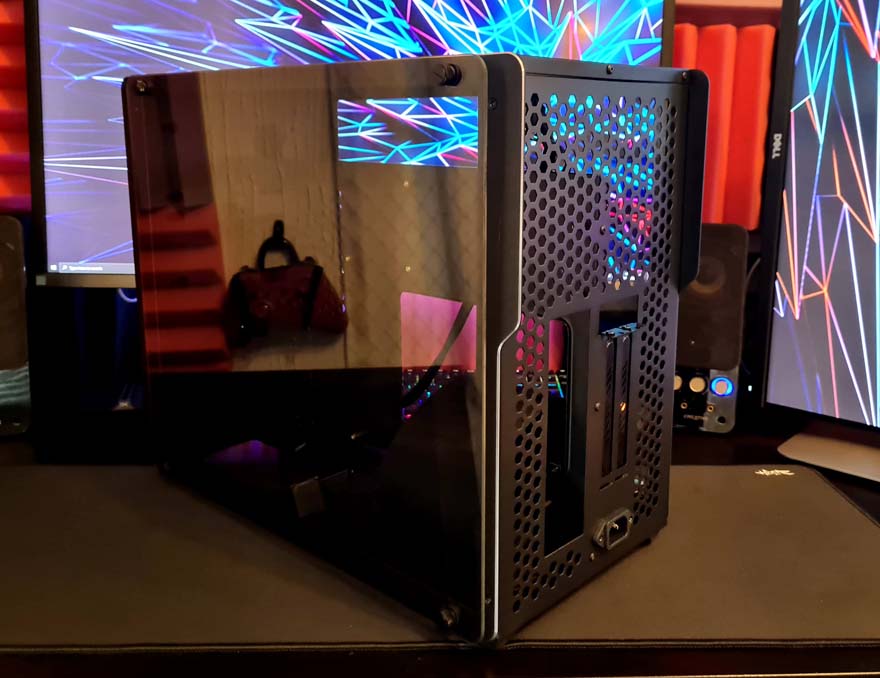
As you can see, the motherboard is on one side of the case, and the GPU mount is on the other side, which should have an interesting impact on the airflow and overall temperatures.

On the bottom of the case, you’ll find even more ventilation, as well as a large dust filter for the bottom fan mounts. There’s a PSU mount here too, as well as some sturdy rubber feet to ensure if all gets enough airflow.


