Riotoro CR1088 Prism Chassis Review
Peter Donnell / 6 years ago
A Closer Look – Interior
With the side panel removed, the interior looks pretty neat and tidy. Of course, that’s hardly surprising given that the PSU and HDD bays are all hidden on the other side.

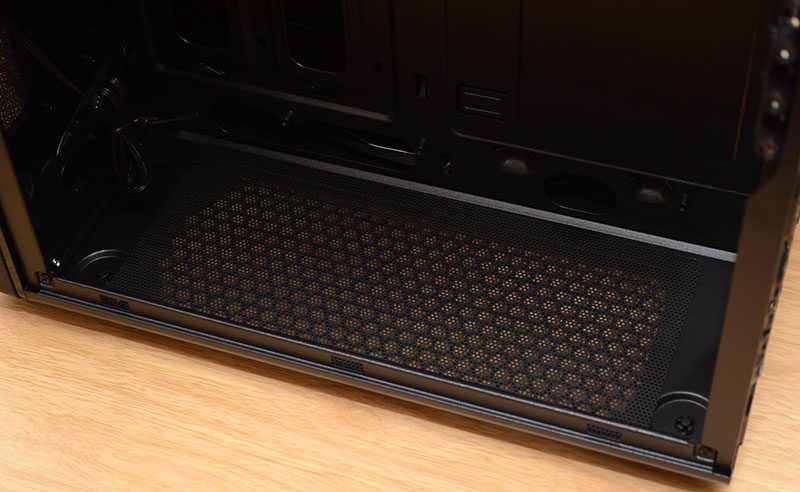
There’s another dust filter tucked into the base, allowing for clean airflow from the bottom of the chassis.
While a few cable routing holes will help you keep things looking neat and tidy also.

Upon closer inspection, two of the PCIe covers are reusable, with the remaining five being a snap-off design. Still not ideal, but it’s a start I guess.

Around the back, there’s a fair amount of space for routing your excess cables, as well as mounting an ATX PSU on its side. There’s a handy component box with all the usual nuts and bolts in it too.

The cable cluster for the front I/O uses all black cables, so they should be easy to hide in and around your build. There’s a SATA power cable too, which is required to power the LED lighting.

There’s a tool-free 3.5″ bracket, although 2.5″ drives can be mounted with the included screws. On the right, a to0l-free 2.5″ drive mount is also a welcome addition.


