Riotoro CR500 Mid-Tower Tempered Glass Chassis Review
Peter Donnell / 6 years ago
A Closer Look – Interior
Removing the side panel, you get access to that spacious interior. It’s all finished in the same black as the exterior, giving it a nice uniform finish. There’s a large CPU cooler mounting cut-out behind the motherboard. However, there are also three routing grommets to the side of the motherboard, as well as some other cut-outs.
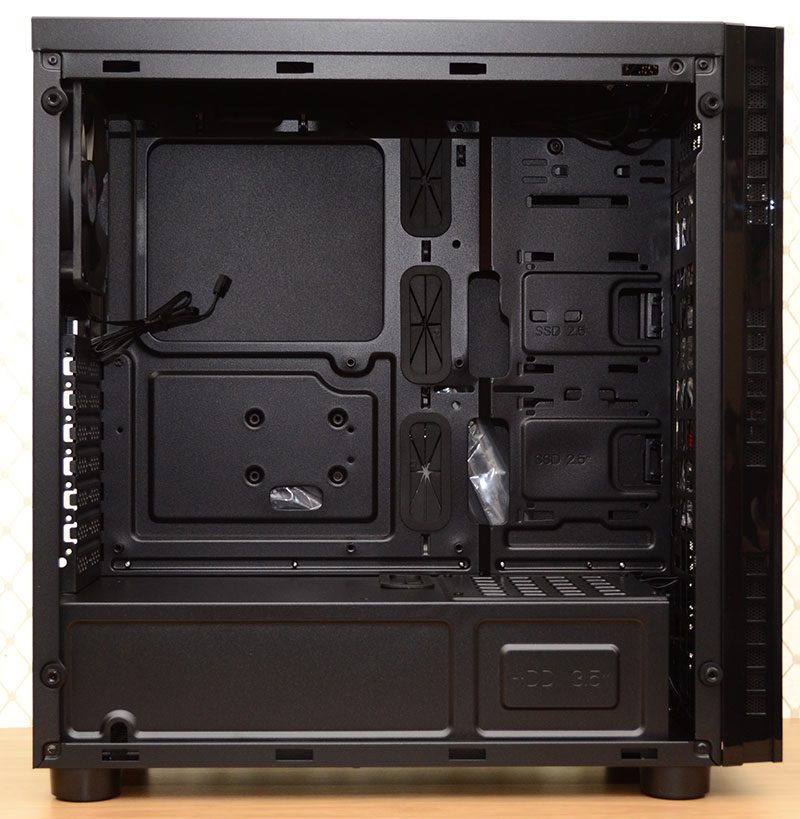
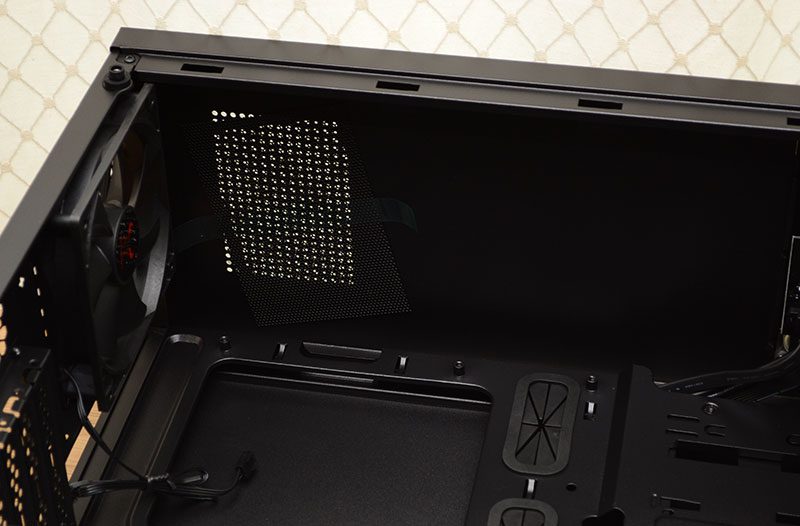
There’s a small magnetic filter at the top. Honestly, I’m not sure why this vent is here at all. You can’t mount a fan or radiator here, so I’d rather they just blanked it out completely.
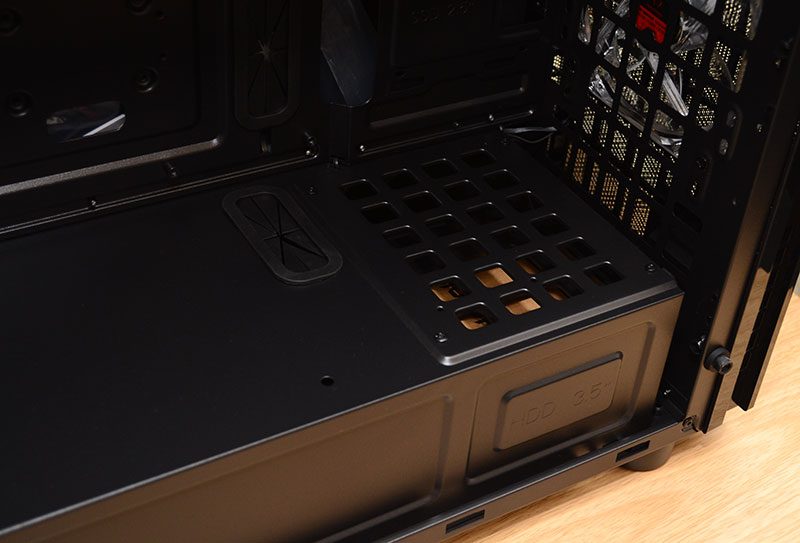
The PSU shroud is a nice bonus, hiding all the ugly cables out of sight. It also hides the 3.5″ drive bays, and some added ventilation ensures they don’t get too toasty.
Pre-Installed Fans
The pre-installed fans are mounted between the front panel and the chassis. This keeps things looking neat and tidy, and I’m hoping they look great with the LED lights powered on. No RGB though, they’re just red, but that’s fine by me.

There’s a third fan pre-installed in the back too, so stock airflow performance should be pretty sweet. Without a doubt, this chassis is best configured for an air cooler, although an AIO may fit in the front too.

The expansion slot covers are those nasty snap-off panels. I don’t like them, as they can’t be reinstalled to cover gaps, but I guess it is what it is and may not be a deal breaker for you.

Around the Back
Behind the motherboard, there’s not a vast amount of room. However, that shouldn’t be an issue, as the PSU shroud is perfect for hiding any unwanted or excess cables.

There are two 3.5″ drive trays in the bottom too, and they’re tool-free, which is a nice bonus.

Just above that, you’ll find two more brackets, each supporting a single 2.5″ drive. Overall, that gives us four drive mounts in total; more than enough for most mid-budget builds.

Finally, there’s a good amount of room for an ATX PSU, as well as excess cables. Keep in mind, you’ll also need the Molex connector here, which powers the front panel LED lighting.


