Rosewill B2 Spirit HPTX Full-Tower Chassis Review
Peter Donnell / 8 years ago
Interior
There’s a colossal amount of space on the interior of the B2 Spirit, more so that I’m ever to likely need myself, and I feel like I could almost climb inside this thing.
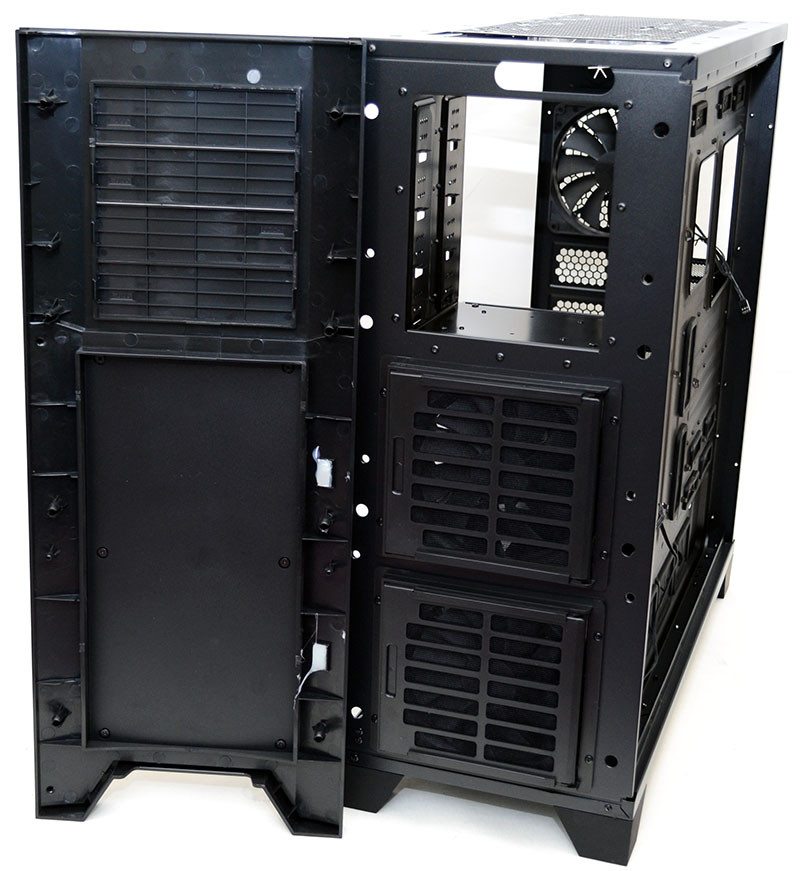
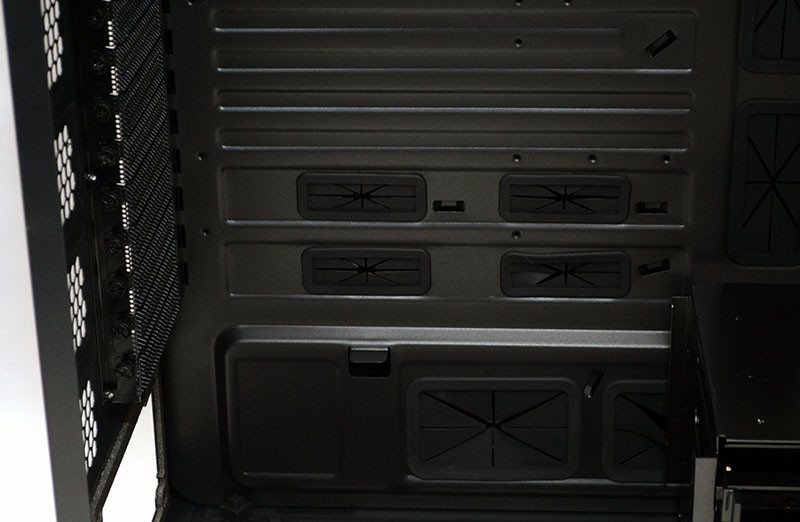
With support for up to HPTX motherboards, you’ll find two good size CPU cooler mounting cut-outs at the back, as well as a huge array of screw holes for fitting motherboard stand-offs to suit your requirements.
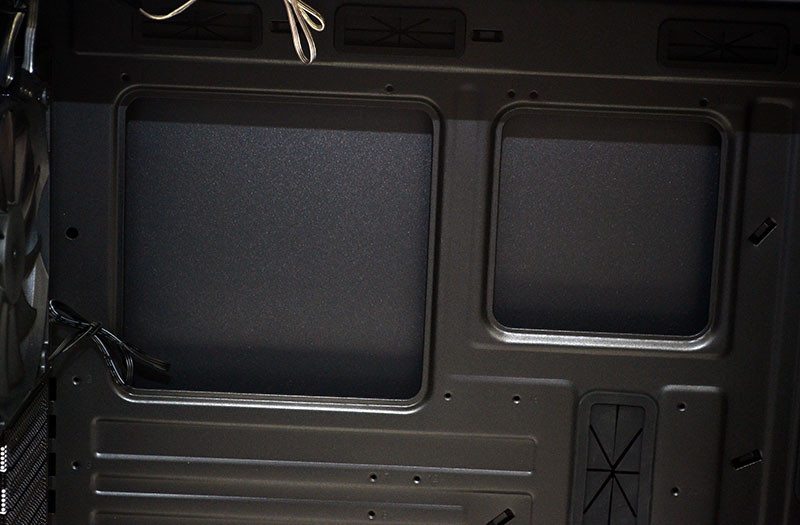
There’s a plethora of cable routing grommets throughout the chassis, with most of them having a second row to cater for smaller and larger motherboard configurations without resulting in trailing cables.
There are even a two large PSU grommets, handy for those who are using larger enthusiast grade power supplies.
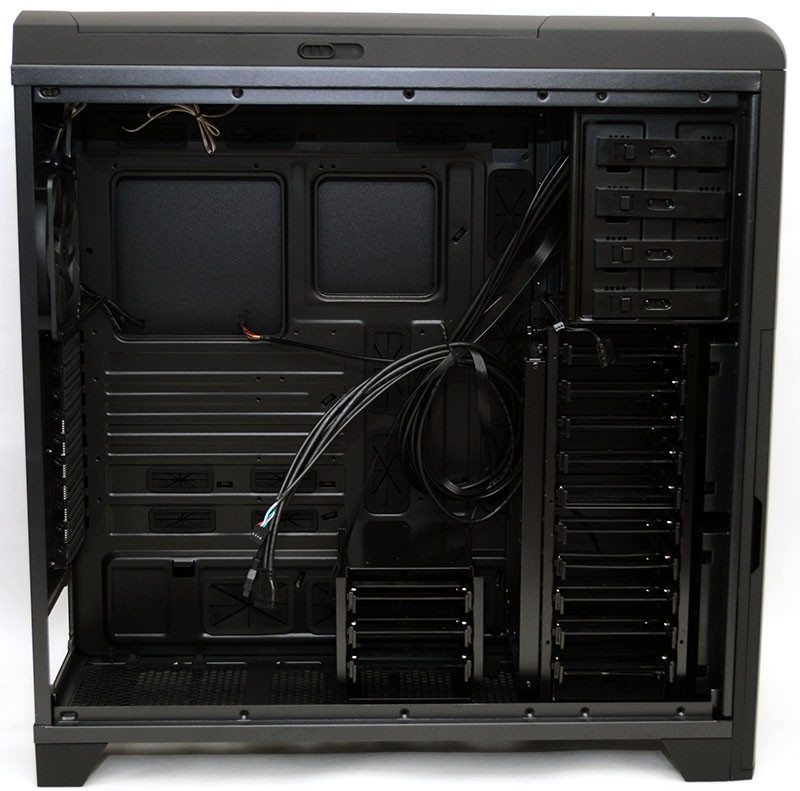
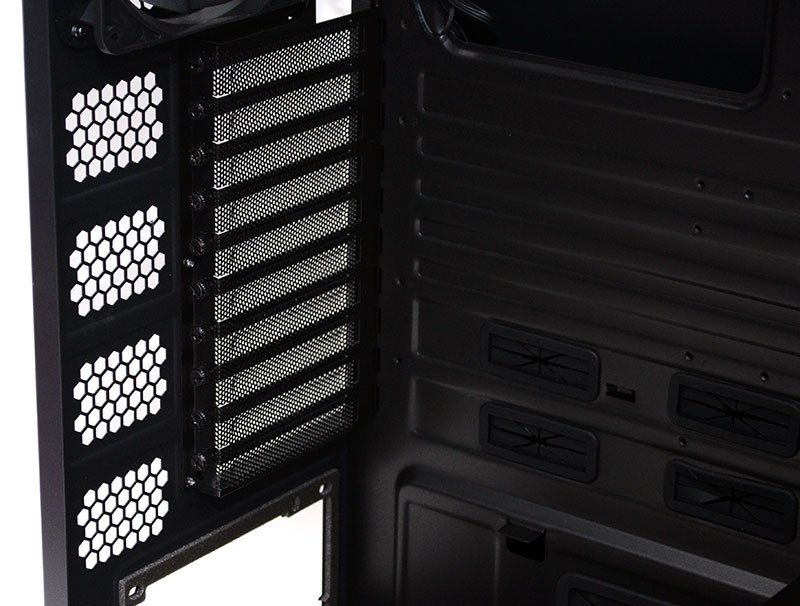
There are four 5.25″ drive bays in total, each coming with a tool-free locking mechanism for quick and easy installations.
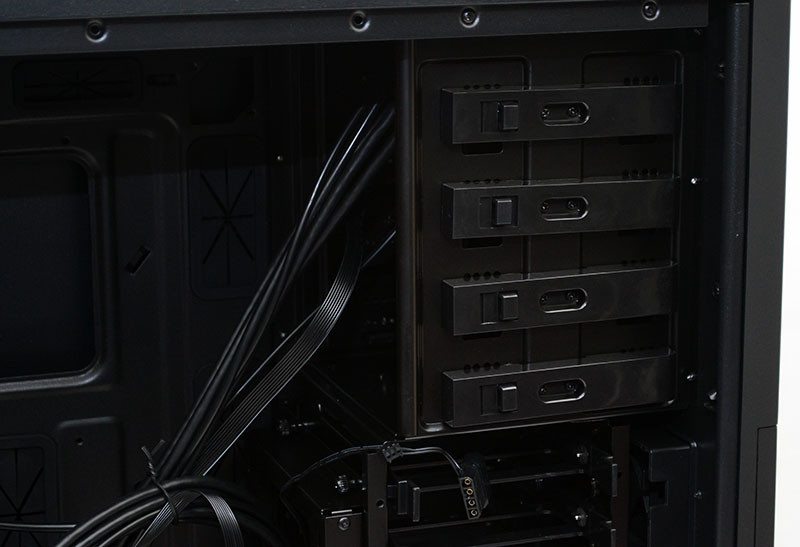
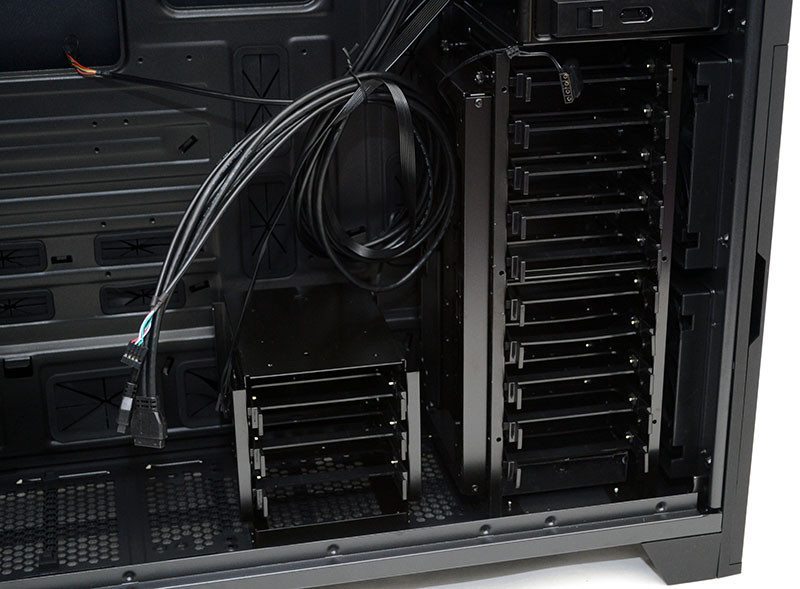
Need a huge amount of storage for your new workstation build? With a huge bay of 10 tool-free drive trays at the front, as well as an extra bay of three to the left, you’ll have no trouble installing all the 3.5″ drives or 2.5″ drives you’ll require.
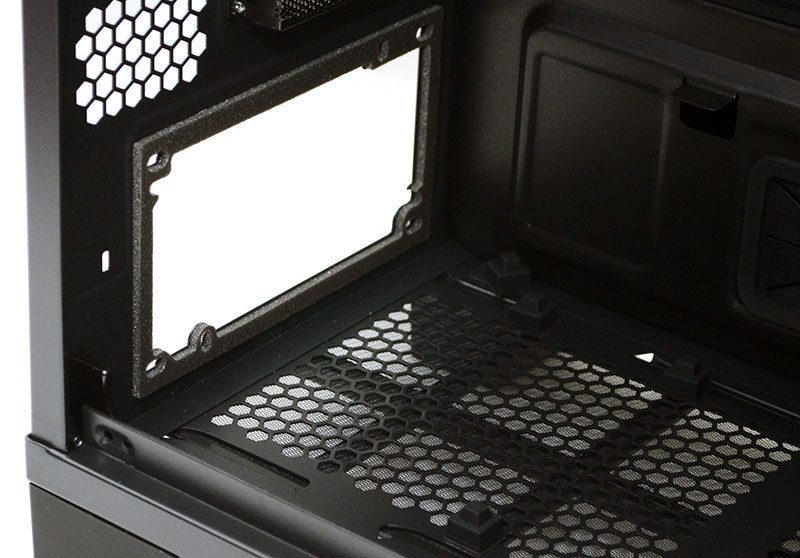
In the back, you’ll find a good quality 140mm exhaust fan, although there are also screw holes for a 120mm fan should you need to swap it out, and there’s ample clearance at the top and bottom of the mount to support most radiator configurations.

Each of the ten expansion slots comes fitted with a ventilated and reusable cover, thumb screws and even more ventilation to the side of the slots; you’ll have no issues with a multi-GPU configuration here.
Even the biggest ATX PSUs on the market should fit in here with ease, and there are four firm rubber pegs, as well as a foam back padding to ensure a clean and vibration free fit for your unit of choice.
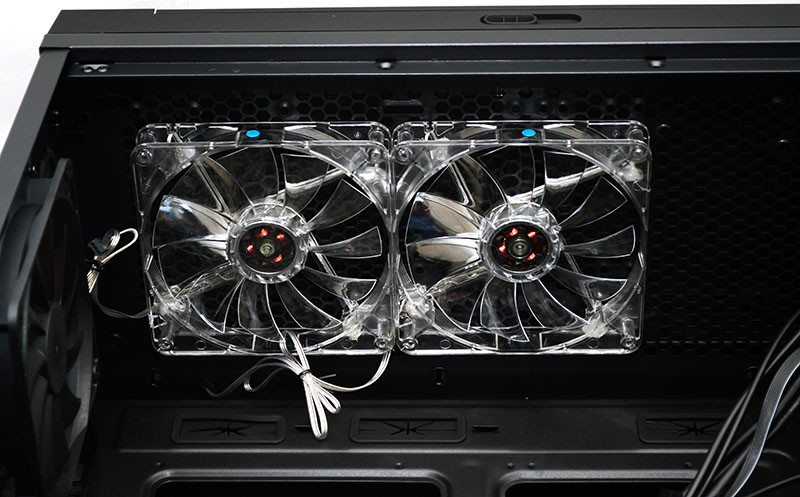
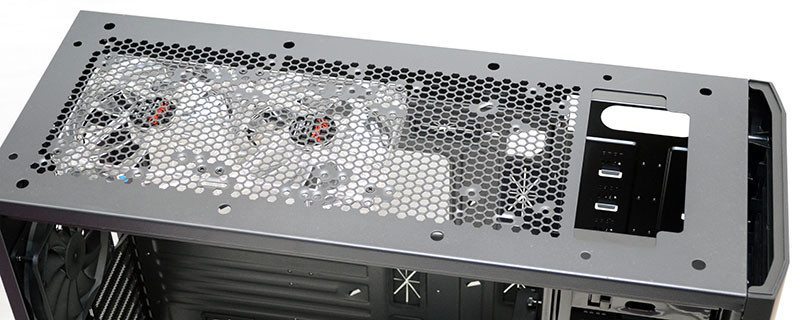
In the top, another pair of 140mm fans, each equipped with clear blades and blue LEDs for some added visual flair. The top panel actually has room for three 120/140mm fans or similarly sized radiator configurations.
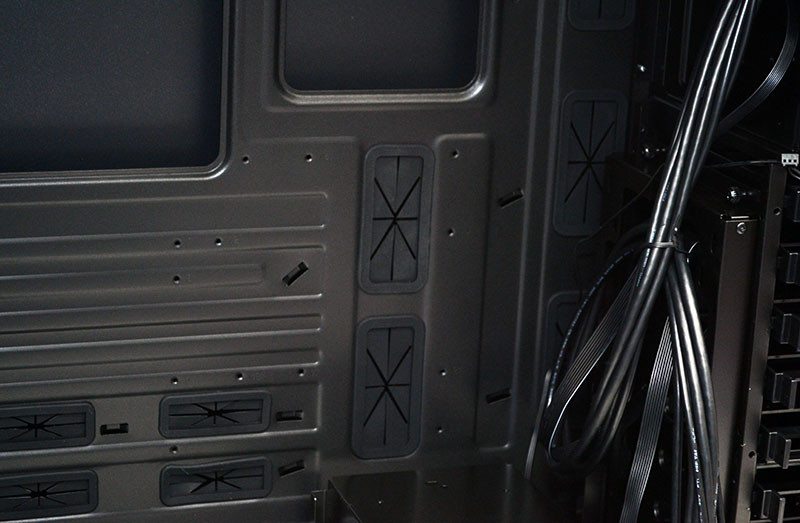
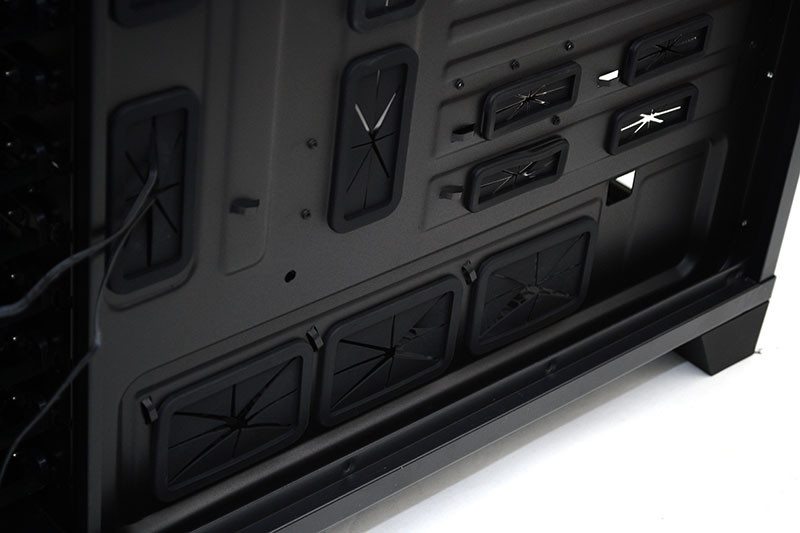
There’s plenty of room behind the motherboard for cable routing, so even those with extensive hardware installed shouldn’t have much trouble here.
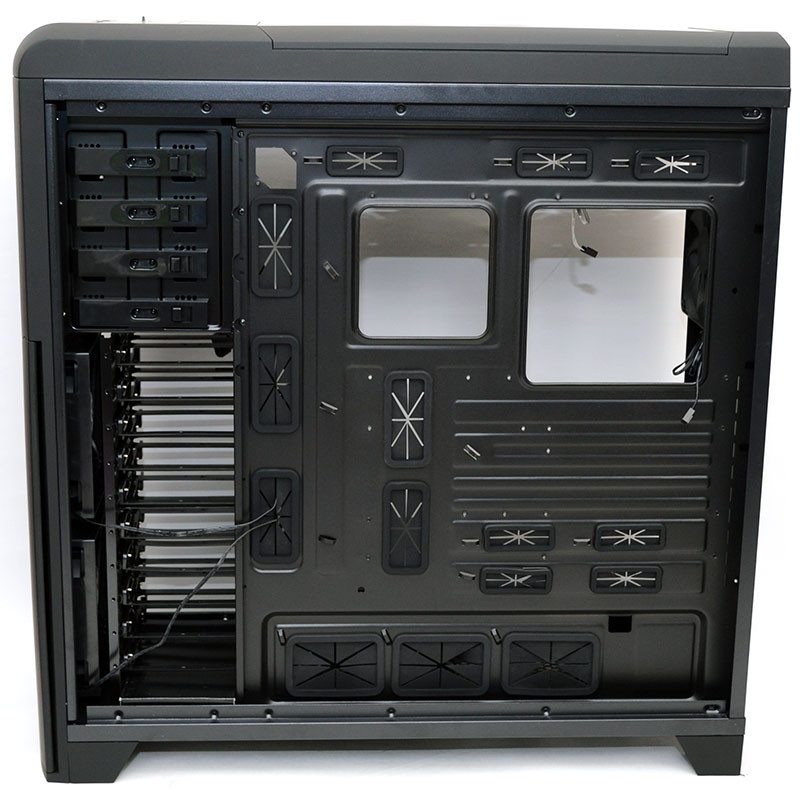
All of the grommets are well placed and come with extensive support from cable tie loops around the back of the motherboard, as well as next to the grommets themselves to help keep things as neat and tidy as possible.
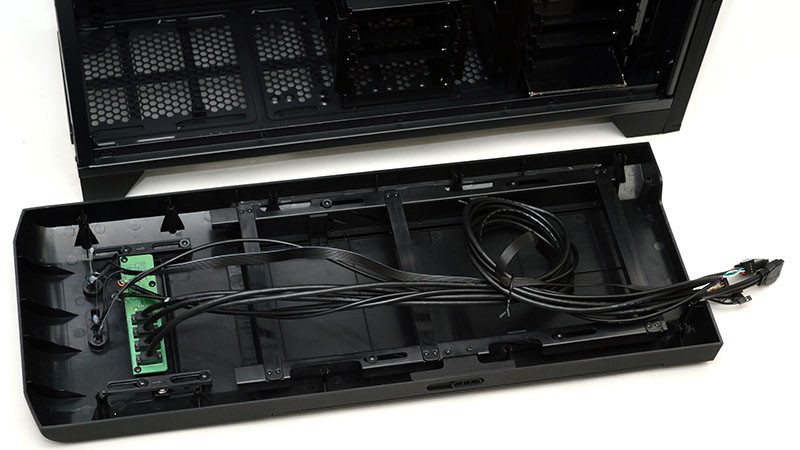
The top panel is held in place with push-peg clips, and can be removed by giving it a quick pull on the back of the chassis. On the underside, you’ll find easy access to the top panel fan mounts, as well as a large cut-out for the front I/O cables to pass-through.
The front panel pulls off in the same fashion at the top, although with the quick release fan doors at the bottom, it’s unlikely you’ll need to remove this panel often, if at all.