Rosewill Rise Glow Mid-Tower Chassis Review
Peter Donnell / 8 years ago
Interior
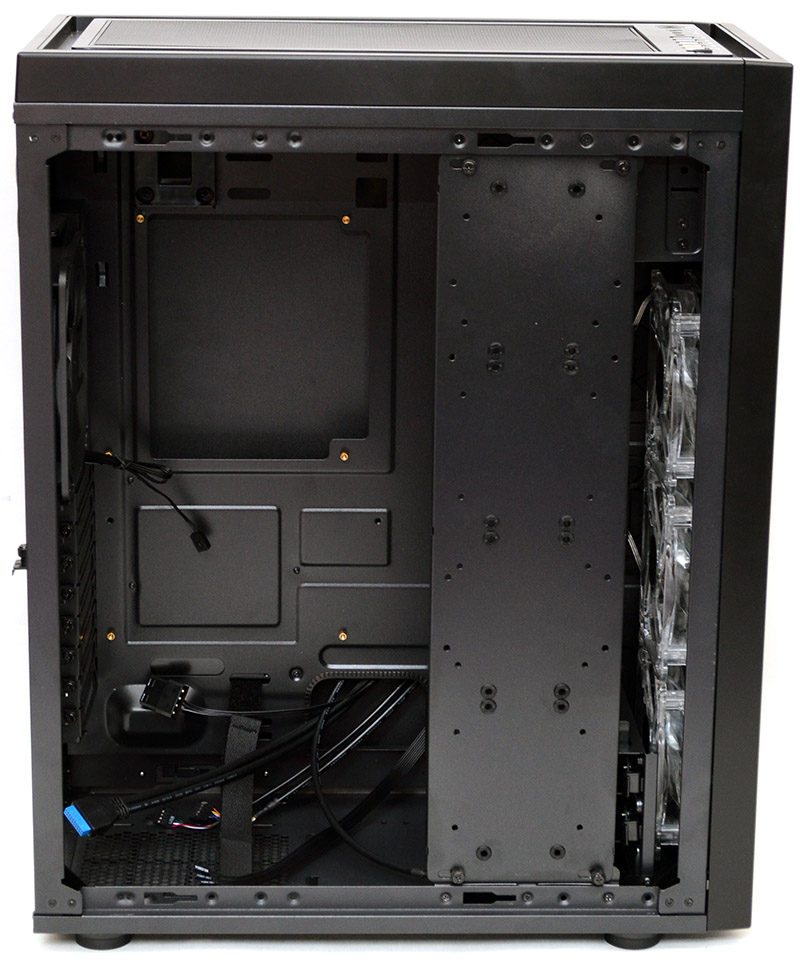
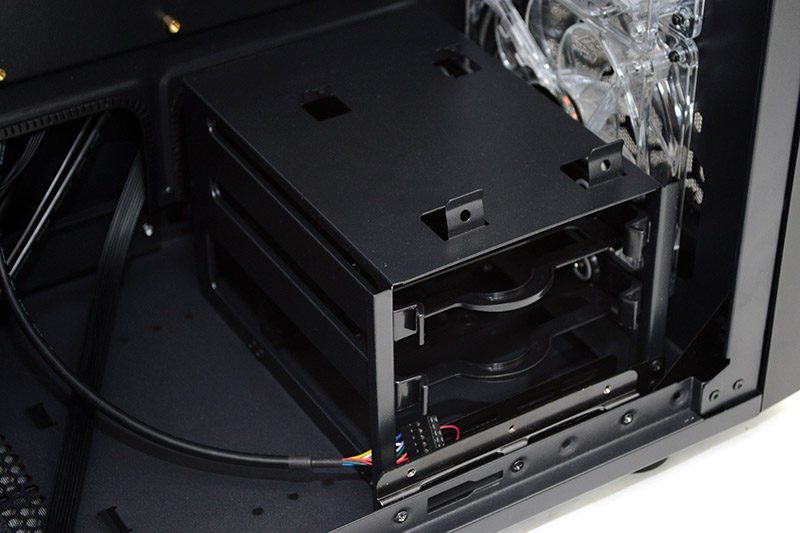
So now we move onto the cooler stuff, as we dive into the Rise, and with the side panel removed we can see just how much space there is in here. First thing we see, a vertical hard drive tray that’s mounted parallel to the motherboard, giving you an easy way to mount 2.5″ and 3.5″ drives without eating into your radiator of expansion card space.
The tray comes out via four thumbscrews, making it nice and easy to install your drives.
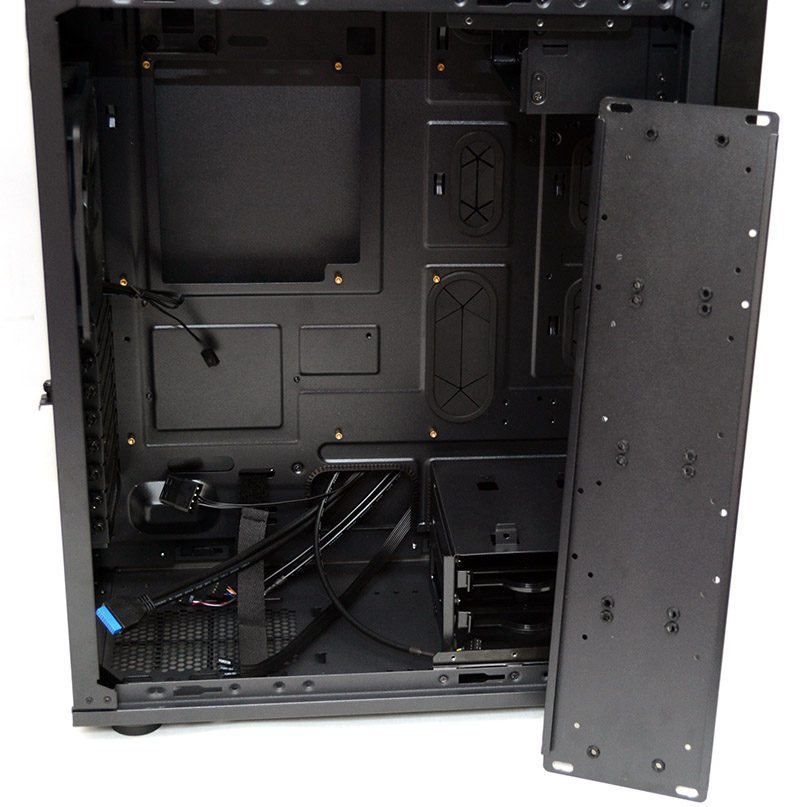
With the HDD panel removed, we can clearly see there’s a huge CPU cooler mounting cut-out behind the motherboard, as well as plenty of cable routing grommets dotted around the edges, with two columns on the right, one for ATX and the other further out for E-ATX cables.
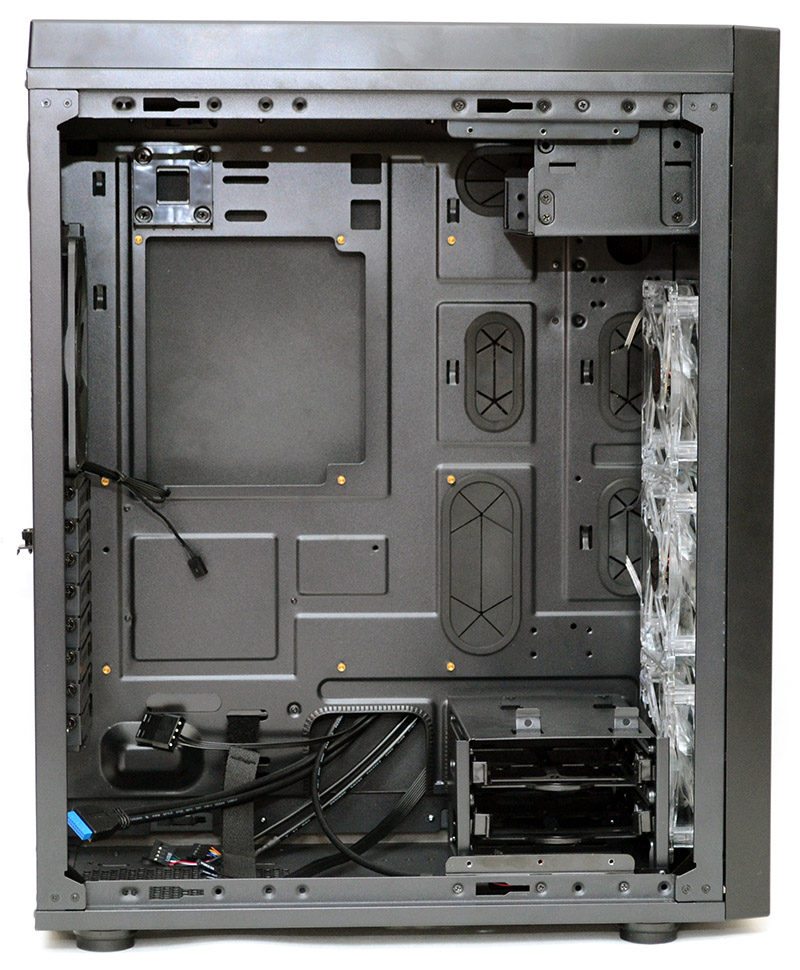
A tool-free 3.5″ hard drive caddy in the bottom right, which can be completely removed or moved over to the left to make more room for radiators.
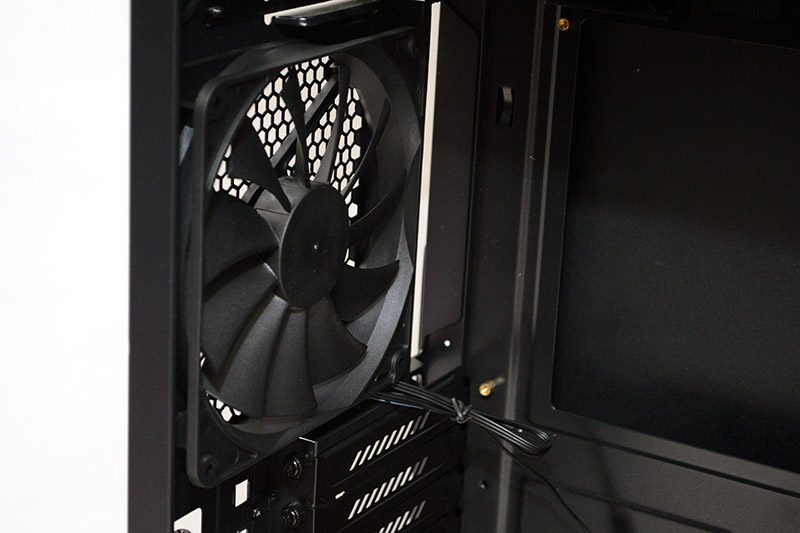
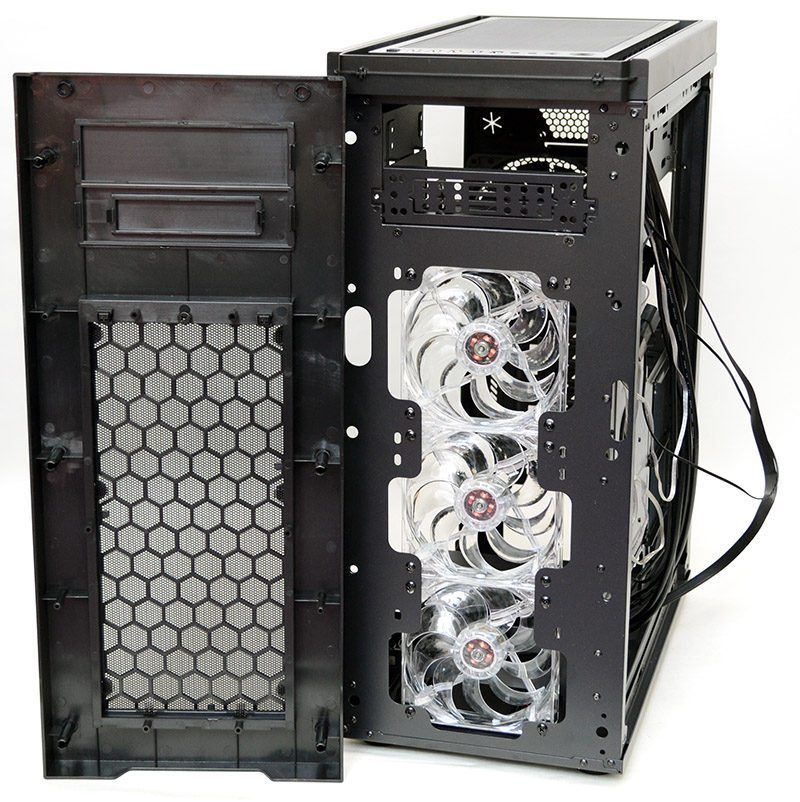
There are three very nice quality 120mm fans in the front, giving you an impressive amount of airflow right out of the box, and they’re all pre-installed to the built-in fan hub for an easy setup.

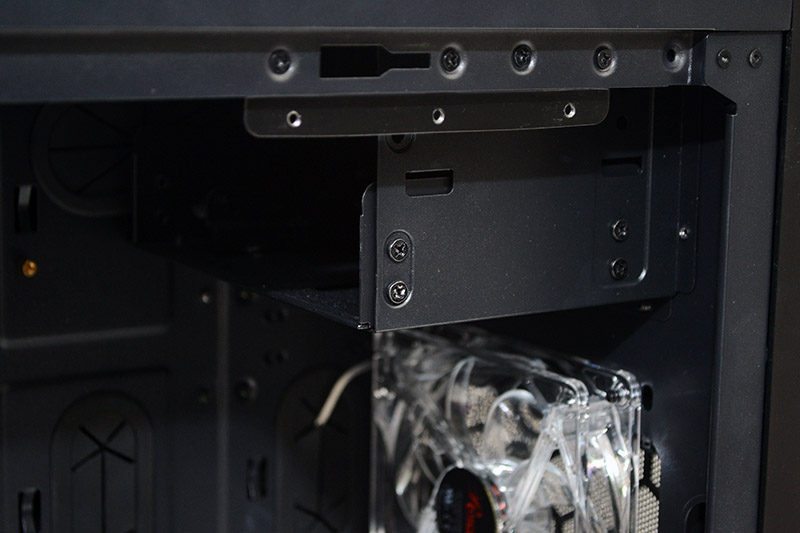
Two 5.25″ drive bays in the top, with a HDD tray adapter pre-installed in the bottom one for even more storage options.
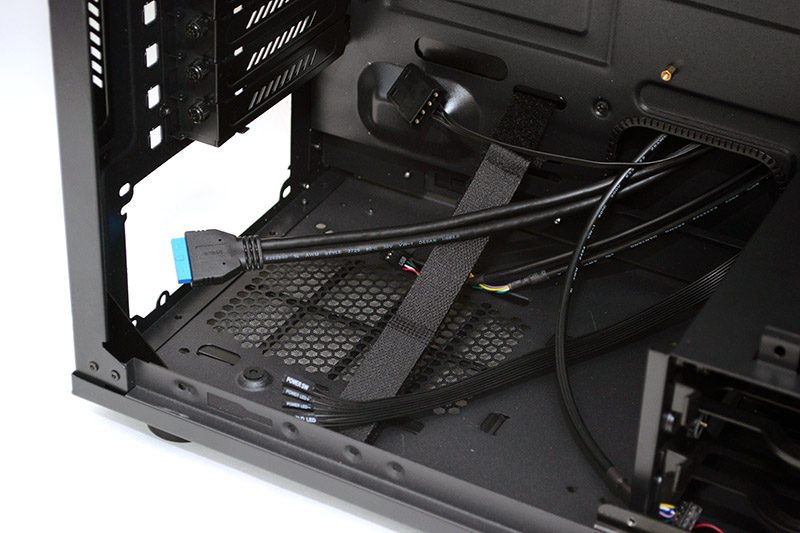
The PSU cut out (the bottom one) comes with a durable Velcro strap, helping secure your PSU and also helping to reduce vibrations.
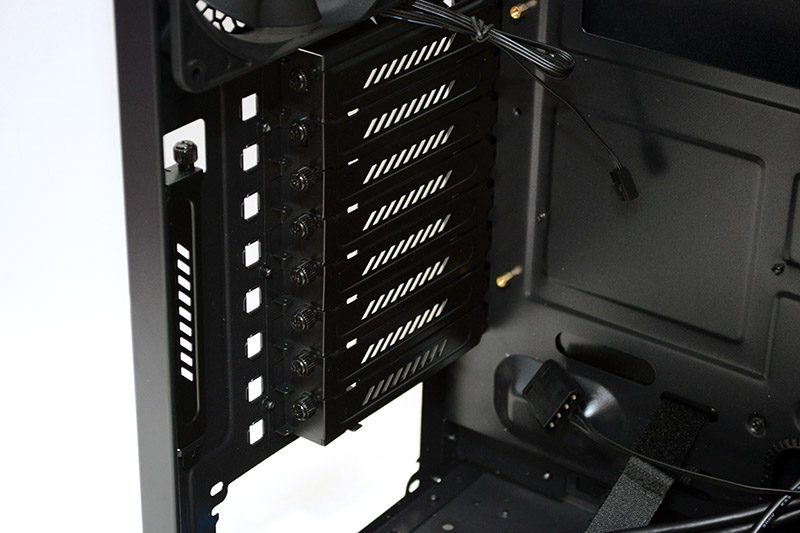
Easily accessible thumb screws on the expansion slot covers.
Three fans in the front, one more in the back, bringing the final pre-installed fan count to four; they certainly add to the overall value of the chassis.
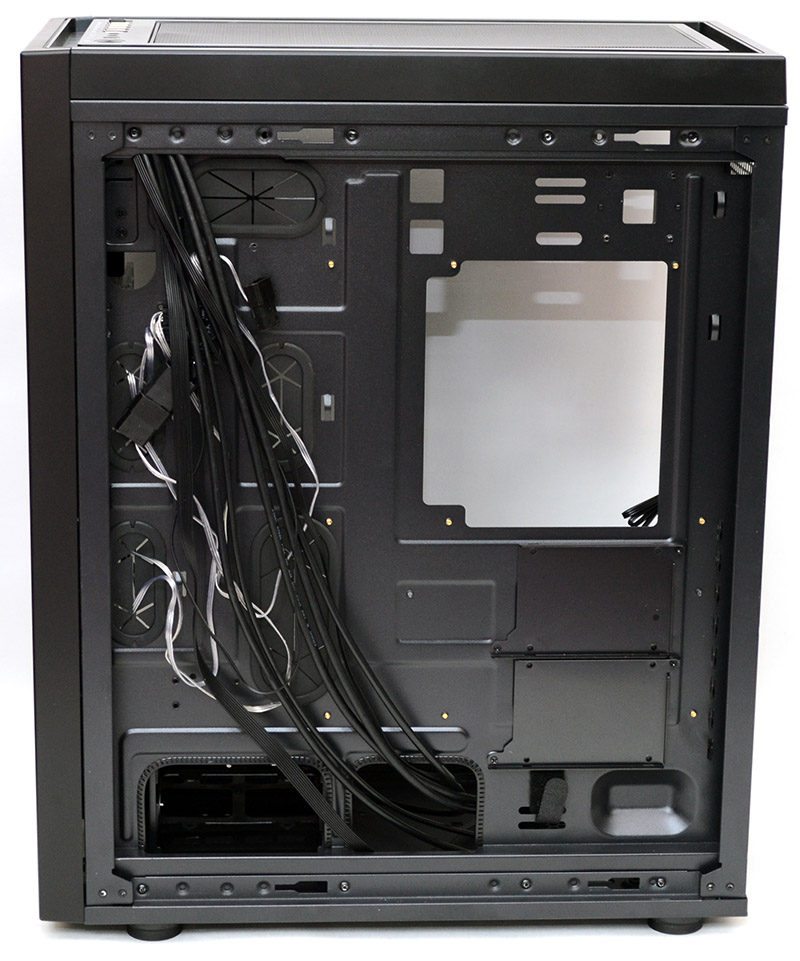
Behind the motherboard, there’s a good amount of cable routing space, as well as a few cable tie loops to help keep everything neat and tidy.
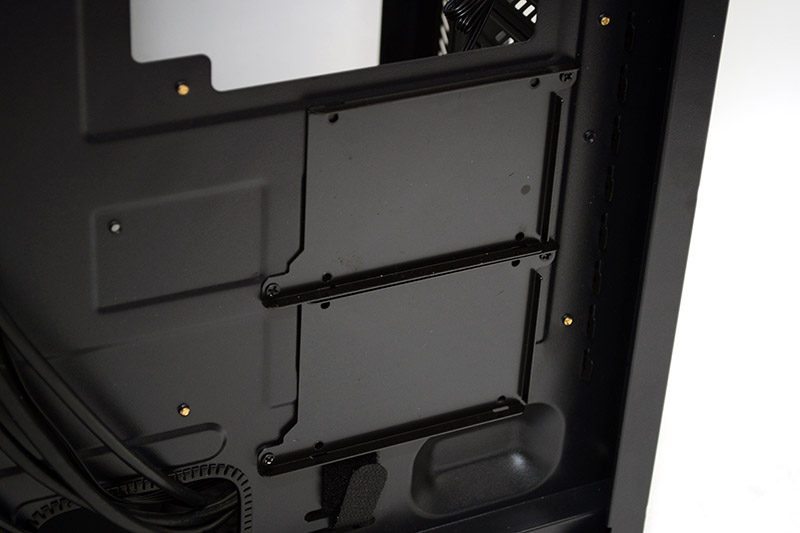
Two screw-on 2.5″ drive mounts behind the motherboard.
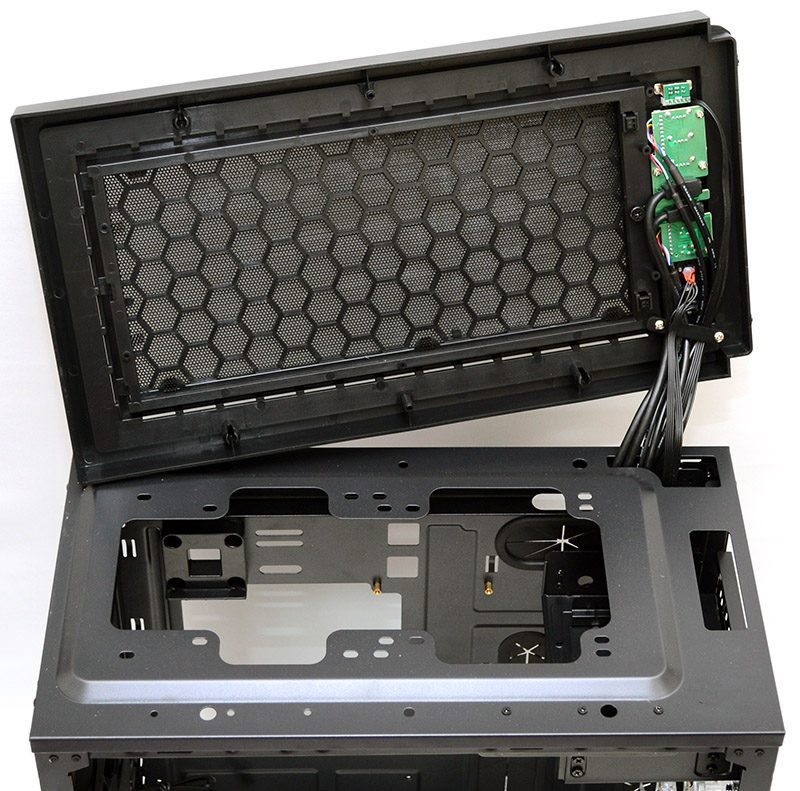
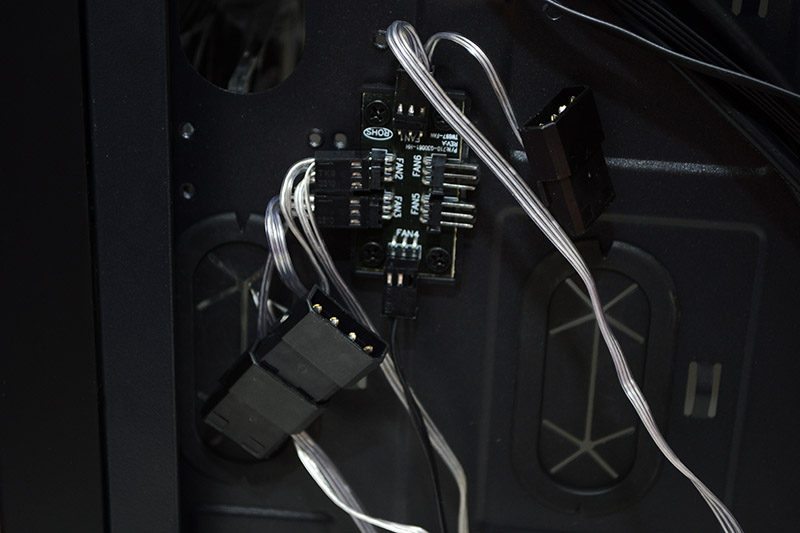
A small PCB with the fan headers tucked in the corner, all powered by a single Molex and hooked up to the fan control switch on the front panel. Another bonus, all included fans are both 3-pin and Molex, giving you even more connection options should you need them.
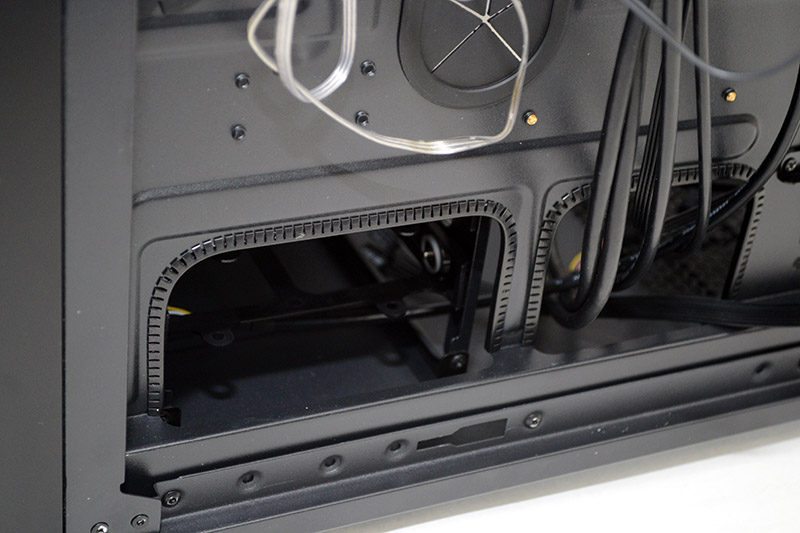
There are two large cut outs at the bottom and while they don’t have grommets, I think it’s a very nice touch that they have a protective cover on the edges to prevent cables from being snagged.
The front panel pulls off without the use of tools, allowing you to clean the filter, as well as access the 120/140 fan and radiator mounts. I would have preferred a slide out and washable filter on the front panel, but it’s hardly a deal breaker.
As does the top panel, simply pull it up and you can easily get to the top cooling mounts and the filter.