Silverstone Fortress Series FT04 Chassis Review
Peter Donnell / 10 years ago
Interior
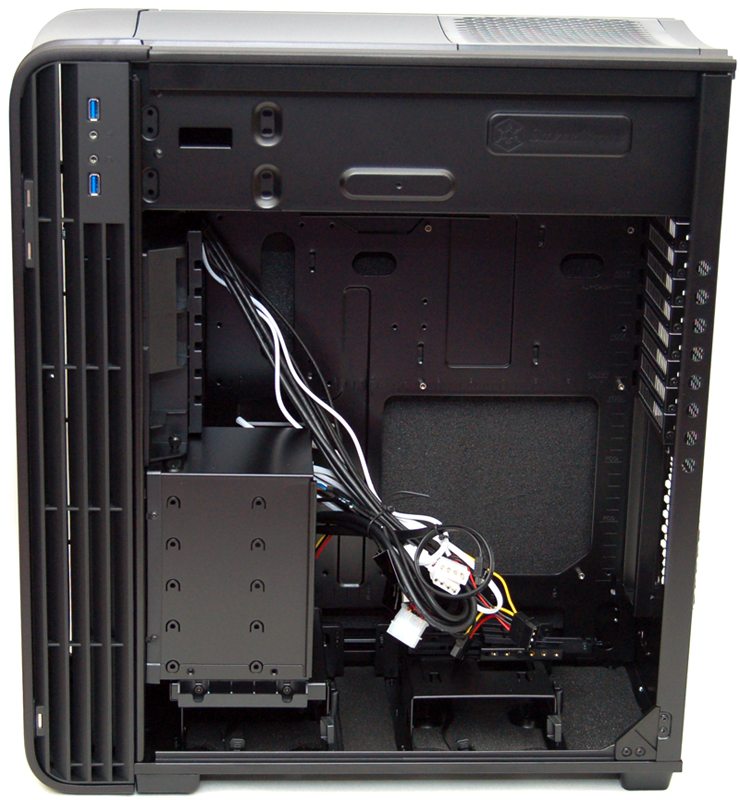
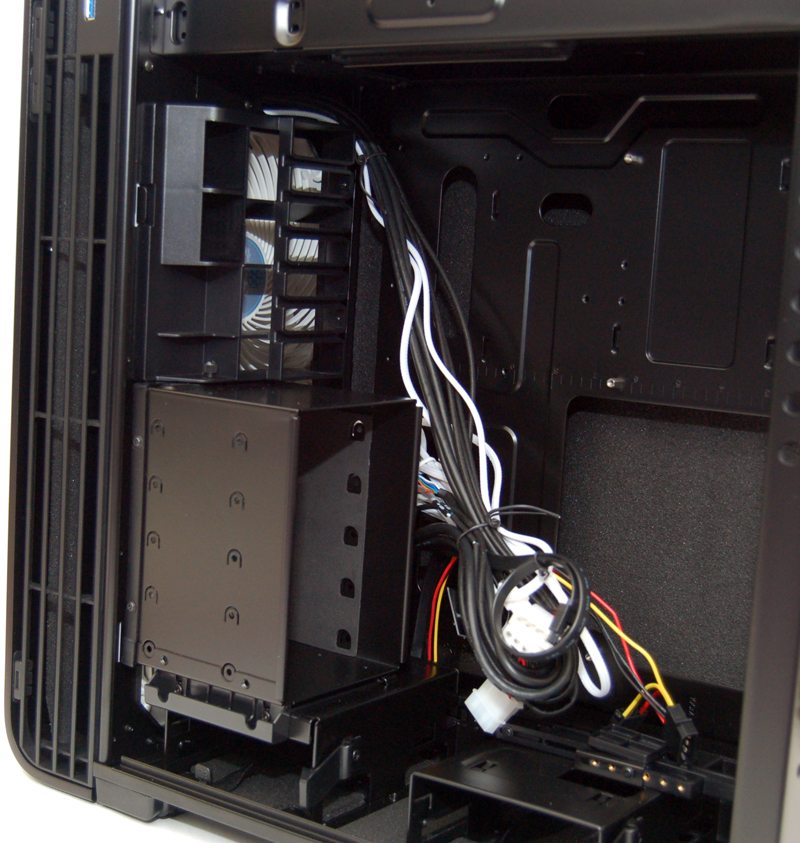
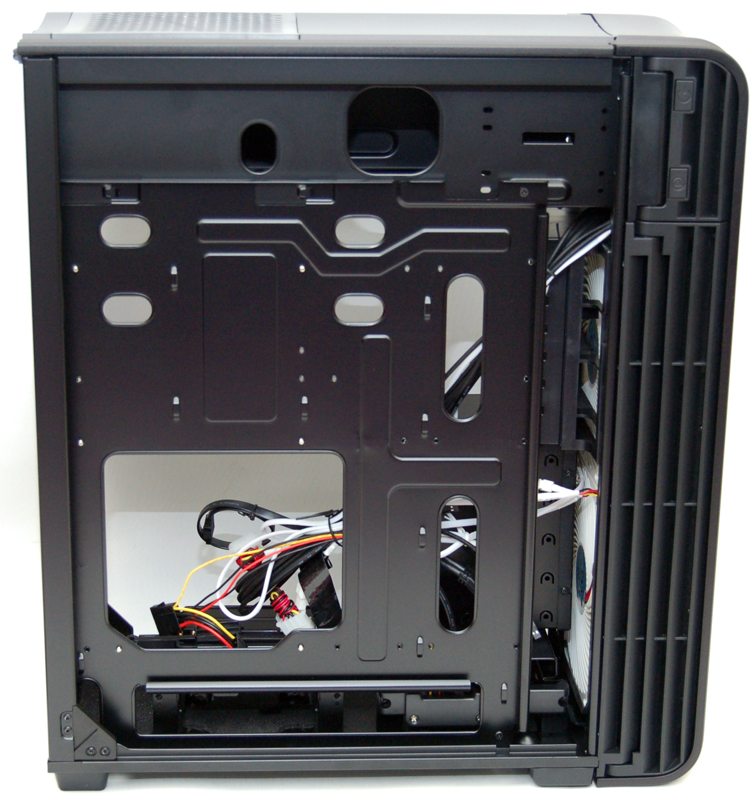
The interior of the chassis looks rather unconventional compared to most other cases we’ve seen. There is extensive cabling from the front panel to drive the front fans, fan controllers, USB ports etc. There is a CPU cooler mounting cut-out on the motherboard back plate, and a few cable routing holes dotted around the exterior of the motherboard mounts.
The expansion slot covers are all ventilated and features flat screws, these need to be removed with a long screw driver through the round holes you can see on the outer frame of the chassis.
In the bottom he have a special folding mechanism that can be raised to support your graphics card, this is great for stopping heavy GPU’s from drooping.
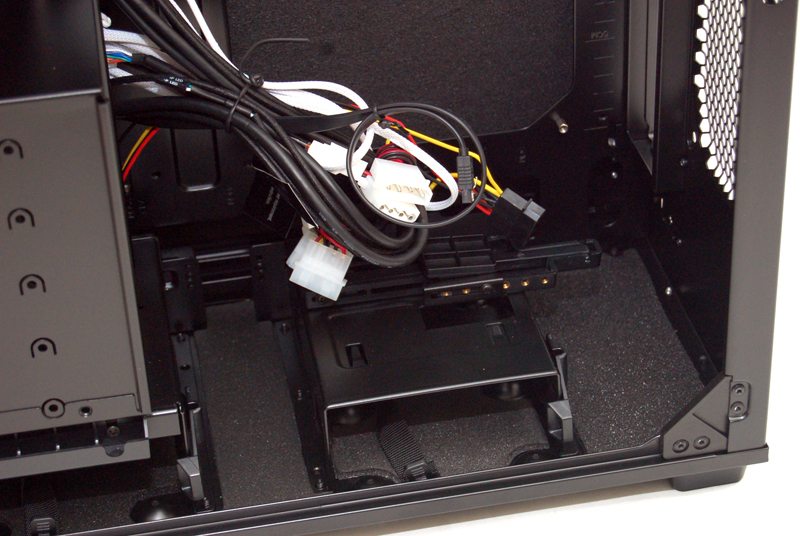
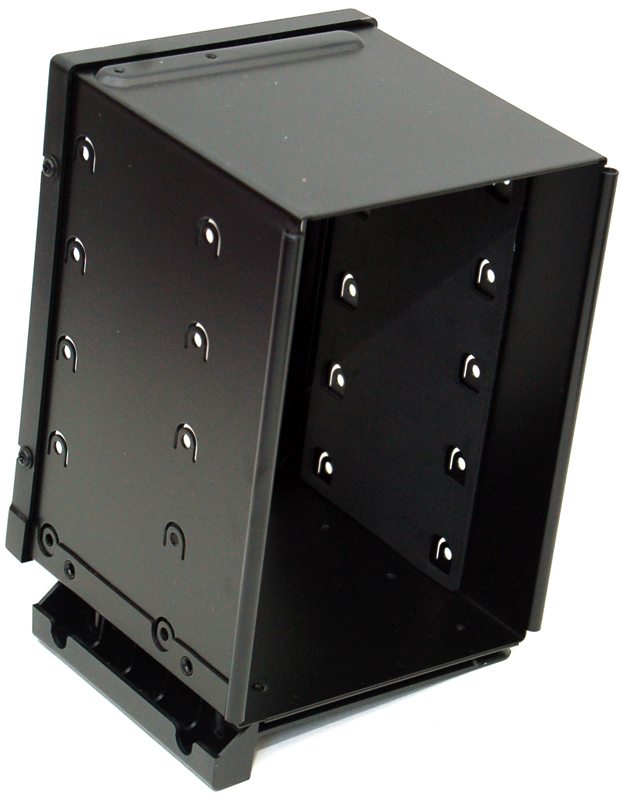
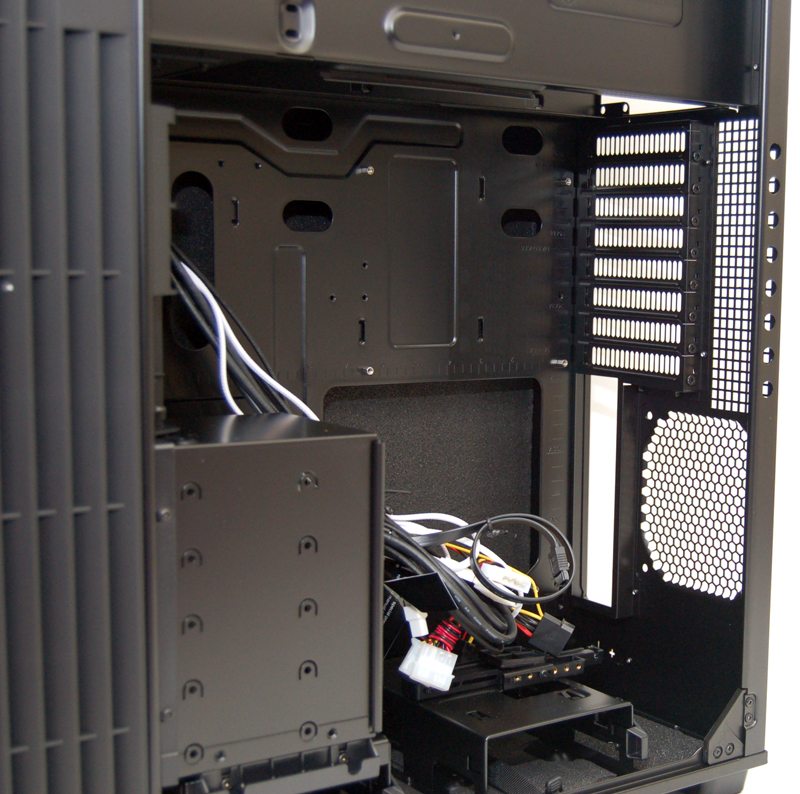
There is plenty of room for air flow from the front panel fans, a rack of hard drive mounts for 3.5″ and 2.5″ drives, and two extra bays in the bottom that can hold 1 x 3.5″ drive and 2 x 2.5″ drives each. However you can strip all this out and mount an (up to) 360mm radiator here if you wish.
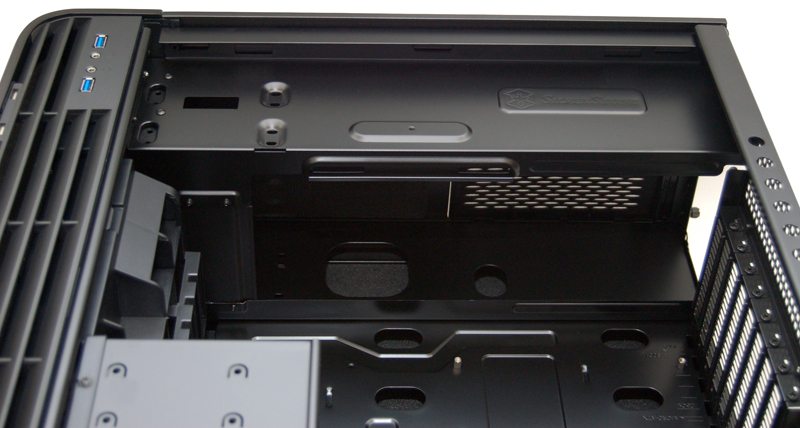
The top of the chassis features a special compartment for the PSU, as well as its own cable routing cut-outs.
Around the back of the chassis we get a better look at the cable routing options, there’s a good number of routing holes all over the chassis and this should help us keep the build neat and tidy. While there are no grommets on the cut-outs, each features fat rounded edges and corners, so there is certainly no chance of cables getting snagged on them.
With the top panel remove we can see there is lots of room for two 5.25″ devices in the front, and more than enough room for even the extended power supplies.
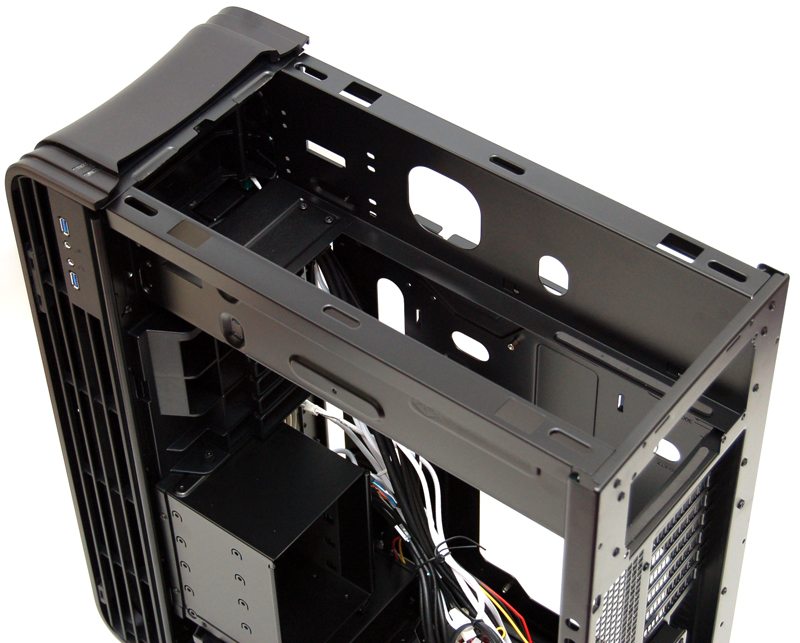
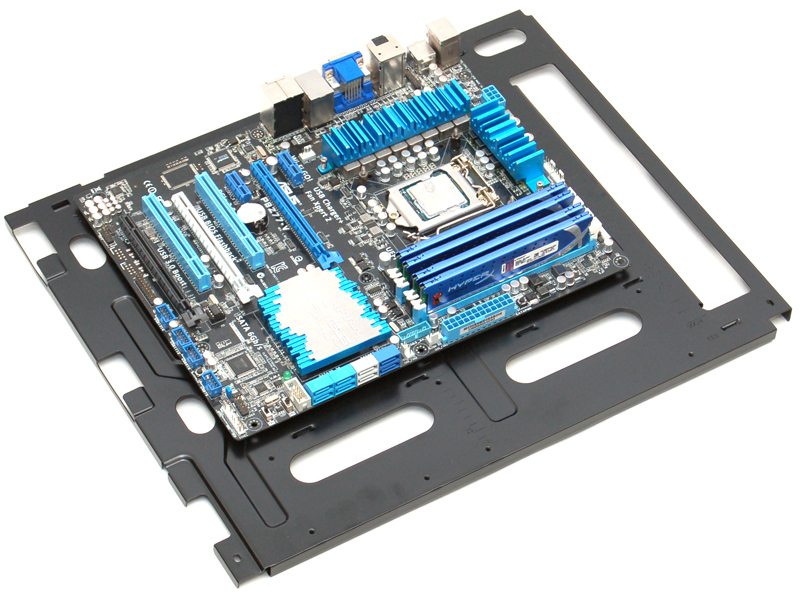
With three simple screws, the entire back plate of the chassis lifts out, leaving the chassis clear to work within but also giving you a unique way to mount your motherboard.

Here you can see that the board screws right onto the back plate while it is removed from the chassis. Of course you don’t have to do this, but dependant on your configuration, this could have real benefits to the installation process and future maintenance of your system.
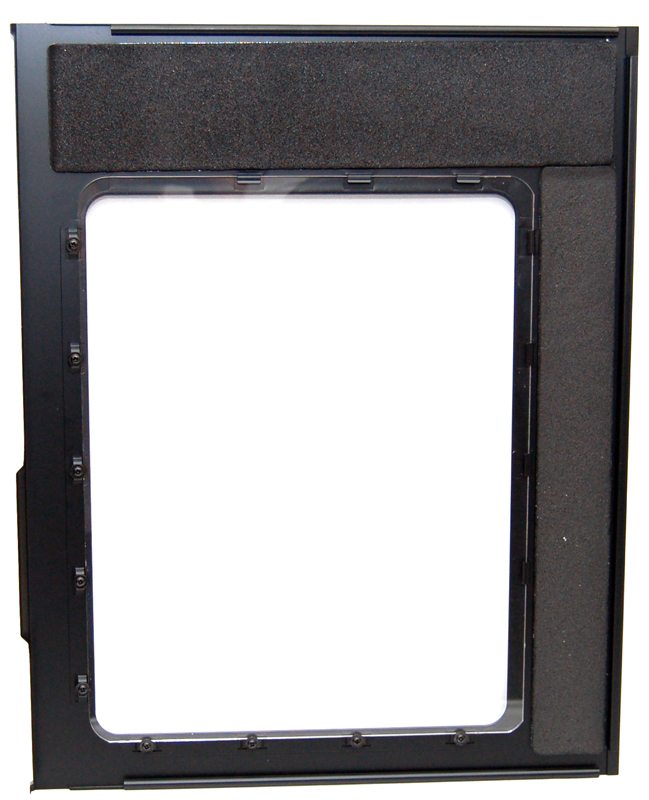
The right side panel window gives us a great view, but on the other side we find that there is some extra dampening material to help reduce vibration and noise.
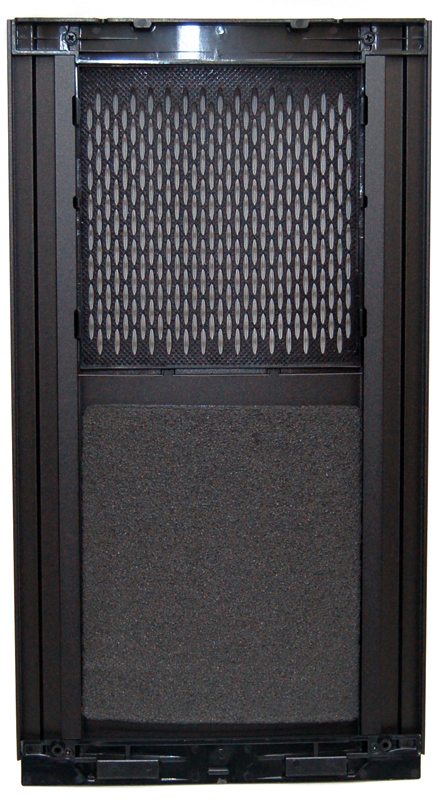
The top panel also features a layer of padding.
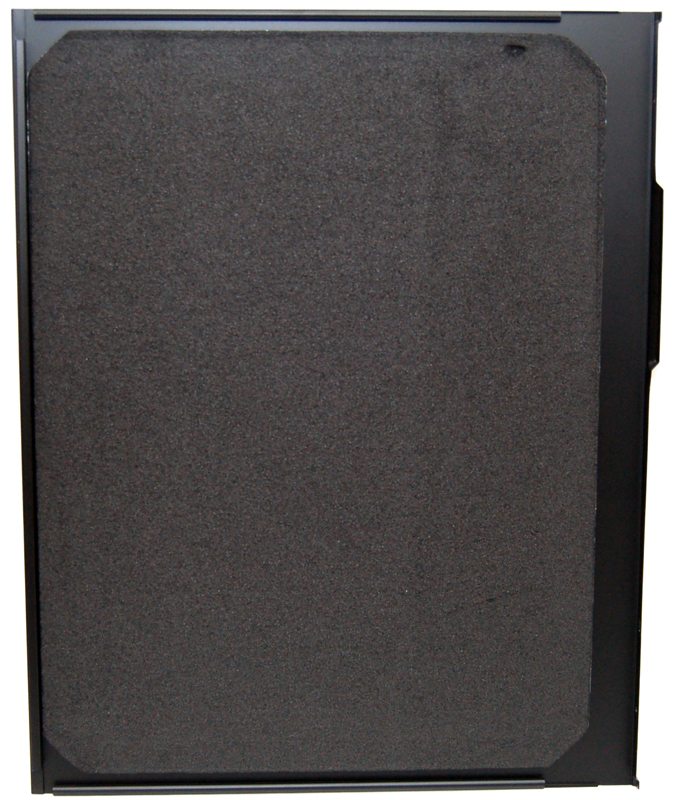
And finally, the left side panel features even more padding.
The HDD mounting bay is easily removed by two screws at the bottom, you could choose to remove it for your build and only use the bottom mounts, or you can take it out for easy installation / maintenance of your drives.