Silverstone Grandia GD10 HTPC Chassis Review
Peter Donnell / 10 years ago
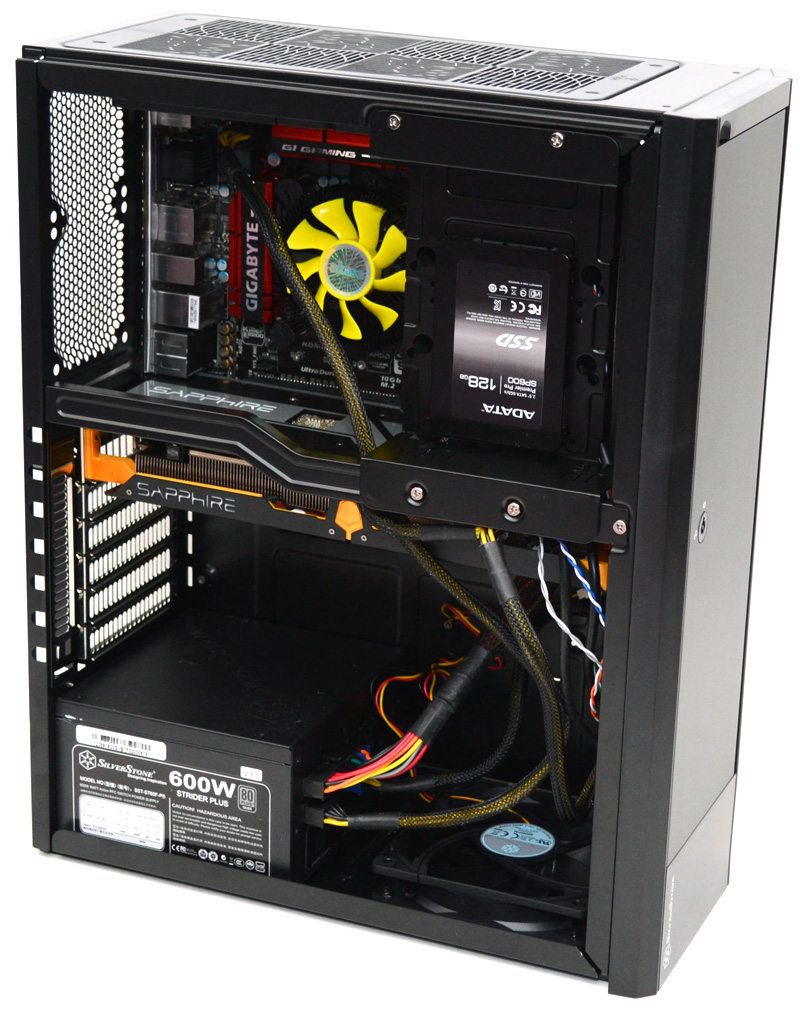
Complete System
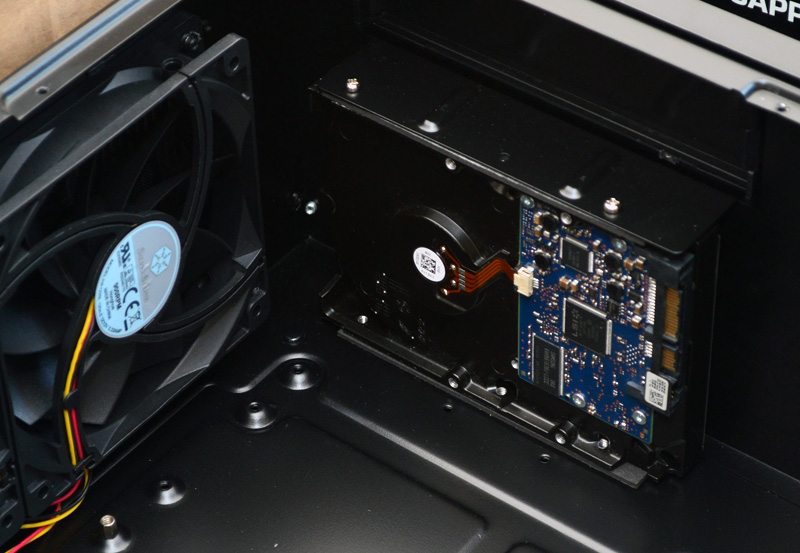
Before I put everything else into the chassis, I thought I would show you the extra 3.5″ drive mount located behind the front panel; this can be found under the 5.25″ drive bay. The small bracket included into the box can also be fitted to secure the bottom edge of the drive to the chassis.
Total install time on the Silverstone Grandia GD10 was 35 minutes. This was not the fastest build ever, but you will be working with limited space and virtually nonexistent cable routing space; so extra care needs to be taken to get everything installed correctly.
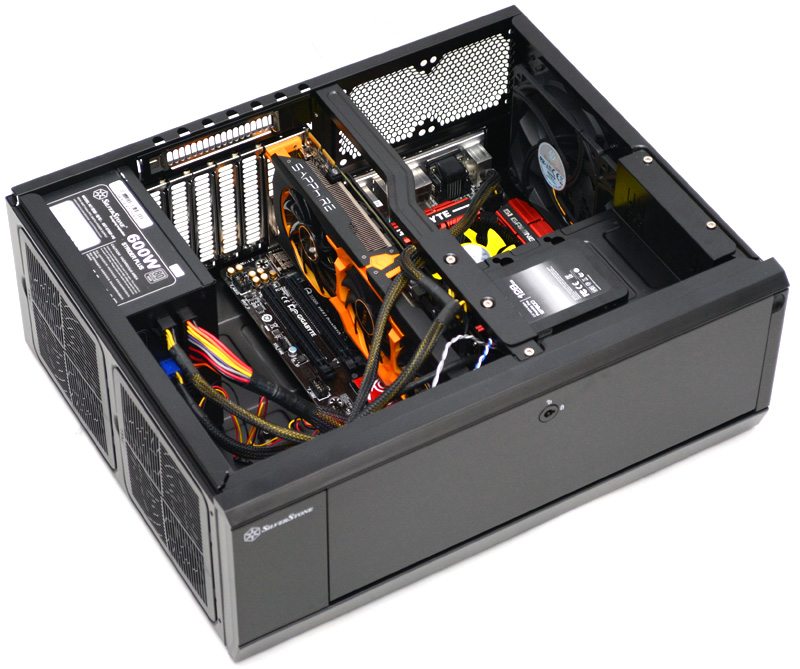
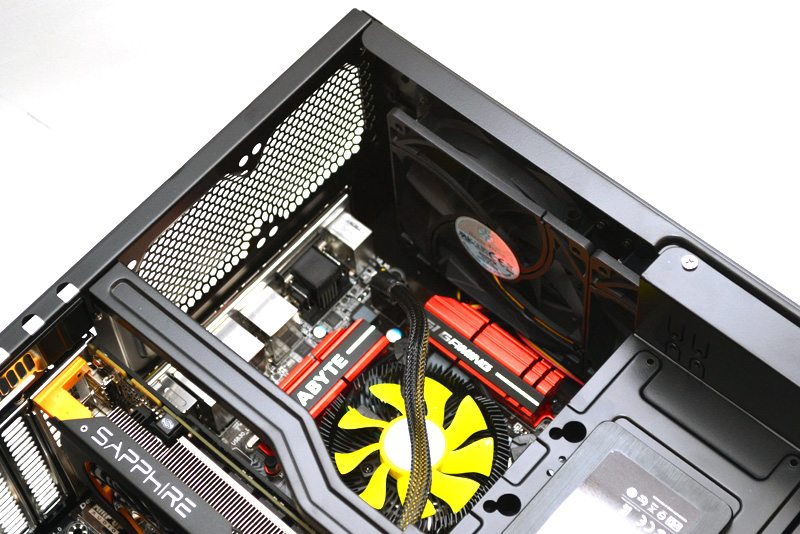
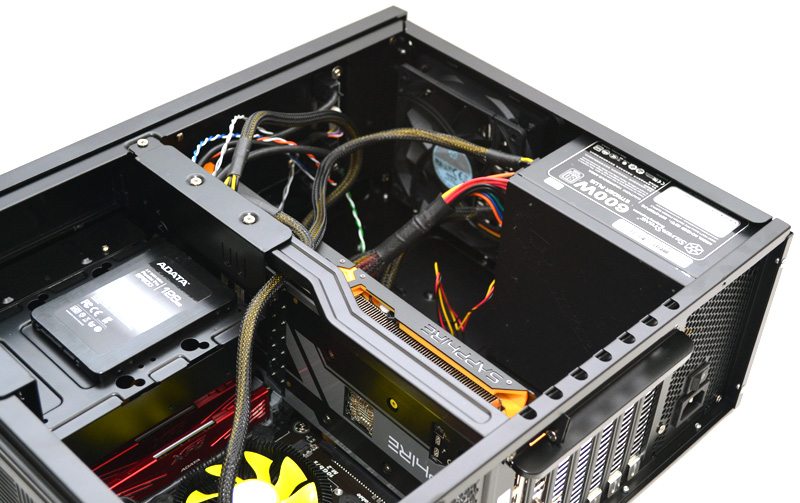
I’ve used a low-profile CPU cooler, but you can clearly see there is room for something much bigger. The two side panel fans blow cool air right over the motherboard; certainly a welcome addition to the chassis’ cooling capabilities. There’s no cable routing space behind the motherboard, not unless you use long flat cables (unlikely), so the 8-pin cable does run over the top of the motherboard. The lack of cable routing shouldn’t cause problems, but you can always use a few cable ties to secure excess cables out of the way if required.
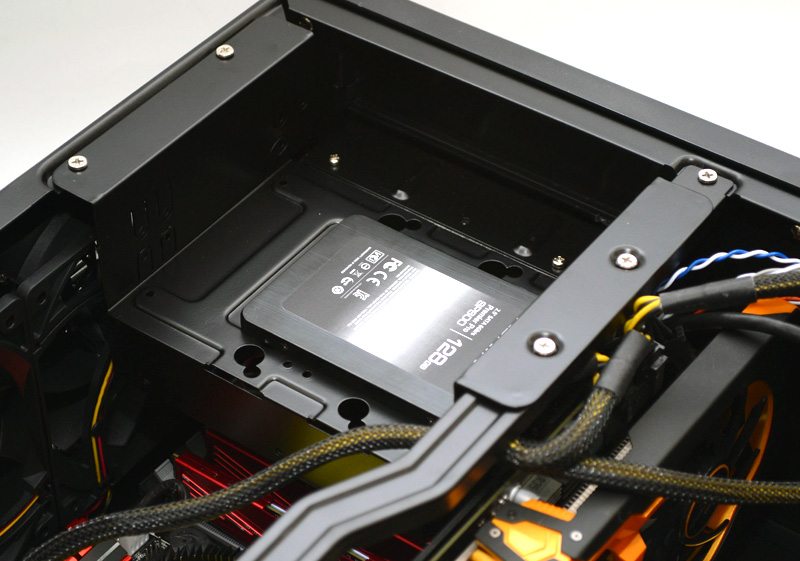
The 5.25″ bay is great for installing extra drives and while I’m sure it’s supposed to mount on the bottom, I opted to put the drive on top for easy access and display purposes.
Cable routing from the PSU was a little tricky and you can clearly see I’ve got cables tracking over the top of the GPU. In most setups you’ll likely get the cables under or around the back of the card, but our Sapphire R9 270X Toxic is already a tight fit.
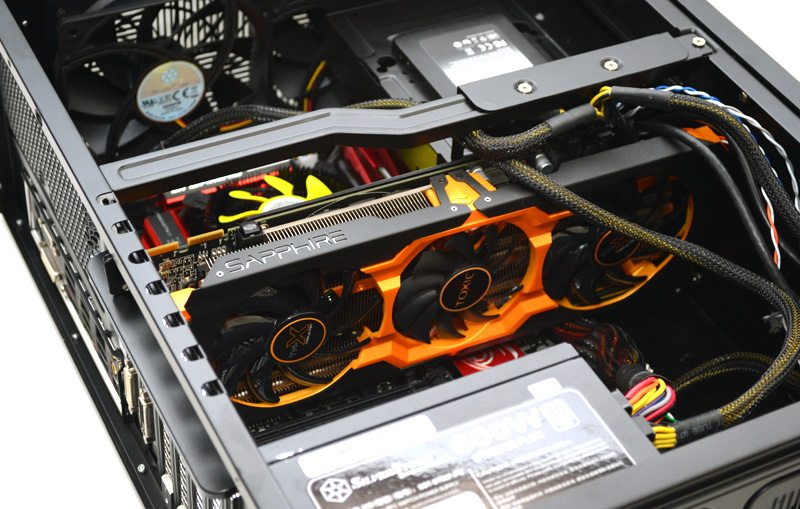
The use of a modular PSU has its benefits here. There are a lot of cables trailing around the chassis interior, but you can clearly see there is still plenty of room for airflow from the side panel fan to our GPU; which is obviously very important.
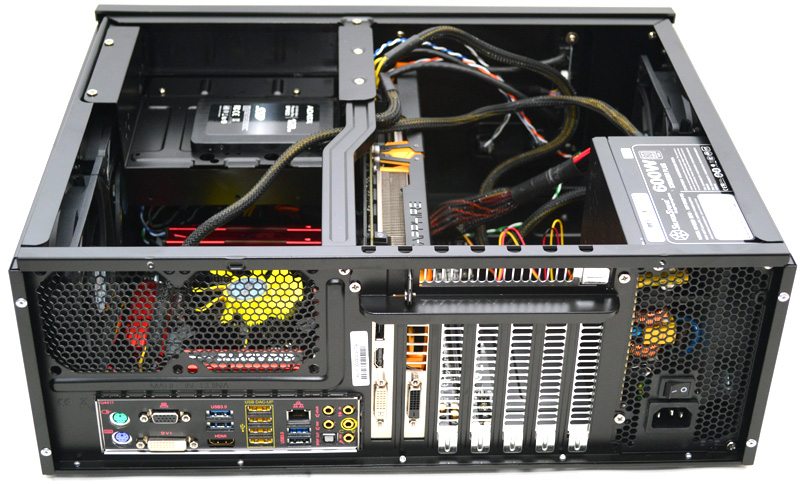
Everything looks nice and smart around the back. There are two 80mm fan mounts should you need them, but unless you’ve got a lot of heat building up or a passive CPU cooler, I can’t see them being needed in most builds.
A quick view from the front.
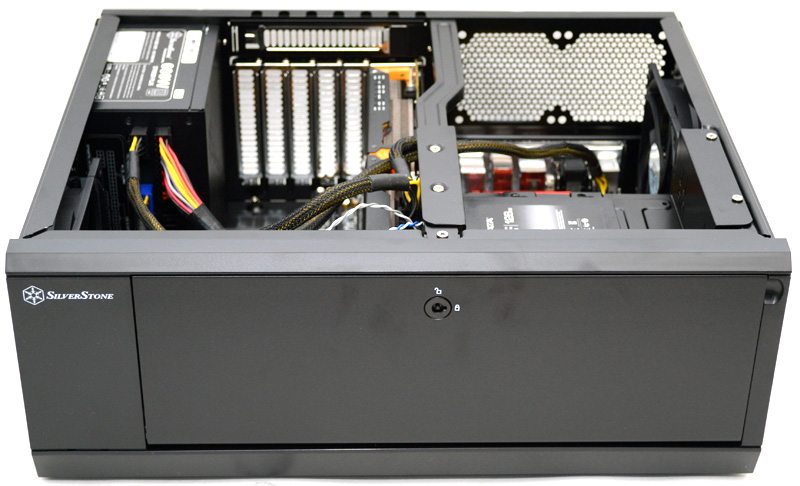
Stood up on its side, it doesn’t look much different from most mid-tower chassis; albeit a lot slimmer.
Top panel back in place and you’ve got a chassis that looks like it did when we took it out of the box; with the exception of a few extra fingerprints.

Overall a very nice and very clean-looking build that should fit nicely into your home AV setup.


