SilverStone TS231U-C Dual-Bay USB-C RAID Enclosure Review
Bohs Hansen / 7 years ago
Packaging, Accessories & A Closer Look
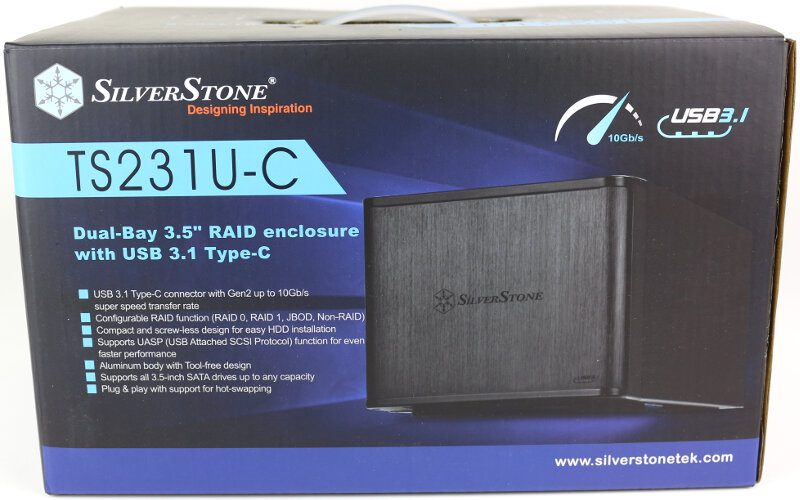
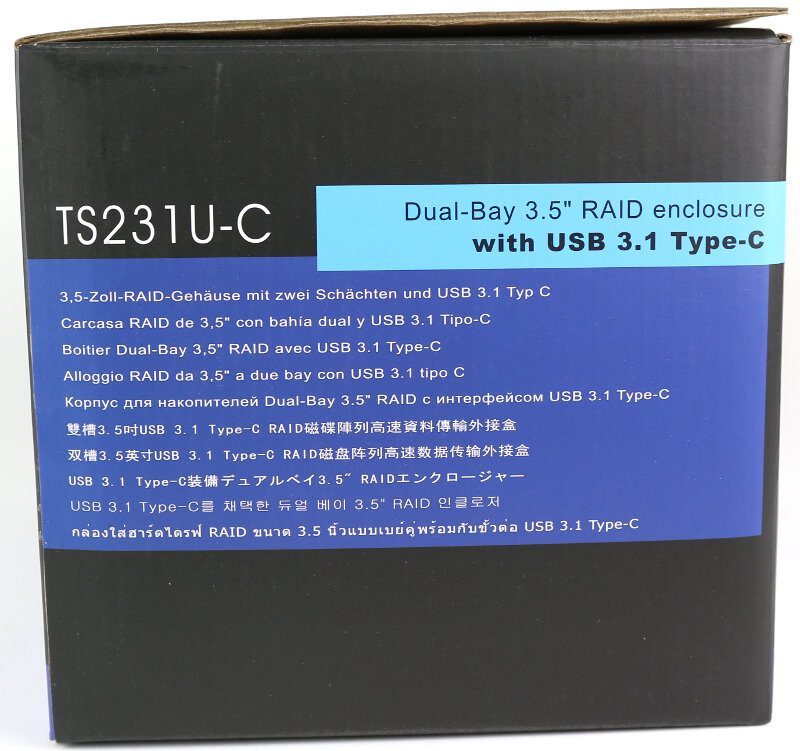
Packaging
The box it comes in is nicely made. The front shows a shot of the unit itself and lists the feature highlights.
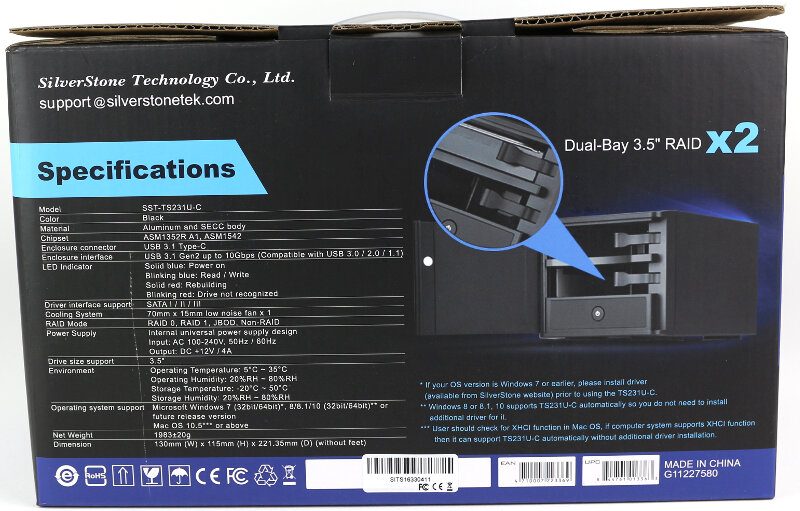
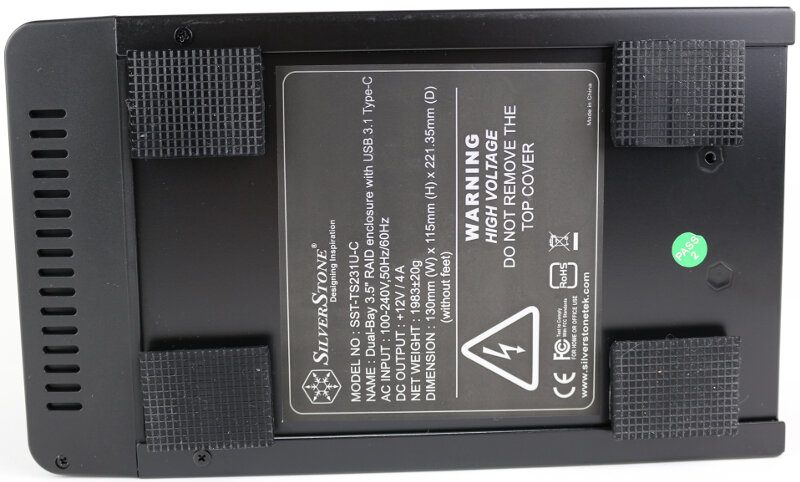
The full specifications are on the rear side along with a closeup of the tool-less drive bays.
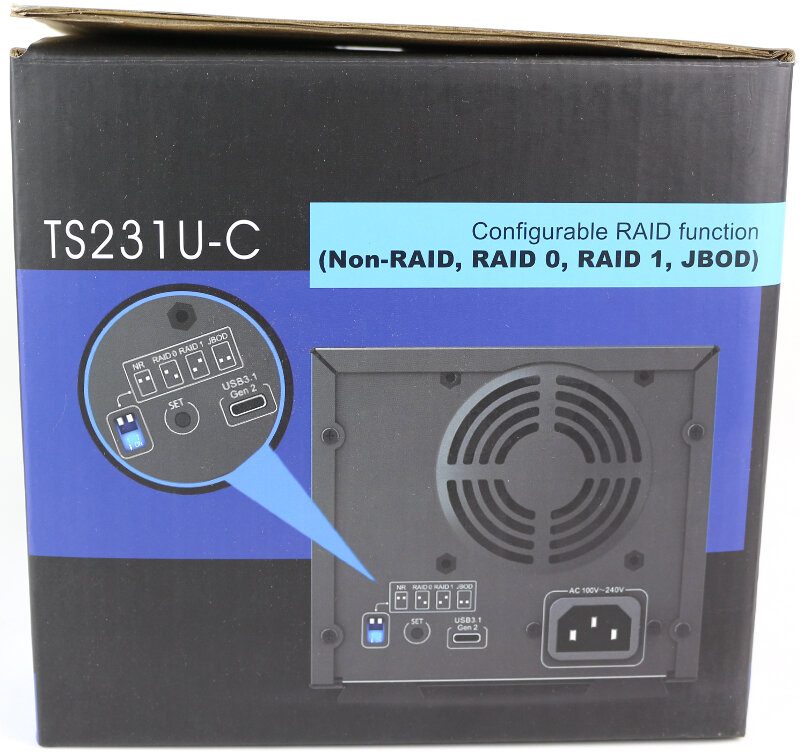
The two sides explain the features a little more. On this side, it’s the RAID setup that is shown.
The other side simply lists what it is in several languages.
Accessories
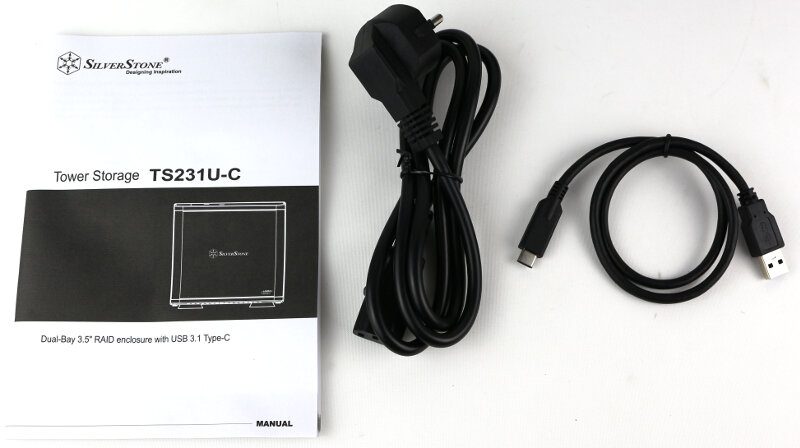
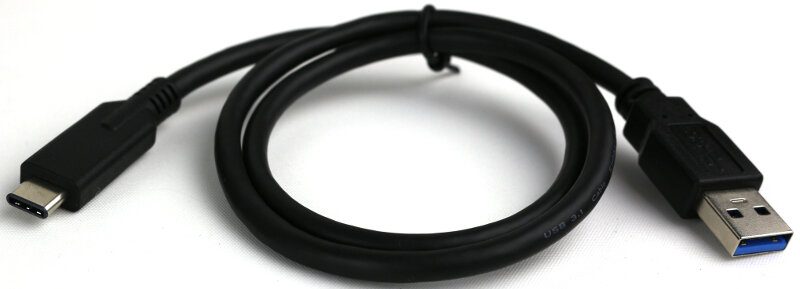
Inside the box are the SilverStone TS231U-C DAS itself as well as a power cable for the region where you purchased it, a USB Type-C to Type-A cable, and a multilingual user guide.
A Closer Look
The included cable is a Type-C to Type-A cable. The unit itself features a Type-C port and the cable to a Type-A port allows for maximum compatibility with previous generations of USB. You could still get yourself an aftermarket USB Type-C to Type-C cable should you want to use the new reversible connector at both ends.
The unit itself features four large rubber feet which will keep the unit where you place it. They’ll also catch possible vibrations from the drives and prevent them from travelling to the surface and back.
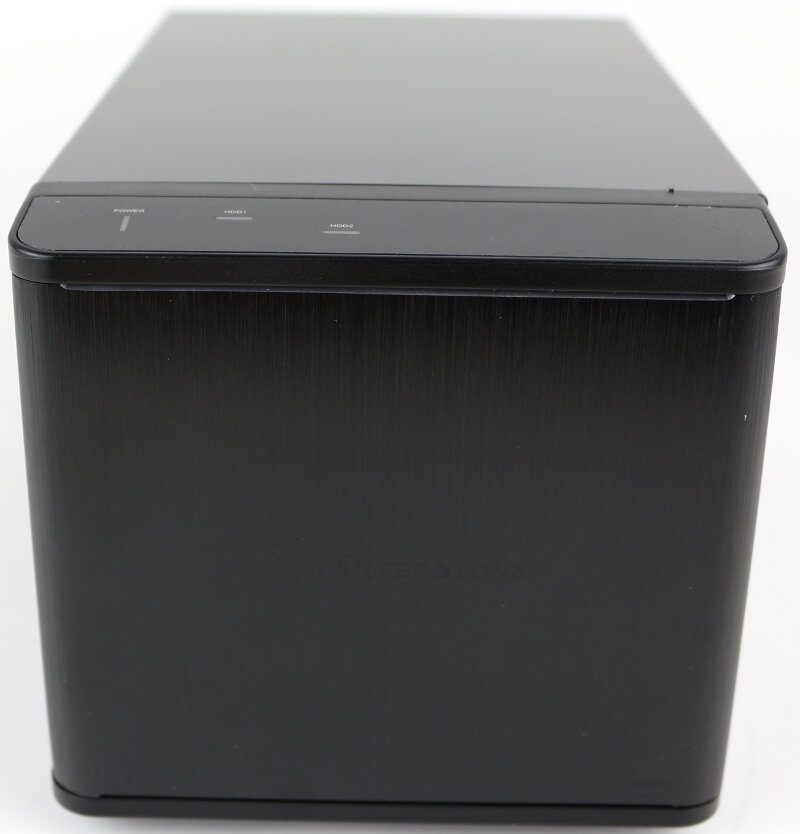
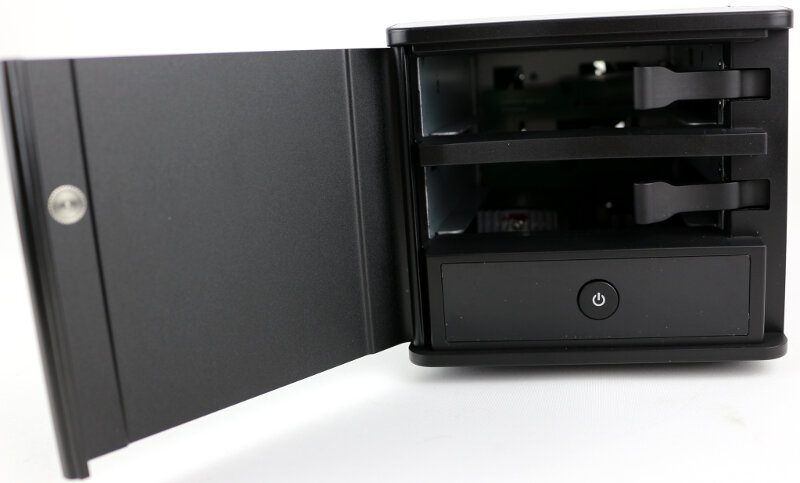
The brushed aluminium door gives the unit a great look. Above the door are the LEDs for power and status as well as drive activity for the two drive bays.
The power button is located inside the unit when you open the door. It might seem a bit inconvenient at first, but it’s no big job to open the door and press the button and it does prevent accidental turn offs while you use the unit.
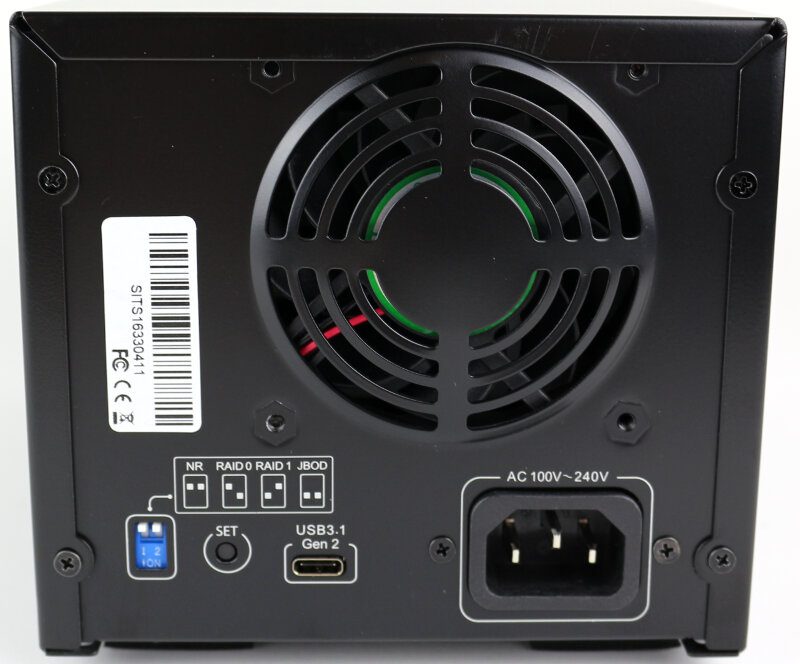
On the rear is the power connector as well as the RAID selection. There is a diagram next to the RAID selector which explains how you need to place the DIP switches for the RAID mode you want. Once set, press the Set button for 5 seconds and the new setup will be applied. But keep in mind, doing this will erase any data that’s already on the drives.
The USB port is located between the power and the RAID selector and the 70mm cooling fan is above it all.
It’s also worth mentioning that the RAID-mode selection button is big enough to be pressed by a default Phillips-head screwdriver. There is no need to search for small needles and pin for this unit.