SteelSeries Ikari Laser Mouse Review
Simon Telford / 13 years ago
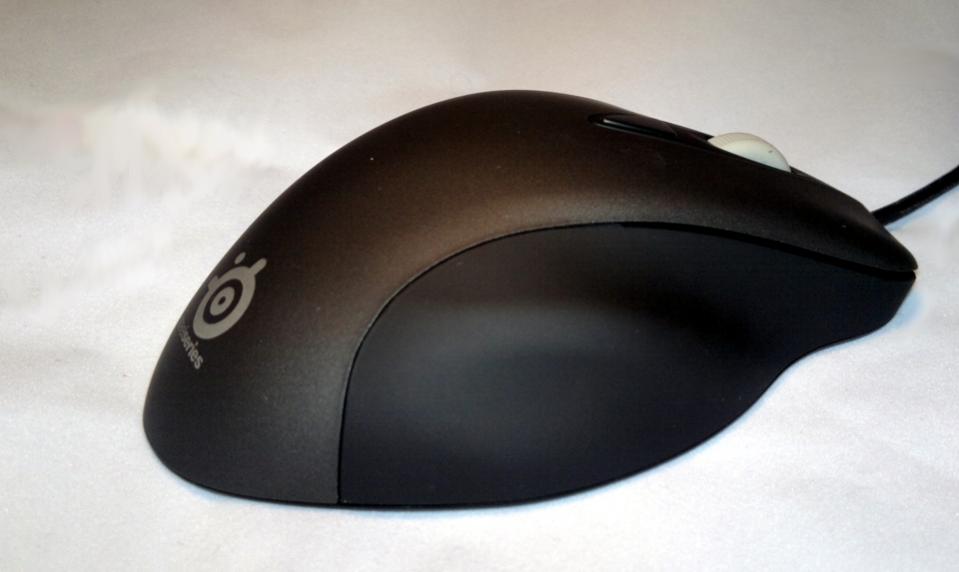
The SteelSeries Ikari is larger than your typical mouse, but is certainly in the same league as most gaming mice released in the last few years. Over time they have become slightly wider, mainly so that they can mould to your hand much more closely, which this certainly does. The mouse is flared slightly at the base to create a lip for your thumb and there is a ridge on the right for your ring and little fingers.
The design in general is sleek black with a grey SteelSeries logo, however the upper surface is a slightly lighter more matt grey colour giving a slight contrast to the sides of the mouse. The upper surface is also coated in a rubber compound which gives a comfortable and grippy feel, to the extent that you don’t hold the mouse you just rest your hand on it and it follows your every move. This helps to keep your fingers and thumb more relaxed allowing them to operate the buttons more efficiently.
On the left-hand side of the mouse are two extra buttons which in normal operation act as forward and back buttons but as is the case with all well-designed mice these are all customisable with the software provided. It must be said that these buttons are in the perfect position so that your thumb is always touching both of them giving the best response during a game especially for quick selection of weapons etc…
A bit lower down from these buttons on the left-hand side of the mouse are two indicator lights. During operation one of these will be lit showing the status of the two CPI settings. Counts Per Inch is the number of intervals/steps the mouse will report to the computer when it is moved one inch. If the CPI is high then the mouse speed will be higher. The customisable CPI switching for this mouse varies between 1 and 3,200 with intervals of 1 CPI. The default for low CPI being 800 and for high CPI 3,200. This is particularly useful in games but also in programs like Photoshop as it allows you to have the sensitivity you need. The indicator lights are quite bright white LED lights and are very clearly visible in all lighting conditions.
The above image does not do justice to the brightness of the LED’s but does highlight the two indicator lights as they are quite discreet when they are both off.
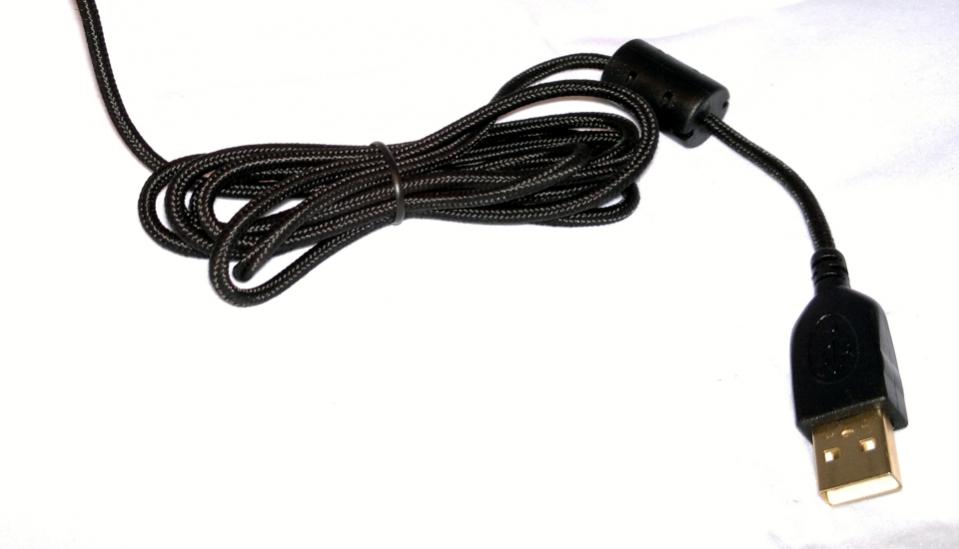
The cable is fully braided which gives a very durable feel. It is also 2 metres in length which is a lot longer than most and does make it a lot easier to plug it in to that desktop underneath the desk!
The most important buttons are of course on top of the mouse giving you the standard left and right button clicks as well as a scroll wheel which gives a very positive feedback but at the same time is nearly silent in operation. This allows for very precise use of the scroll functions. It can also be clicked in to access other functionalities. The left and right mouse buttons are made out of the same thin piece of rubber-coated plastic giving a very smooth and ergonomic design, as well as a very fast click speed. These also have a very positive feedback and both spring back up very promptly.
Finally we move on to the more crucial part of any mouse, the underside. From this angle it does show how wide the mouse really is, especially as it includes a LCD display below the laser sensor. Looking underneath we see the the pressure points’ which are large in area and slippy to reduce the coefficient of friction for optimised glide’. It also includes some more information about the Ikari mouse as well as two SteelSeries logos.
The LCD has been incorporated to allow you to change the CPI settings without the use of drivers and during games. It also means the mouse can store the settings so if it is used with a different computer it will keep the user’s pre-sets ideal for a LAN party!
The display shows which profile the mouse is set-to and it will always display default unless the drivers have been loaded onto the computer. If you then press and hold the CPI button it will read out your current CPI setting in the form: High:3200 or Low: 800. From here you can then use the scroll wheel to adjust the CPI setting of each, up or down, by 1 CPI interval. Once you have reached the right setting a simple click of the CPI switch saves it to the mouse for future use. However, be warned that while the set-up pages are active the mouse does not operate at all and this has led to a few times when the CPI button has been accidentally pressed and the mouse stops working.
The USB connector is gold plated to theoretically increase the connectivity of the interface but the main thing is that it adds a nice finishing touch to what is otherwise quite a mundane cable.


