Synology Diskstation DS115J 1-Bay NAS Review
Bohs Hansen / 9 years ago
A Closer Look
The front of the device is very simple and sleek. At the top you have three LED lights for Status, Network and Disk activity and the power button is located at the bottom. There is a small gap between the two case parts to allow for cooling air to enter.

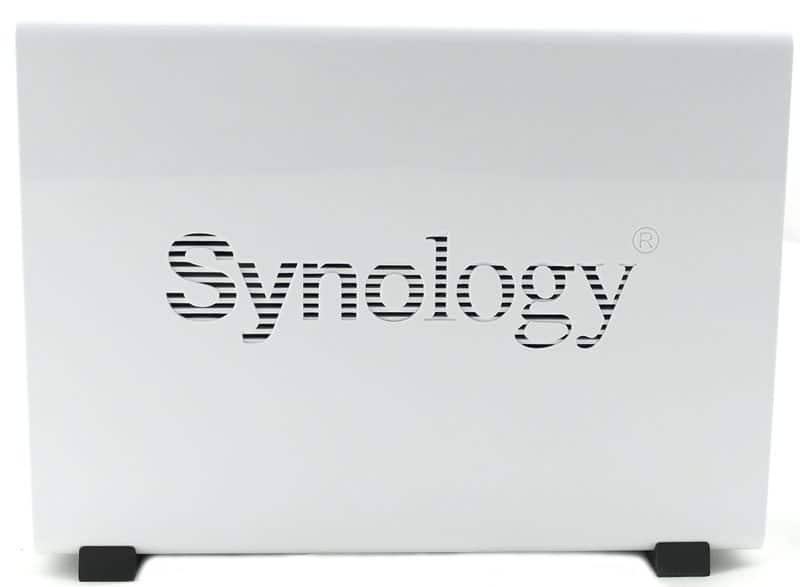
Turning the device 90 degrees and having a look at the side, we see the Synology logo beautifully carved into the side. At the same time the logo acts as air vents to supply even more fresh air to the hard-drive and other components.
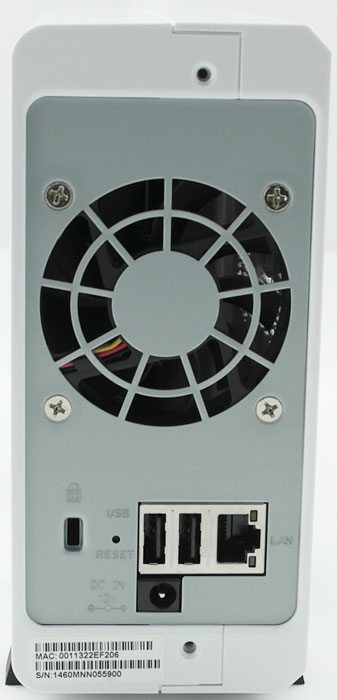
Giving it another turn to the rear gives us a look at the connection abilities. The DS115j has 2 USB 2.0 ports, a RJ45 Gigabit Ethernet port and a Kensington lock. We also see the power connection and the reset button in case we ever need that. The tiny 40 mm fan that cools this device is located above all of those connections.
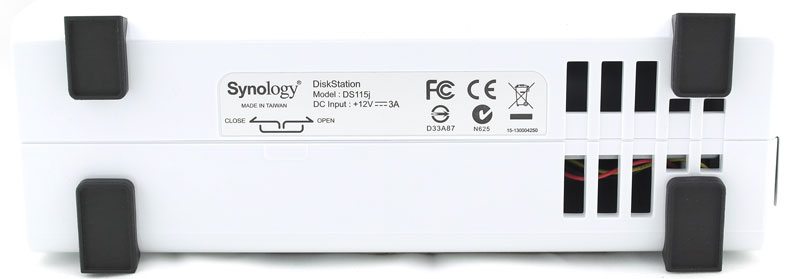
On the bottom of the device we find a sticker with the basic certification logos and the power rating. There’s also a simple illustration on how to take it apart. The four black rubber feet should absorb any vibration that could come from the mounted hard drive.
All you have to do to open the device is to loosen the 2 screws on the back and the 2 parts will slide apart. On the one side we see all of the equipment and the second side is just the cover.
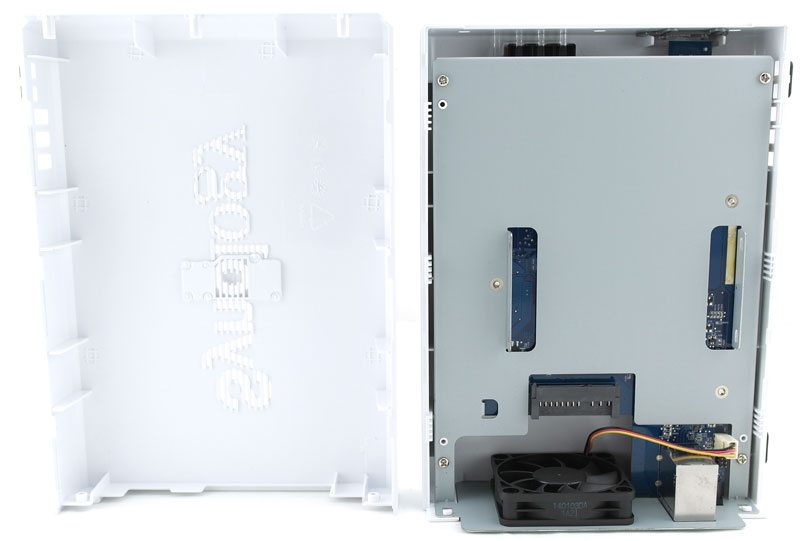
Mounting the hard-drive is as easy as sliding it in and securing it with the screws that came with the NAS. As you can see on the photo below the holes for the screws are wide enough to allow for some variation on the drives, in case the holes aren’t aligned the way they should be. It generally also just allows for easier mounting than with just a tiny hole.

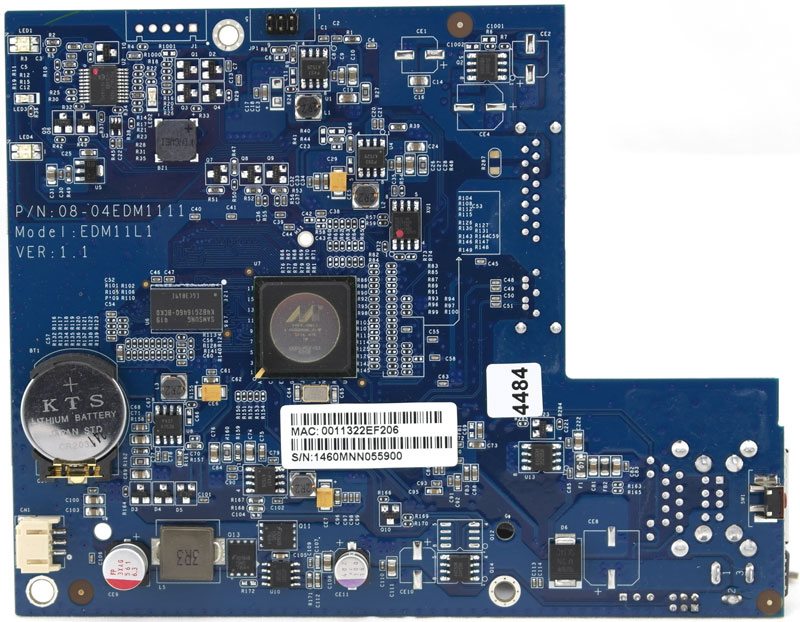
You can close it up now after having secured the hard-drive and it will be ready to be powered up. I’ll however take it a bit more apart and have a closer look at the internal components. The PCB is coloured blue with the Marvell processor located in the middle and the BIOS battery to the left. We also see the reset button all of the way at the bottom to the right.
At the top left corner we can spot the three LEDs for the activity lights and at the bottom we see the white connector for the power button.
Turning the PCB around and we see the SATA connector to the left and at the bottom right corner we have the USB, LAN and power ports. The PCB is cushioned around the edges to prevent it from shortening on the metal frame when mounted. The chip we see at the bottom is the Marvell 88E1318 Ethernet controller. The built-in fan is connected to the white 3-pin connector at the bottom left corner.


