Synology DiskStation DS916+ 4-Bay SMB NAS Review
Bohs Hansen / 8 years ago
Setup – Initialization, User Settings, and Storage
Initialization
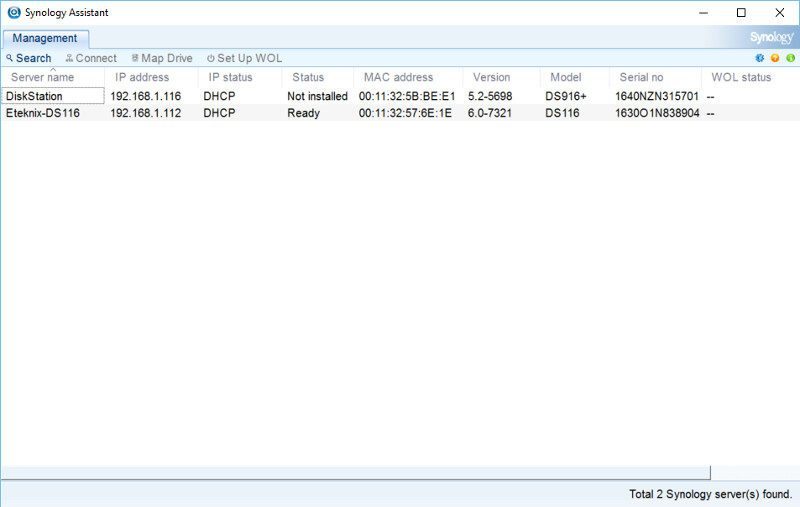
The easiest way to get started with your new Synology NAS is by the use of the Synology Assistant. It will quickly find all Synology devices connected to your network and allow you to control various aspects of them, including the initialization.
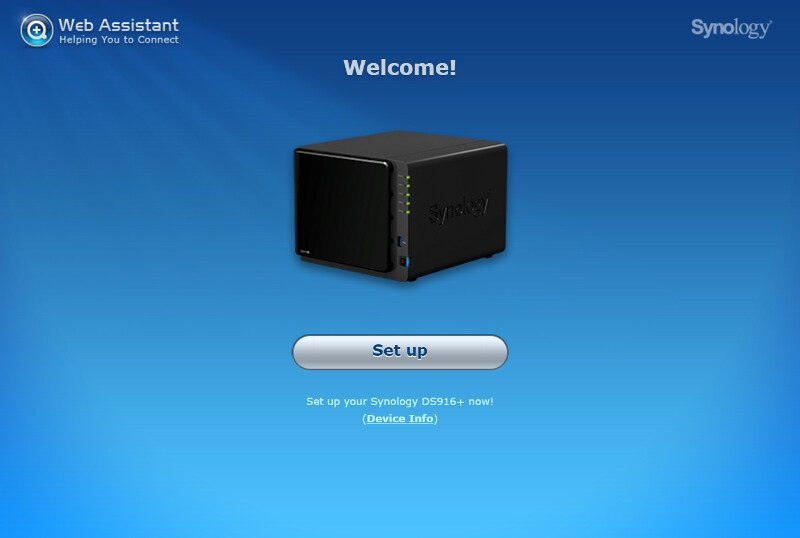
When the Synology Assistant finds a device that hasn’t been installed yet, it will automatically launch the web assistant to do just that in your default browser. All you have to do is to provide a few information and everything will be running.
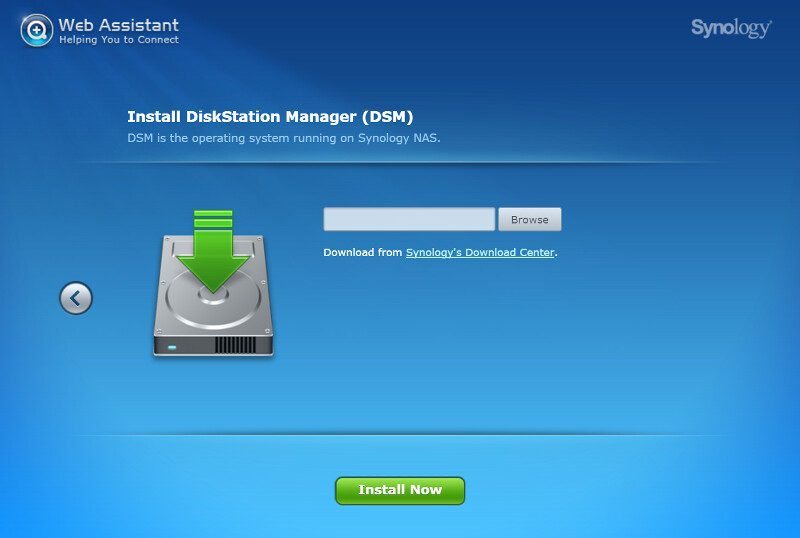
First, we need to install the firmware file. You can always find the newest one through the Download center that is linked on the same page.
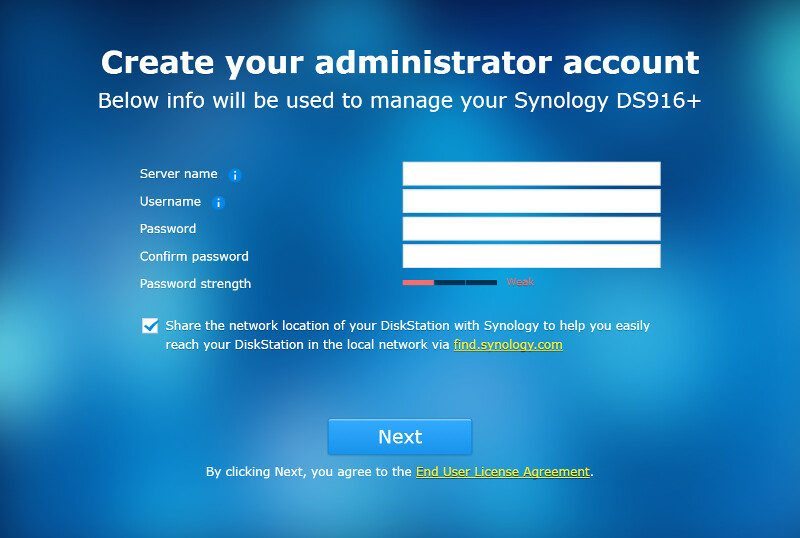
Next, we have to define a server name, administrator username and a password. We can also choose to share the location with Synology in order to make it easier to reach through various services.
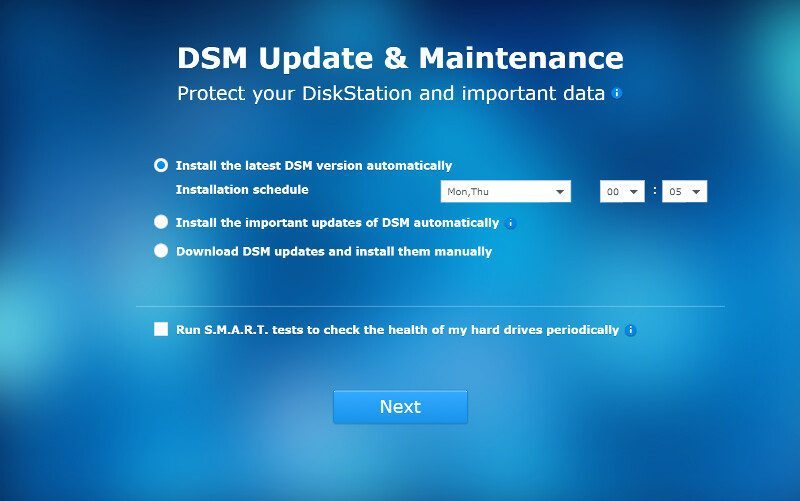
The basics are set, but we have one more option during the initialization. We can choose how updates are detected, downloaded, and installed. With headless units like this that will run a lot on its own, it’s a smart choice to enable auto updates in order to keep your system as secure as possible at all times. New updates will bring both new features and bug fixes.
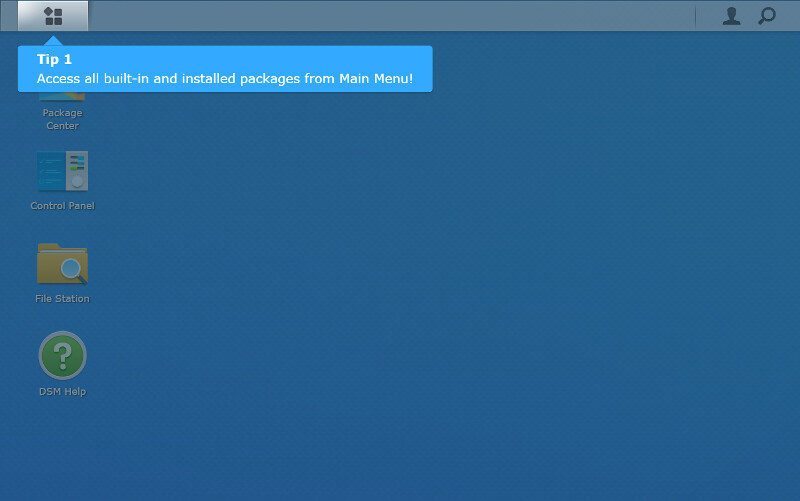
Everything is ready for you now and the first time the user interface is launched it will present you with a little guide which explains how and where the basics are located.
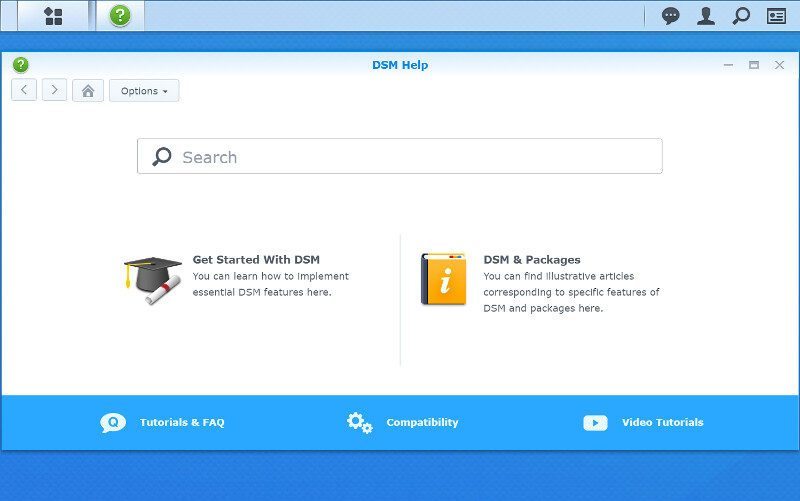
After the startup guide, the DSM help will be opened where you can read up on more features, functionality, and usage.
Now everything is ready to use, but you should still check up on updates. There might be more updates available than the default firmware you installed and as previously said, it’s highly recommended that you always keep your NAS updated.
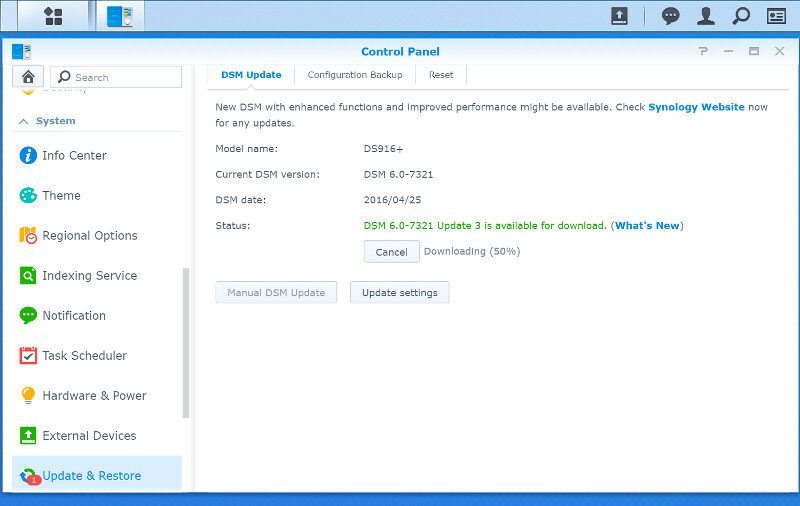
And that’s all it takes to install your NAS, but there are a lot more things you can do and should do, and we’ll take a look at them now.
User Settings
A great thing with DSM is that Every user has a list of individual settings available, which ones depend a little on their access level. It starts out with the basic details, 2-step verification options, and account activity.

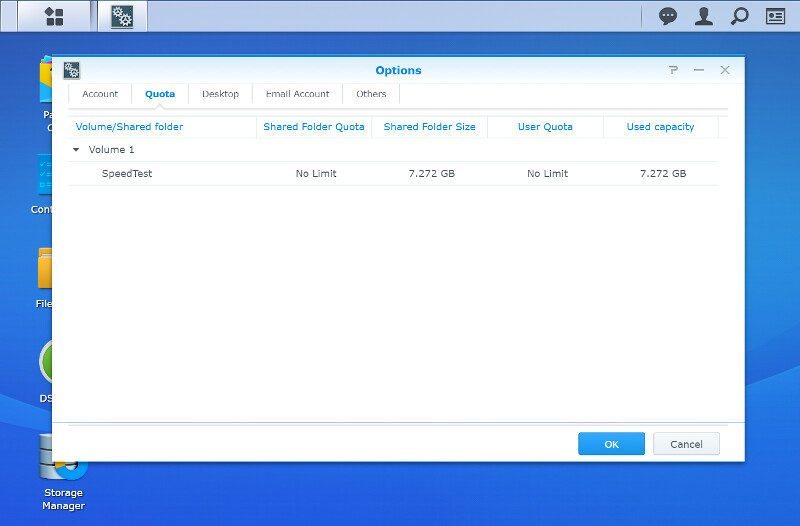
An admin user doesn’t have any drive quota options, but that will most likely be different for a lot of your users and they can keep a close eye how much of their allowed space is being used.
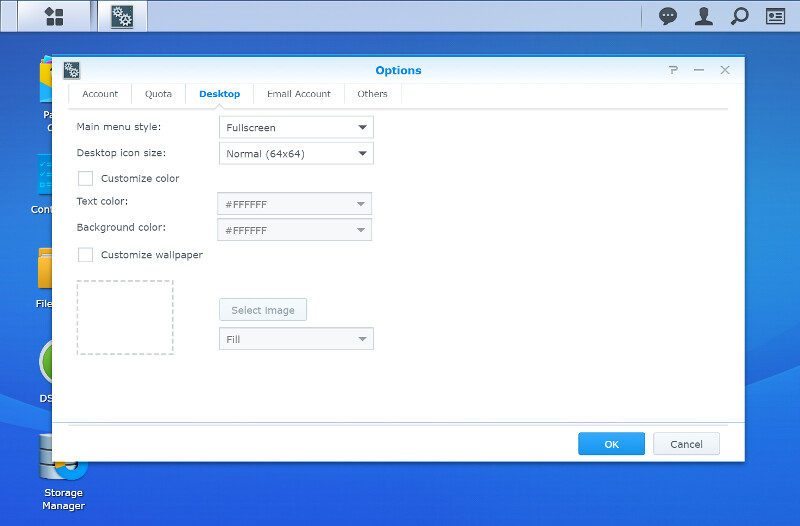
Every user can also change a good deal of the interface desktop options, from background to the menu style.
Email accounts are easily connected, especially when you’re using one of the big services such as Gmail and Outlook. But you can also configure custom providers to match whatever setup you have. This way you can get instant notification when something relevant happens to your setup.

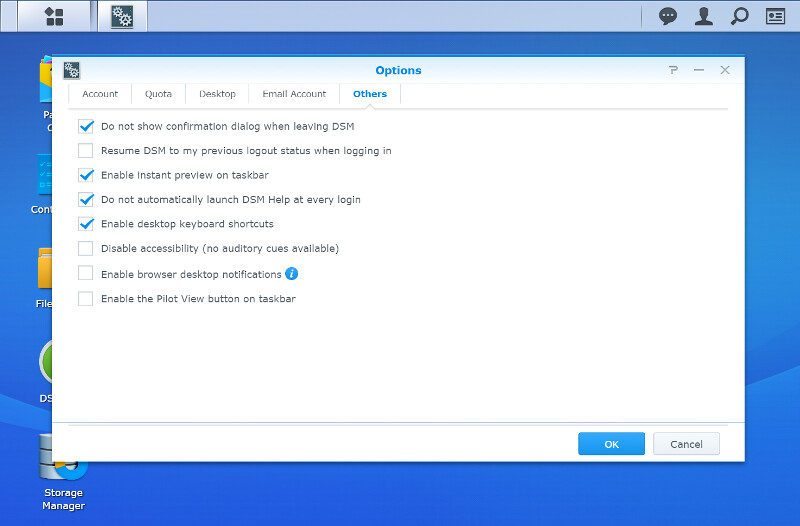
The final user page has a few general options such as preview on the taskbar, keyboard shortcuts, and browser desktop notifications.
Storage Options
The NAS created a volume during the initialization but we have a lot more options with a NAS like this. With 4 internal bays and the possibility to expand that to 9 drives, we got all the different RAID modes available, including Synology’s Hybrid Raid.
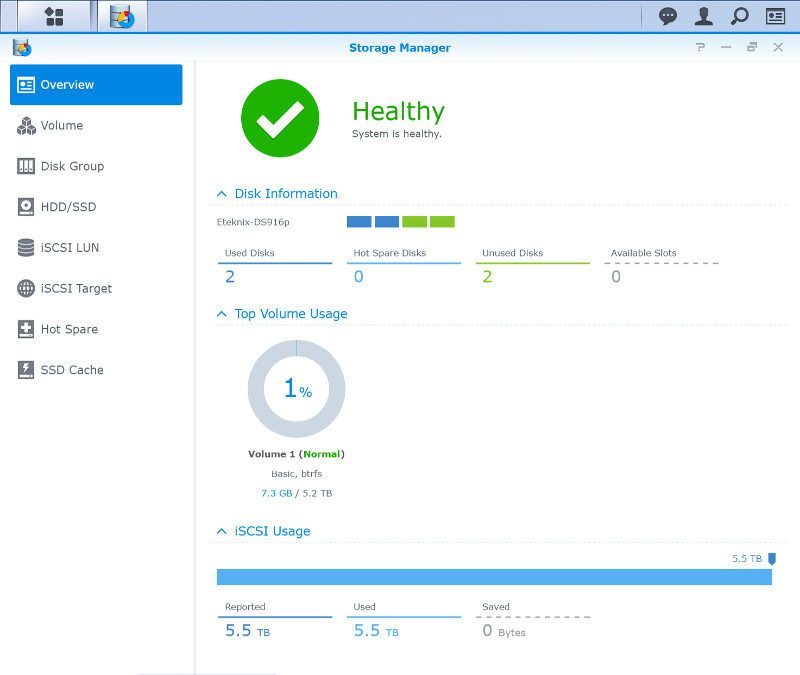
The state of the volumes and disk groups, as well as their usage, can be viewed here
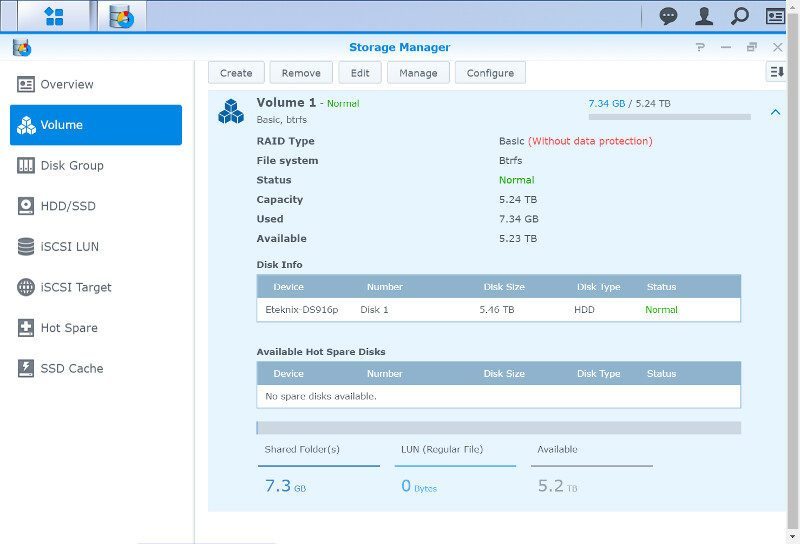
You can create volumes directly where DSM handles all the details.
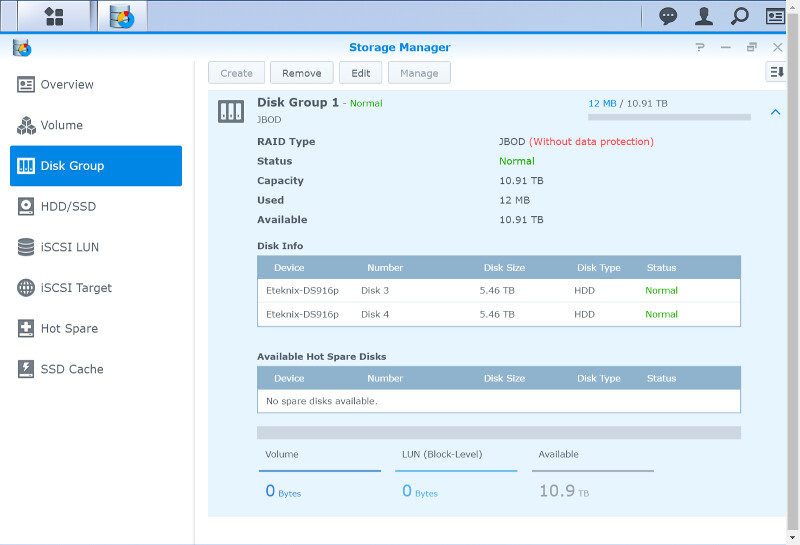
Or you can create a disk group first on which you can place your volumes.
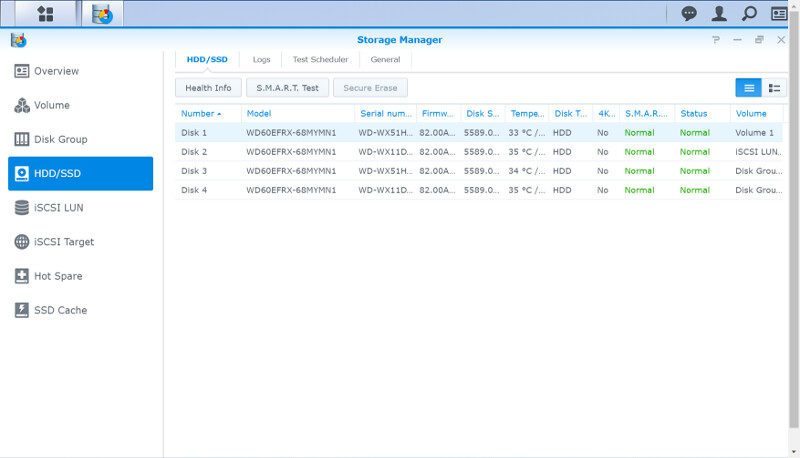
Health and SMART information are available for the installed disks, in this case just the one. You can also view logs for each drive, schedule tasks, and health tests.
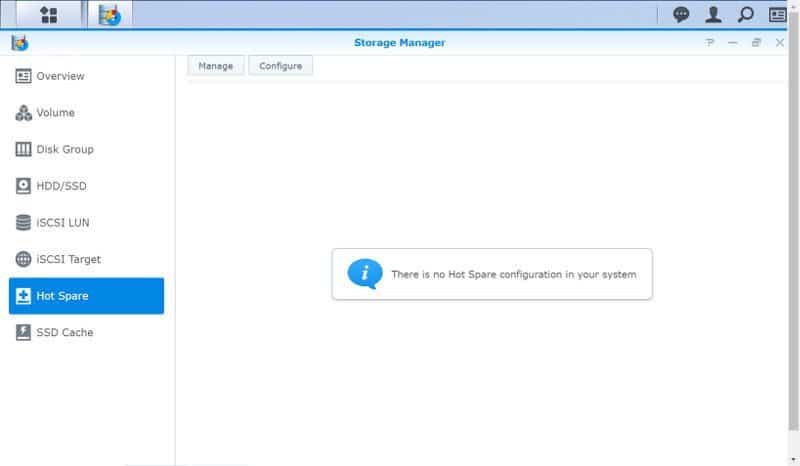
Hot spare drives can be set globally which especially comes in handy for the people using the 5-bay expansion unit as well.
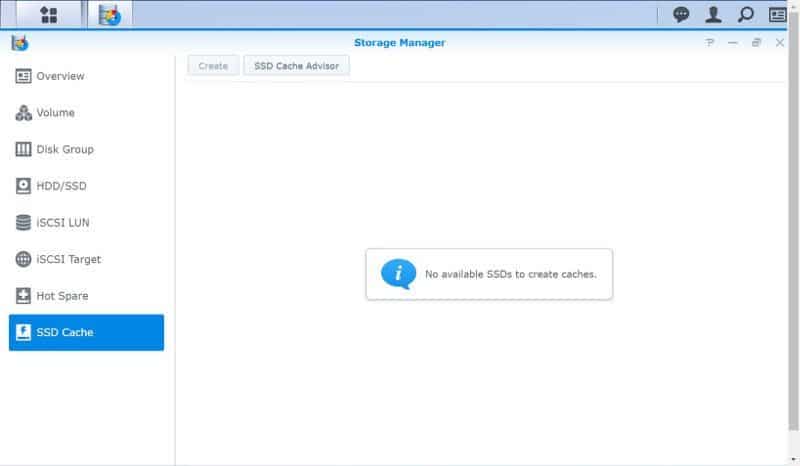
Just as with the hot spare, you can also add SSD Cache, but that naturally requires you to have SSDs installed.
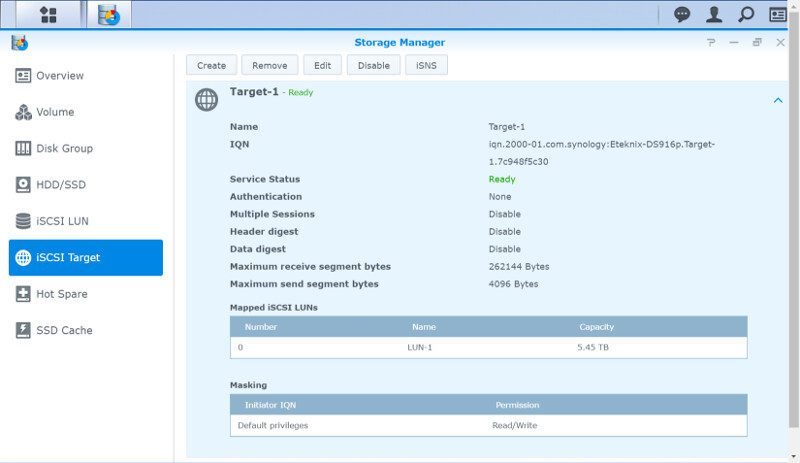
The iSCSI feature is one of the best ways to distribute data, at least in my opinion, and it isn’t just a feature for SMBs and Enterprises. We naturally also get a full support on the DS916+ for these functions.
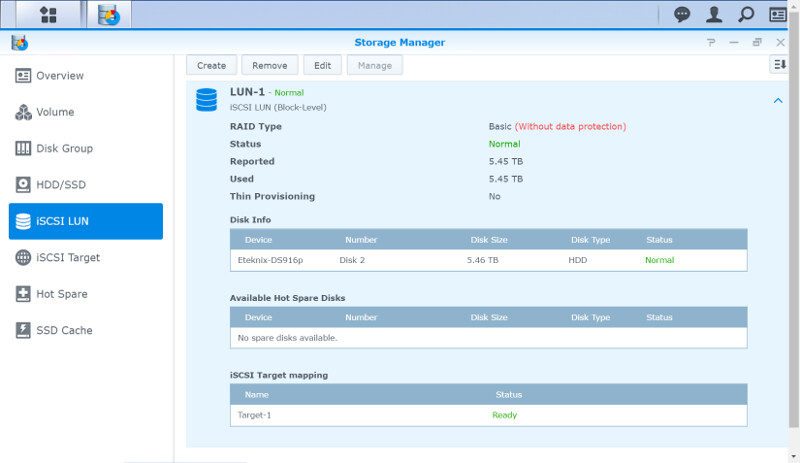
There are many benefits to an iSCSI setup and it is quick and easy to do. It is also supported on basically any modern operating system such as Windows 7 and newer. Just search for iSCSI through your start menu and you’ll find the initiator.
External Devices
The DS916+ offers both high-speed USB 3.0 ports and eSATA for external storage.
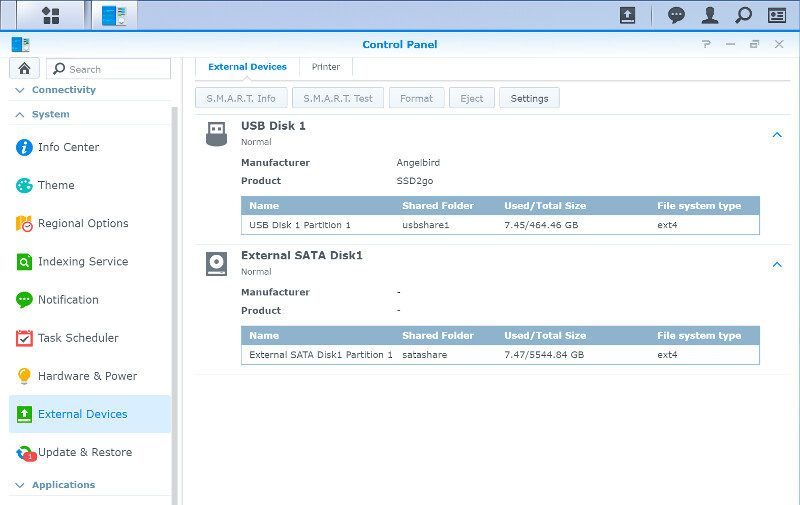
But storage isn’t the only thing you can connect to your NAS in order to make it available over your network. You can also connect your USB printers and turn them into networks printers that are available to all devices on your network.

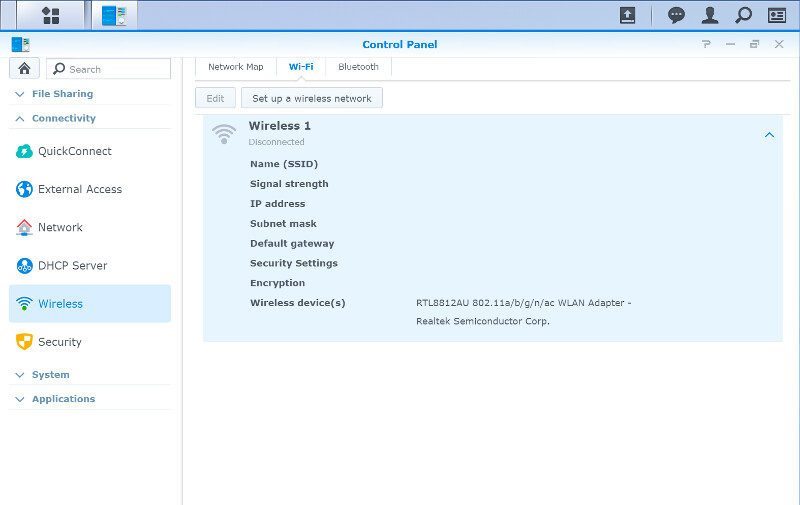
Synology’s DSM also support wireless networks and Bluetooth connections through the use of USB dongles. This is just as easy as anything else and more or less plug and play. The only thing you’ll need to do is connect to a wireless network or you can also turn it into an access point for other wireless devices if the adapter supports it.