Synology DS213j 2-Bay NAS Review
Chris Hadley / 11 years ago
A Closer Look
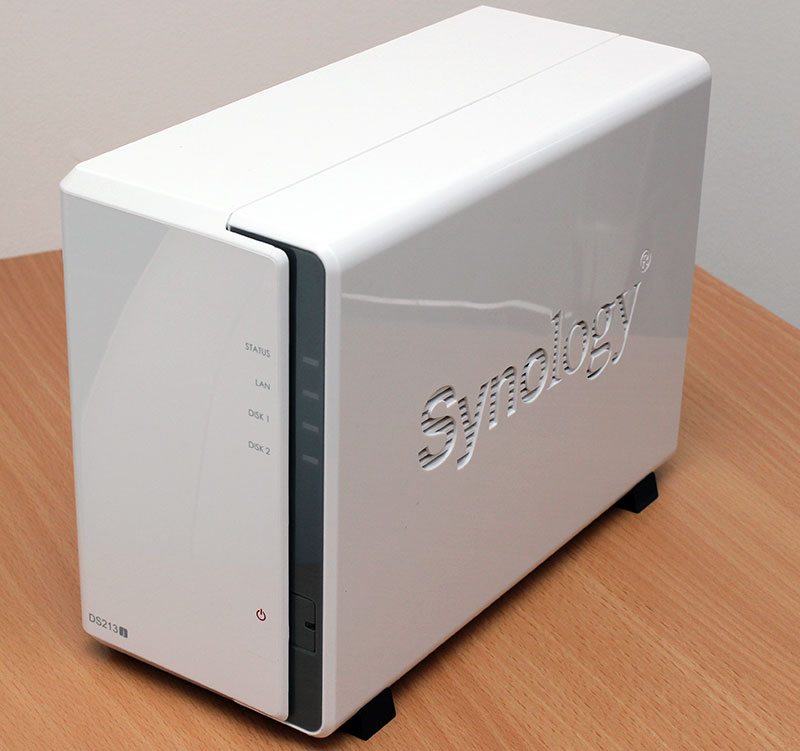
Like a number of computer products on the market, it is refreshing to see products that come in white as opposed to the more traditional black colour that we typically see NAS come in. For the home user, this is far more welcome as it will blend into the environment far more efficiently rather than giving such a stark presence. Synology’s 2-bay DiskStation is one of only a few systems that they have that come in white as many larger systems are likely to be adopted by SOHO and SMB users rather than home entertainment users who want something that is good-looking as well as practical.
Looking at the system as a whole, the DS213j has a very clean look to it with a smooth plastic front panel as opposed to a set of drive bays that we would normally expect to see and as we will see, this is because they have taken a different approach to the way the drives are mounted within the system.
Looking a little closer at the front panel, the system LEDs run down the right hand side, set into a dark grey bezel which adds some contrast to the otherwise all-white system. Lower down the front is the power button and tucked in the bottom left is the systems model number.
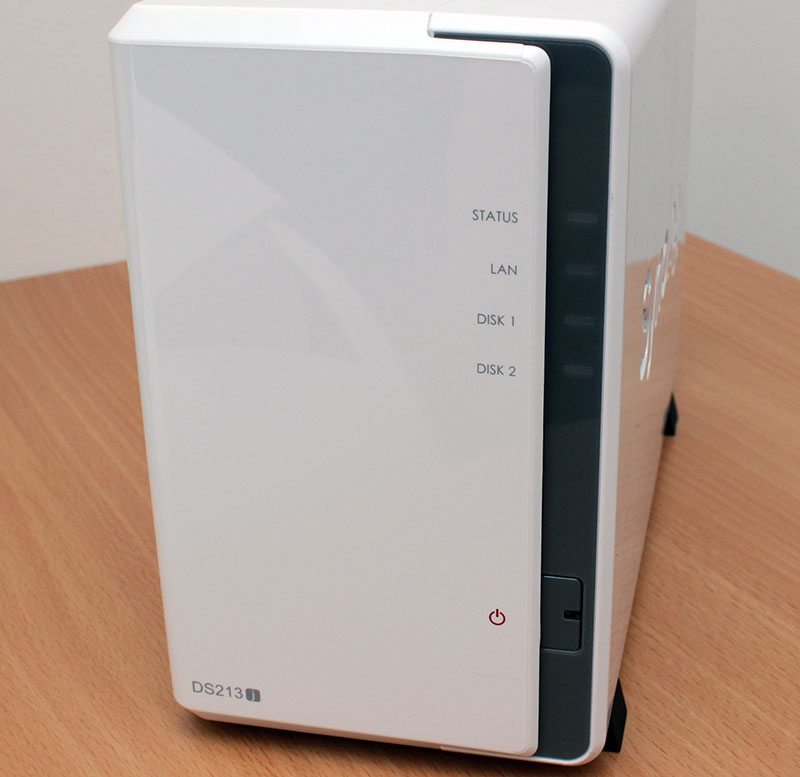
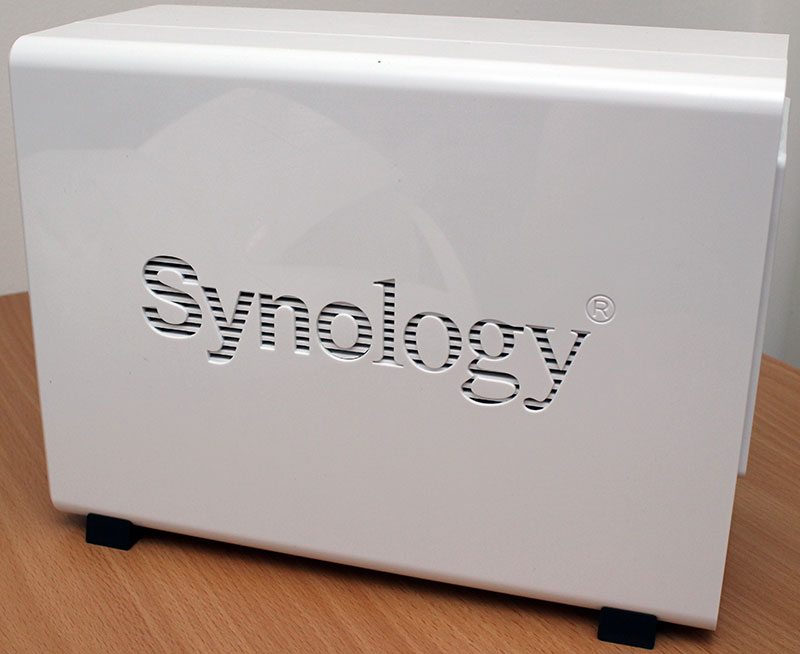
Along both sides of the system is a bold Synology logo the doubles up as a ventilation point for the system to keep the disks cool under the collar during use.
Spinning the system around to have a look at the connectivity options, the DS213j comes with a single Gigabit Ethernet port, two USB2.0 ports, a 12V DC jack for power and a Kensington lock. To the left of the USB ports we can see a reset button and right at the bottom is a hole for a screw to be fixed which is left out when shipped.
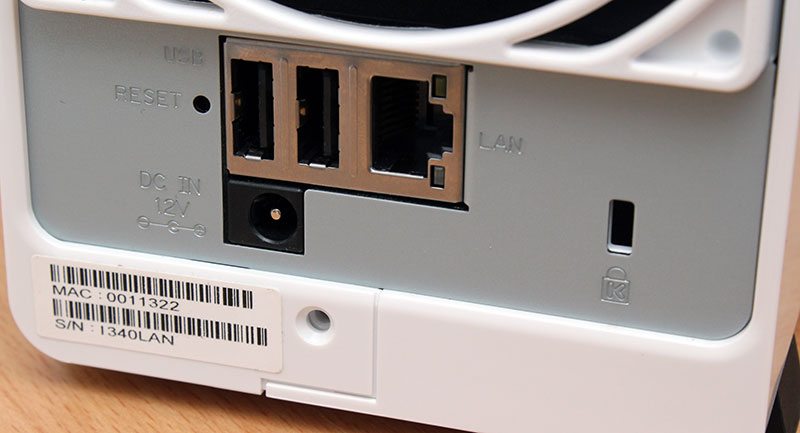
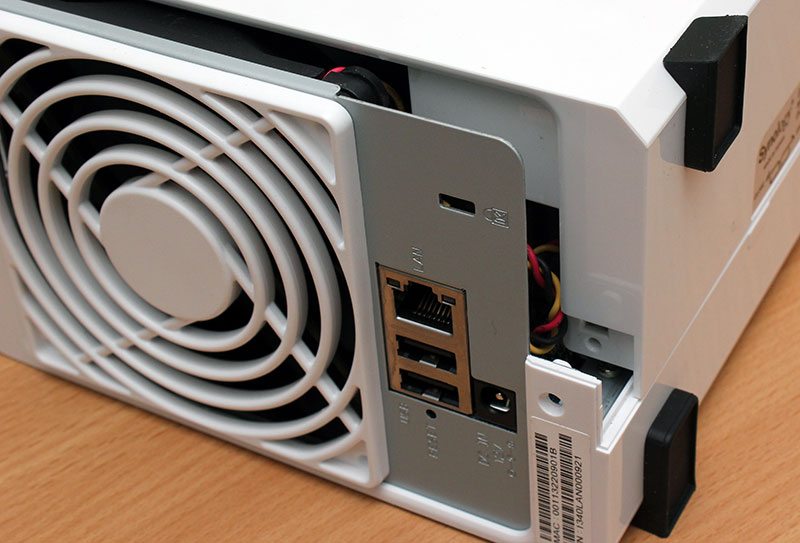
Leaving the screw, which is one of a pair, is a deliberate action of Synology as the first thing a user will have to do is install some hard drives in to the system to get it up and running. Top open the system up the upper half of the system slides forward and lifts up to reveal the drive bays and system boards that are inside.
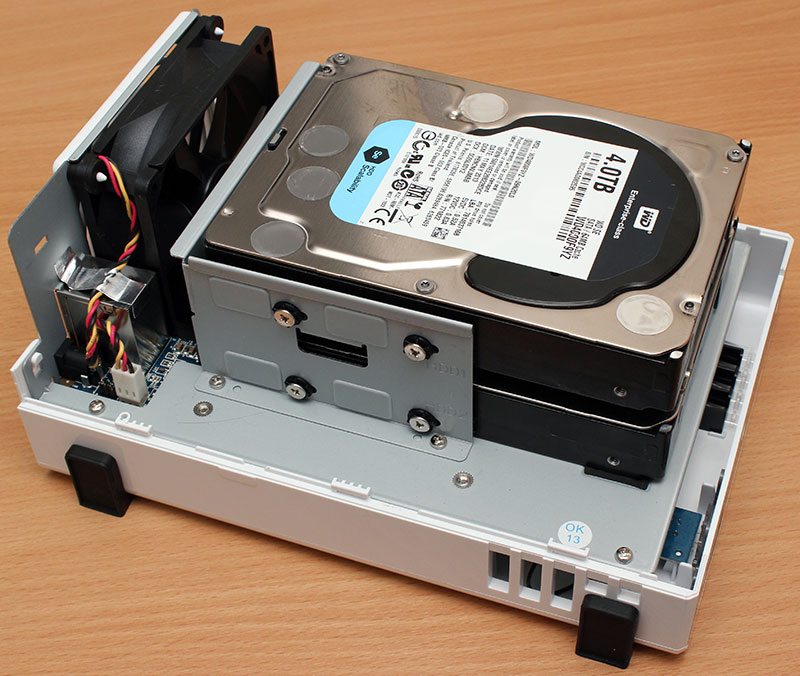
As previously mentioned, Synology have taken a different approach to drive mounting within the DS213j and the two hard drives are mounted totally within the system, which is what gives the clean looks on the front end. Consequently, one the system is open, the disks are very easy to install and they slide onto the SATA headers and affix in place with four screws which pass through a set of rubber mounts to reduce the amount of resonant noise that is produced. It’s also worth noting that the feet on the bottom of the system are made from a similar rubber/silicon mix to stop the system from sliding about and also reducing vibrations that may pass through to a shelf or tabletop.
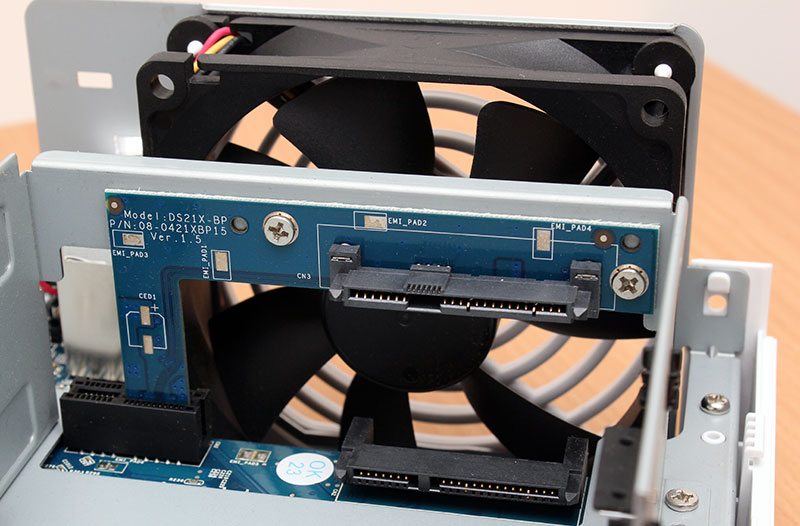
Looking at the SATA headers straight on, we can see that the upper port is connected via a PCIe riser card and behind this is the large, yet surprisingly quiet 92mm fan that keeps the system cool under the collar.
Diving in a bit deeper into the system and having a look at the rather compact motherboard, on the upper side there is not a great deal to be seen. To the right of the PCB is one of the SATA power and data headers, whilst the second the sits above is connected via the PCIe lane that sits to its left. At the back of the board is the USB and Ethernet ports and the 3 pin fan header.

Also on the same side of the PCB, next to the PCIe lane we find the Marvell 88E1512A0-NNP2 Gigabit Ethernet controller.

Flipping the PCB over, things are a little more interesting with far more going on. Lying at the centre of the board is the CPU which we’ll look at a little closer further down the page. Towards the edge of the PCB is the system battery, and on the bottom right corner the power button and LED header.

Powering the DS213j is a dual core 1.6GHz ARM processor. the metal plate that lies on top of the chip acts a compact passive heat-sink for the relatively cool running chip.

Nestled beside the CPU are two Hynix branded H5TQ2G83CFR 2GB RAM ICs. This gives the DS213j a potential capacity of 4GB, however there is only 512MB available to the system to use.

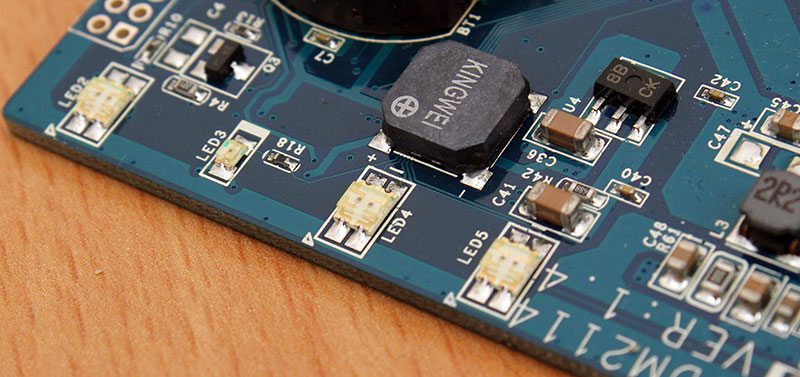
On the bottom edge of the PCB is a row of four LEDs that illuminate on the front panel through a set of perspex strips. These LEDs indicate system status, LAN activity and activity on each of the two disks.