Synology DS414j 4-Bay NAS Review
Chris Hadley / 10 years ago
A Closer Look
The first thing that comes apparent once we get the system out of its box is the major overhaul to the systems design. The vast majority of four bay systems consist of a front loading drive bay system, with the drive bays hidden behind a door or cover (as seen on the DS414) or directly visible in s similar manner as we find on the DS1513+. The DS414j sees a whole new approach to assessing the drive bays with the front of the system dedicated to ventilation through a top to bottom grill. Breaking up the front grill is a raised partition on which we find the power button and a series of LEDs to either side for drive, system and network status. A small print above the power button gives us the model number, rounding off the front panel.
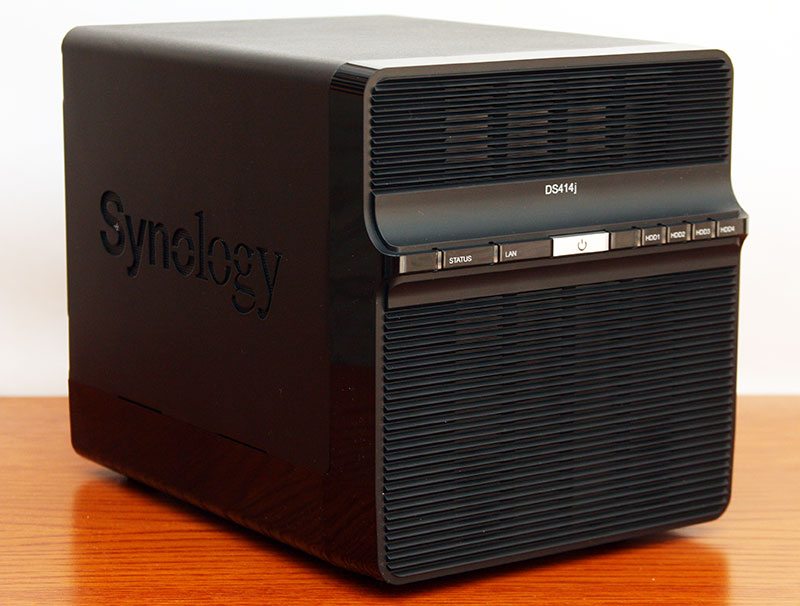
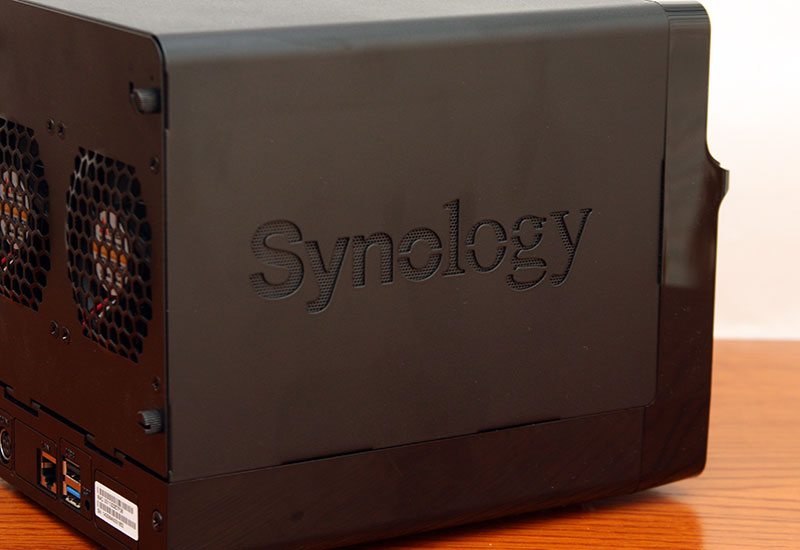
Like virtually every other Synology NAS, both sides of the NAS bear the Synology branding, breaking up the otherwise plain and simple design.
Turning around to the rear of the DS414j we find the rear panel broken up into two distinct sections. At the bottom we find the DC power jack, a single Ethernet port and one USB2.0 and new to a ‘j’ series NAS, a USB3.0 port. The remainder of the rear panel as we can see is set on two hinges and is held shut by four thumb screws. In the middle of this door, as it were, Synology have positioned two 80mm fans which draw air in and through the huge front grille. Air flow is certainly not an issue with this model.
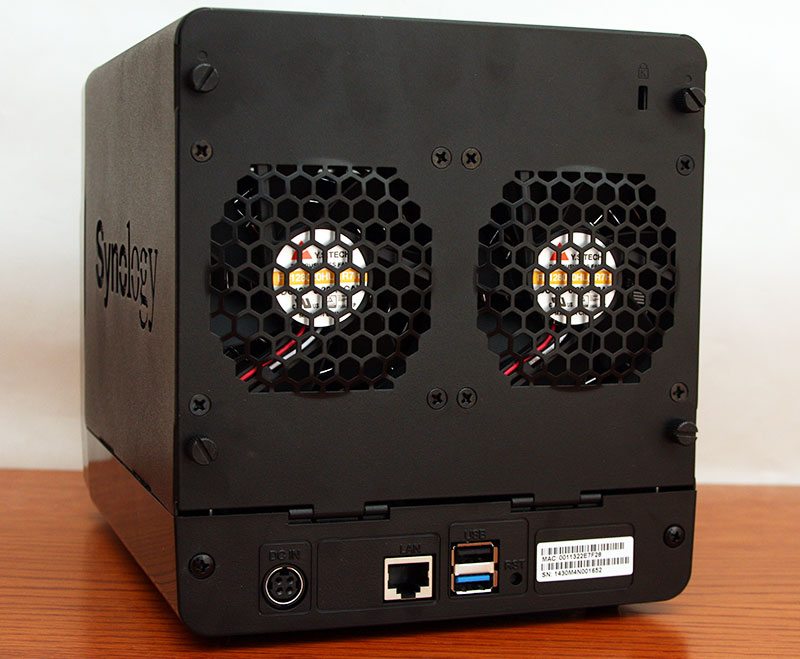
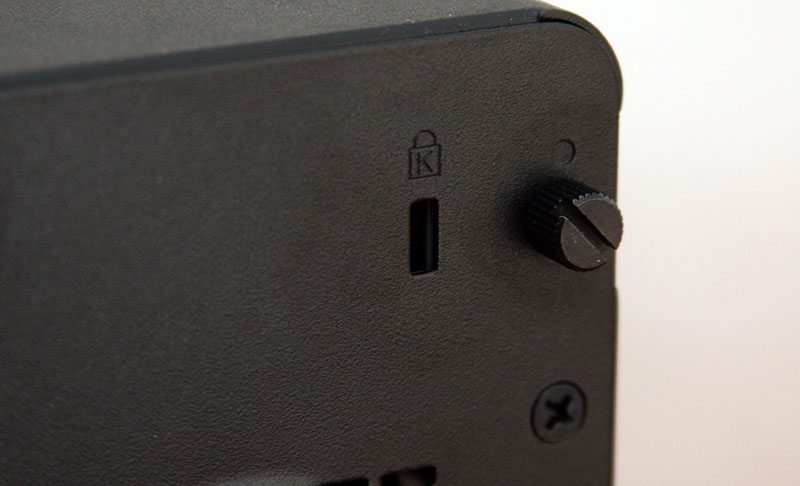
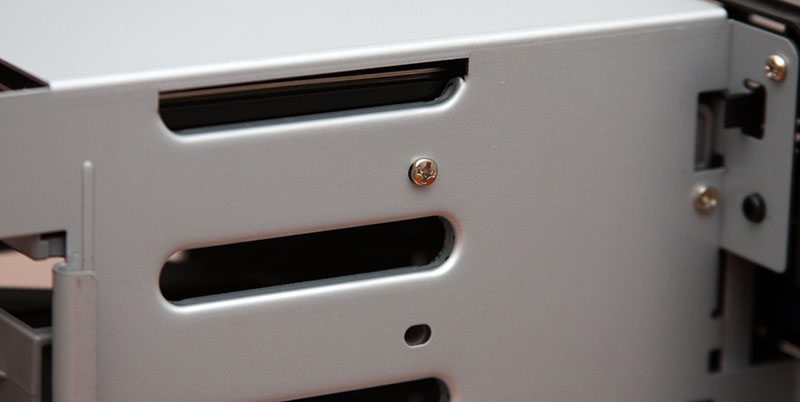
Sat up and next to the top right thumb screw we find the Kensington lock point. Whilst its positioning may seem a little out-of-place to some, by positioning the lock here Synology are able to ensure that not only is the system secured down, the drive trays are also kept behind a locked door.
Removing the four thumb screws and looking into the chassis, the first thing I will point out is the bracket on to which the Kensington lock secures itself to the interior framework. With the door opened, we can see how the four drives are positioned one on top of the other. This arrangement allows for a smaller desktop footprint, which is surprisingly a key factor when designing a system for the home user.
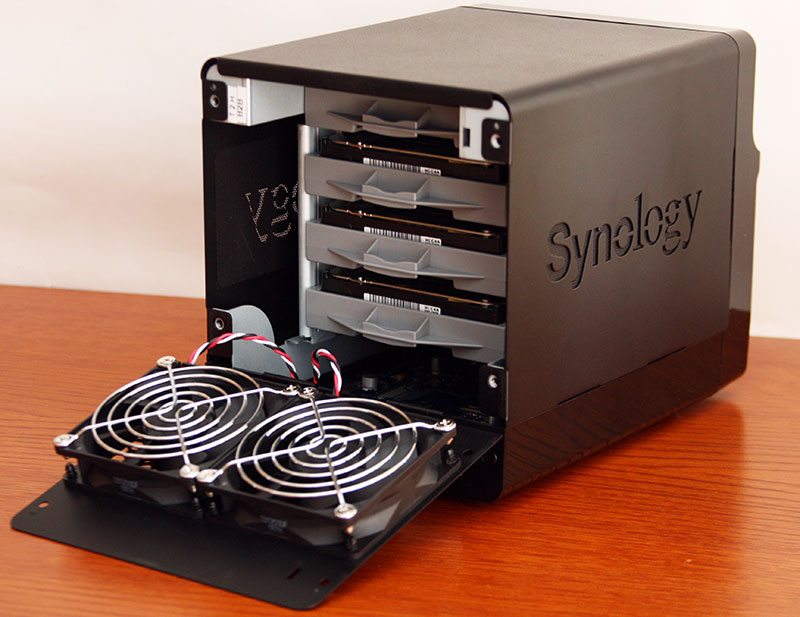
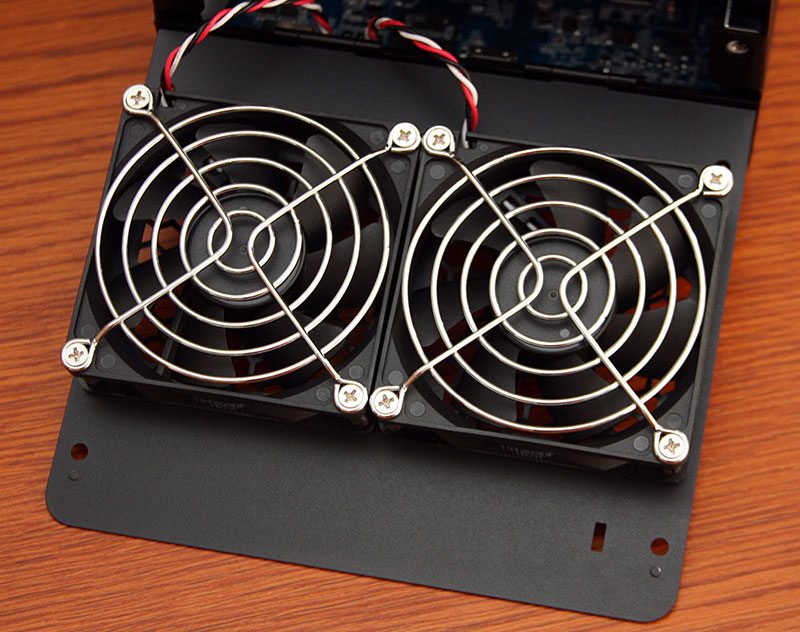
Ensuring the fans are of no threat when the door is opened with the system operational, two metal grills have been bolted to the inner side of the system. With the DS414j supporting hot-swap drives, the last thing anyone wants is to have a finger wander into a spinning fan – if you’ve been clever enough like me to do this, you know how much it can hurt, believe it or not.
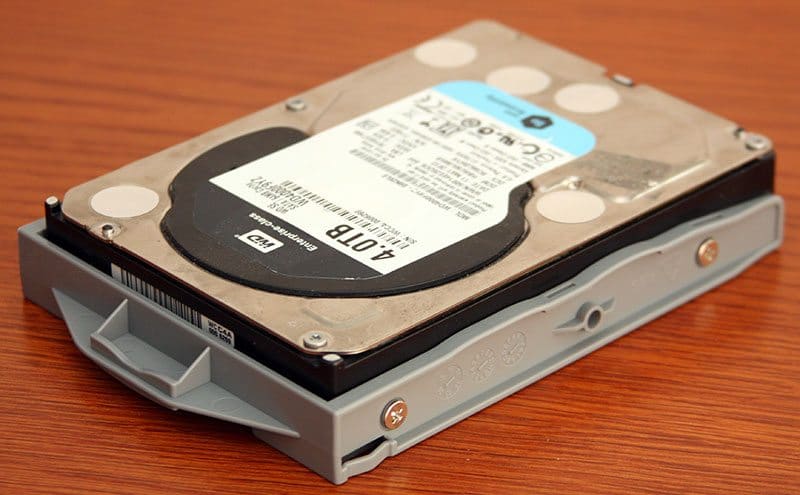
Unlike systems such as the DS414, the DS414j does not adopt a tool-free environment, instead it’s back to the good ol’ screw to secure each of the drives into place. Another feature that I will point out is the addition of a third screw hole along the side of the tray for locking the tray in place.
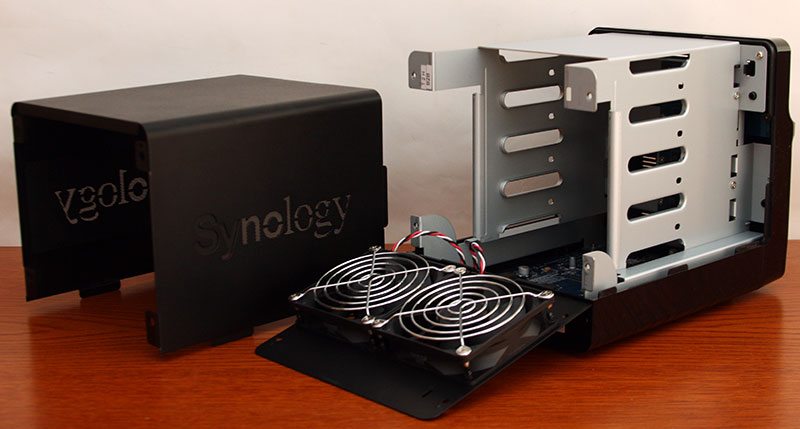
When I first opened up the rear door to the system I was a little surprised when the main chassis cover lifted out-of-place in a way that made me feel like it wasn’t supposed to. There is a very good reason for this cover lifting off however; Down the side of the framework which holds the drive trays in place we can see a series of small holes which conveniently line up with the holes in the side of the drive trays.
Using the third set of longer screws that come included in the accessory set, there is the option to secure each of the drives into the system to prevent them from coming free of the SATA backplane. This however not a necessity if you are leaving the system in place on a desktop, although it is recommended that you use these screws if the system is going to be moved from one place to another, mainly to prevent any damage occurring to the drives, the backplane or the fans during transit.
Sat in the base of the chassis we can easily see the top of the motherboard. Like the orientation of the drives, positioning the board in the base of the enclosure helps to reduce the overall footprint, for reasons which I mentioned above.
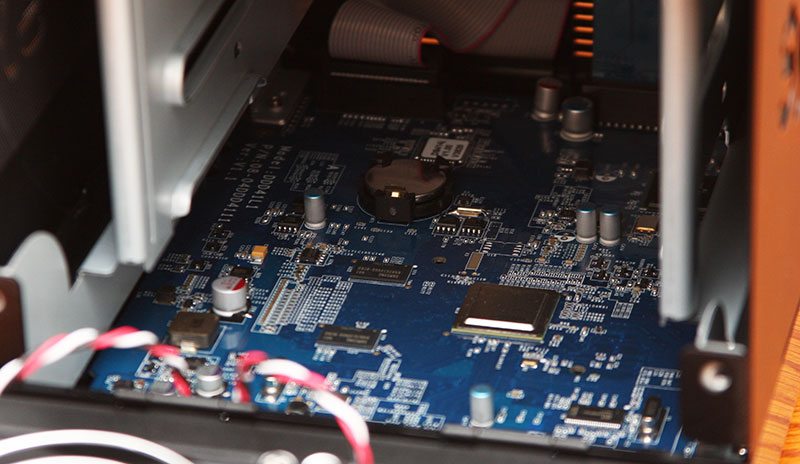
Behind the front panel, the LEDs and power button are mounted on a small PCB with a long ribbon connecting this to the motherboard. The ribbon does appear to be a little generous in its length and whilst this doesn’t affect the operation of the system in any way, it would be of a financial benefit to Synology if this were to be a little shorter.
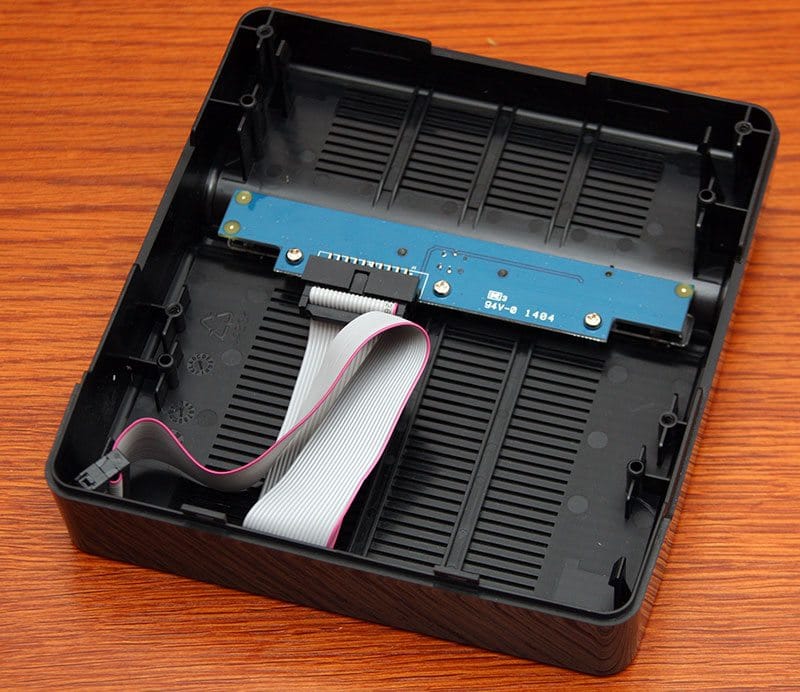
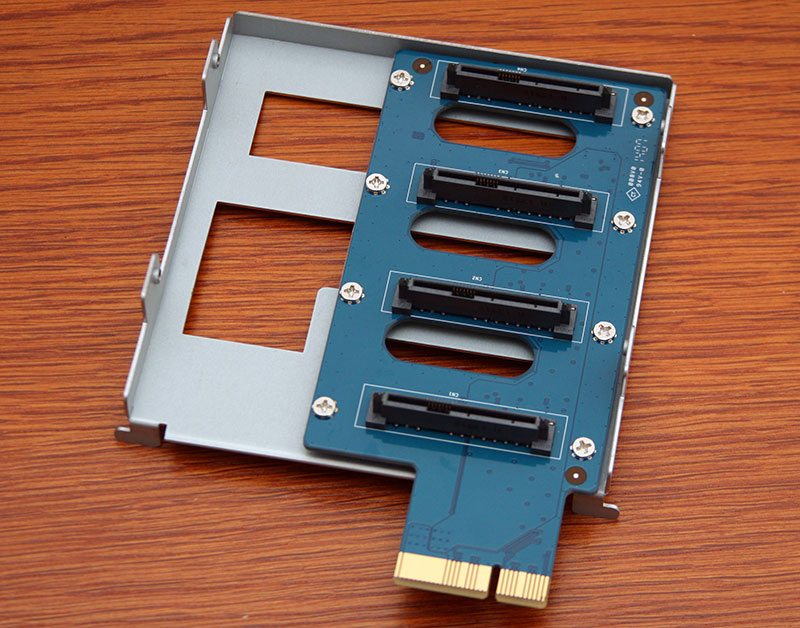
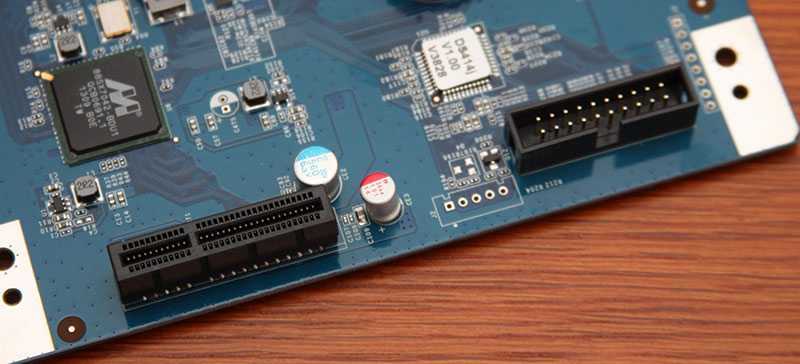
Between the front panel and the drive bays sits a SATA riser board which connects through a PCIe x2 lane.
Lifting the motherboard out from the base of the chassis we can see how well spaced out all of the components are and unlike SMB and enterprise systems there is not option for future upgrades to the memory. For this level of system this is not really an issue and it does after all help to keep the built costs down.
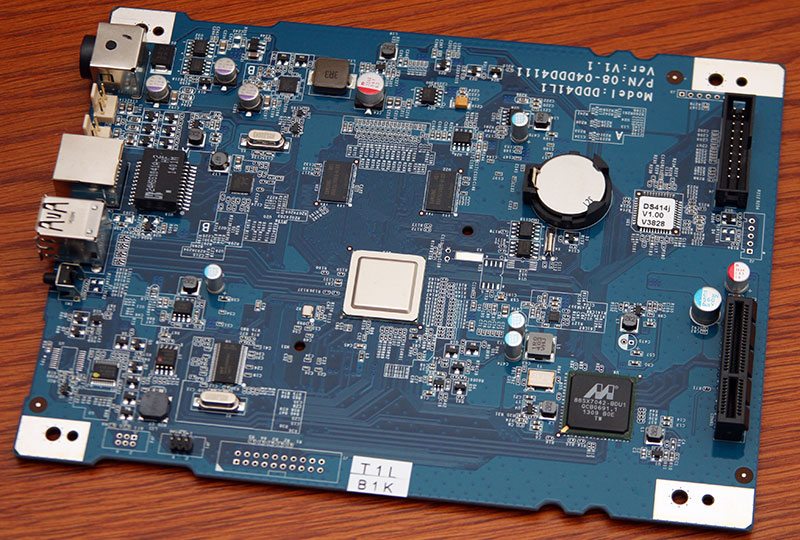
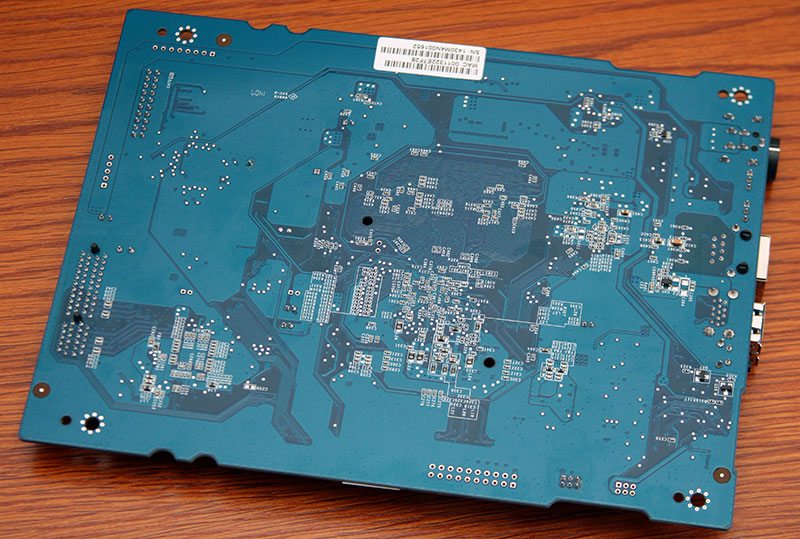
On the underside of the motherboard there is virtually no circuitry to be seen, at least nothing that is of any significance.
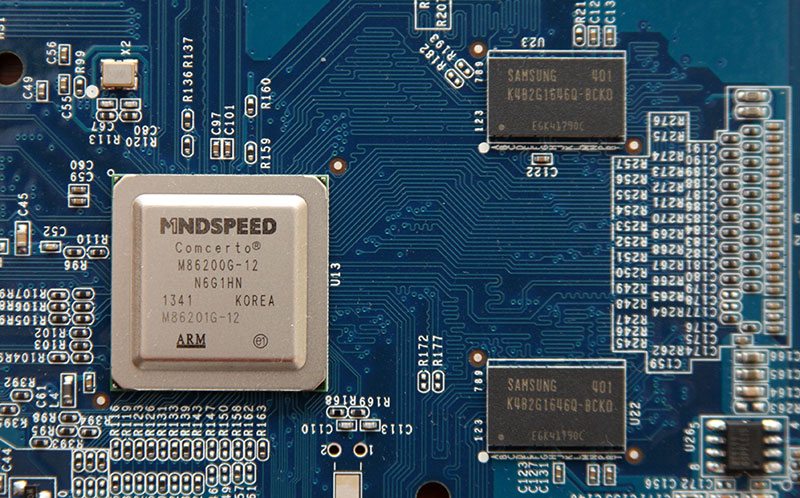
As mentioned right back at the start of this review, one of the major selling points of the DS414j over any other ‘j’ series system is the introduction of a dual-core processor. Sourced from Mindspeed, the Comcerto 2000 processor is based around an ARM Cortex-A9 core clocked to 1.2GHz and with the inclusion of a USB3.0 host controller we have a low-cost, yet powerful centre to the 414j package. Paired with the Mindspeed CPU, 512MB of Samsung DDR3 memory gives the system the capacity it needs to deliver some class leading performance.
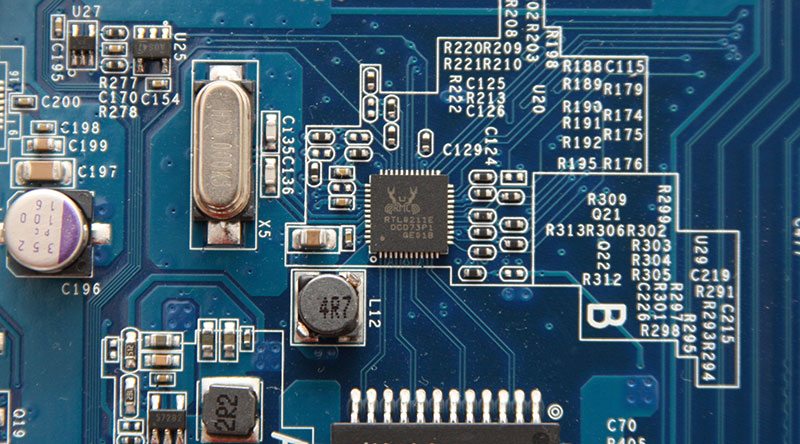
Whilst the Cemcerto CPU does have the capability to drive a single network interface we find the Gigabit LAN here taken care of by a Realtek RTL8211E dedicated controller. Whilst Realtek controllers are not one of my favourite options to choose from, it is more than enough for an average level of performance that an entry-level system is built to deliver.
Further round the board we find a system clock generator provided by an IDT 5V49289BPAGI EEPROM package.
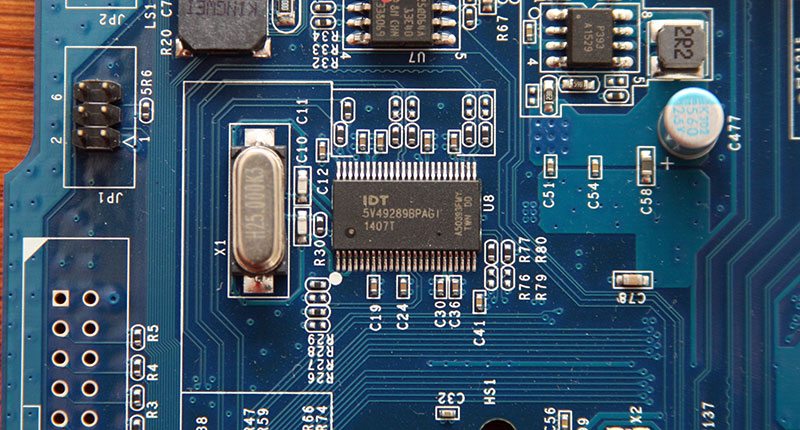
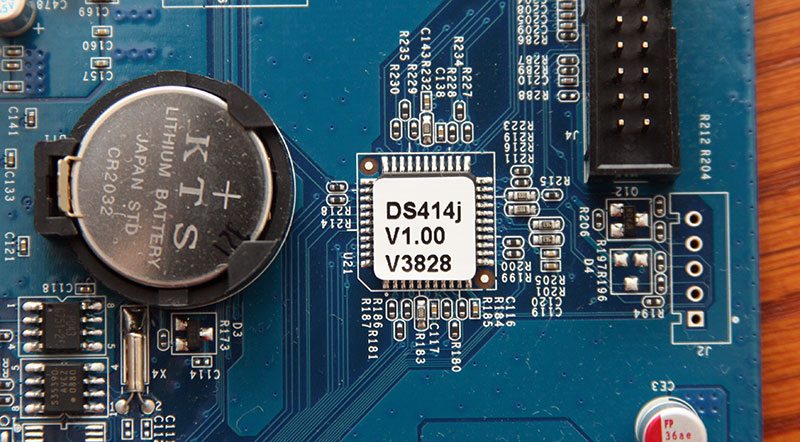
Towards the front edge of the motherboard between the system battery and front panel connectors is a Lattice LC4032V chip which as suggested by the sticker placed on top is for the system BIOS.
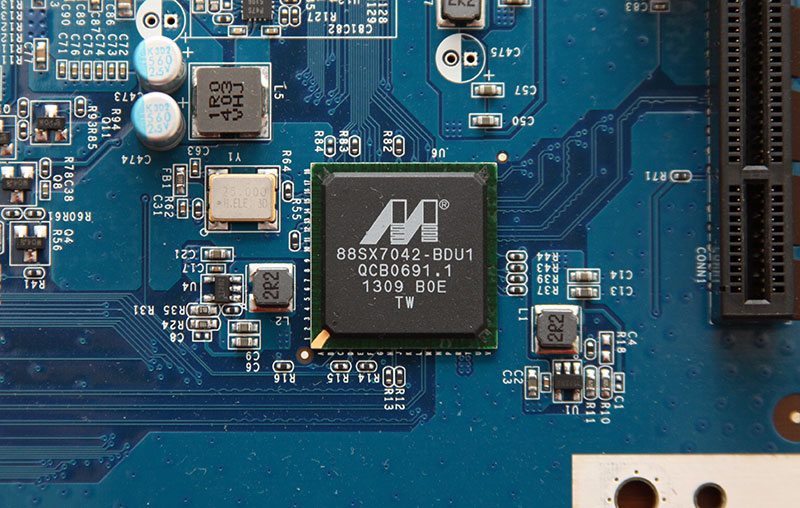
With the Comcerto CPU not itself capable of controlling the SATA interface, a Marvell 88SX7042-BDU1 SATAII 3Gbps controller is provided, supporting all the levels of RAID that we would expect for a four bay system whilst offering speeds of up to 100MB/s read and 80MB/s write. Even though SATAIII is the standard throughout many desktop systems and high-end NAS, utilising a SATAII controller is another way of keeping the overall cost down and with the ~135MB/s bandwidth limitation of Gigabit LAN within the range of the SATAII specification when in RAID0, putting a faster controller in the 414j would be a bit if a waste if I was to be honest.
Along the front edge of the motherboard we find the PCIe lane for the SATA riser card and to the right a 20-pin header for the front panel LEDs as seen above.
Finally, on the rear side of the motherboard we find the two 3-pin fan headers sat between the power jack and Ethernet port, whilst to the right of the two USB ports we can see a button for the system reset function when needed.


