TerraMaster OS (TOS) 4 Software Introduction
Bohs Hansen / 5 years ago
Various NAS Settings
We completed the network, storage, and privileges, which means that we’re close to through with the basic setup. We have taken care of most settings, but there are more options worth a look.
Regional Settings
To timestamp events and files properly, the NAS needs to know where it’s located. The regional settings include timezone settings and automatic updates via NTP servers.
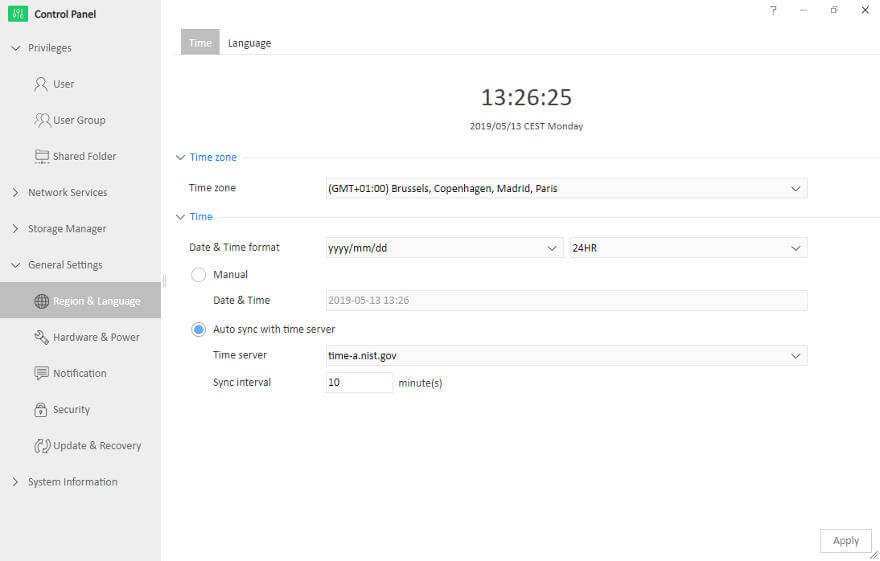
The language tab is only for the codeset.

Power and Cooling
The fan’s behaviour is set to the Smart option by default. This is by far the best option in most situations, but you aren’t limited to that. You can also manually set the fans at three different levels. Hard drives can also be put to sleep after some time of inactivity. Safe on the power bill and extend the life of your storage drives.

You can save even more on the running costs with an automated power schedule. Why have the NAS running when you aren’t going to use it anyway? Define a fixed startup and shutdown time for your NAS.

Notification System
There are two ways to get notification from your TerraMaster NAS. Either the default email or you can send it to an SMTP server.

Security
There didn’t use to be a lot of functions in this section, but there are now. It starts with the SSL certificates in use.

New is the firewall that allows you to set rules based on IPs, subnets, protocol, and ports.
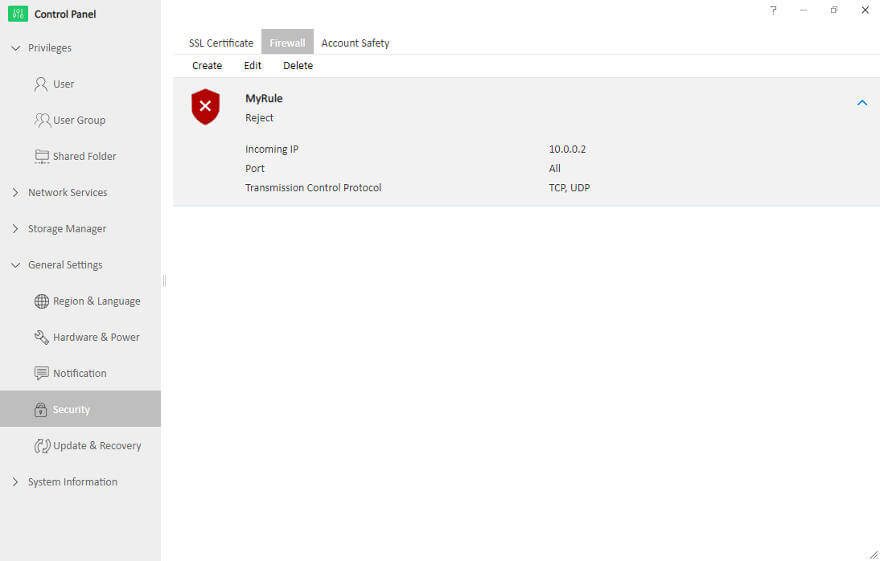
New is also the Account Safety tab here. You can define automatic block parameters here, allowing you to block bruteforce password hackers with ease.

Update, Backup, and Restore
It is vital to keep your systems up-to-date. New updates bring fixes and new features to your existing setup. TOS updates can be applied manually for offline setup or controlled updates. The way to be sure to be up-to-date is the Online Update function. With it, you’ll always get the latest version.

You can backup and restore all your current settings. This is always a good idea to use once you’re done with your basic setup. That way, you always have an option to go back to what worked without having to start from scratch.
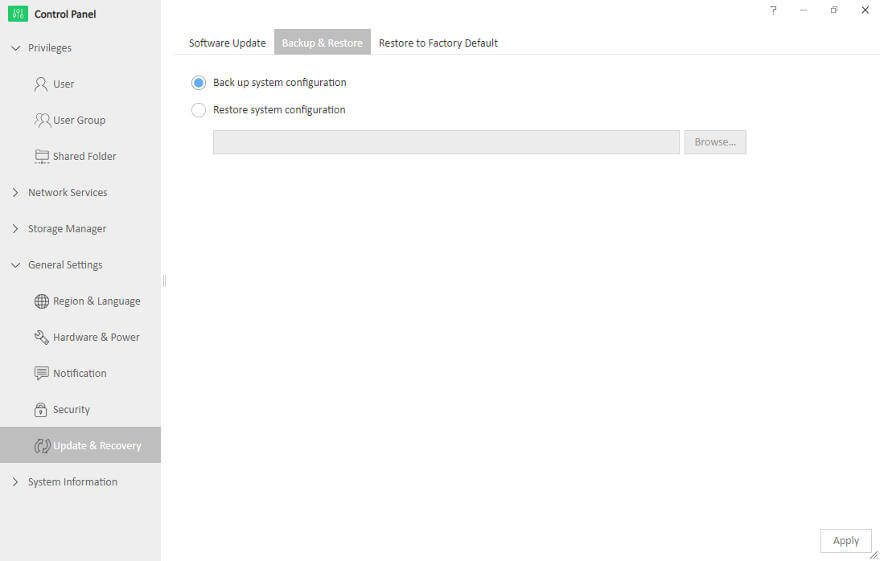
If you do want to start from scratch, then there’s a factory reset function too. You can also use the hardware button for this.


