Thecus N2810 2-Bay 4K Capable SMB NAS Review
Bohs Hansen / 8 years ago
A closer look
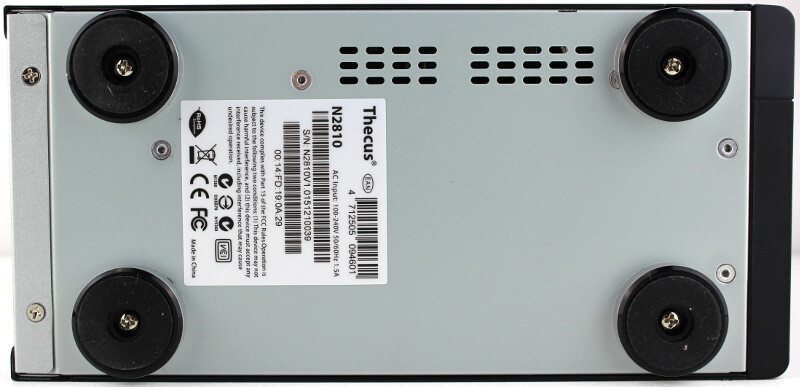
It’s time to take a closer look at the N2810 itself, starting with the bottom of the device. The NAS has four large rubber feet screwed into the bottom that should make for a secure positioning and prevent vibrations from being transferred onto the surface. This is also where you’ll find the sticker with the serial and product numbers as well as the default MAC address.
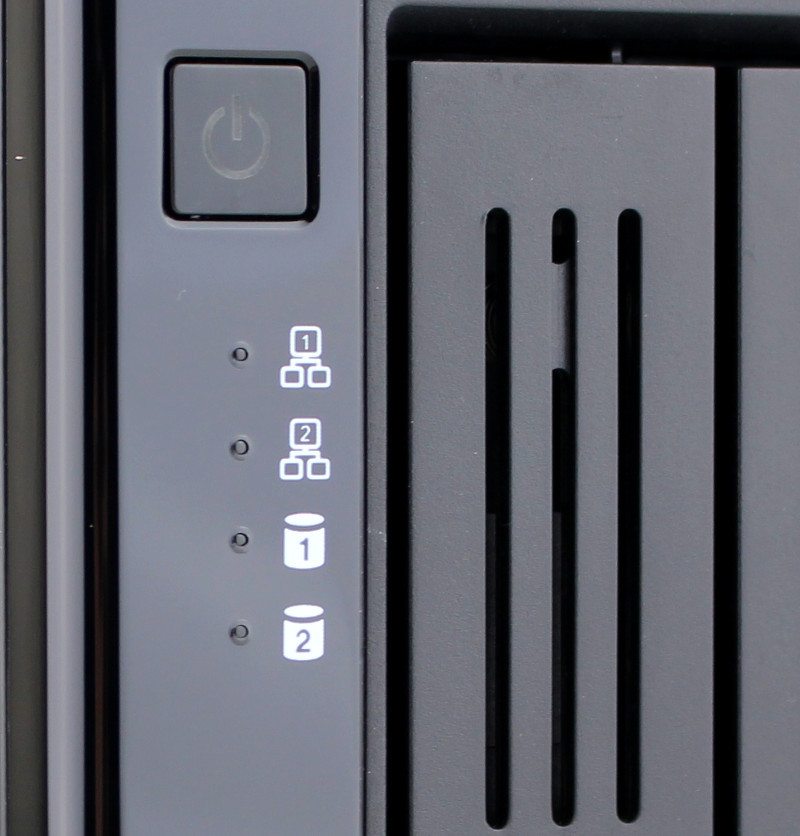
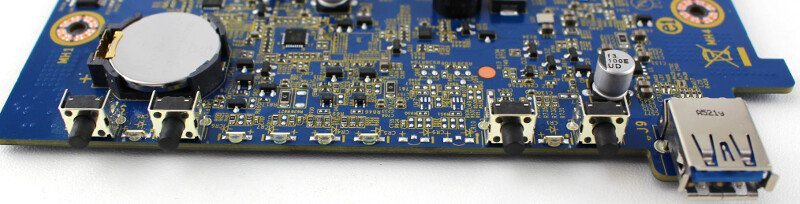
Each drive bay and each LAN port have their own LED with icons while the power and activity LED is embedded in the power button and the same goes for USB, that is found in the one-touch copy button.
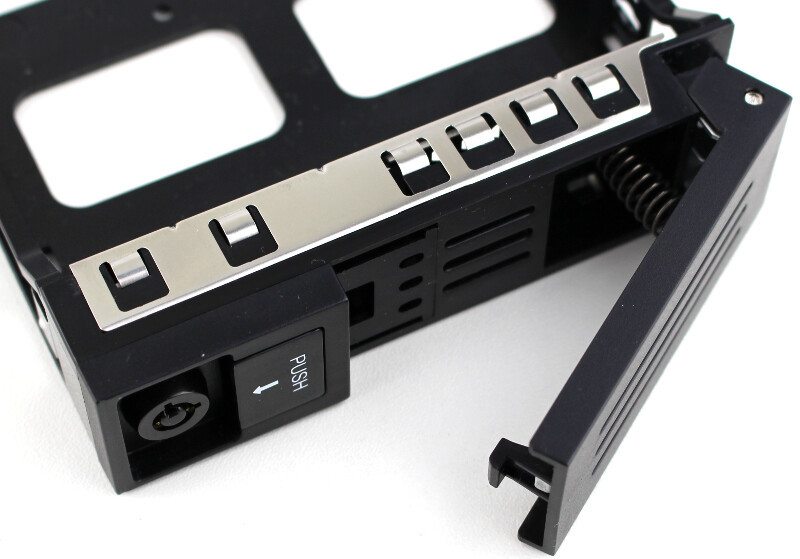
The drive trays are a mixture of well-known principles mixed together with a new type of mounting ledges. It is a very sturdy and stable drive tray that allows both screw-less and screwed mounting of your drives.
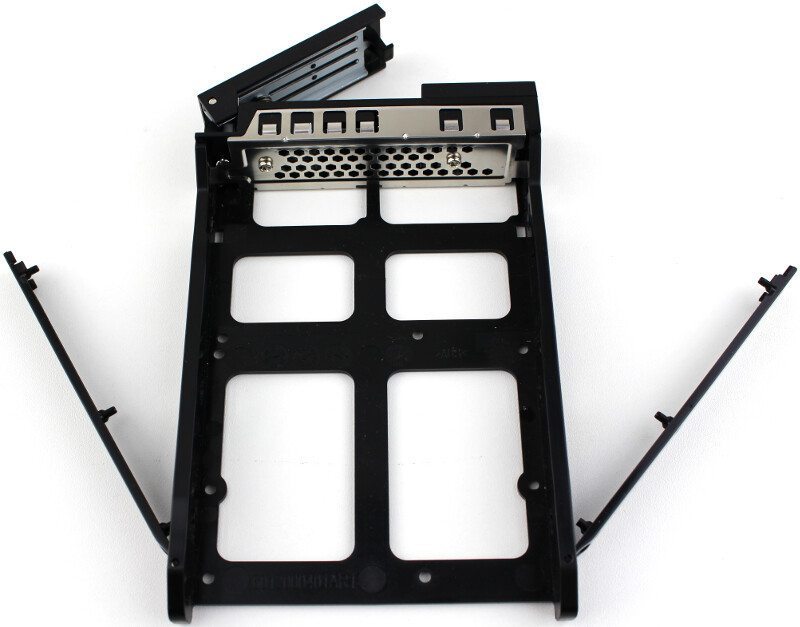
The ledges on the side are attached at the rear end and swing open by simply pulling them. They will then secure the installed hard drive in all three available mounting holes on the side.

The bottom of the drive tray has all the holes you need to mount both 2.5-inch and 3.5-inch drives with screws, should you prefer that kind of mounting.
The drive ejects easily by pressing the button and the handle is connected with a spring to make the whole thing easier. Each of the drive trays can also be locked individually to prevent sticky fingers from running away with your precious drives.
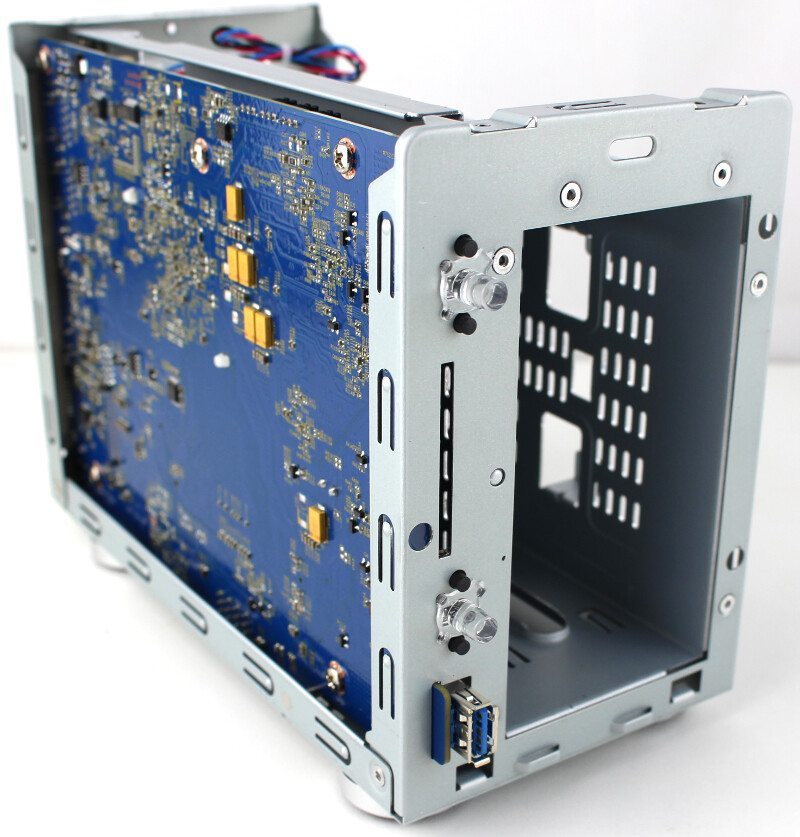
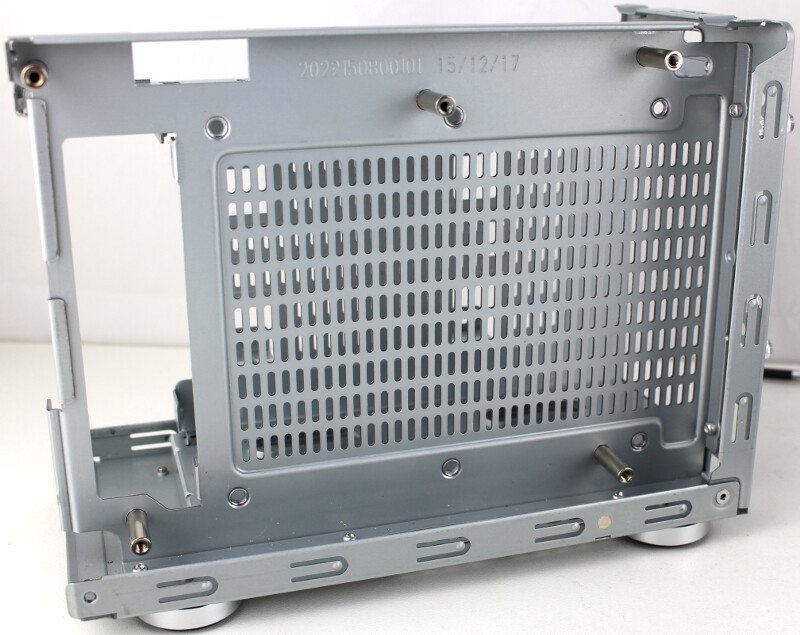
Removing the top cover is easy and it only requires the removal of three screws and it reveals two things. The first is that we need to take it further apart to upgrade the memory as the motherboard is mounted with the rear out.
The other thing that we spot is the extra 2.5-inch internal drive bay that isn’t used. Before you get your hopes up, there aren’t any further onboard connectors that you could use to connect a drive – but it’s still an interesting find. Maybe future models in the same enclosure will use this for an OS drive.

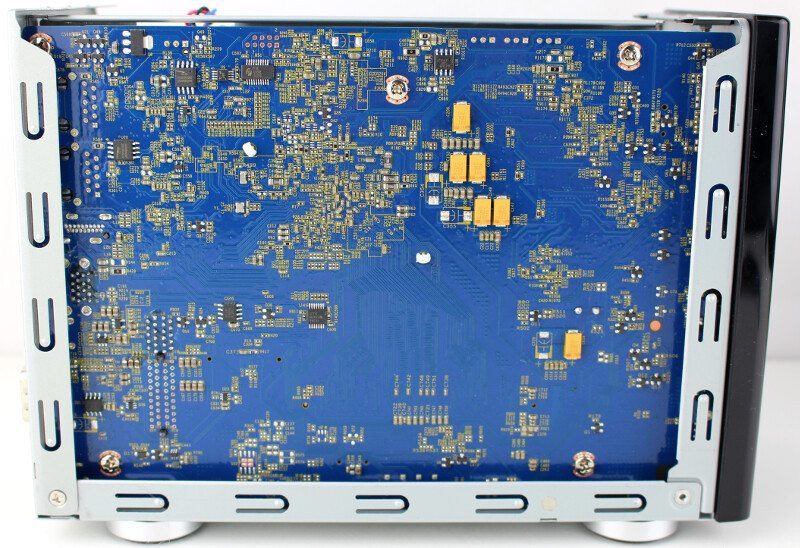
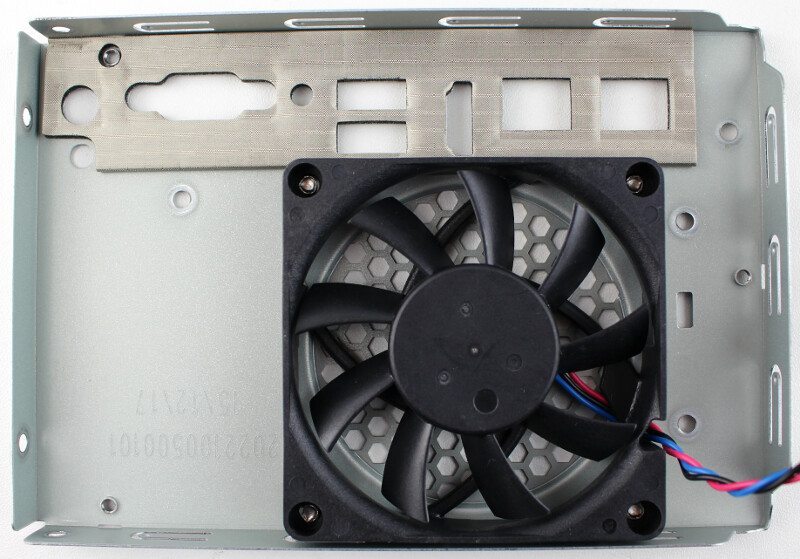
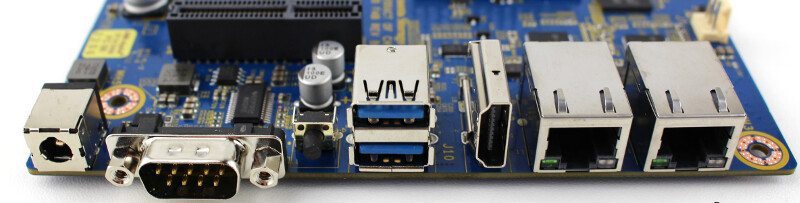
All external ports are mounted directly on the PCB itself, so there aren’t many cables to manage or to get in the way of the airflow. In fact, the only cable is the one connecting the fan to the PCB.
The rear mounted fan will keep everything cool and it was neither audible nor to low powered to keep up with the temperatures during my tests. The IO area is also shielded to protect the PCB from possible discharges from connecting devices.
The motherboard itself is set with 5 screws and once we have removed that, we can upgrade the memory.
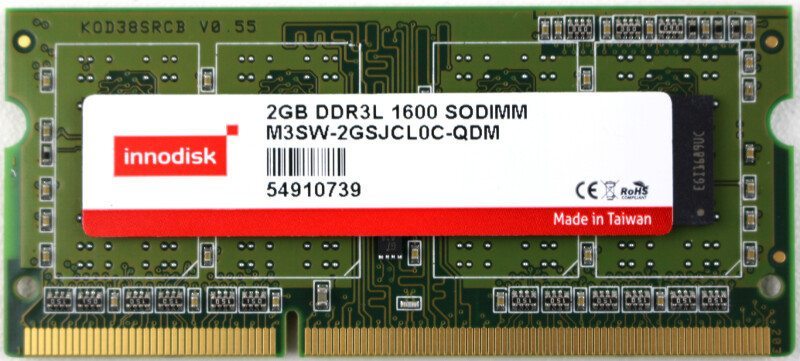
Once you reached the motherboard, upgrading the memory is a breeze due to the standardized SO-DIMM slot. Plug in a new module, reassemble it, and you’re back in action.
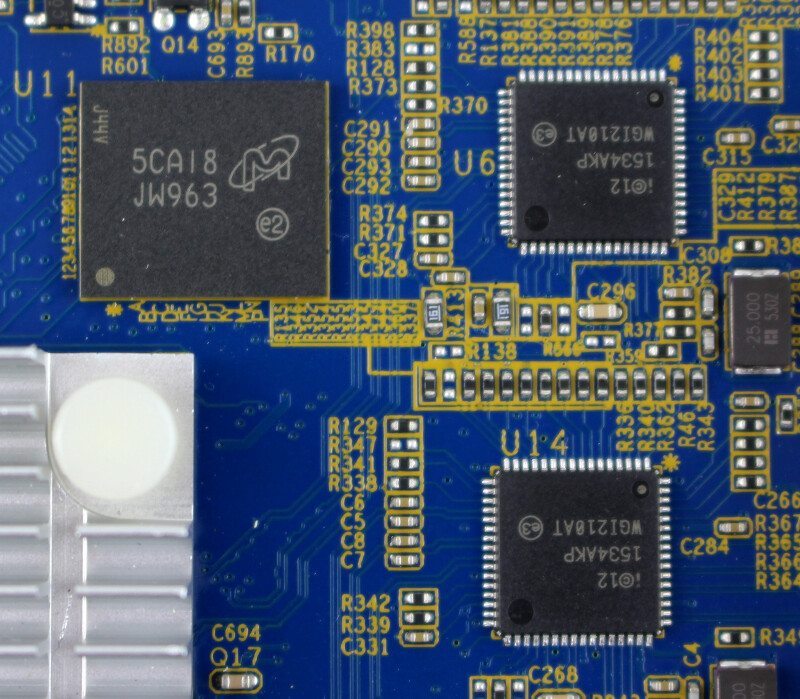
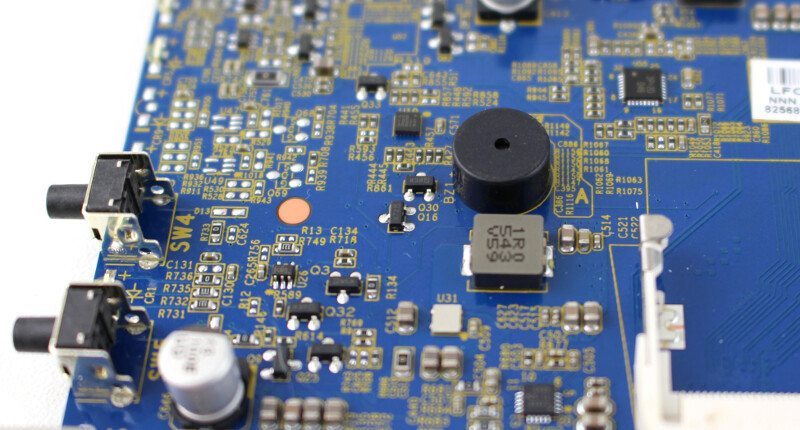
We also see one of the advantages in a low TDP CPU usage, the tiny heatsink. The CPU, despite its power, doesn’t require a lot cooling and allows the use in such a tiny environment.

The installed RAM module is an Innodisk 2GB DDR3L 1600MHz module composed of 8 RAM chips, four on each side.
The onboard system is stored on a Micron-based NAND chip and the LAN ports are controlled by Intel i210AT controllers.
The LEDs and buttons are mounted right on the PCB too as we see in the below images. An effective way to keep everything simple.
The built-in alarm buzzer is mounted next to the RAM slot, and it has a cuter sounding alarm to notify you compared to most other systems. Thecus users will be familiar with what I mean.
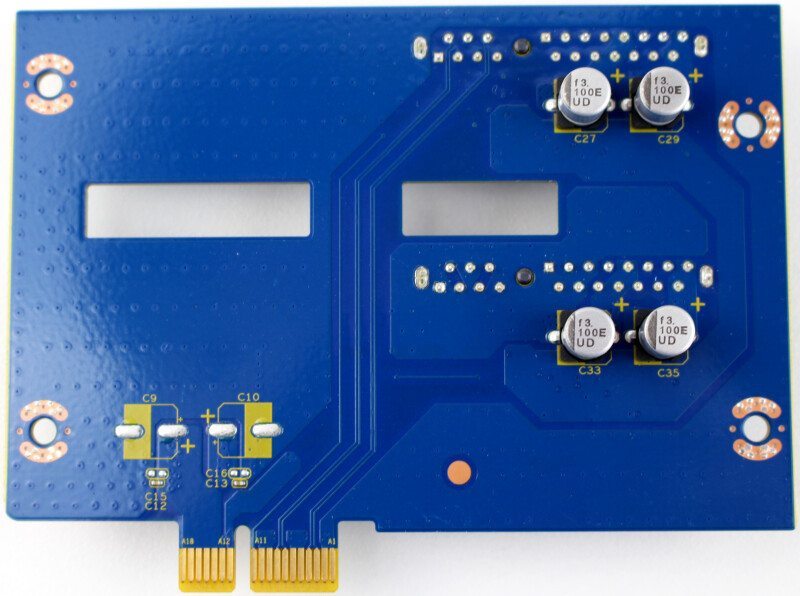
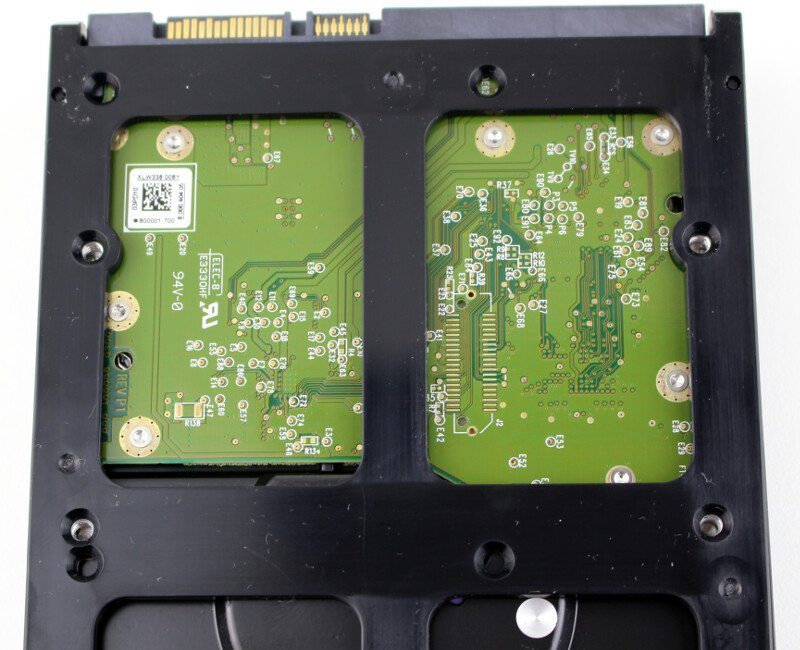
The drives connect trough a PCB daughter board in the PCIe slot.

The daughter board features the same quality solid capacitors as the main PCB and will ensure a stable power supply for your drives.