The Core P5 isn’t the easiest system to build, as there’s a bit of building to do between taking it out of the box and getting your components installed. Of course, given the high-end nature of this chassis, that much is to be expected. Here you can see I’ve got all the main brackets installed, as well as the four metal poles for the window panel mounts.
The power supply mount comes with two brackets. The back bracket is movable, allowing you to brace your PSU properly based on its length.
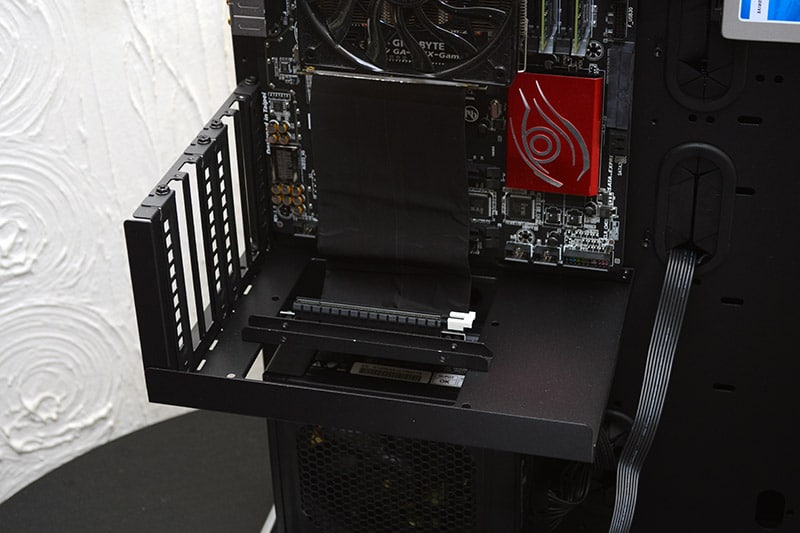
The expansion slot mount is unique in that it can be mounted like this, the standard way, or rotated 90-degree so you can show off the GPU cooling solution.
I’ve mounted the front hard drive bay, but again, you can see it covers the cable routing a bit. This isn’t a huge problem, though, just do the cables first, then add the drive bay to cover it a little.
Overall, it’s a unique layout and it’s certainly interesting, so let’s get some hardware on there and see how it goes.
Complete System
Installing the components was laughably easy, especially compared to the hassle of putting the chassis together. Even with a full ATX motherboard, PSU and the rather large Sapphire R9 270X on there, this chassis just eats them up, the components look small compared to the gargantuan amount of space on offer here.
Without cables, it looks neat and tidy, how you route cables is up to you. I’ll be using the grommets, but on a show case like this, I’d be tempted to route cut-to-length braided cables on show, just for something a little more unique.
The power cable for the PSU is nicely located in the bottom left corner, meaning you’ll have the minimal amount of cable trail, something that’ll make a big difference when wall mounting the unit.
Obviously, airflow is not going to be a major issue here, as the sides are completely open to the elements here. This could mean absolute hell in terms of dust, but at least the open design makes it easy to get in and clean your hardware.
The hard drive brackets are self-explanatory, and the 2.5″ drive screwed in easily enough and just in reach of some cable routing grommets.
All cables in place and you can see that the routing is doing a fine job overall. However, the rear hard drive bays really do limit the use of the grommets, although to keep the chassis slim, I’m guessing some sacrifices had to be made. There’s obviously a huge amount of space to the right for a water cooler, I’d have to admit that using this chassis without water cooling would be a wasted effort, and there are smaller wall mounted chassis on the market without that radiator bracket that would be better suited for air-cooled builds.
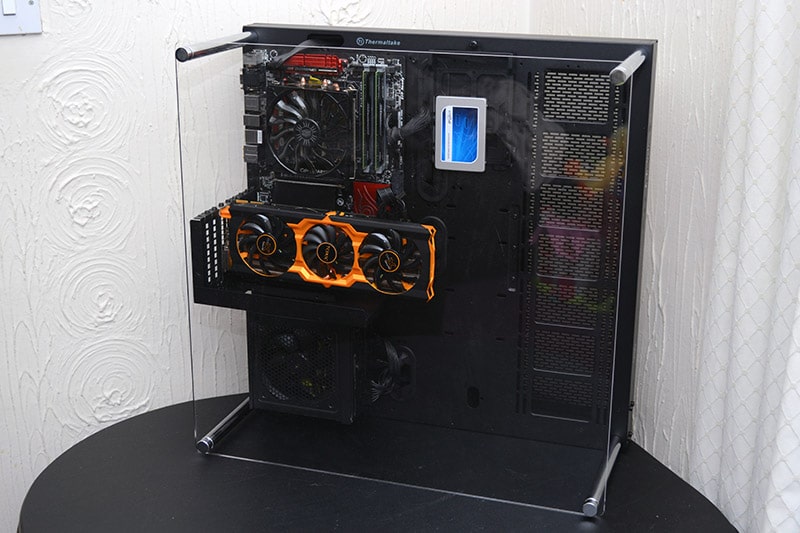
Simply unscrew the heads of the four silver poles, line up the window panel and screw it back in place and you’ve got your complete build. How you mount it from here is really up to you; lay it on its back, with the window on top, put the feet on it and keep it vertical, much like a traditional chassis, or go all out and mount it prominently on the wall!
Just be sure to take care, as things could easily drop into the system and cause damage.
Same goes for people who have children or pets, little hands and pays can easily get inside, causing harm to themselves or the system, but you should obviously take precautions with such a unique build layout anyway.
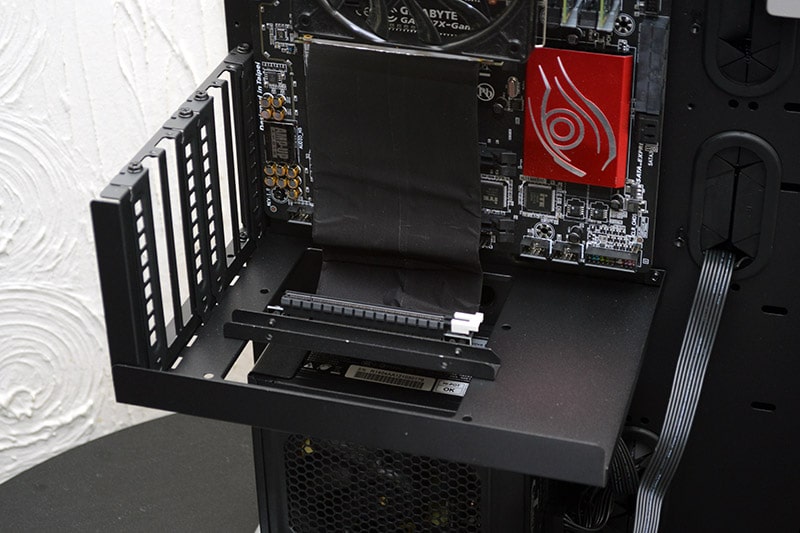
Not content with the final product, I’ve installed the GPU raised card. It’s a little tricky to screw together, but anyone who managed to put the rest of this chassis shouldn’t have much trouble with it.
There’s only one riser card included, so a single GPU configuration is ideal, although I suspect you can buy more if you need them.
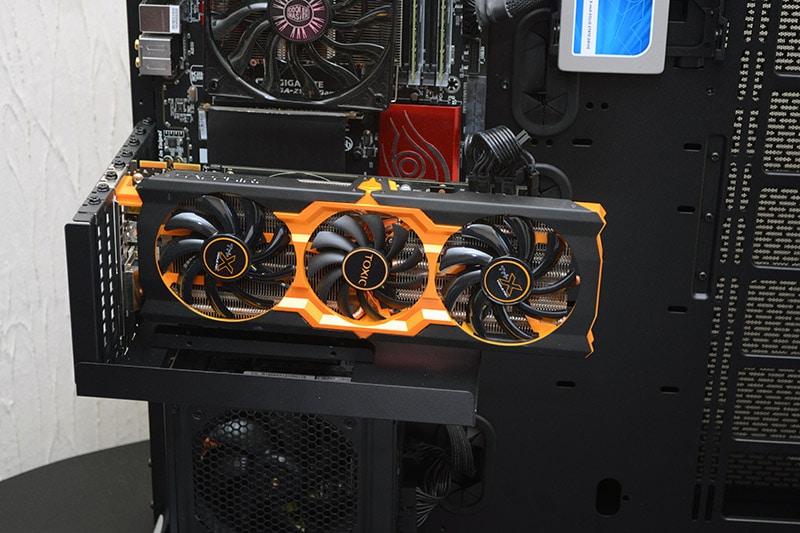
Once installed, the GPU locks firmly into place, giving you a fantastic way of showing off the cooler design.
All panels back in place (again) and the system really looks complete now. If you’re really wanting a system that stands out, this GPU configuration is going to give you the biggest visual impact.
Easy and cute white does well with casual gaming vibes The gain knob and tap-to-mute…
Connectivity: Logitech G435 is the first headset with LIGHTSPEED wireless and low latency Bluetooth connectivity,…
Icon reinvented: From the legacy of Logitech’s most popular G502 design, G502 X PLUS is…
HERO Gaming Sensor: Next-gen HERO mouse sensor delivers up to 10x the power efficiency over…
【EPOMAKER EK68 Gasket-Mounted Mechanical Keyboard】It is well acknowledged by the community that gasket-mounted keyboard has…
Easy installation – Plug the adapter into an available PCI-E slot to upgrade your desktop…