Thermaltake Core V71 Full Tower Chassis Review
Peter Donnell / 10 years ago
Complete System
Total install time on the Core V71 was around 40 minutes, a little longer than it usually takes me to put this kind of system together, but extra time was needed to remove the hard drive bays. The hard drive bays were all fitted with thumb screws, there was a lot of them and it can be time-consuming, although stripping them out is hardly a job you’ll be doing regularly so it’s hardly an issue.
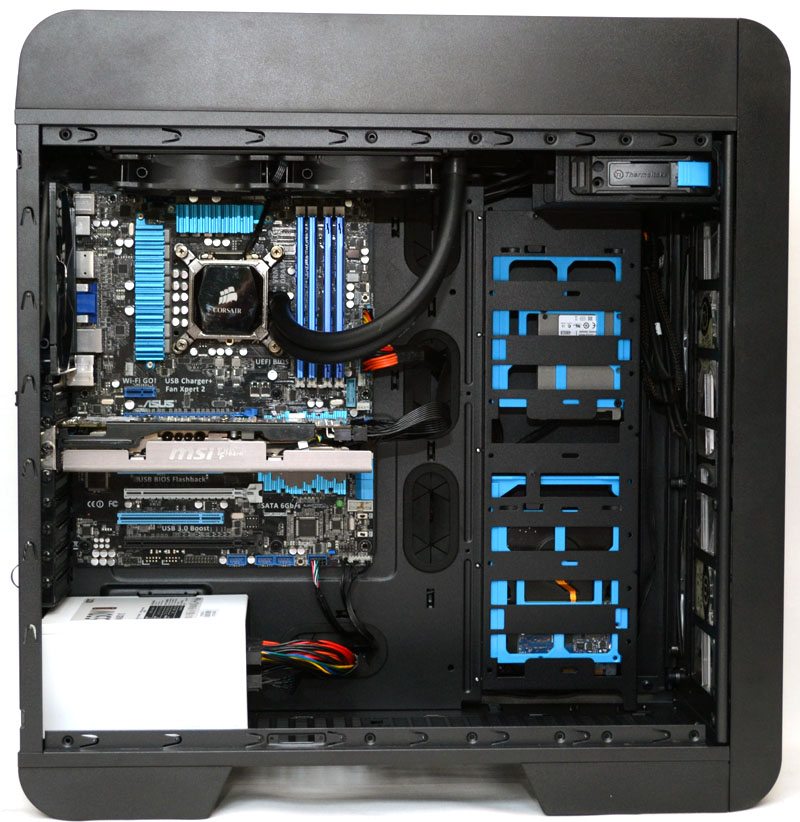
With all drive bays removed you’re left with a vast amount of space in the front of the chassis which can be used for front mounted water cooling radiators, reservoirs, pumps and other modifications. You can also just strip them out to give the interior a nice clean look and free up any airflow obstructions from the massive front fans, whilst also leaving room for literally any length of GPU that is currently available.

In the back you’ll see there is room for super-long power supplies, so those building hefty mining or rendering rigs that require 1500W PSUs or more shouldn’t have any issues.
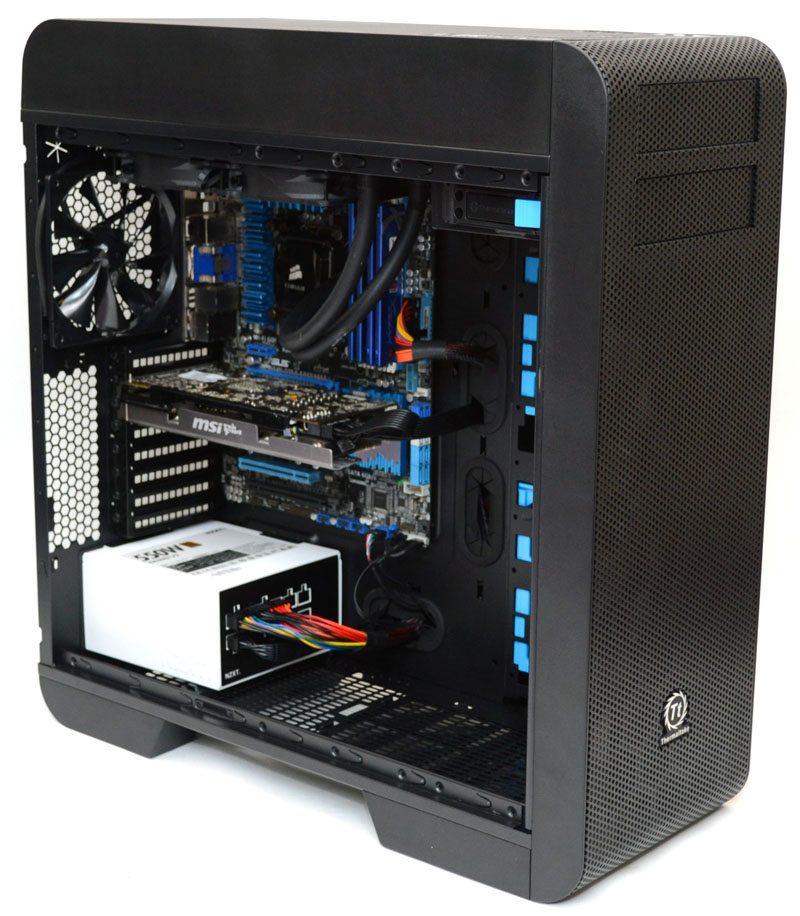
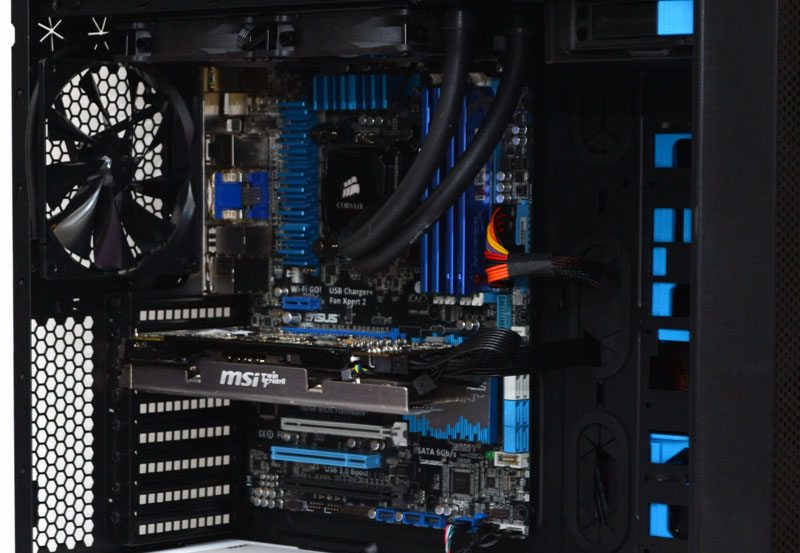
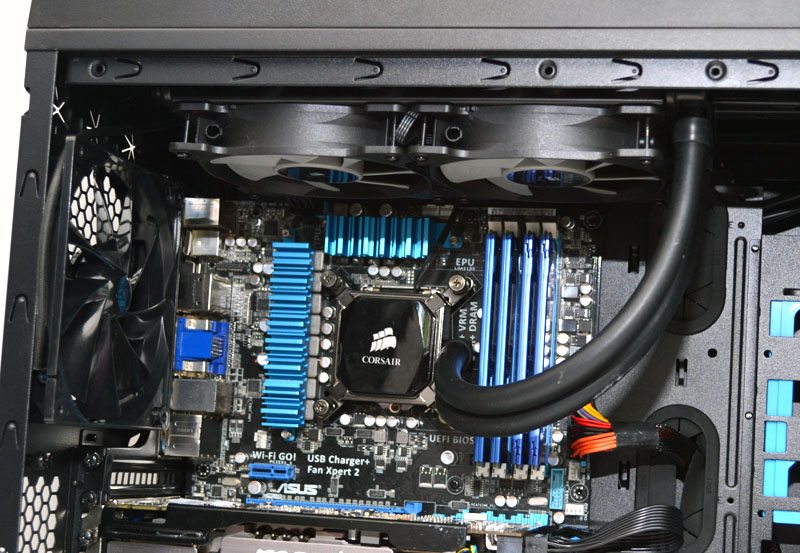
The cable management is excellent, with several large rubber grommets in ideal locations to handle all the cables for your major components; airflow is unobstructed and it also helps keep things aesthetically pleasing.
There is more than enough room for a slim radiator and a set of fans in the top, but of course I still have the 200mm fan installed above the radiator, so easily enough room for a large push-pull configuration here.
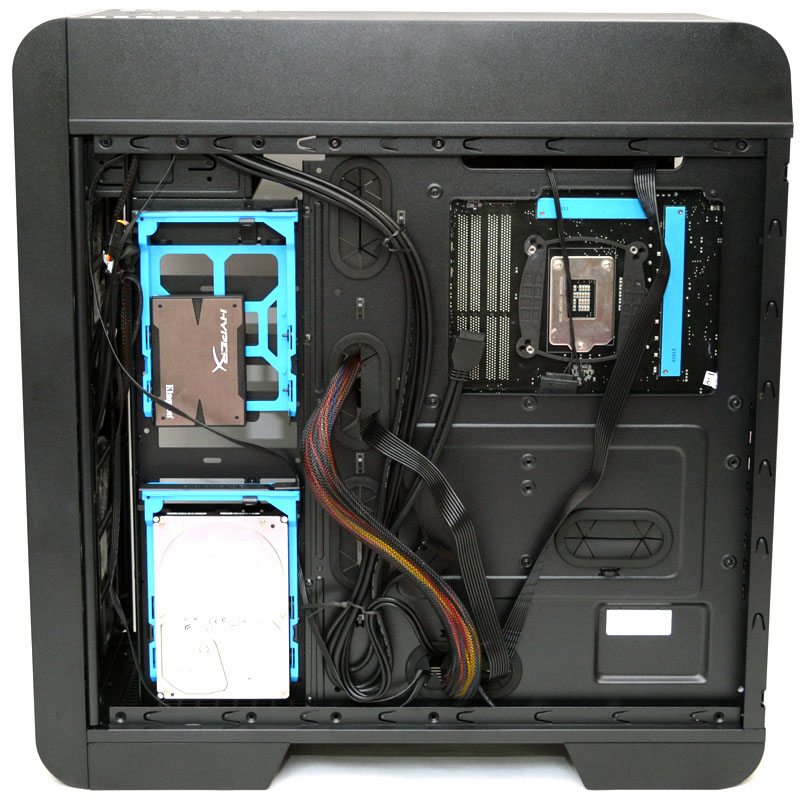
Cable routing is relatively tidy, it looks a little cramped, but the recess in the side panel will take care of any bulky cables easy enough. As you can see, I’ve mounted two hard drives into the removable drive trays from the front and mounted them in the back of the chassis.
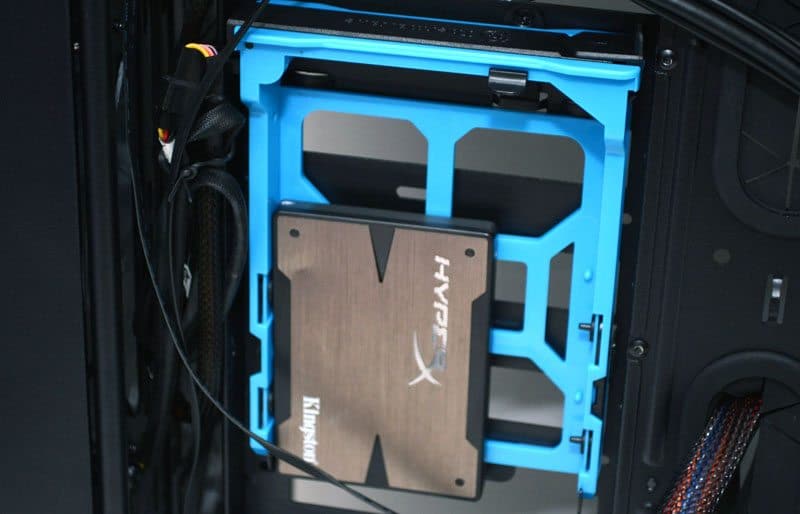
Each bay easily clips into place thanks to two hooks at the bottom and a clip at the top.
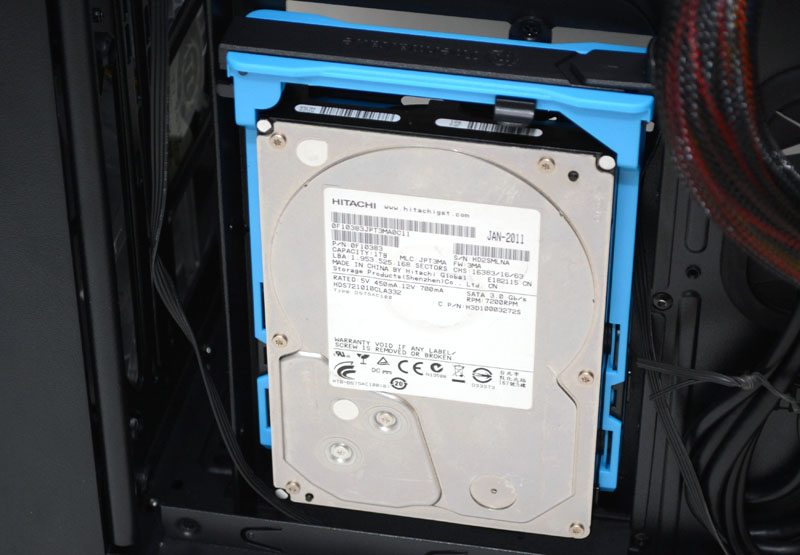
You can mount either a 2.5″ or 3.5″ drive and let’s be honest, you don’t see many chassis supporting 3.5″ drives behind the motherboard! This is very impressive.
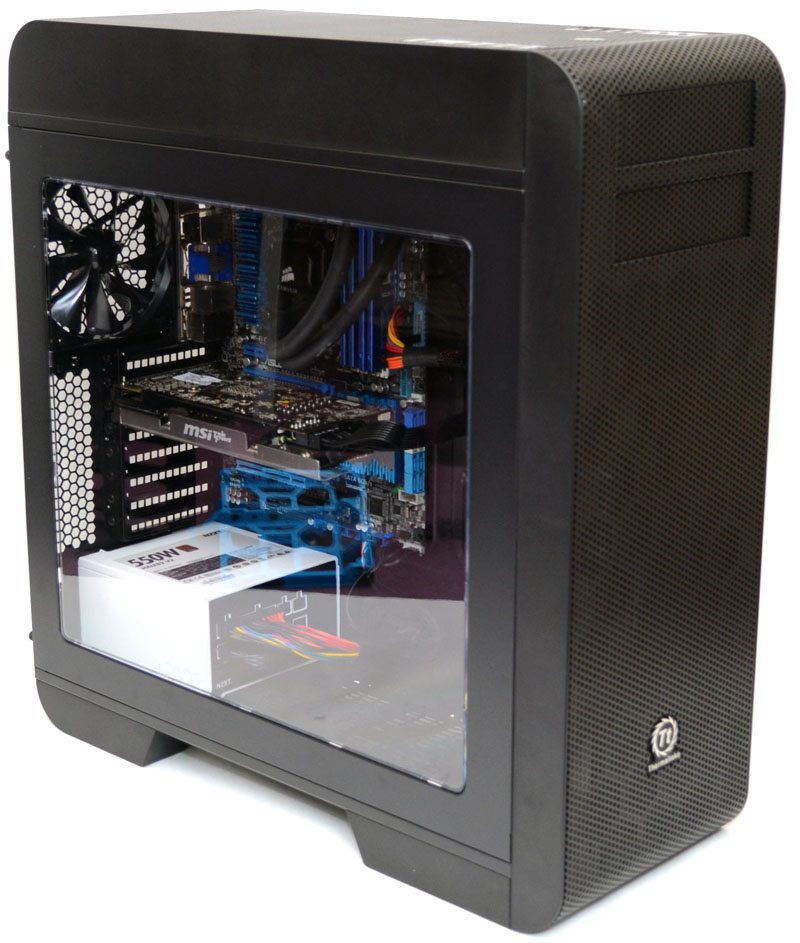
Side panel back on and you can see just how clear that side panel window is, giving you a great view of the chassis interior and it’ll look even better if you’re planning on throwing some lighting into your build.
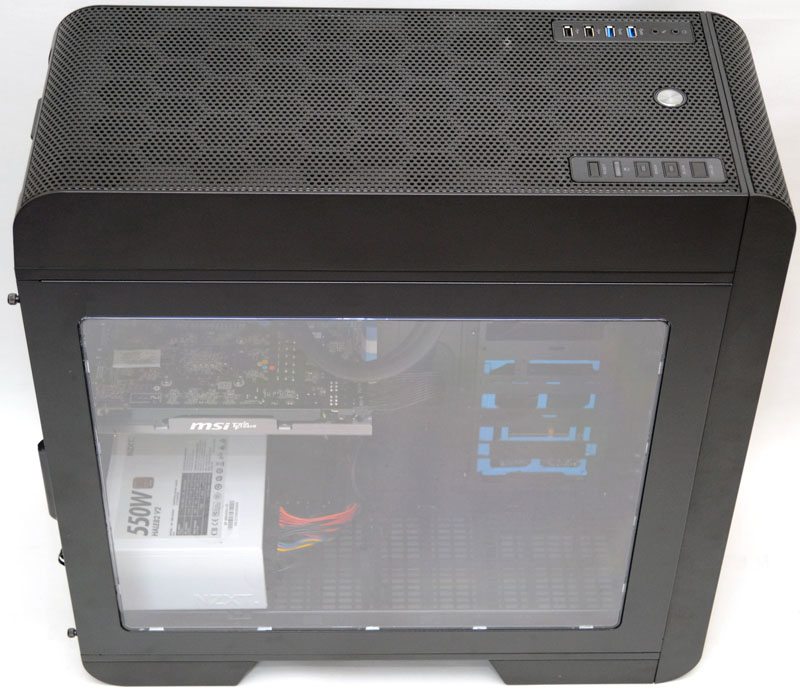
Overall a very bold design with some very clean exterior looks and a great view of the interior. This should prove a popular choice for those who want to mod their case, add water cooling or just want to have a great looking chassis overall.