Thermaltake V200 RGB Tempered Glass Chassis Review
Peter Donnell / 5 years ago
A Closer Look – Interior
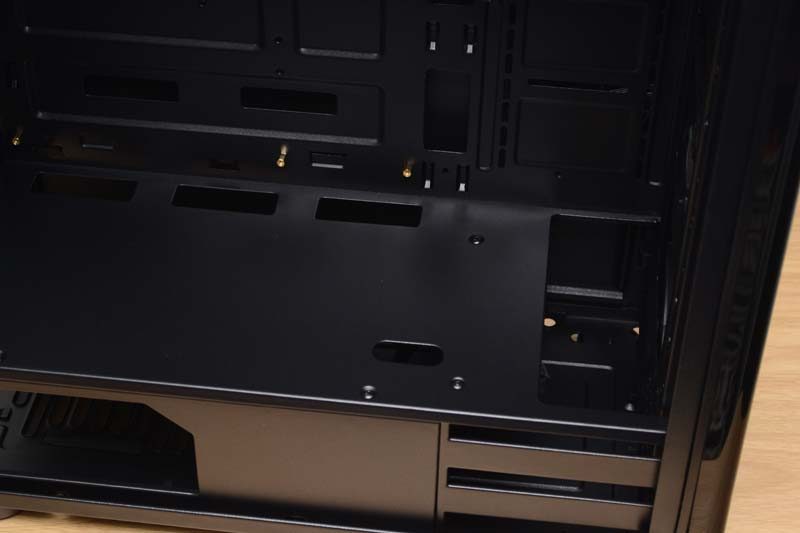
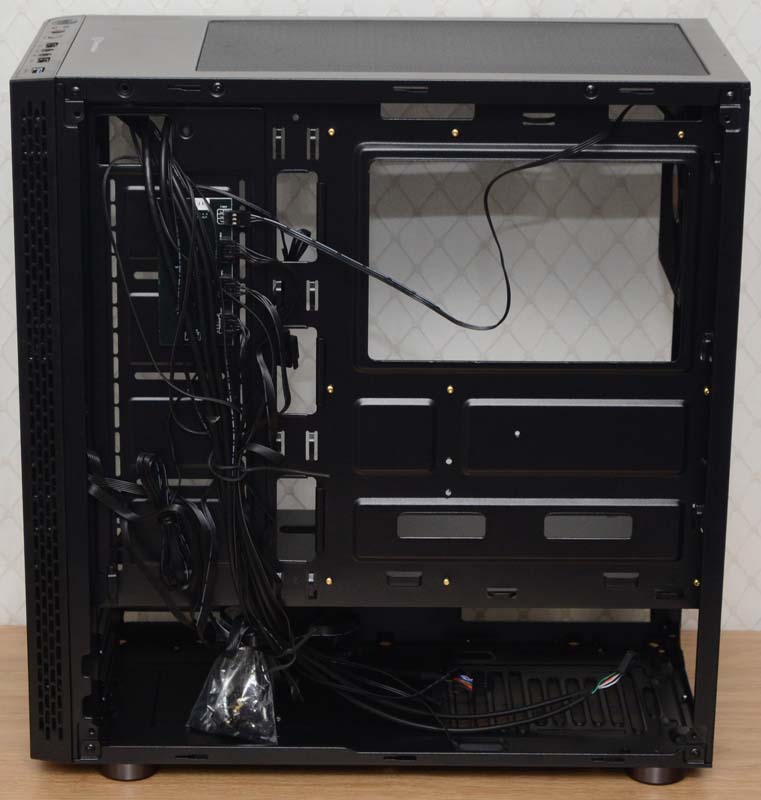
Thermaltake has done a great job of squeezing in plenty of features in here, and without spending a lot of money too. The backplate is cut full of holes, all of them useful too. There’s a huge CPU cooler mounting cut-out, and there are seven cable routing holes located around it to ease your installation. Even the motherboard standoffs are pre-installed, which should speed to build along too.
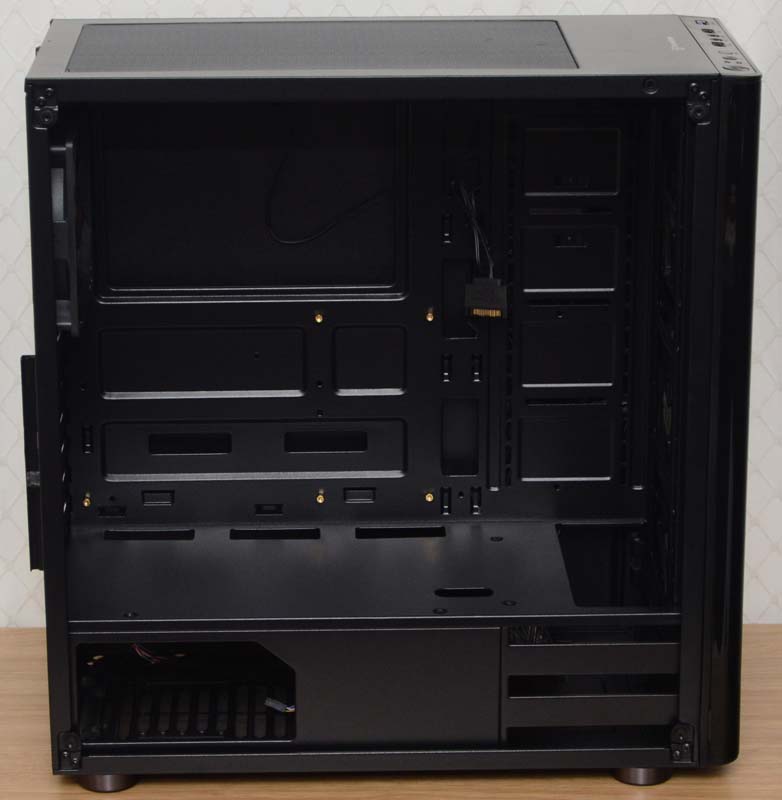
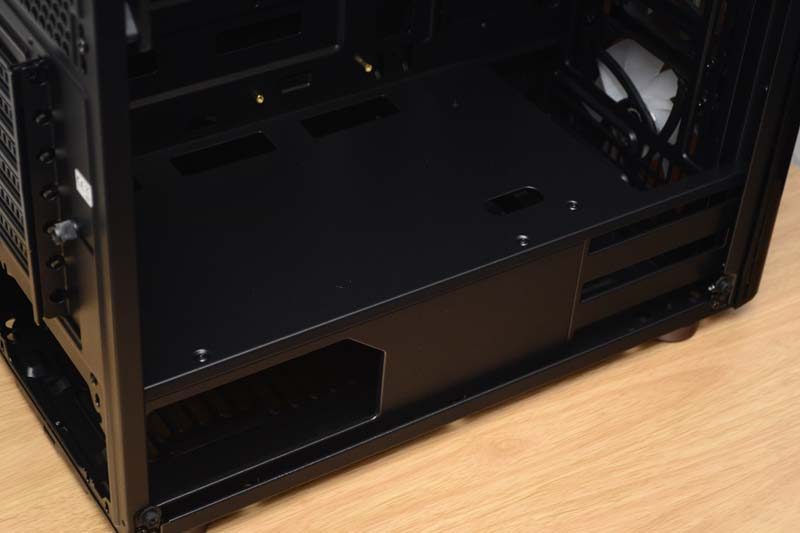
In the base, you’ll find a built-in PSU shroud. It is a fixed shroud not a removable, but that’s a good thing really, as it adds strength. There are a few cutaways on it too, with one on the rear to show off the power supply, and some towards the front for the storage bays.
On the top of the shroud, you’ll find even more cable routing holes located below the motherboard. However, I’m also happy to see they ticked my favourite thing off, and provided a cut-out for routing the PSU GPU cables.
Radiator Support
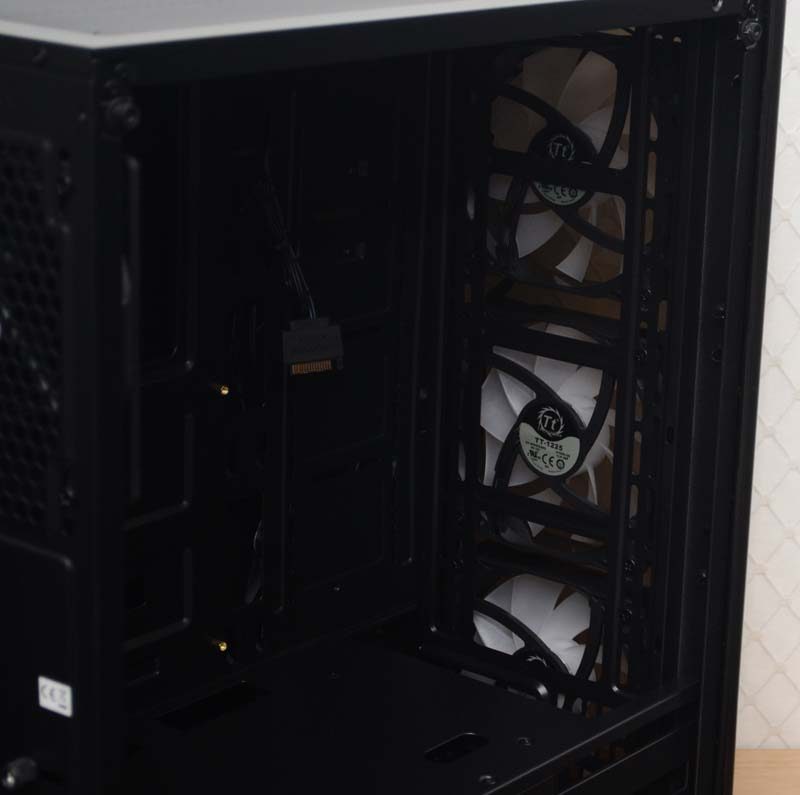
There are three lovely fans pre-installed in front. However, if you wanted to change things up a bit, you can installed either 3 x 120mm or 2 x 140mm of your own. Of course, the front panel will also take up to a 240mm or 280mm radiator too.
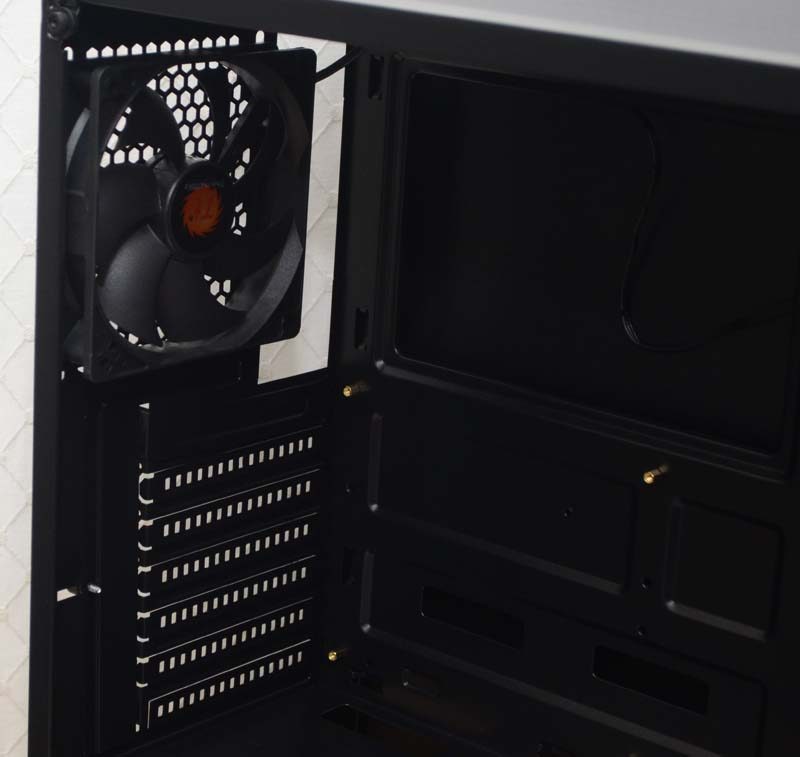
While there is a 120mm fan in the rear, you could easily swap this out for a 120mm radiator or AIO cooler too. Clearance isn’t vast though, so I wouldn’t expect anything too crazy to fit.
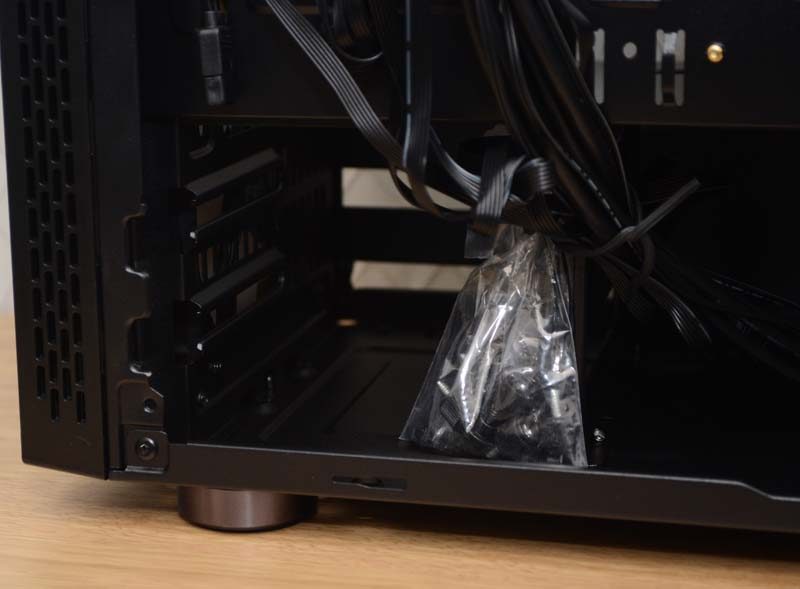
Around the back, there are a few spots to mount your 2.5″ SSDS behind the motherboard, keeping the front of your system nice and clean. Speaking of clean looking builds, there are cable tie loops everywhere you would want them, and a bunch of cable ties included in the box too. With all those cable routing holes and ties, you should be able to get a neat looking build easily enough. Of course, with a PSU shroud, you also have extra space to cram unsightly cables.
HDD Bays
The HDD bays use a metal rail system. To install a 3.5″ drive, you screw the pegs onto the drive, and then it’ll slide right onto the rails with ease. I prefer plastic trays myself, but for getting the job done on a tighter budget, this works just fine.
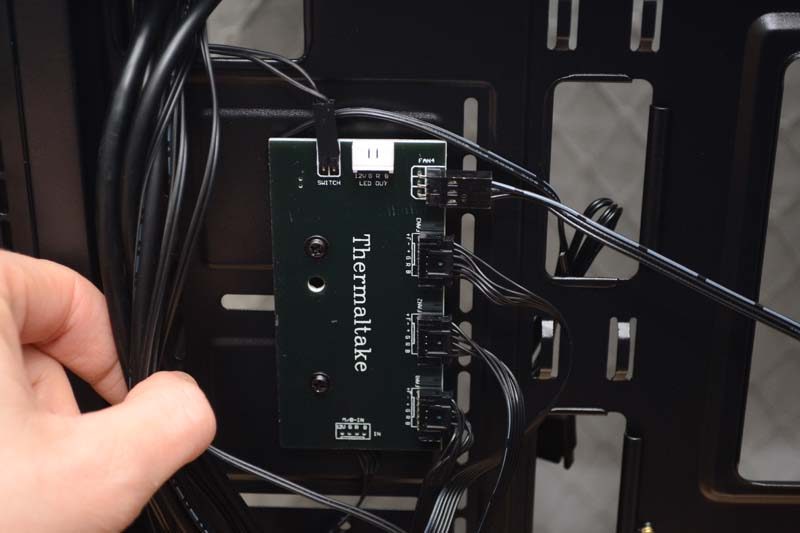
The RGB hub is hiding back here too, it’s not overly complex, but it’s got all the RGB fans pre-wired, and one connection to hook up your motherboards RGB 12v sync cable. That means it’ll match the colour of the rear of your system with minimal fuss.