Thermaltake Water 3.0 Extreme S AIO CPU Cooler Review
Peter Donnell / 9 years ago
Installation
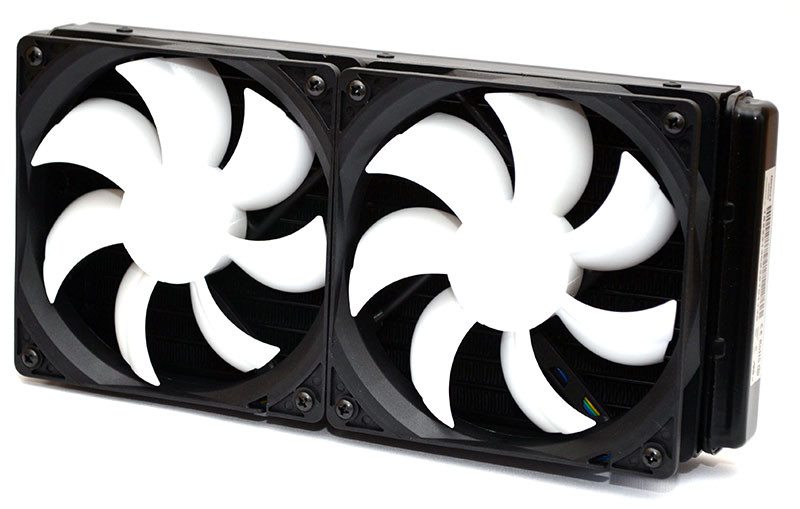
The fans are easily mounted using the included screws, while shorter screws are also provided to mount the radiator directly to the chassis, should you want the fans on the other side.
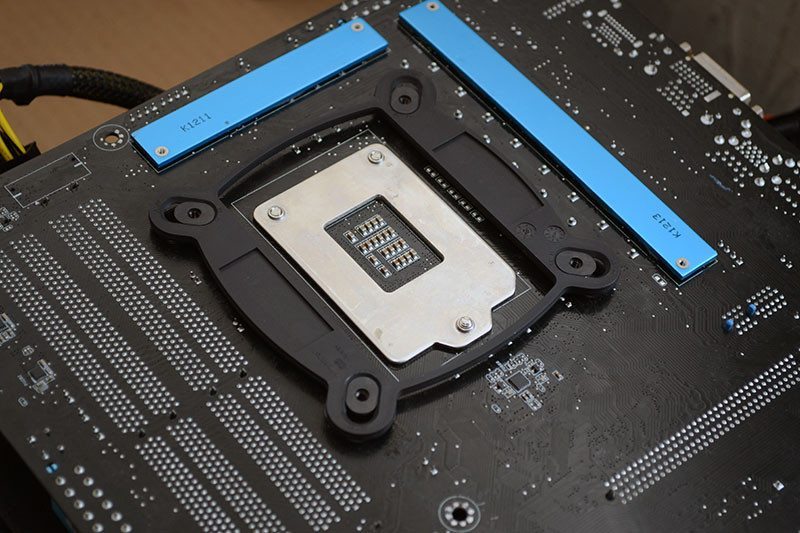
The backplate is simple enough, just slide the adjusters to match your socket type and apply the sticky pads, then pop it on the back of the board.
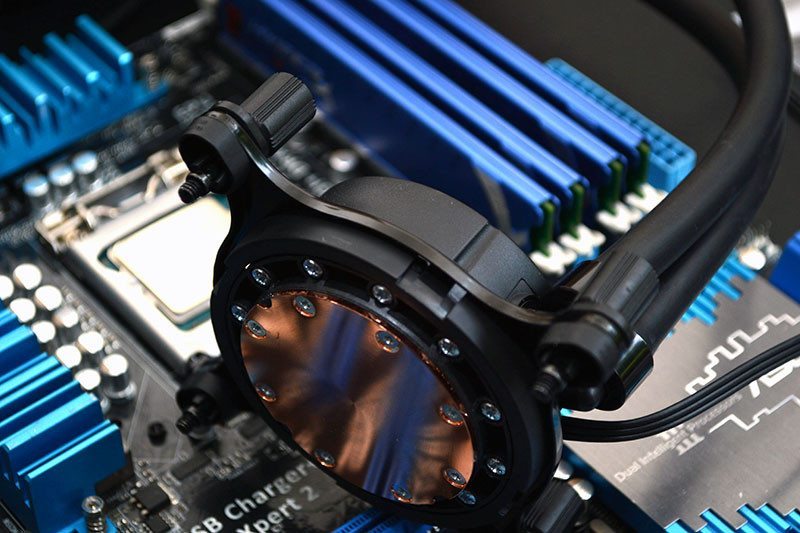
This bracket can be a little tricky, as you have to mount it with the retention clip on the bottom. You then need to apply the two-part clips to the mounting holes, then the four thumbs screws through that. Fortunately, the instruction booklet describes this in a simple step-by-step process.
Here you can see the four tiny pegs from the backplate.
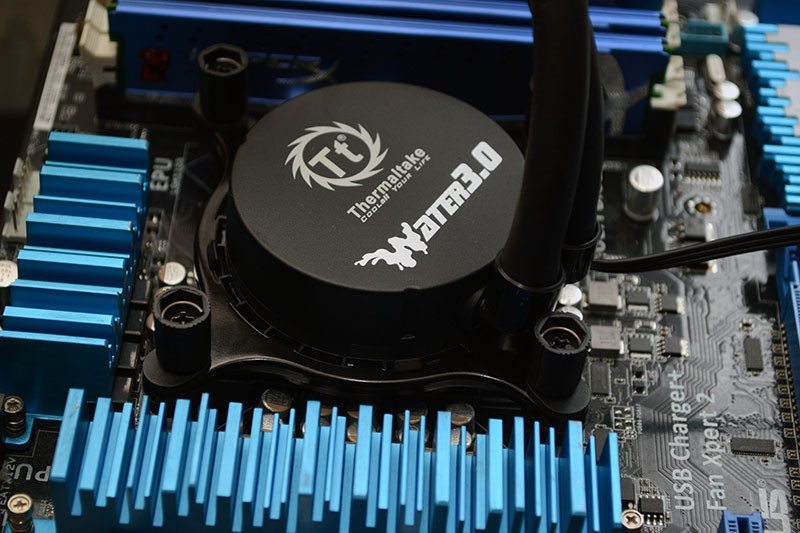
Then it’s simply a case of screwing it down using the thumb screws you just fitted to the pump. It took about 10 minutes in total, a little tricky, but I’ve dealt with worse.