In Win 904 Glass & Aluminium Chassis Review
Peter Donnell / 10 years ago
Interior
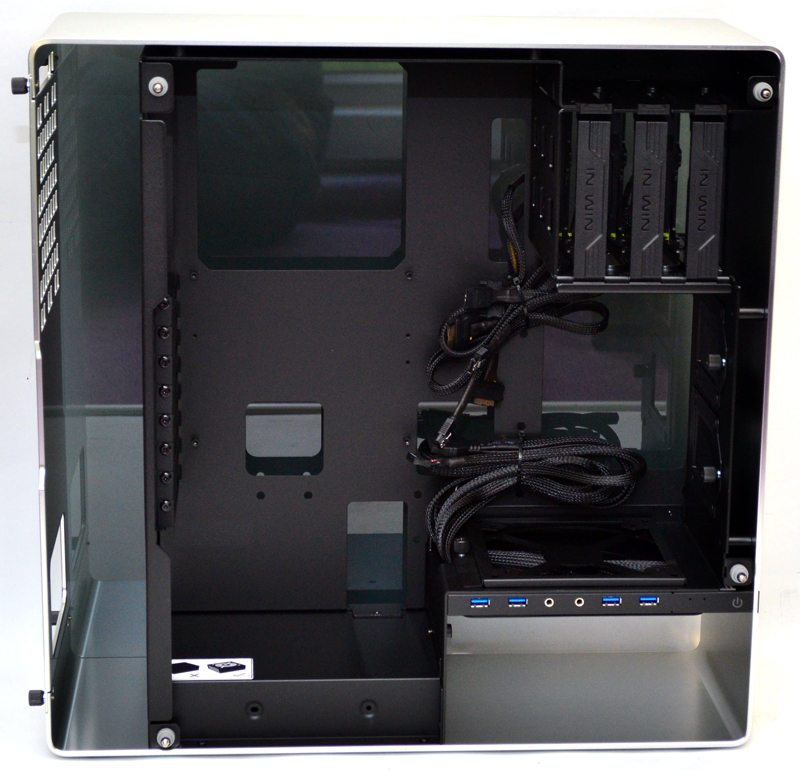
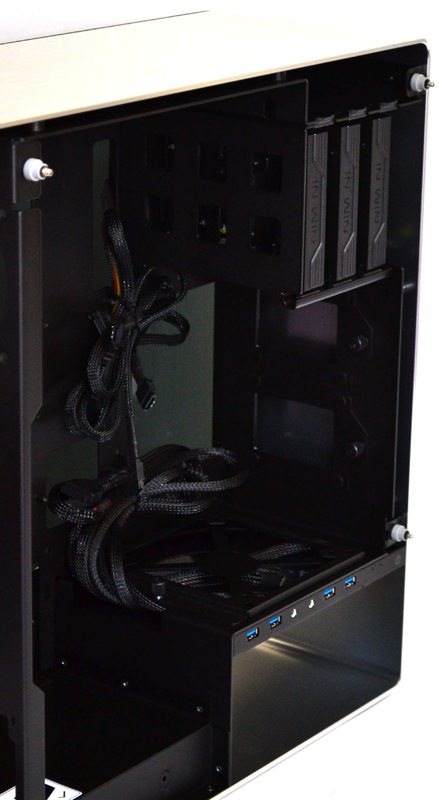
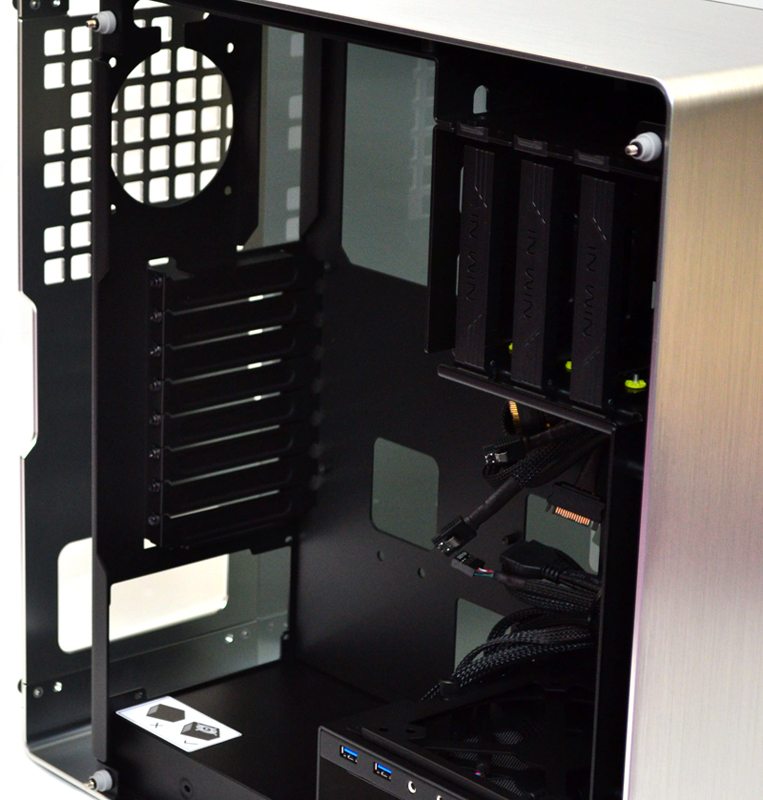
With the side panel removed we get a great look at the unique layout of the 904. There are several cut-outs on the motherboard tray for cable routing, as well as a larger cut-out near the top to aid with CPU-cooler installation. The bulk of the internals are finished in a powder black that offers a strong contrast against the glass and aluminium and all the internal cables have been finished in a glossy black sleeving to keep things looking neat and tidy.
Here we can see the main air intake, the fan is optional and while I would have liked to have seen one pre-installed, people who buy within this price range typically invest in after-market cooling fans anyway.
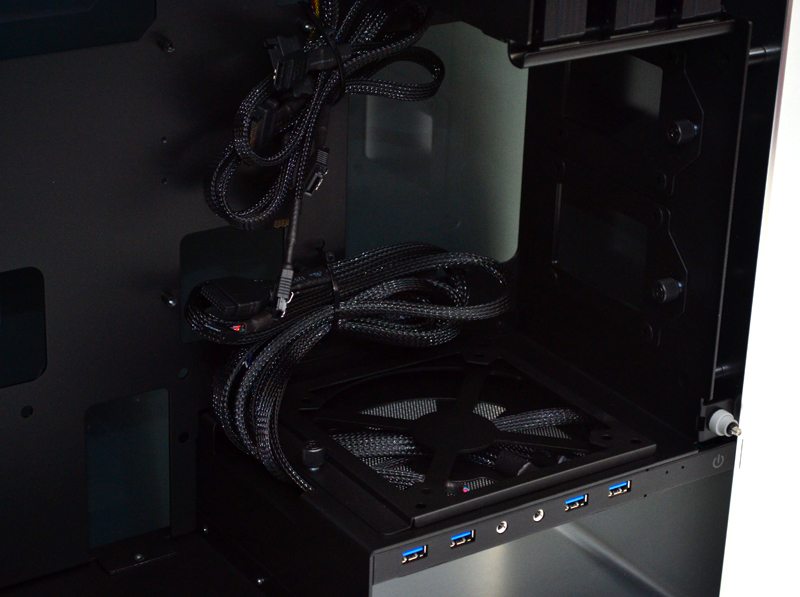
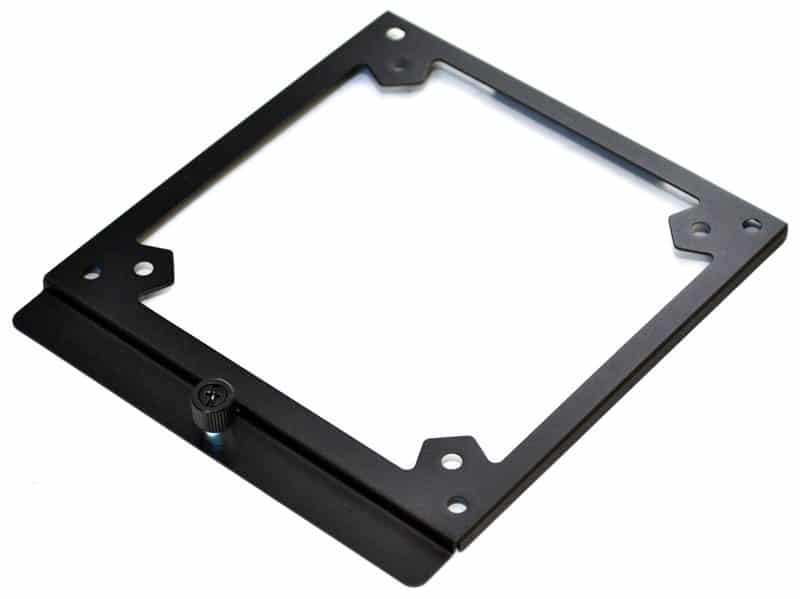
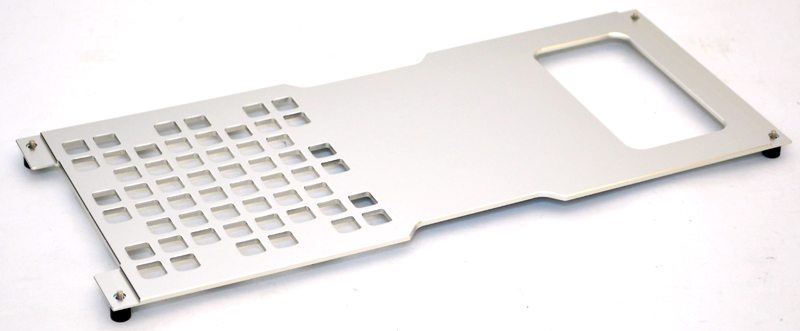
The mounting plate is easily removed via a single thumb screw, allowing for quick and easy maintenance.
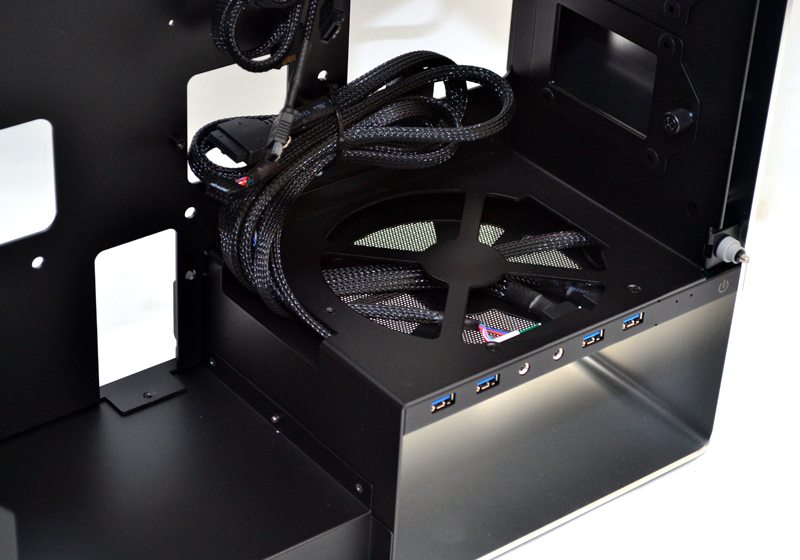
Removing this internal mounting plate allows you to mount you fan with ease, then simply clip the plate back into the chassis and tighten a single screw. This also makes it easy to remove your fan for cleaning purposes.
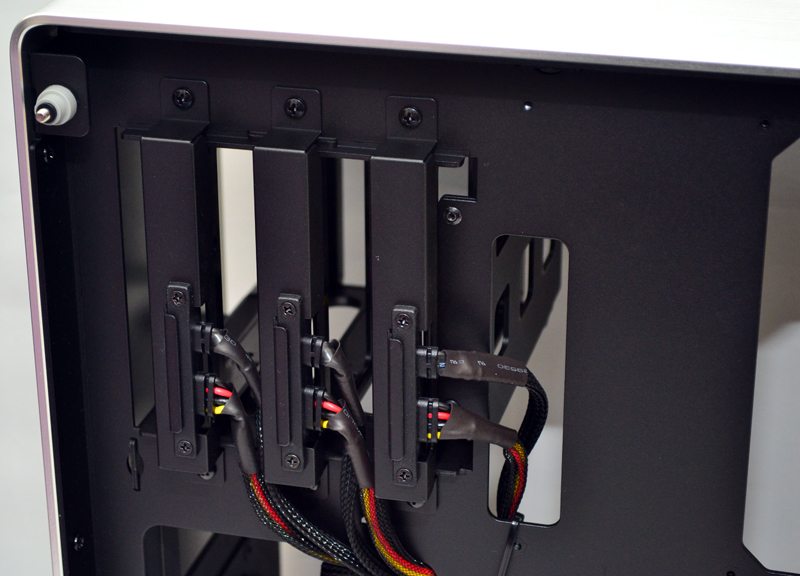
In the top we have three drive trays, each with support for a single 3.5″ or 2.5″ drive and as you can see, these bays are mounted on their side.
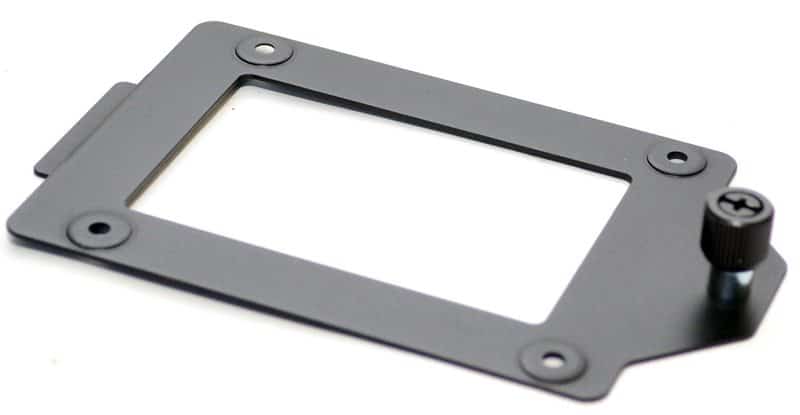
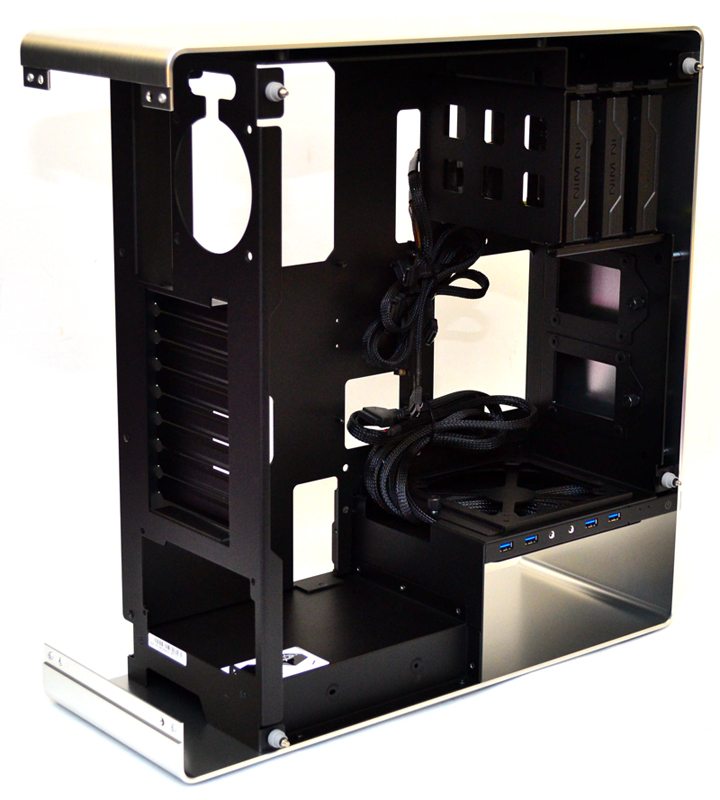
On the front of the chassis you’ll see two mounting plates for 2.5″ drives, these are held in place with a single thumb screw for quick and easy access.
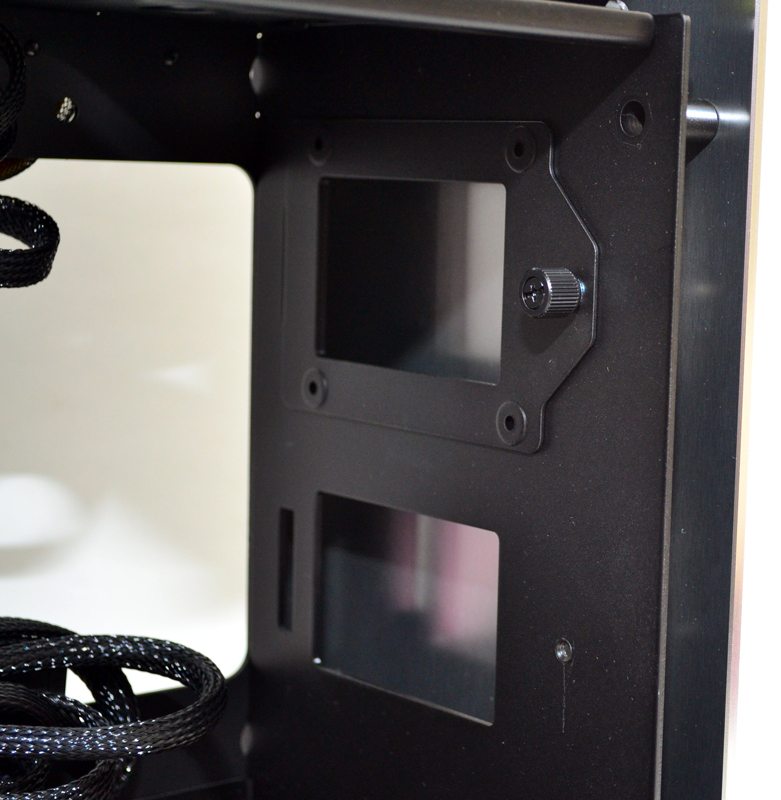
Simply remove the bracket, screw your drive directly to it and clip the mount back into the chassis.
In the back we have a small 90mm fan mount (optional), but also room to pass through water cooling pipes should you wish to externally mount a water cooling radiator. There are eight expansion bays, each covered with a reusable non ventilated cover and finally we have a bottom mounted PSU area, you’ll also notice a warning sticker here that the PSU should be mounted fan upwards as there is no ventilation in the base of the chassis.
The external cover has lots of clearance from the chassis to allow for airflow, but can be quickly removed to help you connect cables once your system is complete.
The plate features sprung thumb screws that are fixed to the plate, and the section with the small square cut-outs can even be used to externally mount a 140mm radiator.
Around the back of the chassis we see a good amount of clearance for cable routing, the included clips and cable ties will also help keep things neat and tidy here, very important given the transparent side panels.
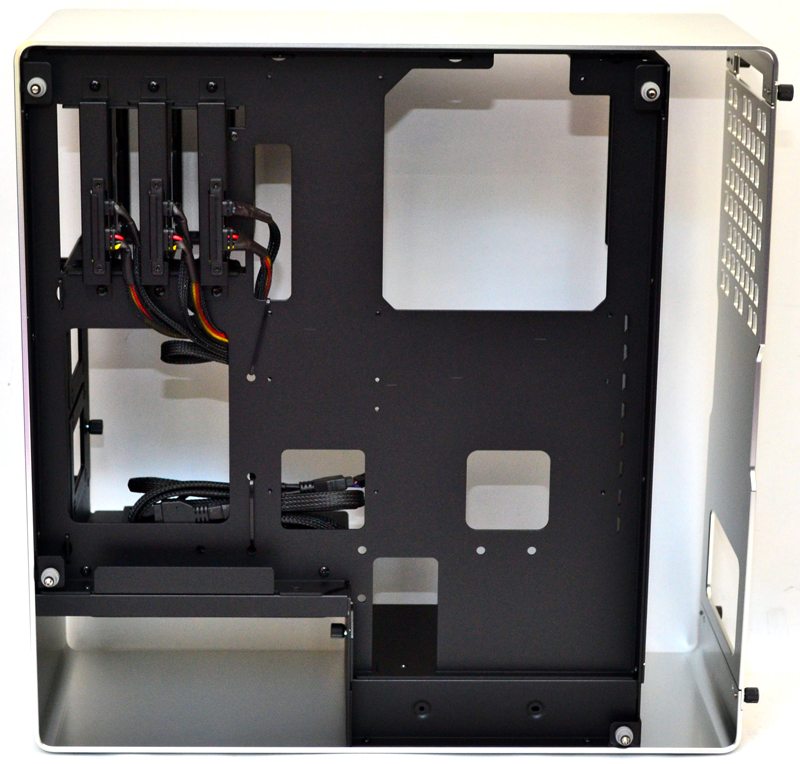
To help with cable management and ease of use, all three of the top hard drive bays feature pre-fitted sata connections so you can just plug-and-play. Of course should you not want them, these are also completely removable thanks to individual screw mounts.
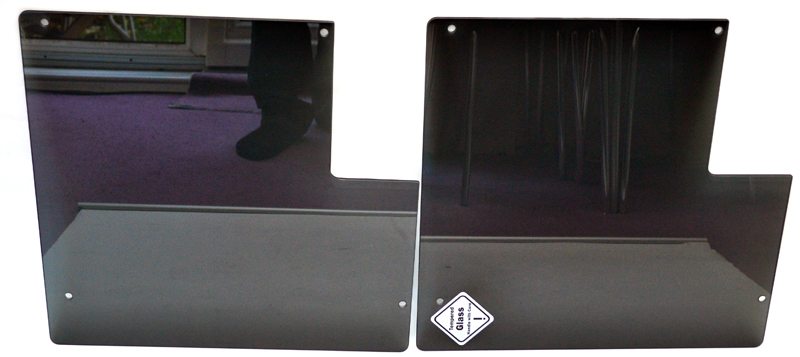
Side by side we see both glass panels look nice and shiny, so much so that you can see my socks, hmmmm.
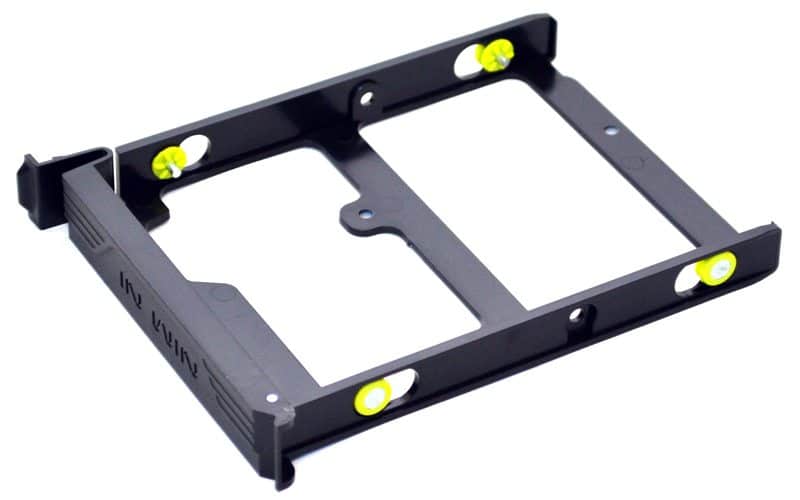
Finally on the internal components we have the hard drive bays, a simple plastic tray with 3.5″ pegs pre-installed with rubber mounts to help reduce vibration.