NZXT Aer RGB 140 Triple Pack Fan Review
Peter Donnell / 7 years ago
Introduction
“RGB ALL THE THINGS!” has certainly been the unofficial motto of the tech industry this year, and while some may be getting tired of the lack of new products, unless you count the 2015 models with new lighting, I’m honestly loving every bit of it. We can’t expect rampant innovation with every hardware generation, so this year we went sideways and made things colourful. When it comes to creating a unique and aesthetically pleasing desktop environment, it certainly doesn’t hurt to have options. This is where the new Aer RGB 120 and 140mm fans from NZXT come into play!
Digitally controlled RGB LED fans for HUE+
“Designed to integrate seamlessly with HUE+, the Aer RGB fan provides optimal airflow and advanced lighting customizations. Group and daisy chain up to five fans per channel from the HUE+ for extensive lighting modes that work in perfect harmony. Select and modify over 10 lighting effects with ease using CAM’s software interface. The Aer RGB fans feature fluid dynamic bearings and winglet tips that deliver enhanced performance and minimize noise levels.”
Equipped with Hue+ lighting (not to be confused with the Philips Hue lighting), the Aer are controlled by the super slick CAM software and hooked up to the HUE+ lighting hub from NZXT. So yes, you’re going to need to dig deeply into the NZXT ecosystem, but when it comes to slick looking fans, NZXT are really pushing to be the next best thing, and we’re here to see if they look and perform as good as NZXT promise.
- HUE+ and CAM-compatible for seamless software controls and customizations
- Daisy chain and group fans together for additional lighting effects
- PWM fan with optimized cooling and whisper-low 22 dBA
- Fluid dynamic bearing engineered to last over six years
- Uniform light dispersion with unique light guide design
- HUE+ is required and sold separately.
“Designed to integrate seamlessly with HUE+, the Aer RGB fan provides optimal airflow and advanced lighting customizations. Group and daisy chain up to five fans per channel from the HUE+ for extensive lighting modes that work in perfect harmony. Select and modify over 10 lighting effects with ease using CAM’s software interface. The Aer RGB fans feature fluid dynamic bearings and winglet tips that deliver enhanced performance and minimize noise levels.”
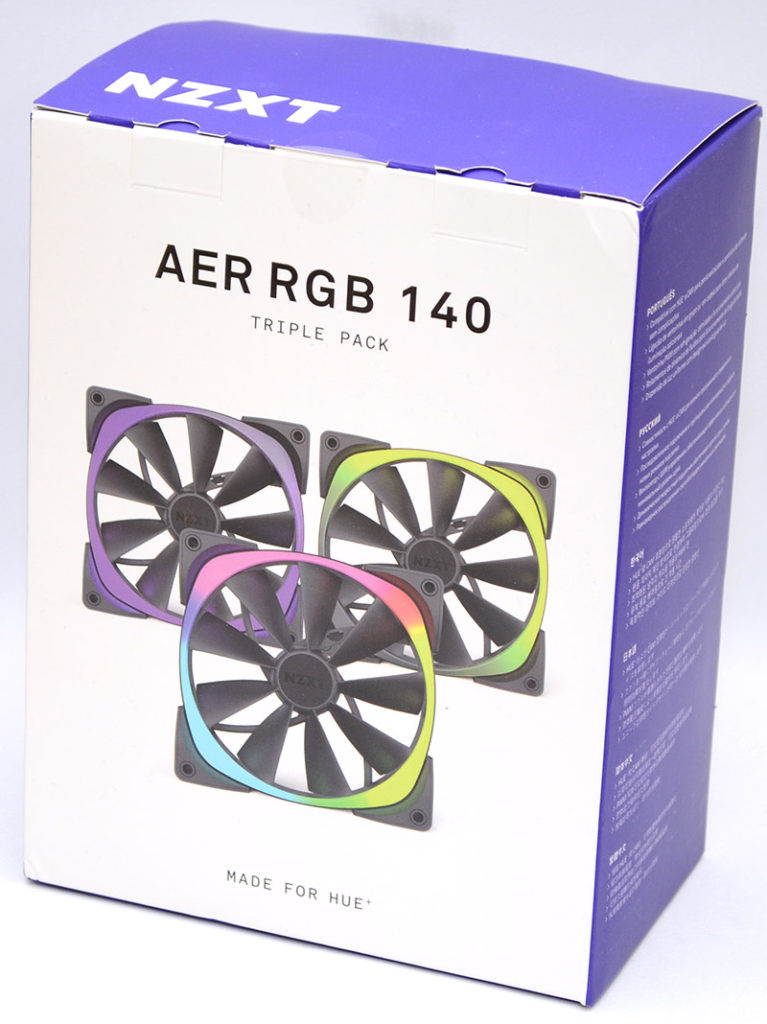
Packaging & Accessories
We’ve got the Aer RGB 140 Triple Pack at our disposal today, which comes in a fairly simple box, with a nice image of the three fans on the front, nothing too technical. It does say “made for hue” and I do think that should be made more like a warning that you need one for the other.
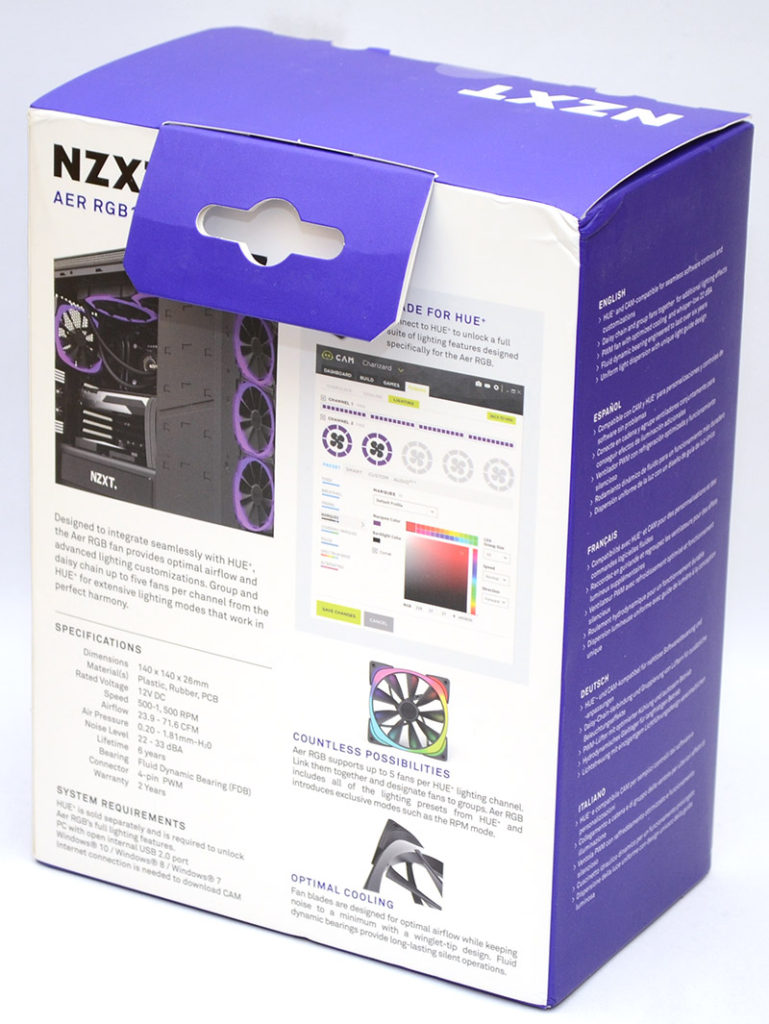
Around the back, a heap of technical information, demos of the CAM software, and a little image that shows the fans mounted in a chassis. Boxes aren’t much fun though, so let’s bust it open and get to the good stuff!
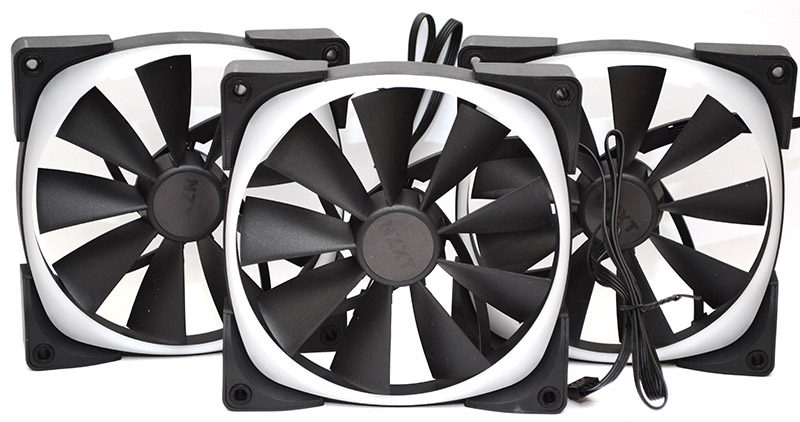
I can already tell these are going to be a little pesky to wire in neatly but will give it a shot anyway. In the box you can find the documentation, screws for the fans, bridge cables, and longer fan cables which are labelled in and out so you bridge the connections correctly.

A Closer Look
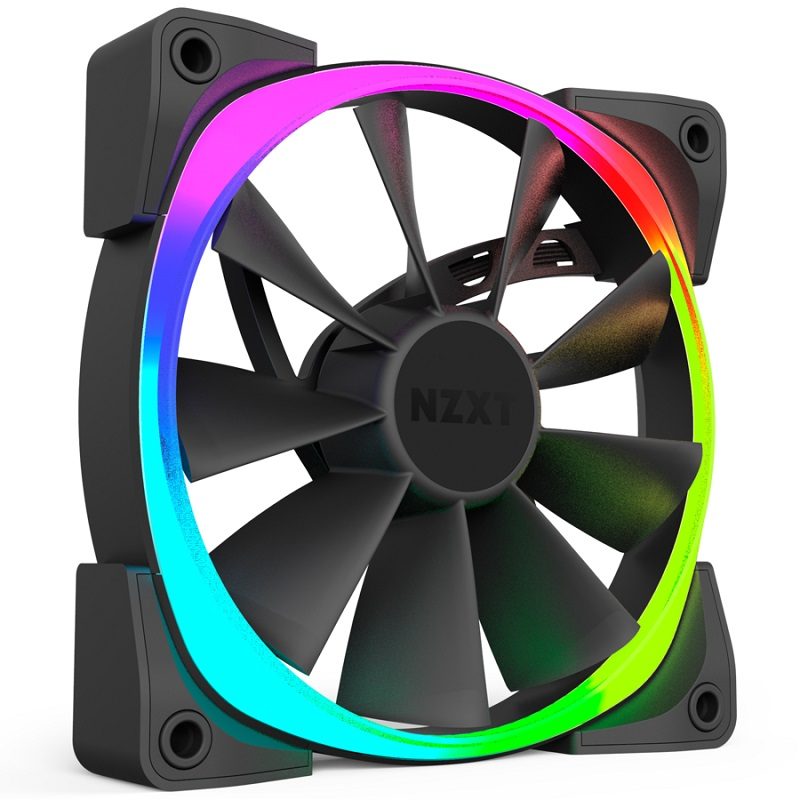
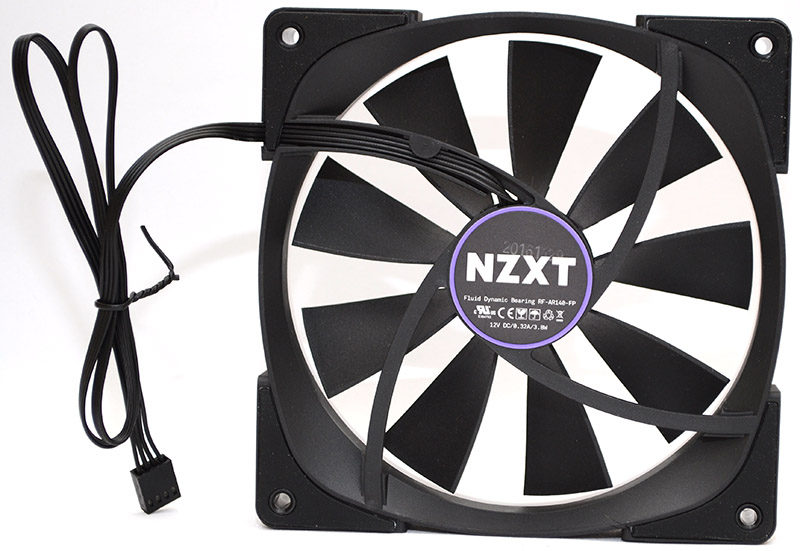
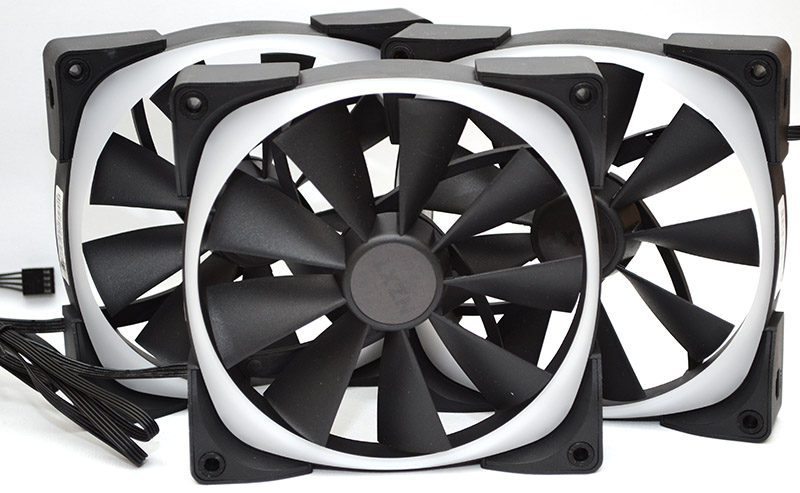
The fans certainly look interesting, and while they keep the usual 140mm form factor, they feature an overlaid plastic trim that should help capture the light better and give the trim some cool lighting effects.
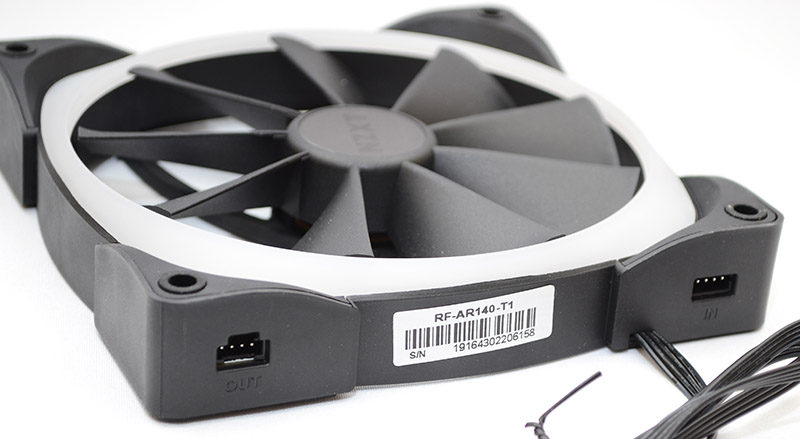
The fans feature a standard 4-pin PWM header and can be used just like any other fan, but for the lighting, they’ll need to be bridged into the Hue lighting controller, which can then power the lights and give them effects, etc. The fans are fluid dynamic bearing RF-AR140-FP and feature a 9-fin design for excellent low-RPM airflow performance.
Each corner features a durable fan mount on an otherwise circular trim design. There are thick rubber anti-vibration pads on each side of each mount too, ensuring a nice clean fit into your chassis of choice.
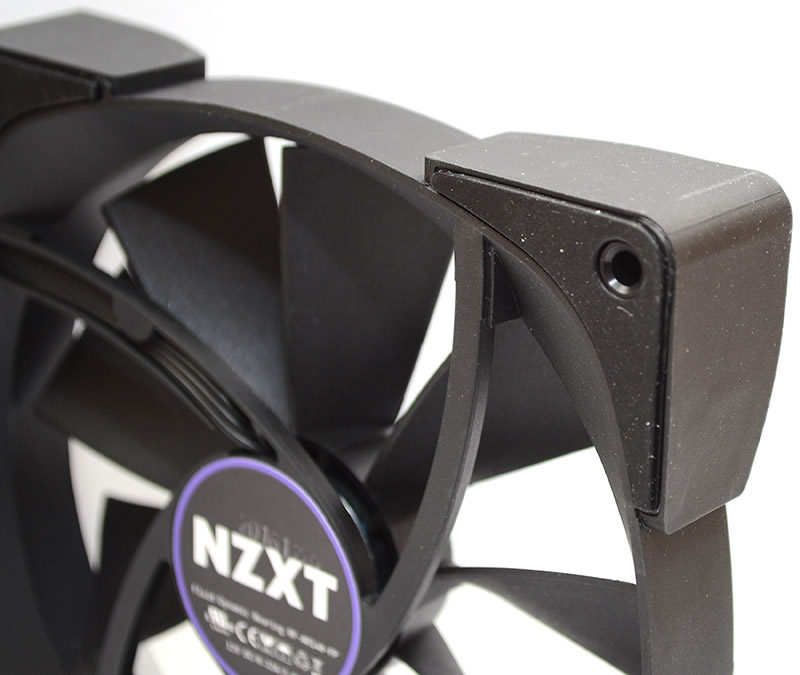
The build quality looks and feels great too, not that I expect you to be touching your fans every two seconds, but they feel like a nicely weighted and manufactured product while handling them, which is usually a very good sign.
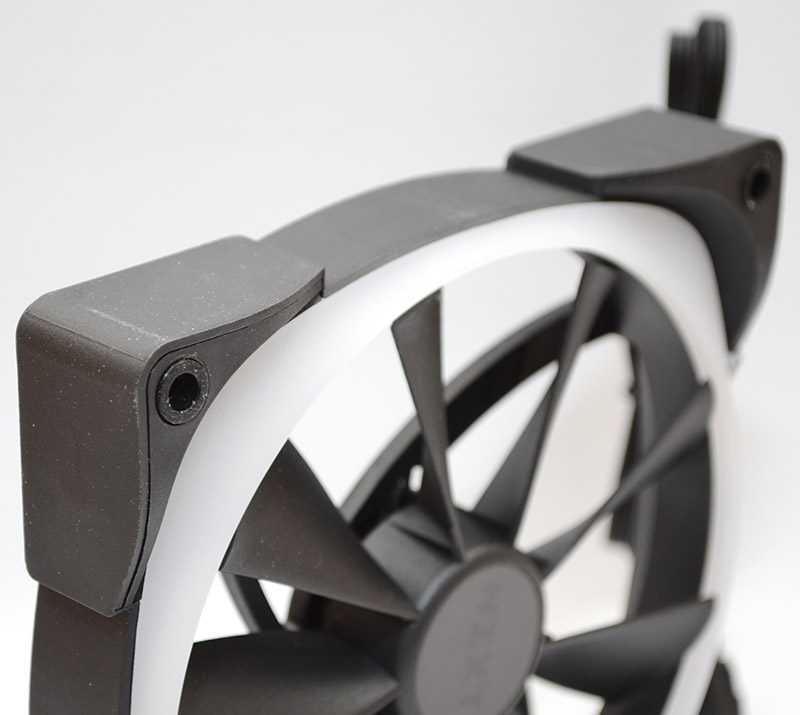
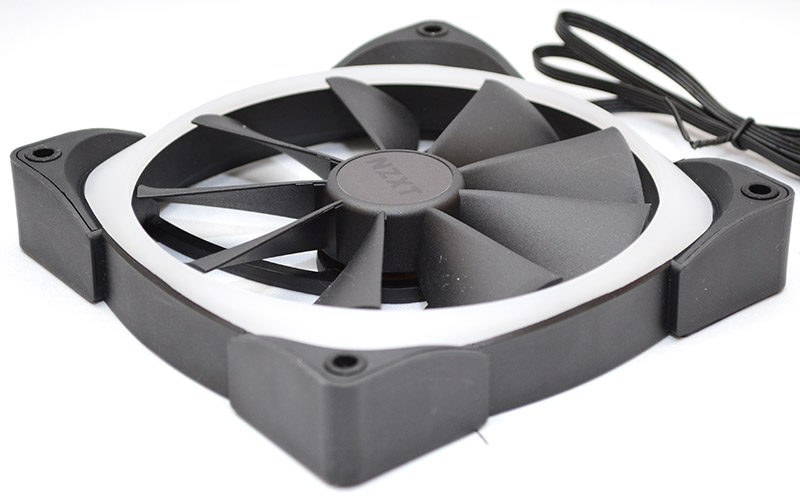
Even without RGB lighting powered on, these are great looking fans and the edge lighting trim gives them a nice unique aesthetic.
On one end, you’ll find the In and Out ports, these are for bridging the fans lighting so you can create chain effects. Of course, all the cables to do this are included in the box, so that shouldn’t be too tricky to do.
Overall, these are stunning looking fans, but let’s get them installed and see what they can do!
Installation and Performance
Let’s get one thing straight right off the bat, these fans were an absolute pain in the backside to install, sorry NZXT, but they are. The cable system required just feels too clunky and if you’re using a larger chassis like we are, then getting them all routed out-of-the-way could be a tricky task. It’s not so bad if you’re using them all in the front of the chassis, but bridging in the rear fan too can mean a series of extensions and connectors need deploying too, and that means more routing of cables.
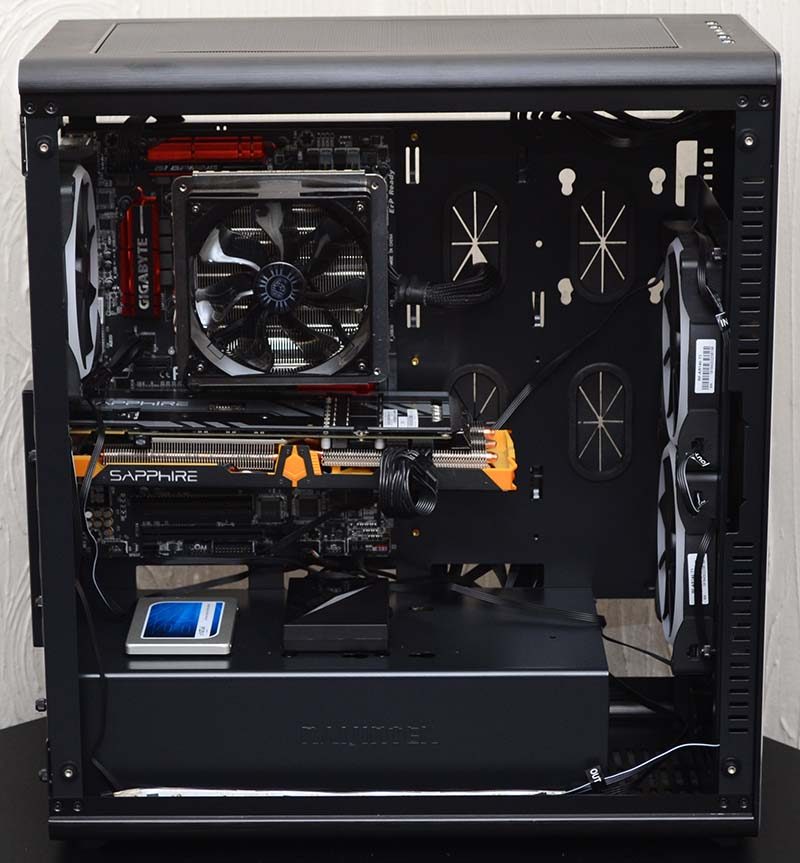
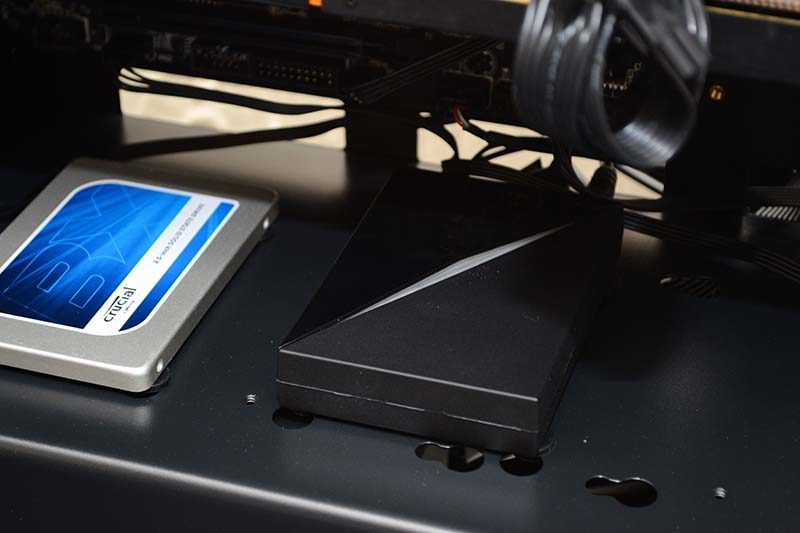
The fans connect to a fan hub or your motherboard just as normal and will operate as normal fans without the RGB lighting powered on. However, to get the lighting effects working, you’ll need to connect them to the NZXT HUE+ hub (review), which you can see we’ve installed here. The HUE+ has two lighting channels and the fans will need to run from one of them.
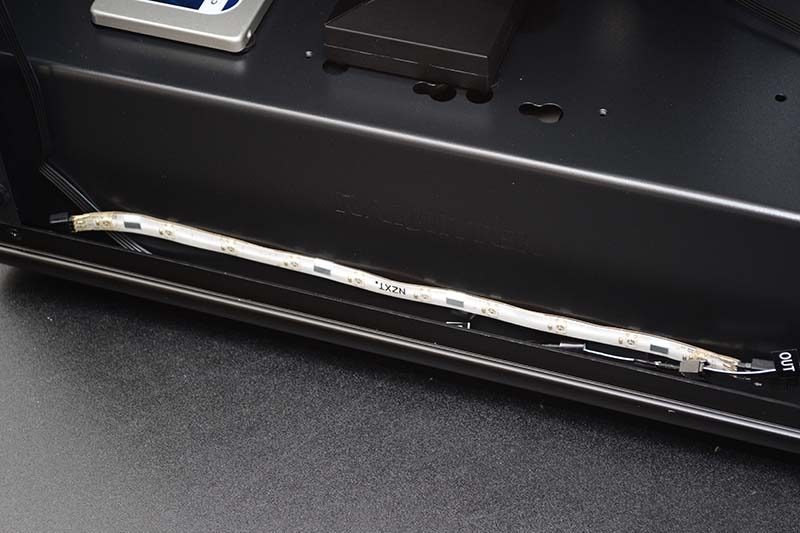
If you’re using their RGB strips, you’ll need to put them all on the second channel, as they use a different connector type compared to the fans (not sure why), and can’t be put in the same channel chain as each other. So strips on one, fans on the other, simple as that.
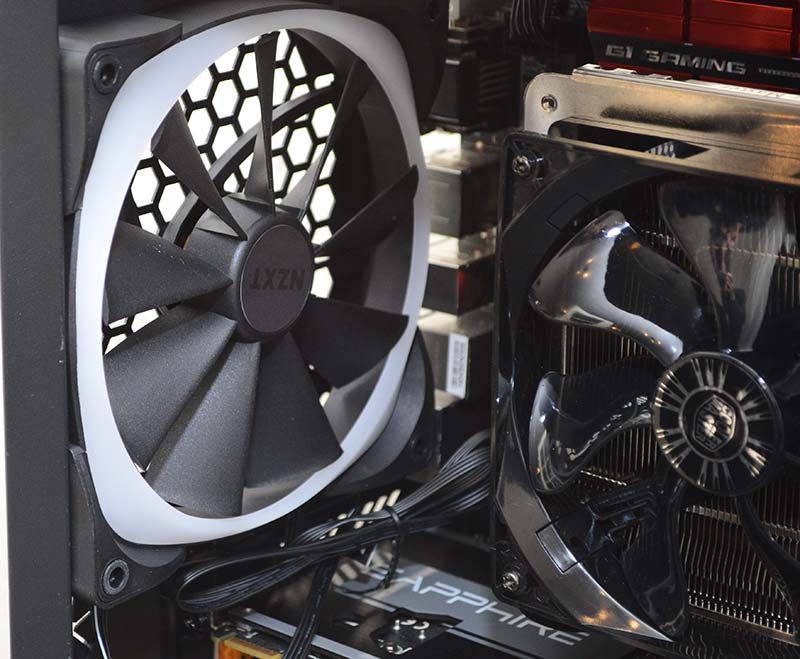
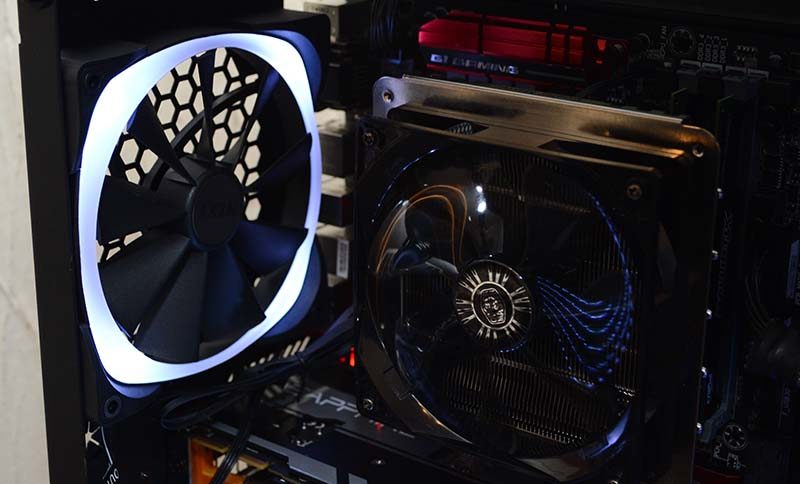
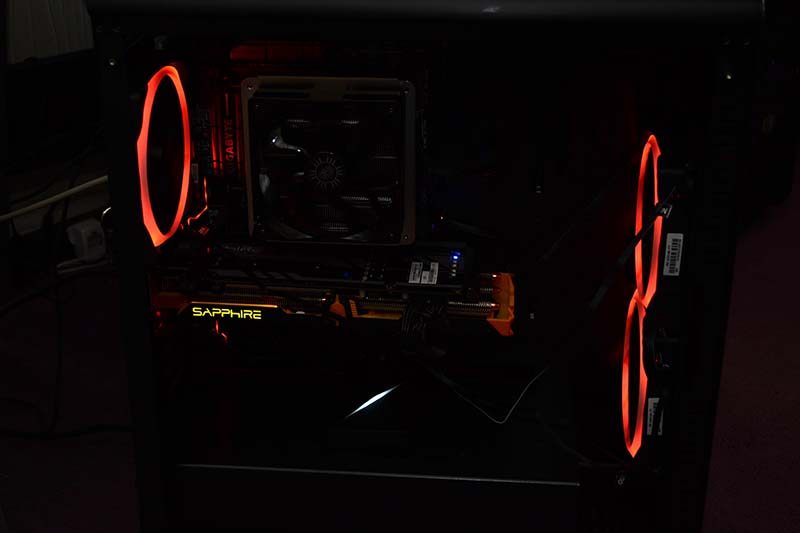
“Peter, those fans are on bloody backwards!” I hear you cry, that’s absolutely right, I did it for demo purposes, we want to see those fans, not have them half hidden behind a panel mesh, so we flipped them around for a clean look at those LED rings.

The top most fan is hooked directly into the HUE+ hub, while the second fan below it uses one of these smaller bridge cables. They’re labelled in and out, as are the fans, so orientate them correctly to compliment the cable format and you’ll be able to patch them together.
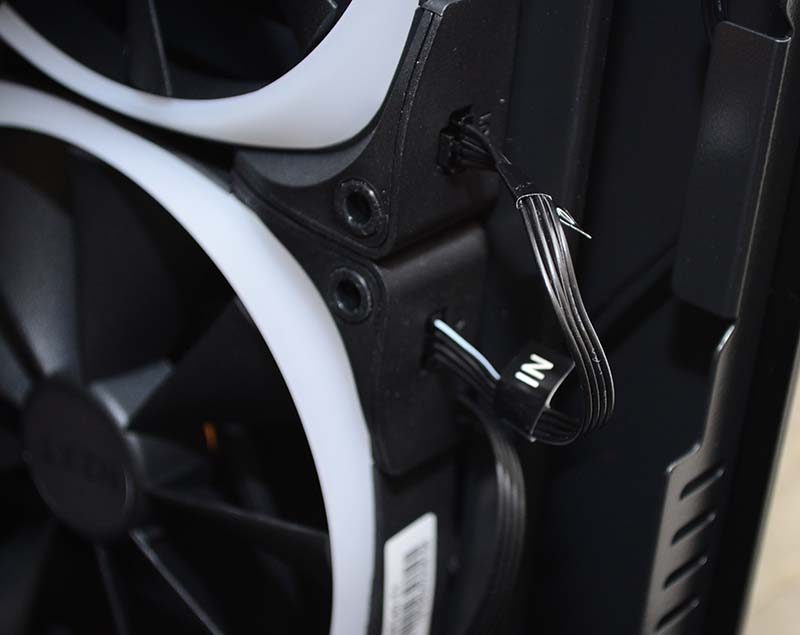
The rear fan is the 3rd fan in the chain, and uses the longer extension cable to connect with the other two fans, but doesn’t have to be connected back to the HUE+ hub to operate, saving you at least one extra cable.
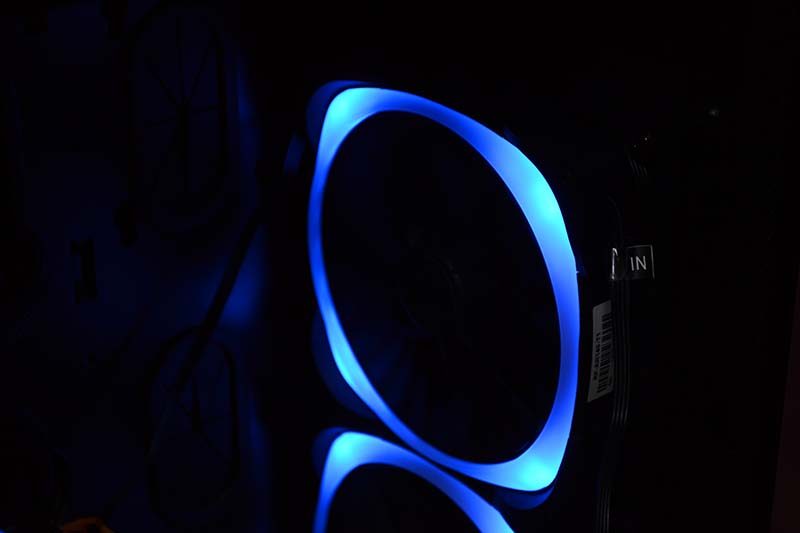
Without the NZXT CAM software installed, the fans will just stay on a steady white light, which might be fine for some, but we didn’t put RGB fans in just to have them stay on their white settings. So let’s get that installed and take a closer look at the colour pallet.
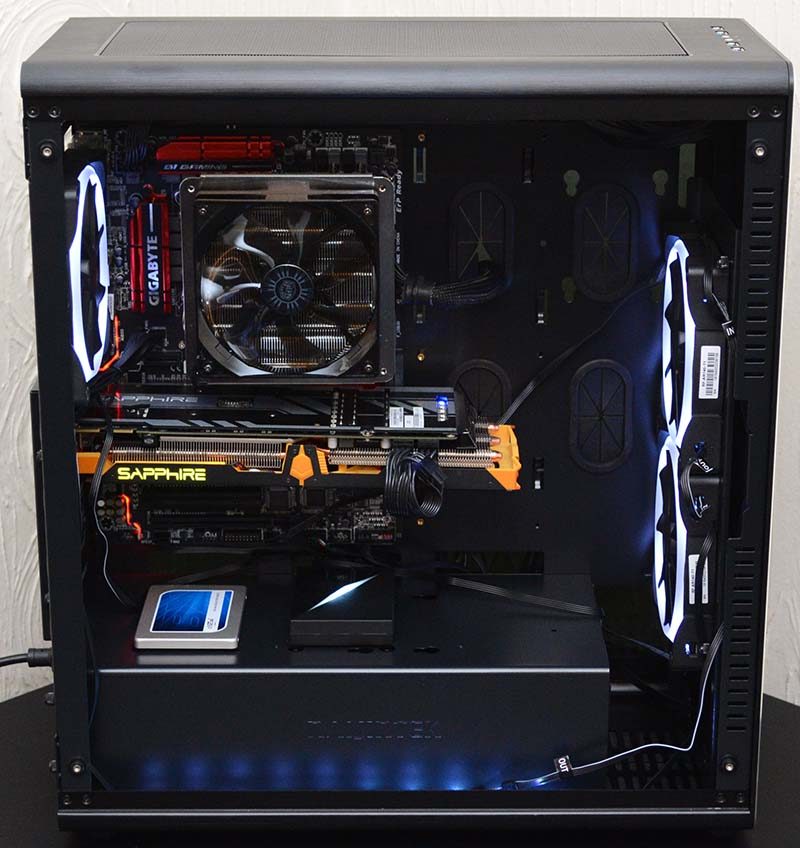
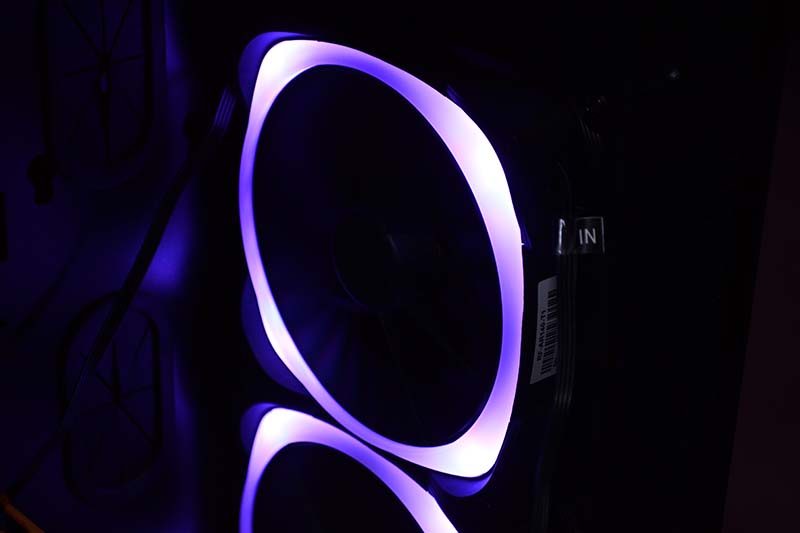
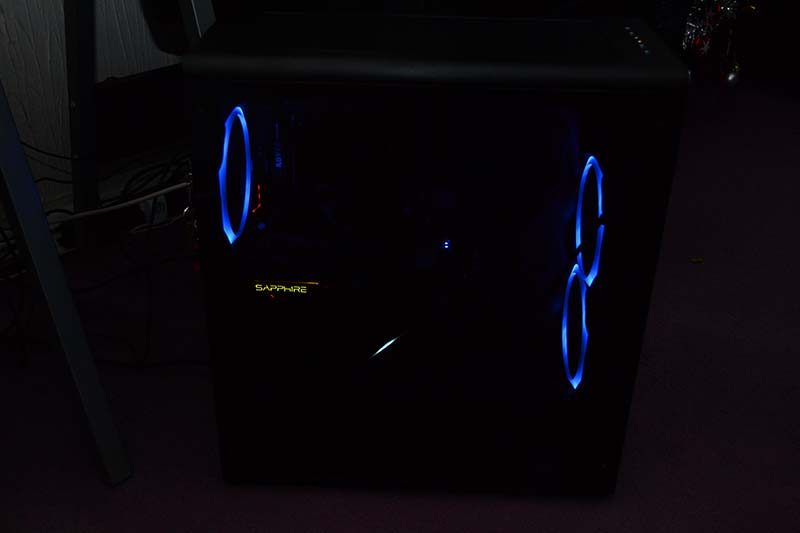
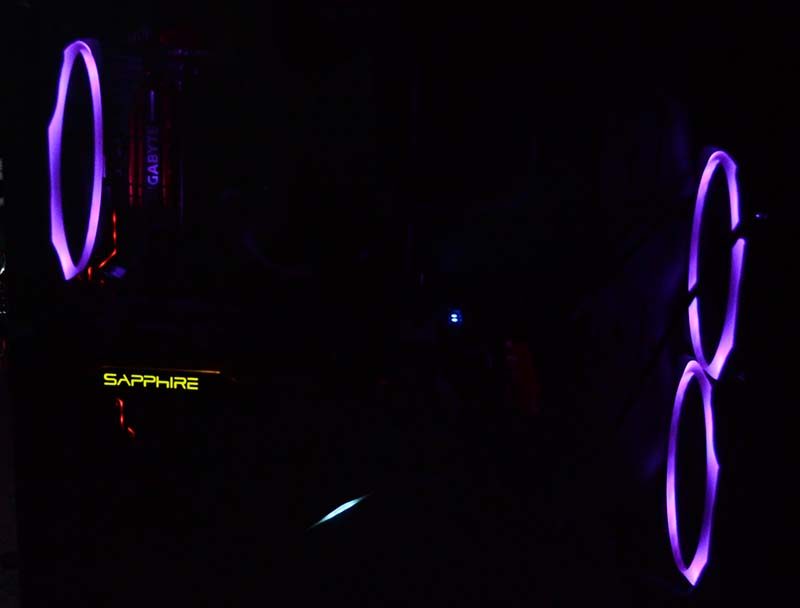
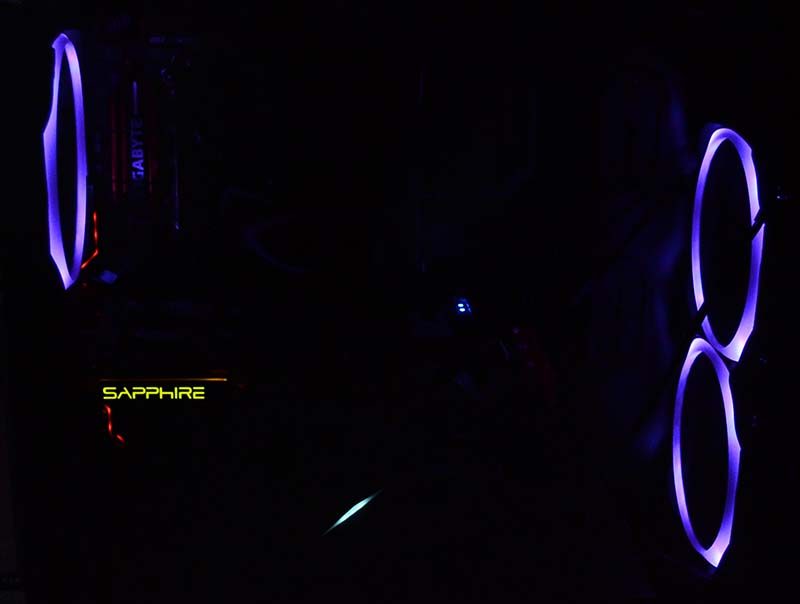
A gorgeous glow evenly lights the whole ring, although our camera is overexposing the corners a little, it does look a lot more uniform in real life.
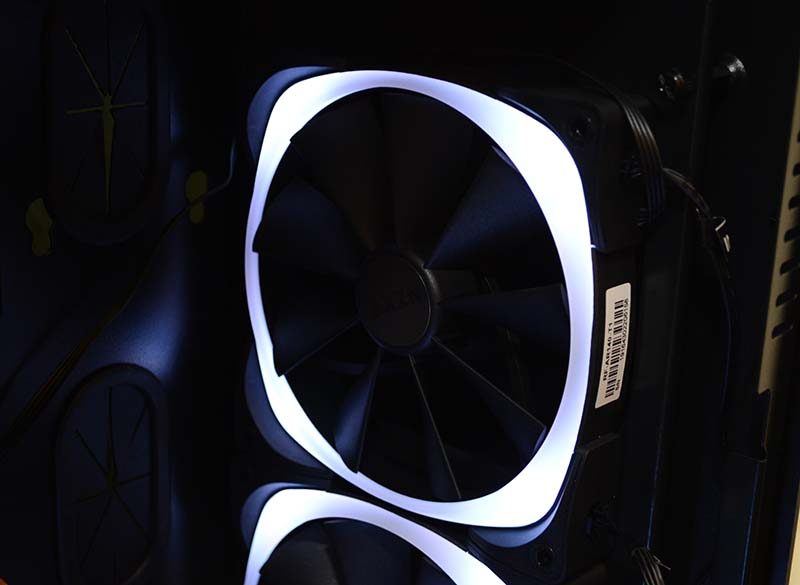
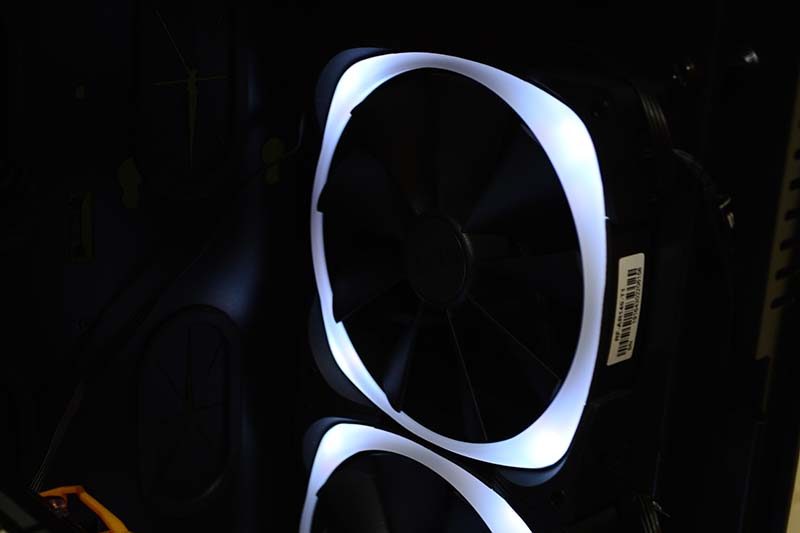
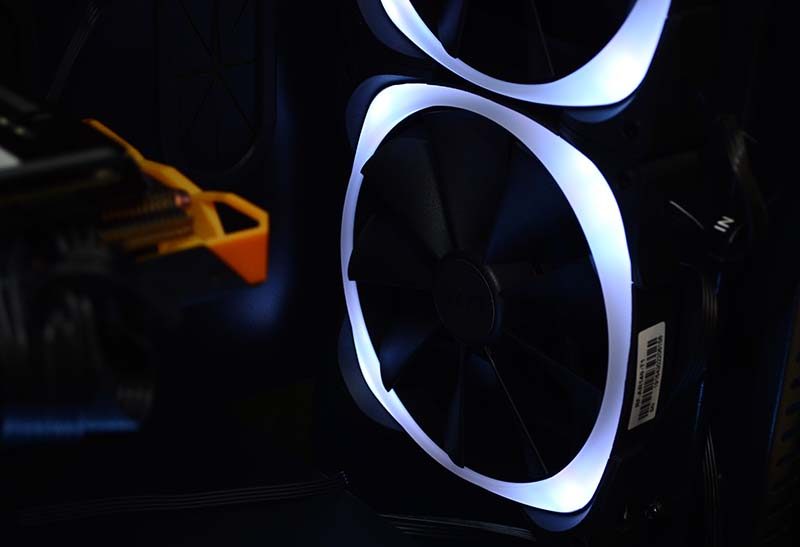
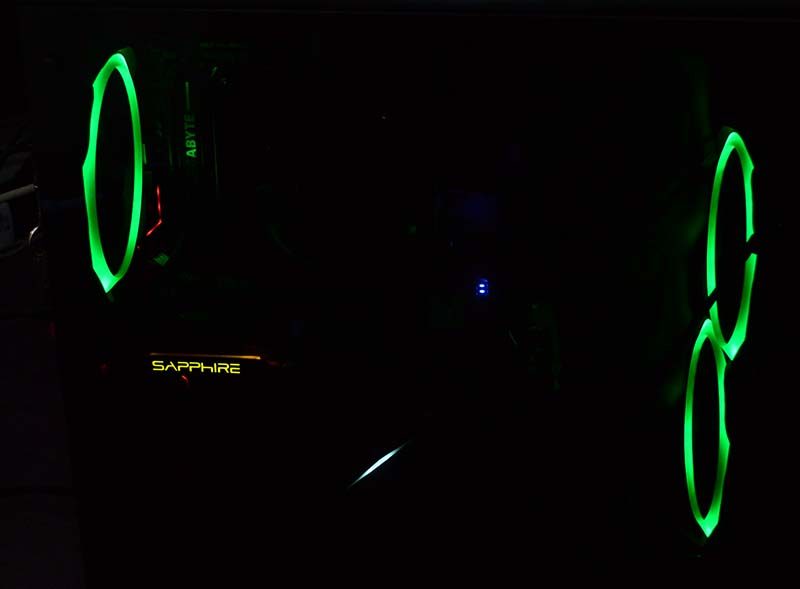
The fans aren’t as bright as I was expecting, as many RGB fans light up a lot of the interior of the chassis, but these are much more subtle. The white ring of plastic on the fan illuminates very nicely, but also diffuses the light, only giving a soft colouring effect to your chassis interior. Although it does leave you with a funky portal-like effect.
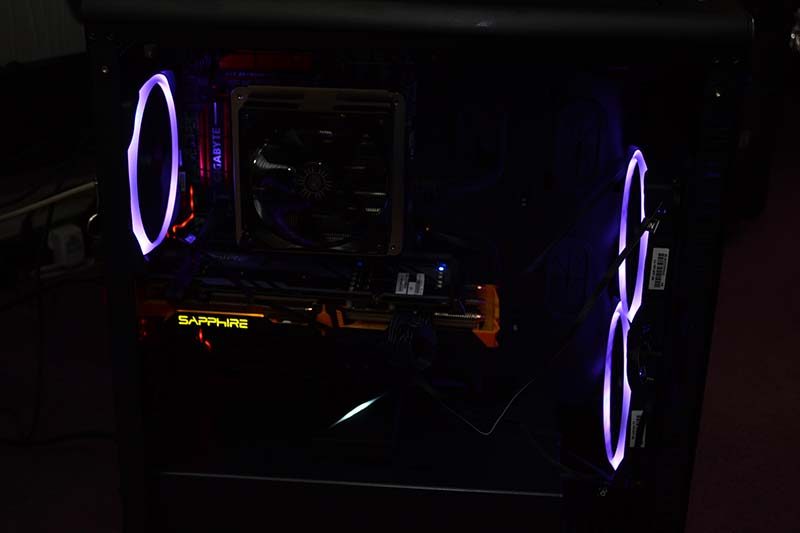
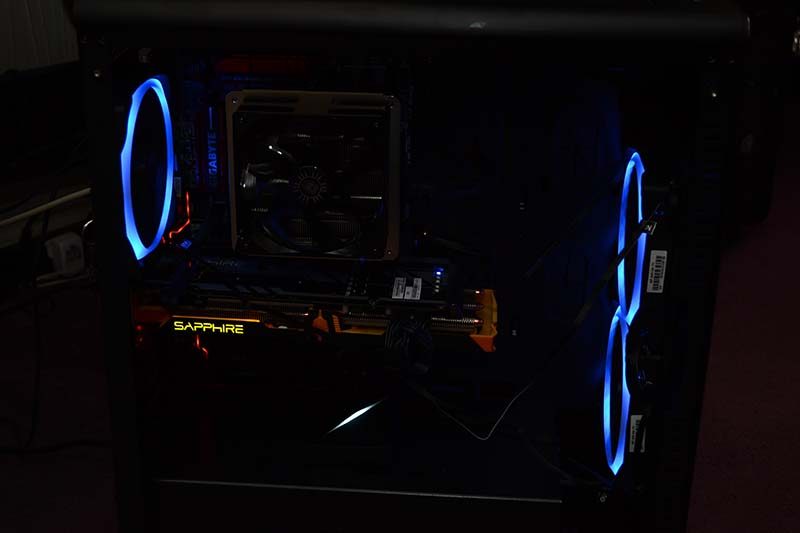
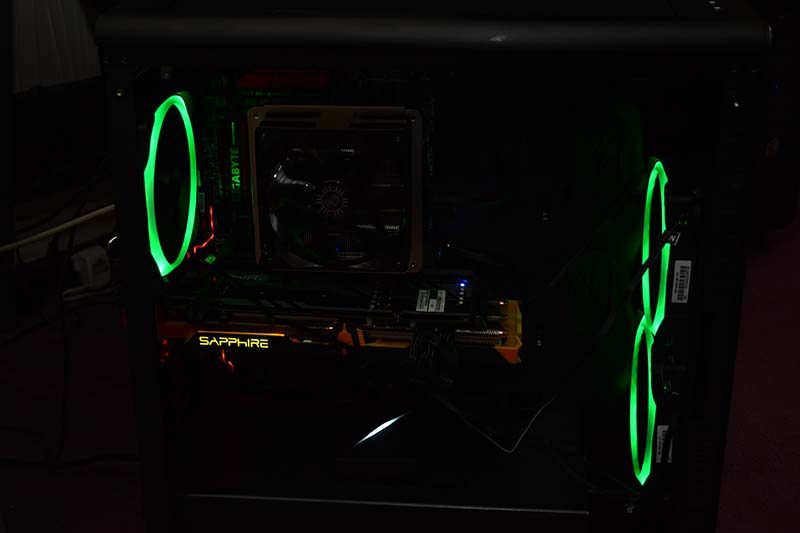
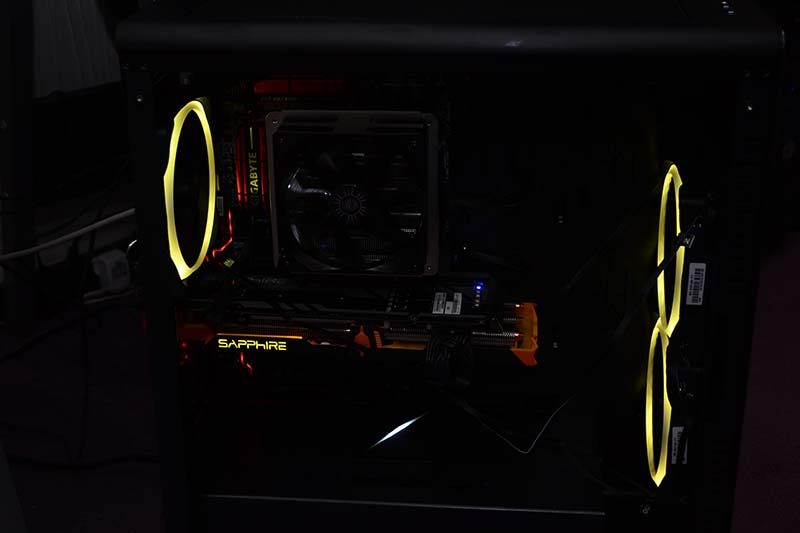
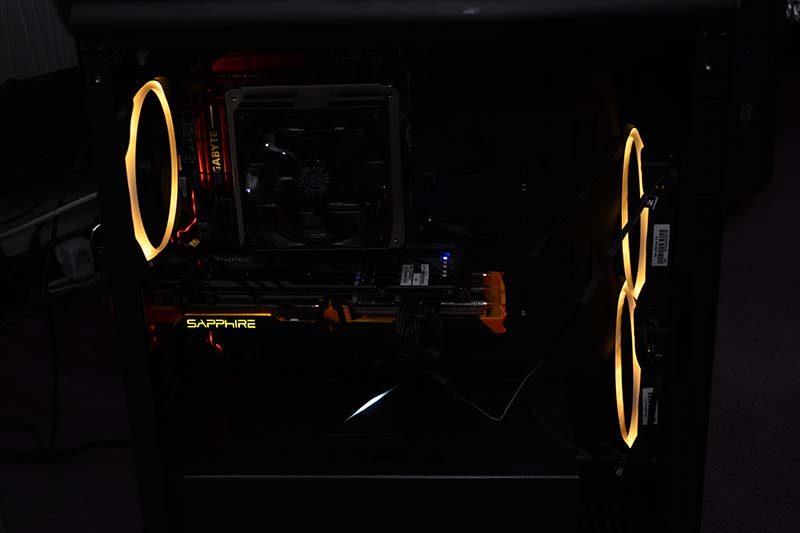
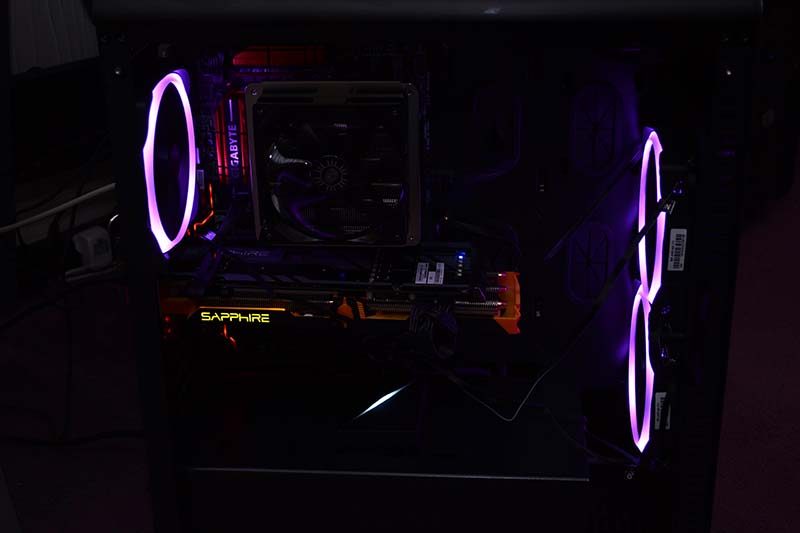
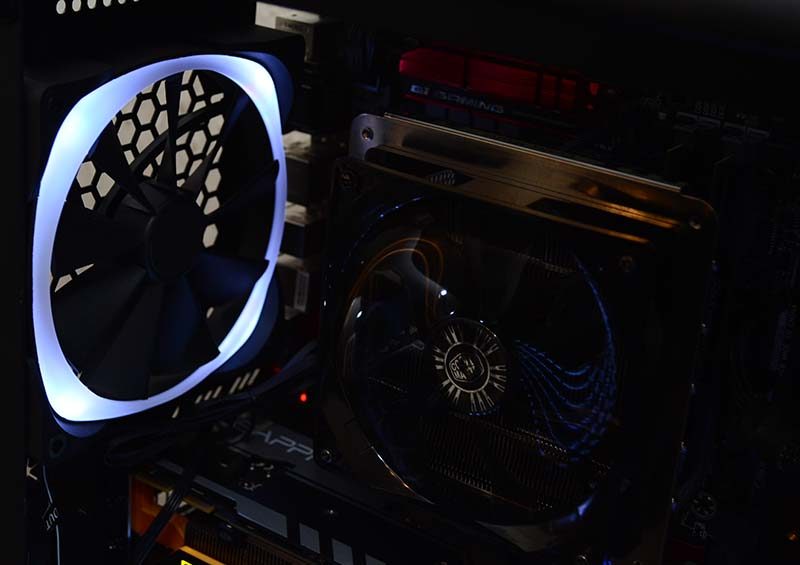
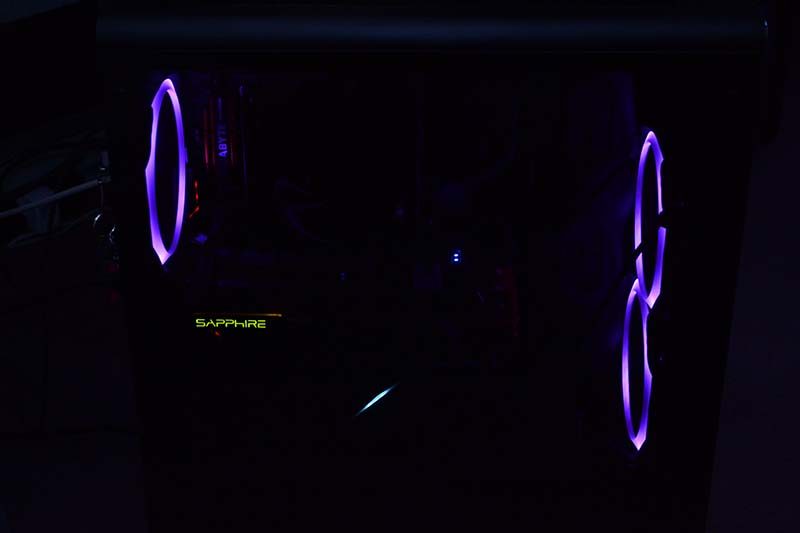
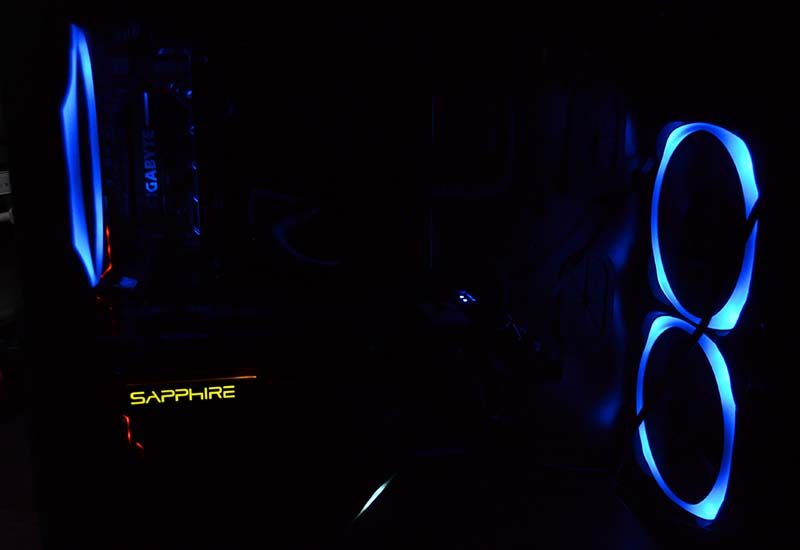
That Raijintek Aesterion chassis we’re using here has a heavily tinted window, and it does dull the lighting quite a lot, but still gives a nice effect overall. As I said, the lighting is a little more understated in terms of brightness than I was expecting, but at the same time I rather like the unique lighting pattern they create and if I want to bathe the entire chassis in lights, I’ll connect the HUE+ RGB strips to do that part!
Final Thoughts
Price
The NZXT Aer RGB 140mm Triple Pack of fans and HUE Controller can be purchased as a bundle for £96.44 for the 140mm version, or £85.17 for the 120mm version. This isn’t cheap, not by a long shot, but given that the HUE+ RGB controller which comes with four LED lighting strips of its own costs £48.48, it’s not as demanding an investment for the fans as it first seems. Buying the fans on their own is a waste of effort though, as we’ve seen them costing £30-40 EACH!
Overview
I’m really torn between several emotions when it comes to the NZXT AER RGB fans, as they’re far from perfect when it comes to practicality. That being said, few if any customisable RGB lighting fans are easy to work with, or cheap, so it’s not like NZXT are behind the curve here.
The cables required can be a pain, especially if you’re eager to focus on immaculate cable routing for your build. The fans lighting cables are not a standard cable and if you need more, you’ll need to buy the specific extensions and adapters to do so. With a little care, you can get them looking great, but be sure to measure up your cable runs and check cable lengths required before you purchase or start your build.
It does suck that they have to run through the HUE HUB too, as that nearly doubles the cost, but at the same time it should be seen that the fans are an expansion of the HUE RGB strip lighting kit, rather than something that requires it. The RGB strips do a fantastic job of illuminating the whole chassis, as we saw in our review of those. However, when it comes to unique looking fans, the AER are on point.
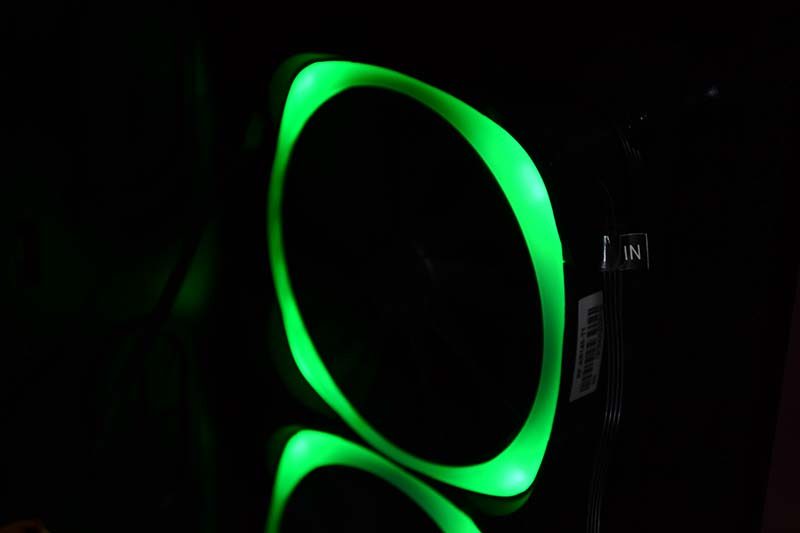
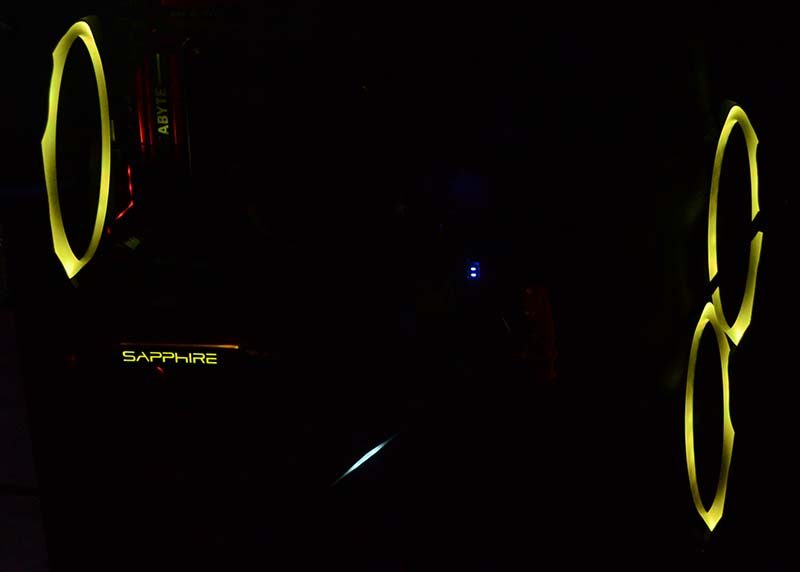
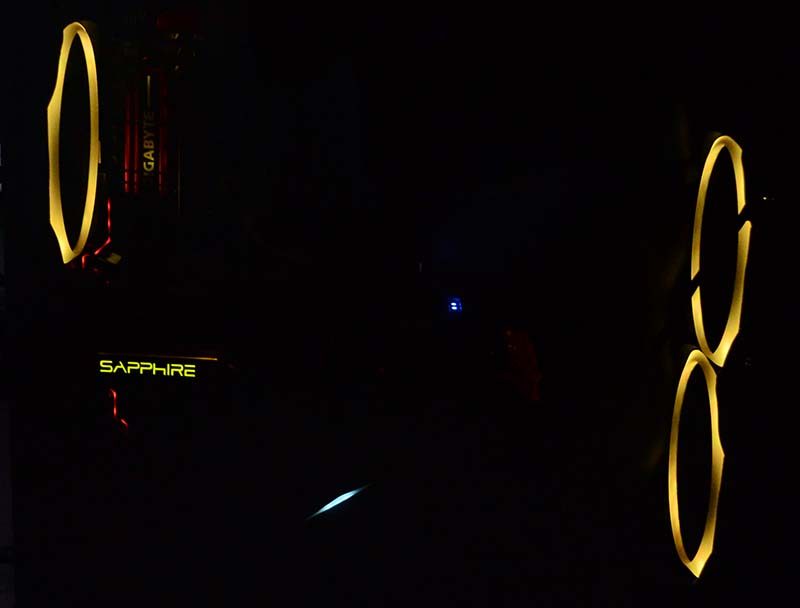
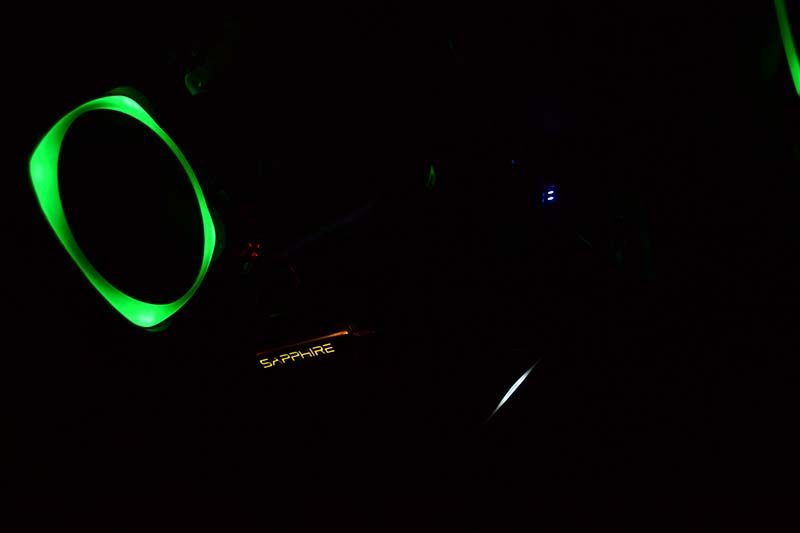
The lighting effects are a nice touch too, having breathing and colour cycle effects that are sure to put a smile on your RGB loving face. You don’t get the more advanced marquee type effects you get from the RGB strips, but there’s still enough customisation to be found here and the full RGB colour selector means you’re sure to find the colours that are right for you.
The Aer miss out on an eTeknix award today, but not because they’re bad, far from it. They look and perform great, but I still think closer to £100 for lighting kit like this is too much, and that the cable system is too clunky to be practical. They do a great job, but I want to see more done to streamline the system in future models. If you buy this setup, however, you won’t be disappointed with the aesthetics they offer.
Pros
- Fantastic colour palette
- Unique aesthetics
- Chainable effects and colours
- Can be synced with the RGB strips
- Quiet fan performance
- Available in 120mm and 140mm
Cons
- Quite expensive
- Can be tricky to install
- Must be connected to HUE+ for lighting effects
- Extra cable routing can be tricky
“Give your system a stylish and modern lighting system with the AER and it’s sure to take your build to the next level. They’re a little tricky to install, but the visual boost they provide is something you may not be able to resist.”


