NZXT S340 Razer Special Edition Mid-Tower Chassis Review
Peter Donnell / 9 years ago
Introduction
NZXT are one of the go-to brands for people building a gaming system, and that’s hardly surprising given that they’ve created some of the coolest looking and best-performing gaming chassis available and have been doing so for many years! From their legendary Phantom and Switch series to the more recently popular H440 and now their S340. Today we’re taking a look at the latest entry in their S340 series, which is at its absolute core the same S340 they launched at the end of last year, but it has been given a cosmetic makeover courtesy of popular gaming brand Razer.
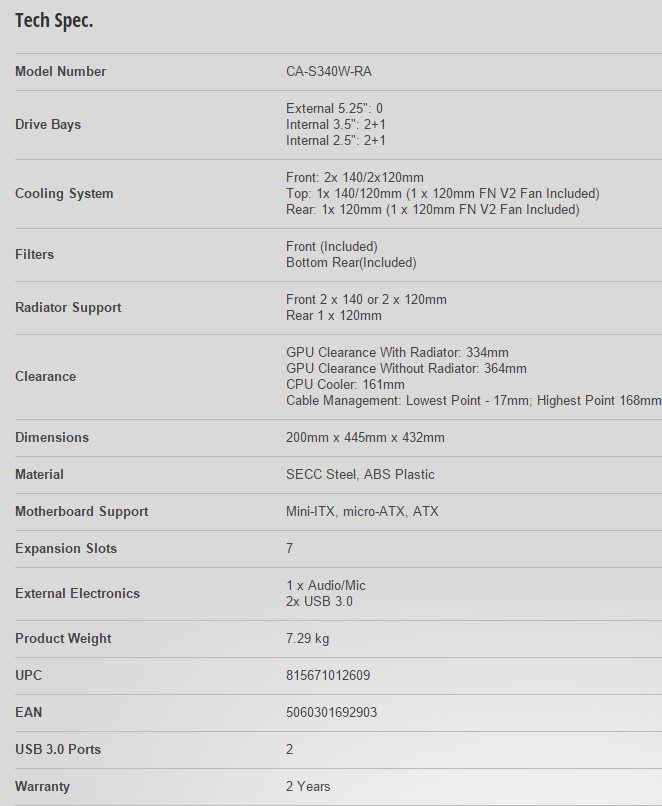
The new chassis still features the same specifications as the original S340. There’s a good amount of storage space, room for large graphics cards, lots of cooling support and much more.
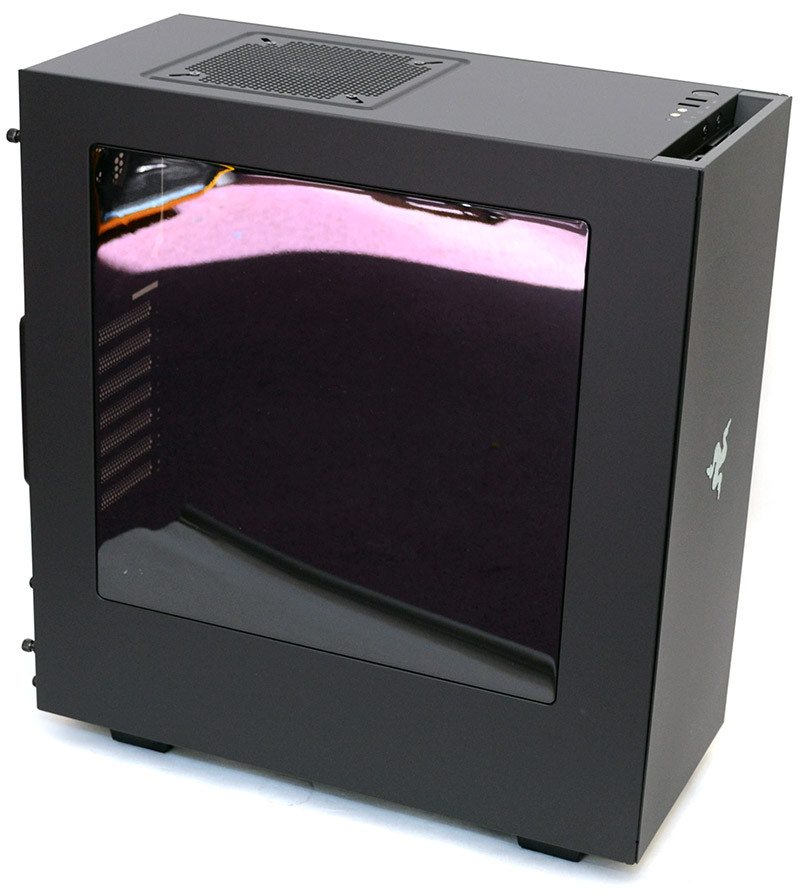
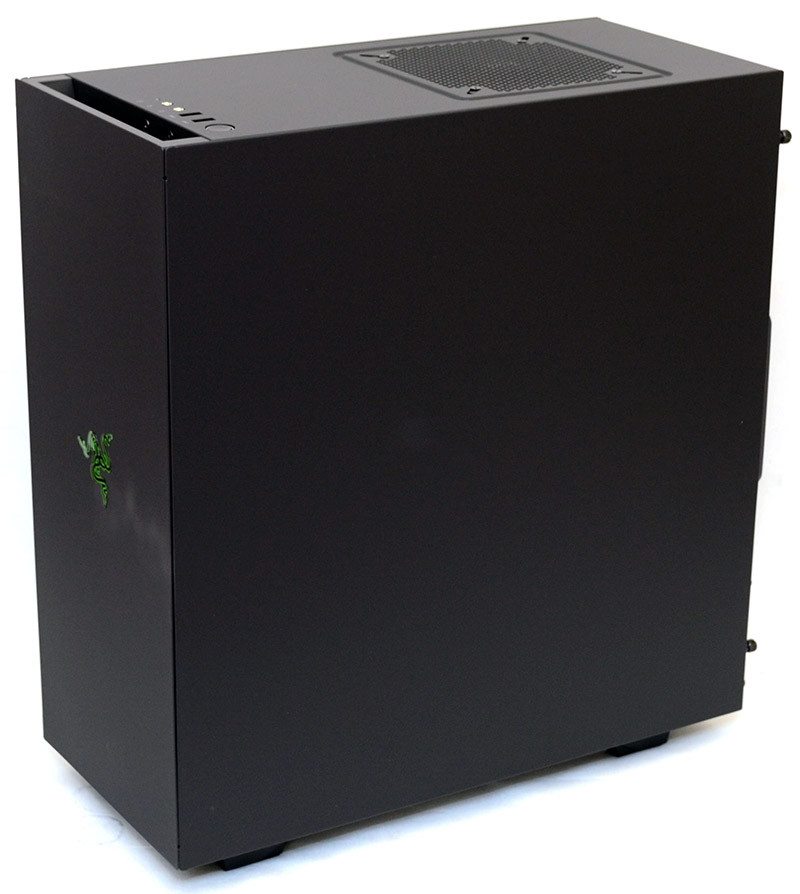
The new edition comes in a slick powder black paint job, giving it a dark and rather stealthy appearance. The black interior also means the side panel window has a mirror effect on it today, partly due to the sun beaming through the windows in our office, but with my eyes and not the camera lens, you can actually see in the chassis just fine.
The right side panel is a flat black panel, nothing fancy, but certainly neat and tidy.
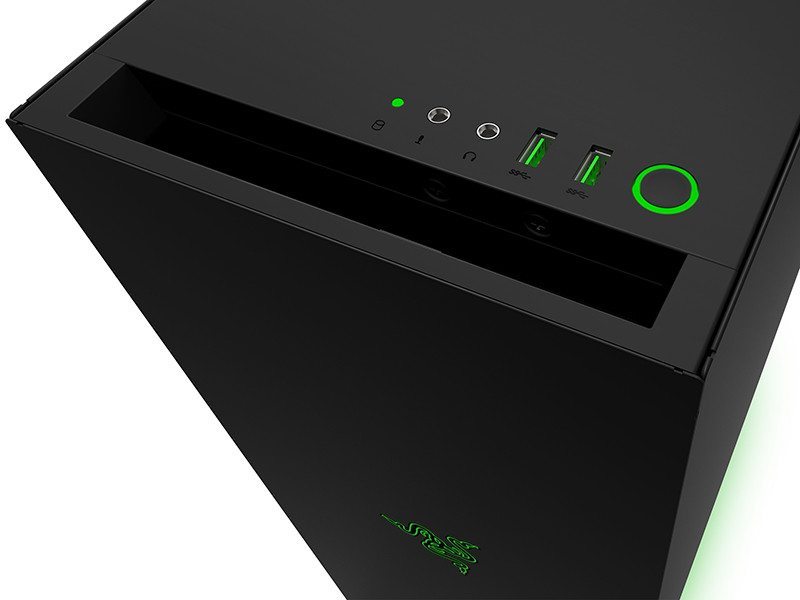
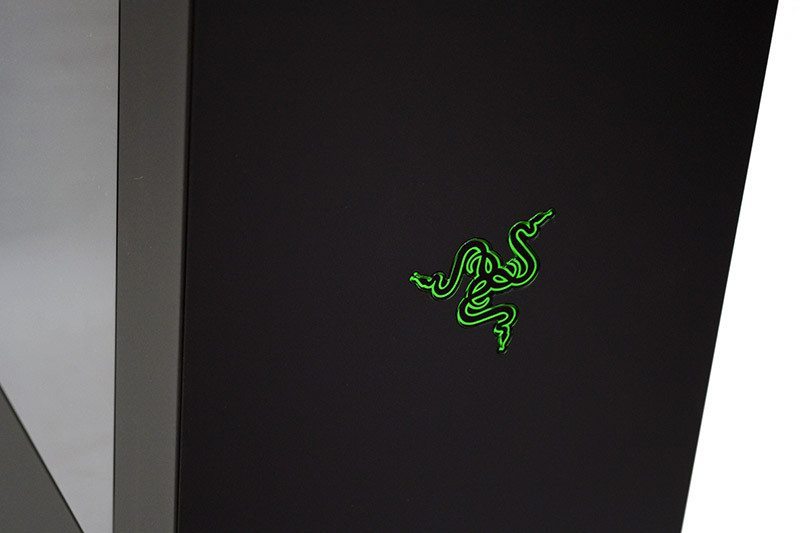
Aside from the powder black finish, the next big change is the front panel. The original S340 had a smooth front panel, but this one comes with a gorgeous Razer logo right in the middle and to make it just that little bit cooler, it’s even LED backlit!
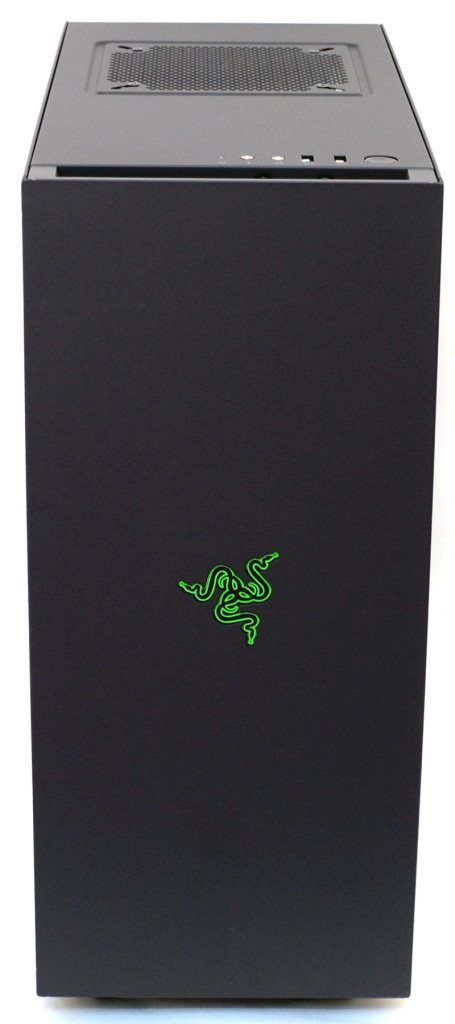
Even with the LEDs off, the logo stands out really well thanks to a reflective and bright colouring.
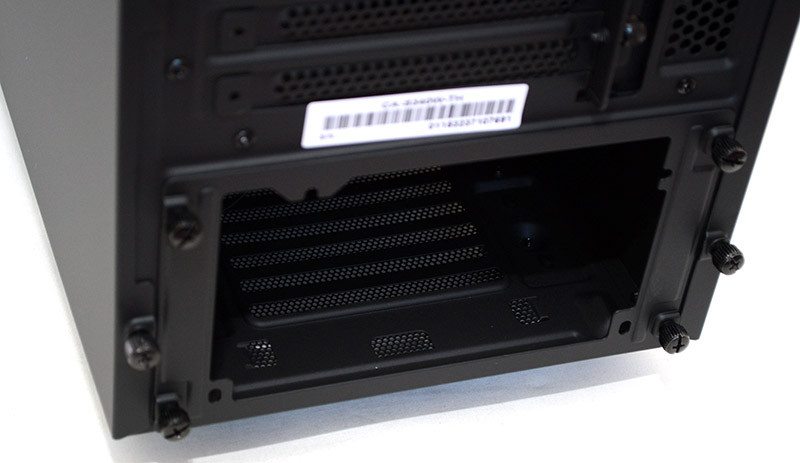
Everything is the same as before here, with the usual rear I/O LED light switch at the top, a 120mm fan pre-installed, seven expansion slots and the PSU cut-out. One nice touch, the snap-off covers of the original are now reusable covers; hurray!
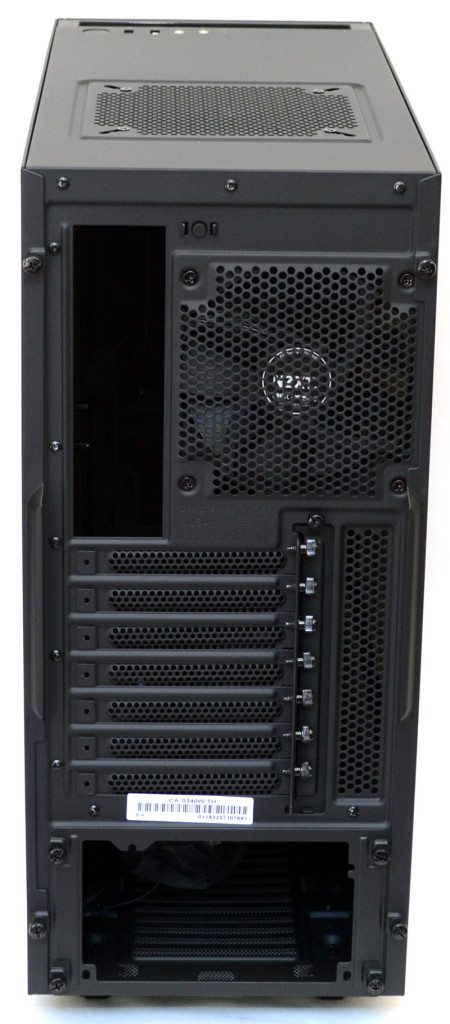
The PSU is installed from the rear of the chassis, and this is done by removing the four thumbscrews and mounting plate.
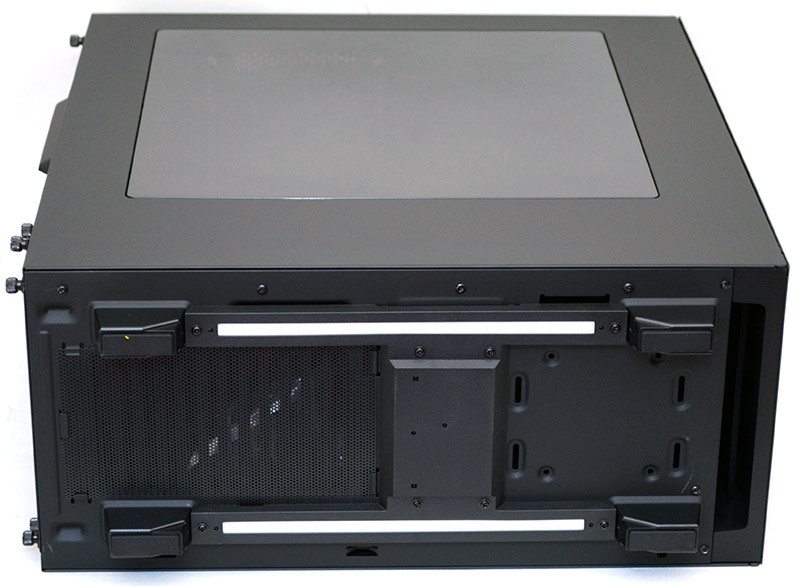
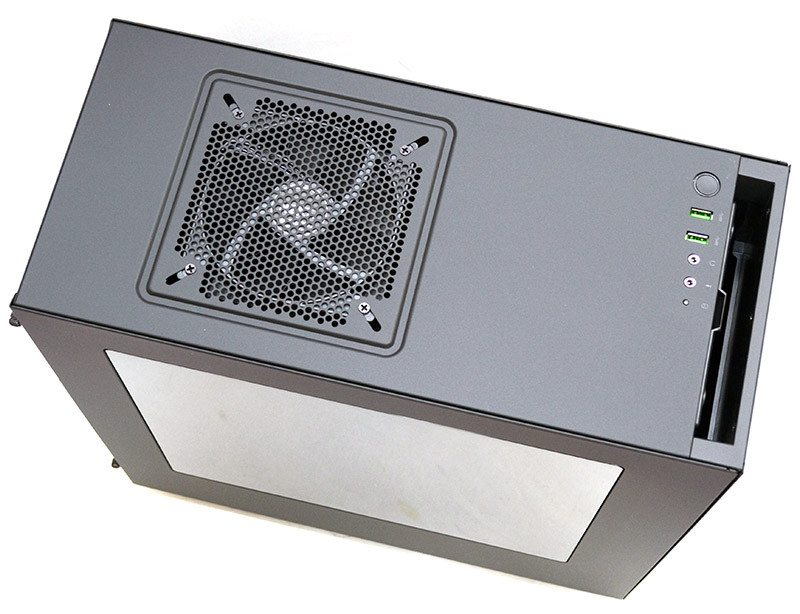
The top panel has a 120mm fan pre-installed, although you can swap this out for a 140mm if you desire. I actually would have preferred them to utilize the full space and pre-fit a 140mm, but I’m just being picky in that respect.
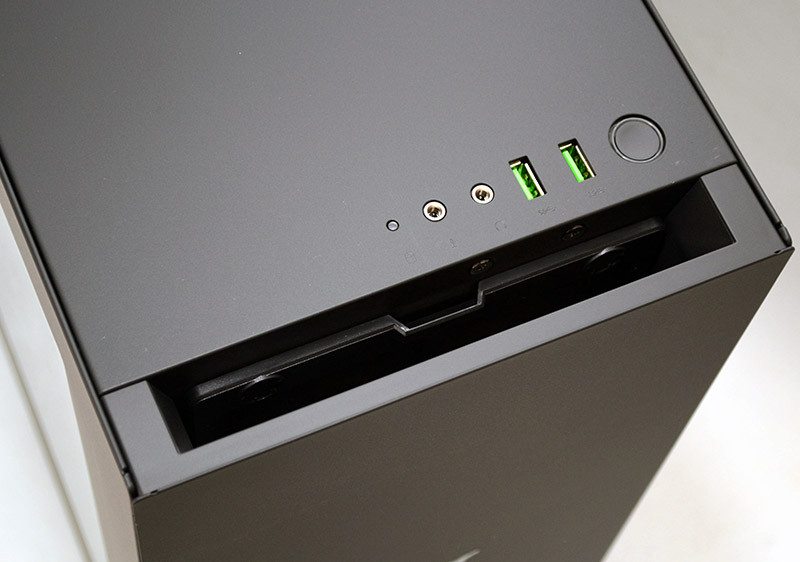
One subtle change is the USB 3.0 ports, which have been switched for the Razer produced green ones, the same you find on Razer produced notebooks; these looks really cool!
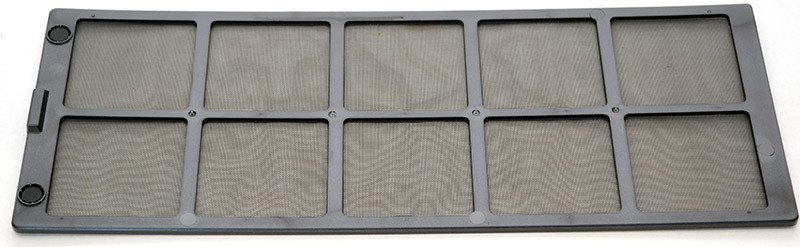
There’s a full height dust filter tucked into the front panel which can be removed from the top edge without removing the front panel. It’s magnetic and washable, so removing it and cleaning it, then re-installing it, is a nice and simple task.
The base of the chassis has a clip-in dust filter for the PSU, nothing fancy, but it’ll get the job done. There’s a pair of LED strips along the bottom, no surprise that these are green LEDs to match the Razer theme.