Swann OutbackCam 12MP Outdoor Photo & Video Camera
Bohs Hansen / 7 years ago
A Closer Look
When moving in for a closer look, the first thing we notice are all the IR LEDs. There is one section at the top of the camera, as seen here, and the second is further down.
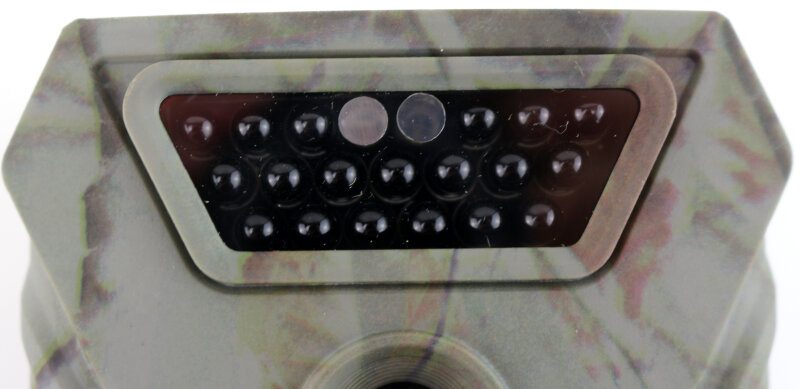
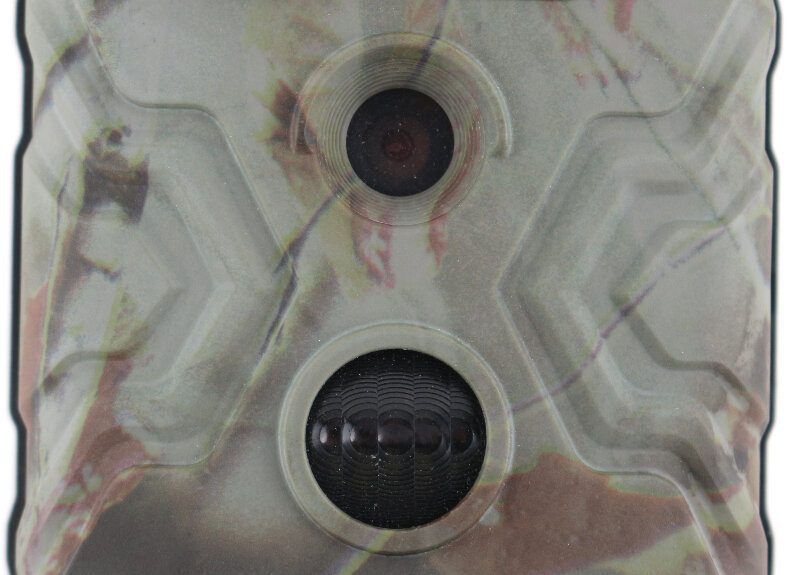
The image sensor is located in the middle of the camera which allows for easy aiming when you mount it. The built-in display is located on the inside when the extra battery compartment is mounted. So there is no real way to aim the camera visually. With a centred sensor location, that gets a lot easier. Below it is the passive Passive IR.
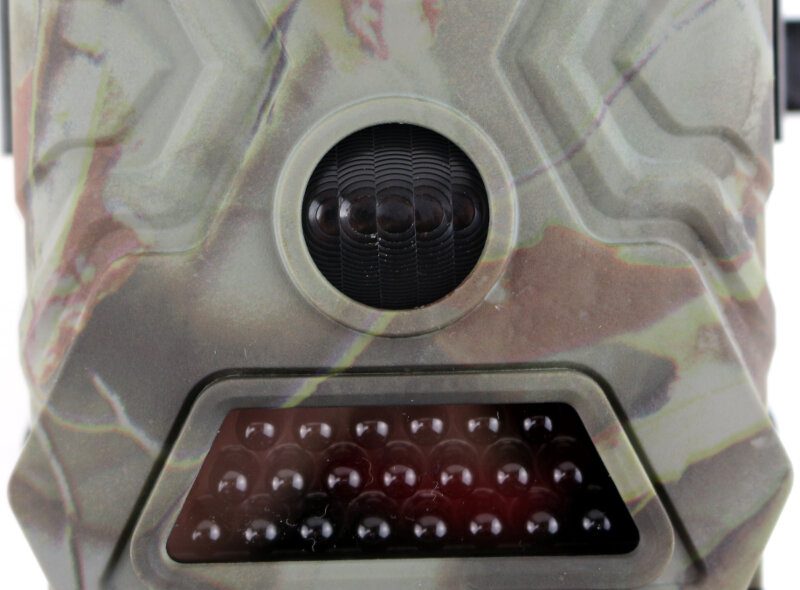
Below the sensor are the remaining IR LEDs. The two section combined make up the 40 featured LEDs.
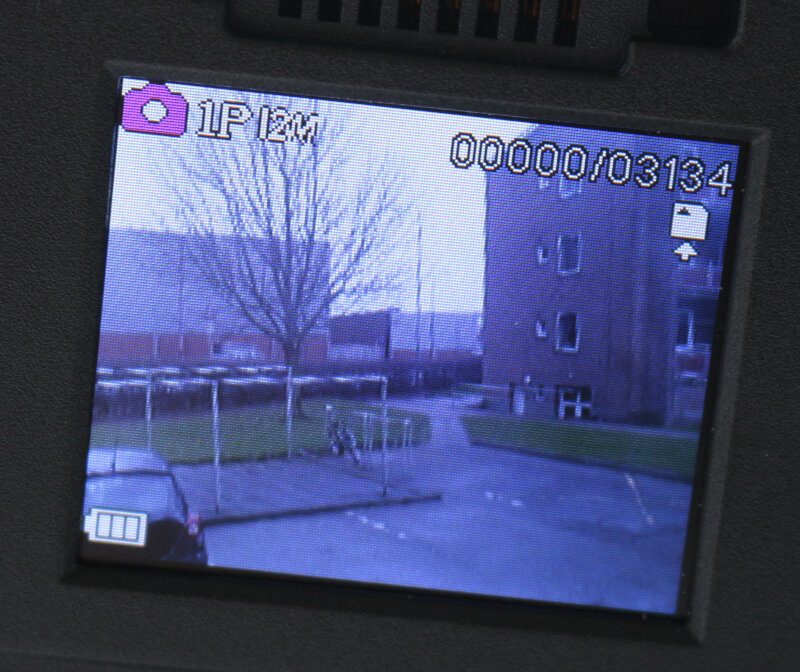
The display isn’t large, but it’s sufficient as it mostly will be used to configure it. However, it allows you to watch recordings as they happen too.

Control of the camera is easy. There are switches to turn the camera on and off, switch between camera and video mode, limit the amount of IR LEDs enabled, and for the motion detection. Above the switches are menu controls needed to set up the configuration.

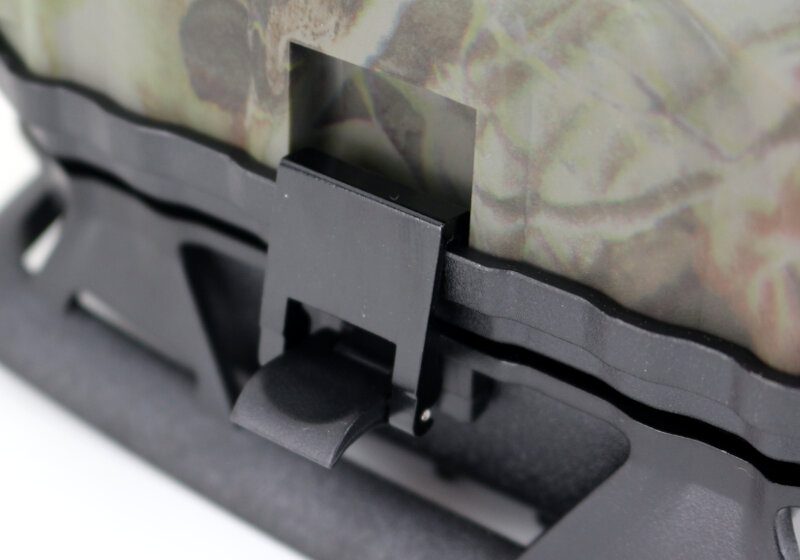
The two pieces, the camera and the extra battery compartment, are coupled together with easy-to-open mechanisms. That makes it easy to first mount the rear part to the tree or pole and then add the camera on top. It also allows easy battery and memory card replacement without the need to remove the mounting strap.
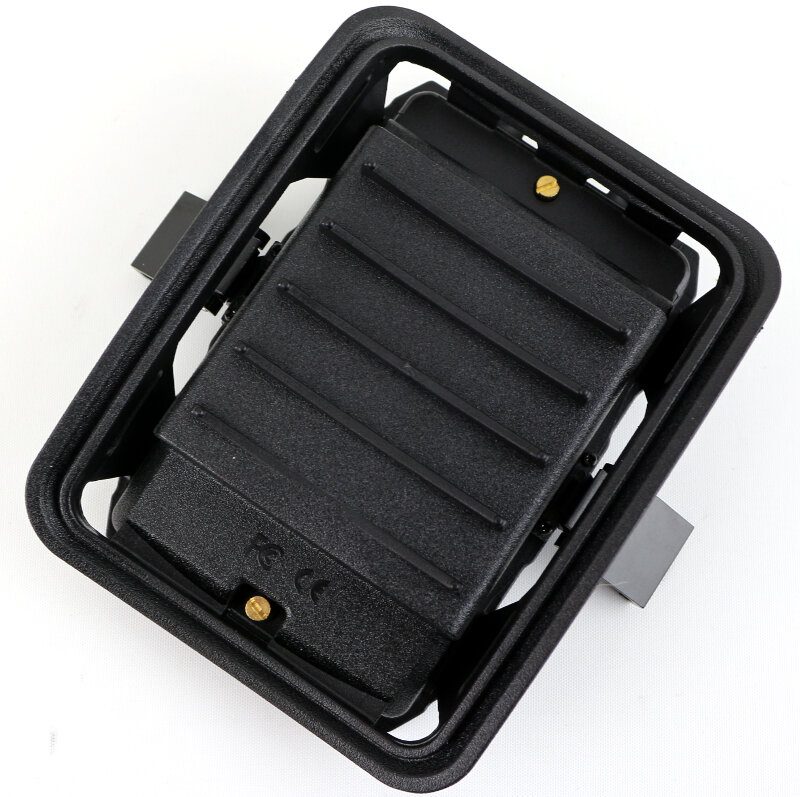
The battery compartment is curved on the rear to accommodate round surface mounting, as trees and poles usually are. Other than that, the rear of it doesn’t come with more features.
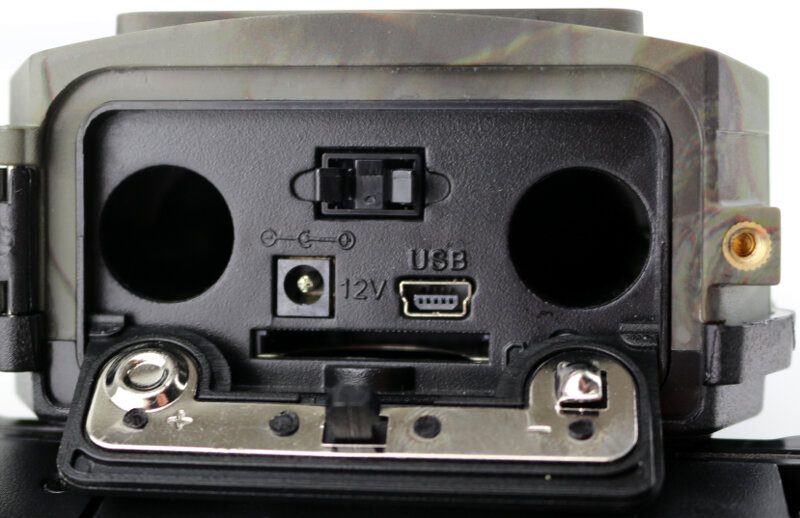
Turning it over, we see the connector pins at the top and the battery compartment below.
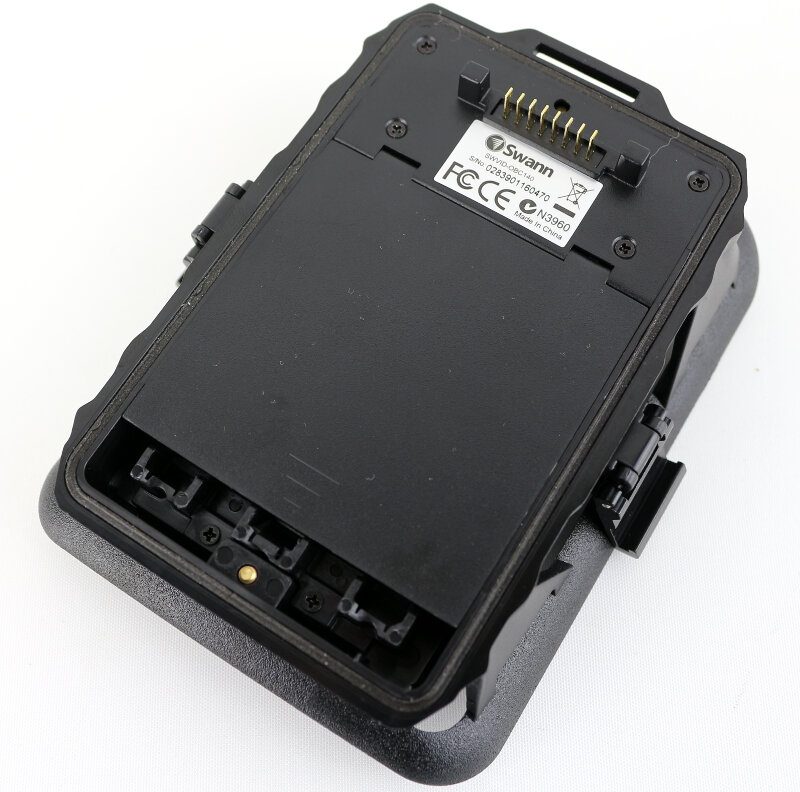
The installed batteries will stay in place at all time thanks to the added foam pad.
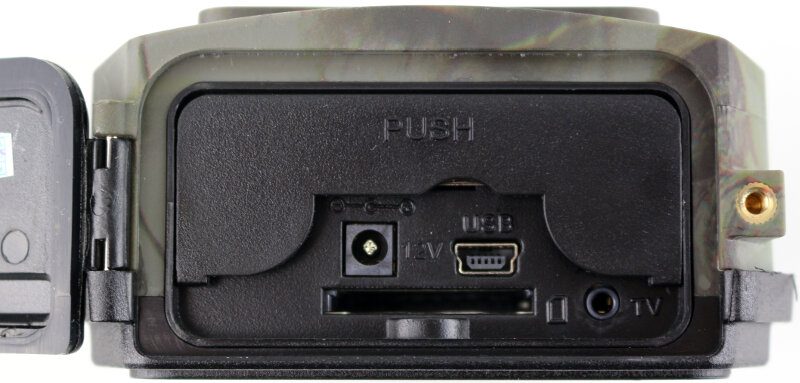
The bottom plate on the actual camera is secured with a single thumbscrew to keep dirt and water out of the connectors. Once opened, you gain access to the memory card slot, the USB connector, and a DV 12V power connector. There’s also a TV connector at the bottom corner.
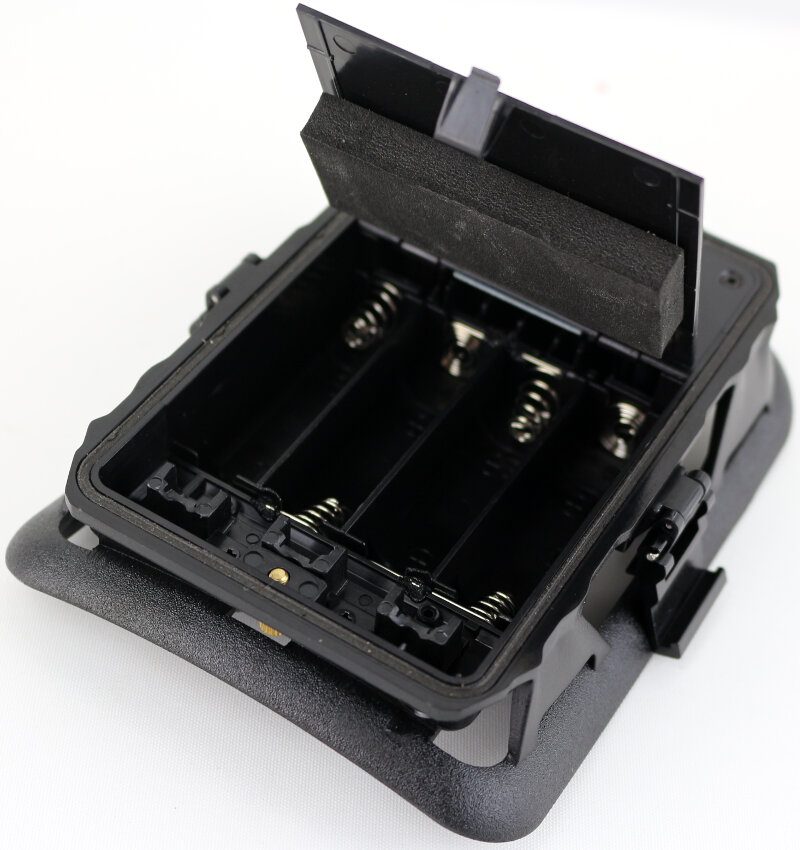
The battery compartment is opened with a simple push on the cover. Slide in two batteries on each side and close it up again.
Menu Selection
The menu is easy to read and use, and the menu points are clear on what they contain. Most also show the current setting to the right of the name.


