Thermaltake Core V21 Stackable Micro-ATX Chassis Review
Peter Donnell / 9 years ago
Complete System
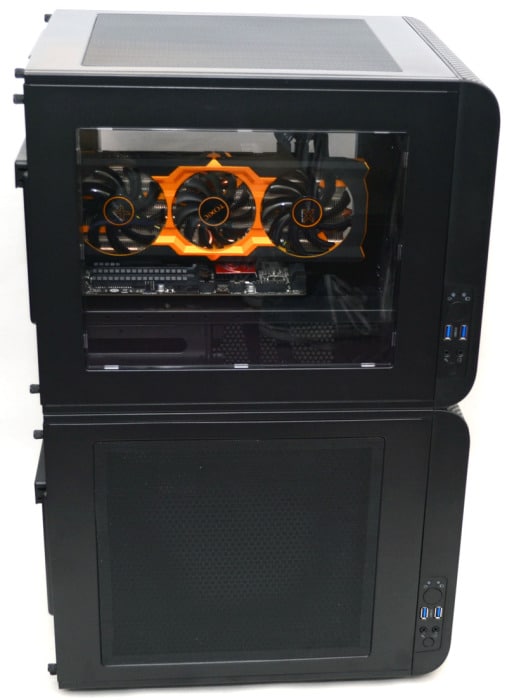
The total build took about an hour to complete, which is a little slow, but keep in mind that I had to strip down both of the V21 chassis and bolt them together. Attaching the chassis together was super easy, as it required just a single screw and bolt in each corner.
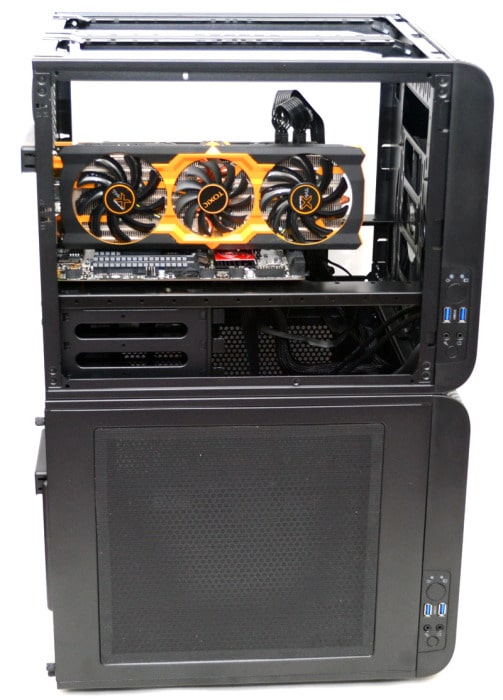
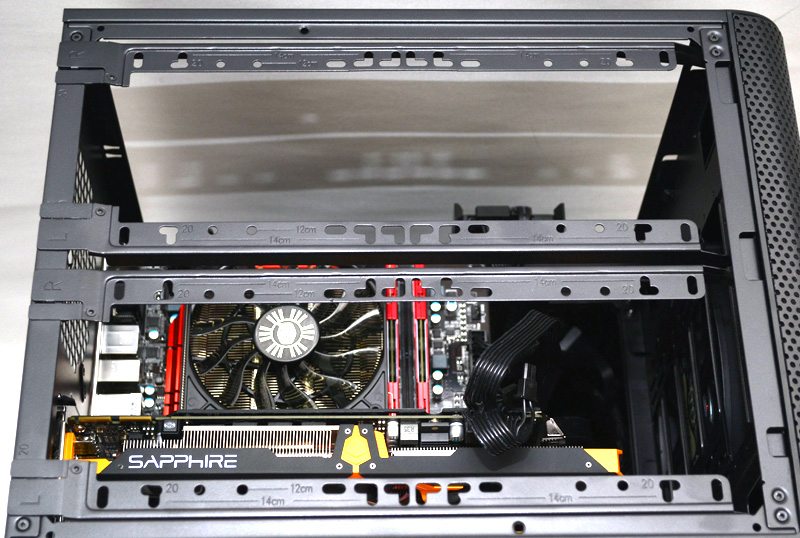
The build looks nice and clean from this angle, which is great as I plan on putting one of the window panels here. The Sapphire R9 270X is a pretty big card, but you can see it fits with plenty of room to spare; great news for those planning on installing extra long graphics cards.
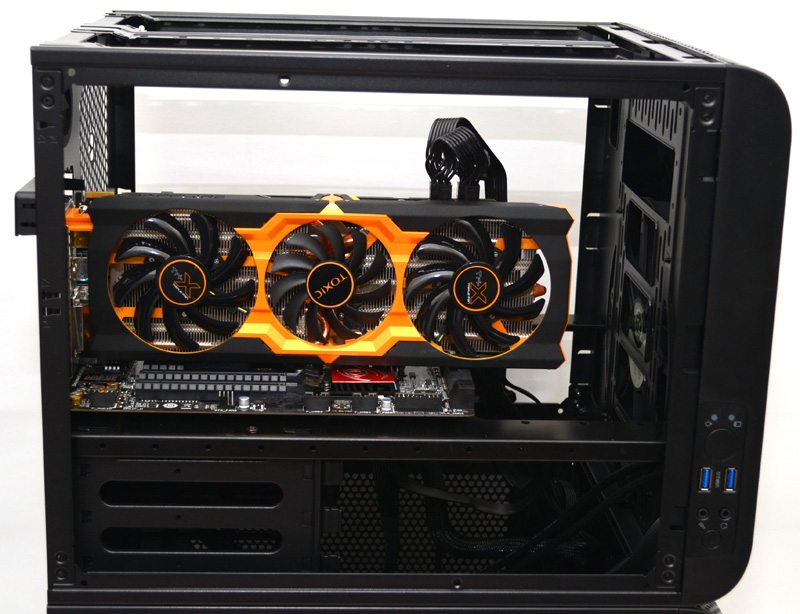
Vertical clearance is excellent, event with our GPU installed there’s room for a thick radiator, or two, in the top of the system.
You could also install a pretty huge air-cooler for your CPU, or even take advantage of the rear fan mount for fans, or an AIO cooler.
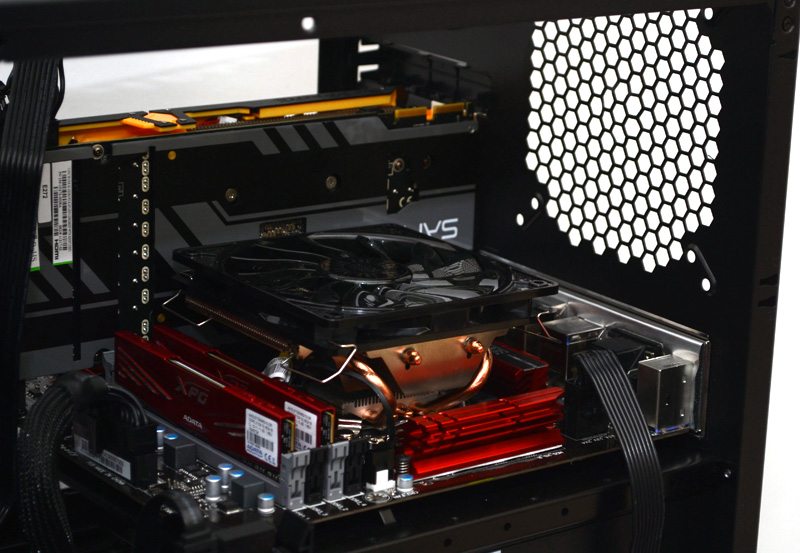
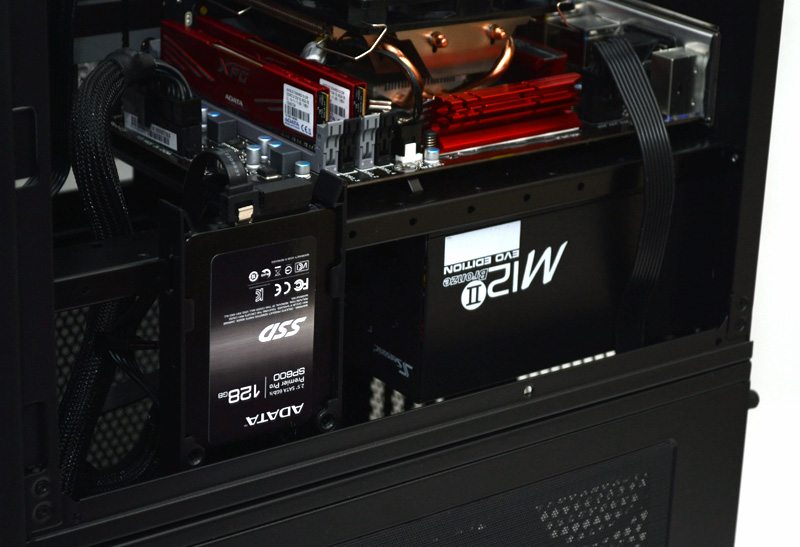
Here you can see the side 2.5″ drive mount, I’ve removed two of them since they’re not needed for my build, giving a much cleaner look overall.
The bottom chassis is actually empty in my build, as it’s here for demonstration purposes, but I took advantage of the extra space to store any excess PSU cables, leaving the cable management up top looking nice and clear.
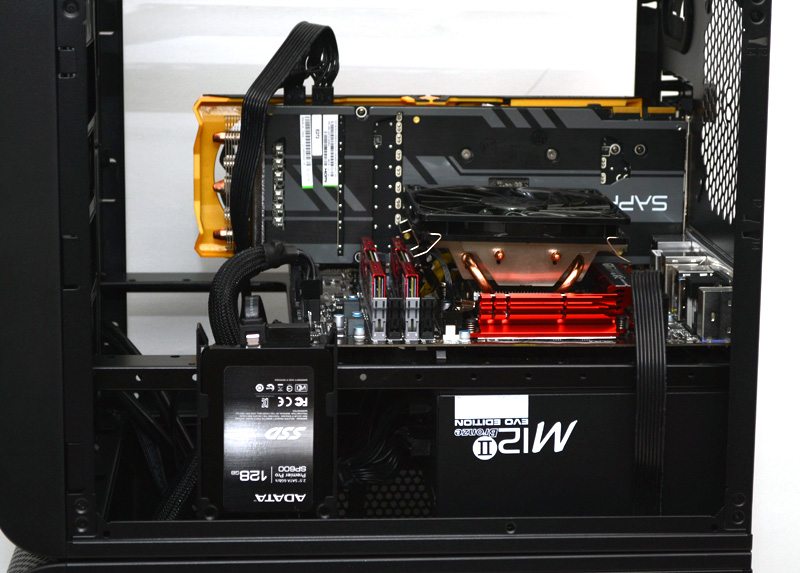
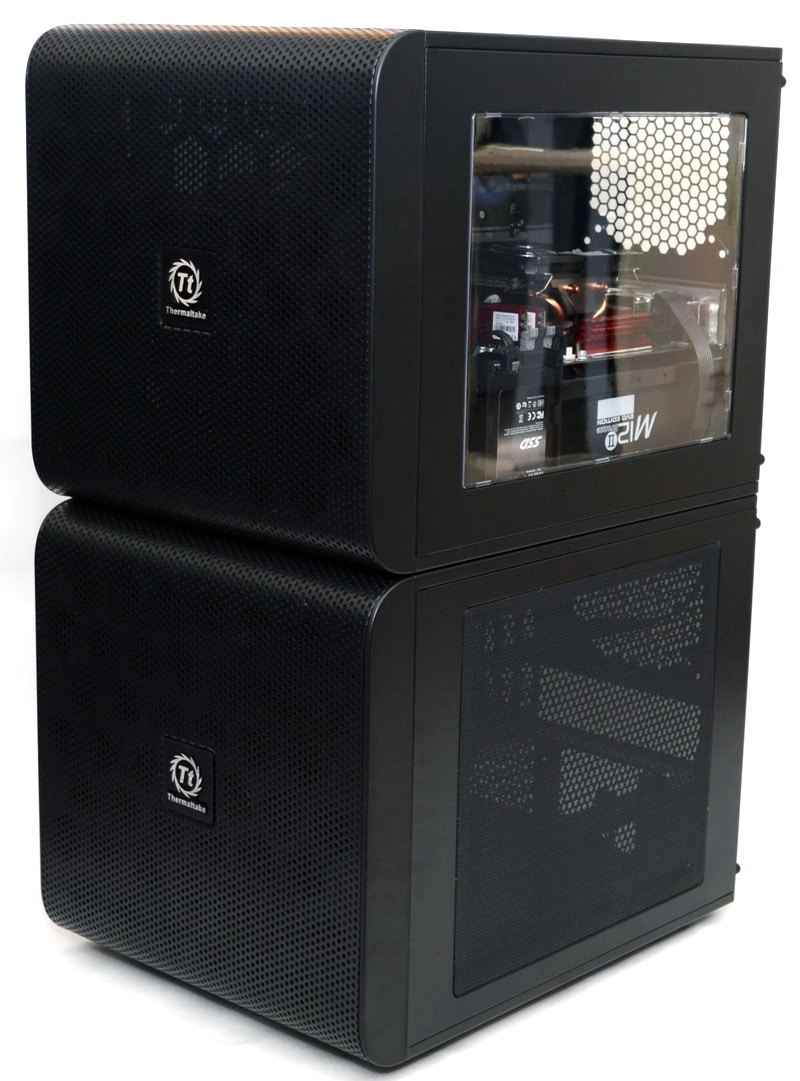
I’ve taken the smart tactic of mixing up the side panels of both chassis. This gives me a window view on both sides of the top chassis and a discrete look on the bottom half.
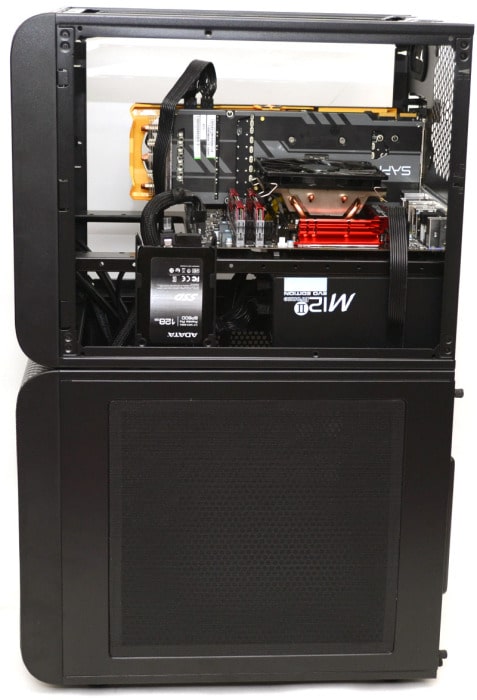
This means I can show off my fancy rig in the top section, and either have a stealthy rig in the base unit, or cram it full of water cooling pump equipment, reservoir, extra hard drives and maybe even a redundant power supply.
Overall this looks well and truly awesome and it’s certainly unique in terms of design.

As I said before, the panels are interchangeable, so you can actually adjust the orientation of the chassis. Put the bottom panel on the top or the side, you can mount the chassis sideways or upside down if you really wanted to!

The logo is held on by a magnet, so just pop it off.
Then orientate it the way you need it, simple.
Finally, here is the right side view, pretty cool having a window on both sides of the build!