Aerocool P7C1 Project 7 Mid-Tower Chassis Review
Peter Donnell / 8 years ago
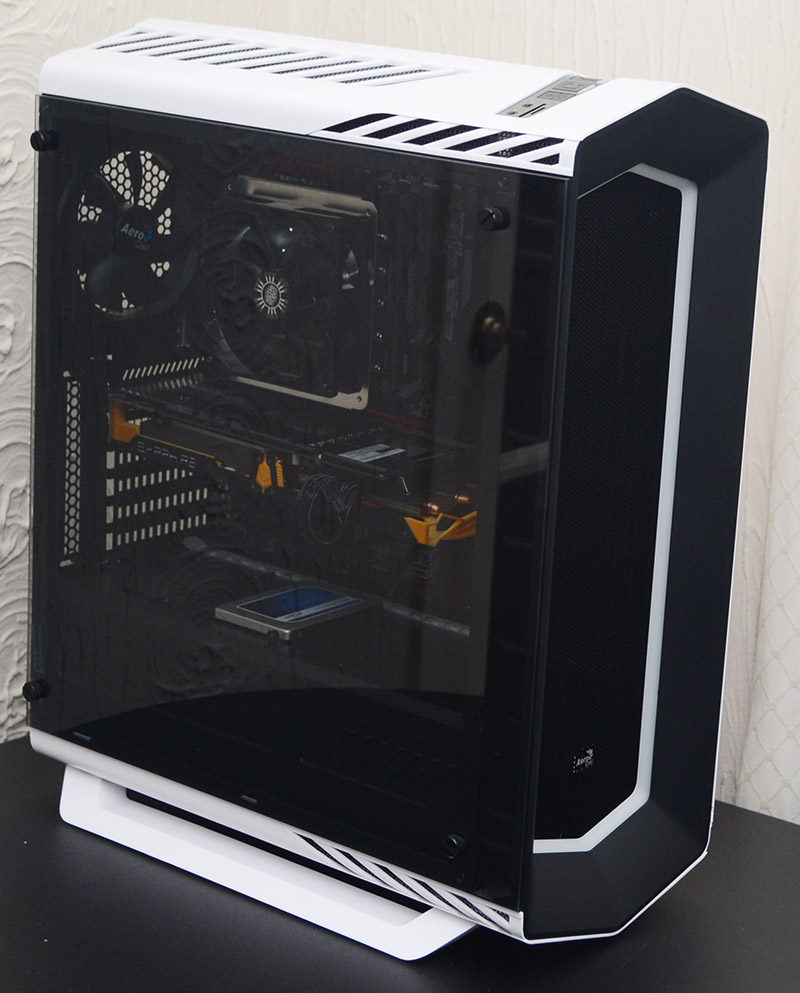
Complete System
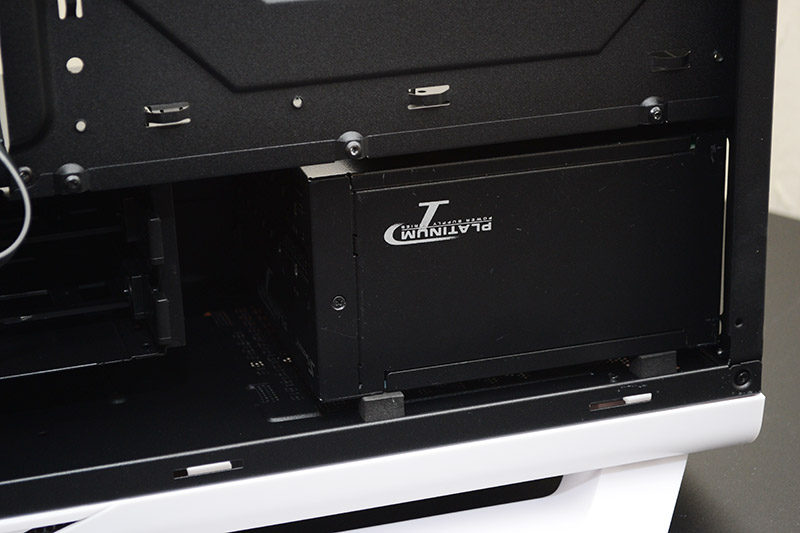
Installing the PSU was simple enough, just slide it in from the right. Just don’t make the same mistake we did. Install your cables to the PSU first if it’s modular, or remove the 3.5″ HDD bays, as it can be tricky to see what you’re doing.
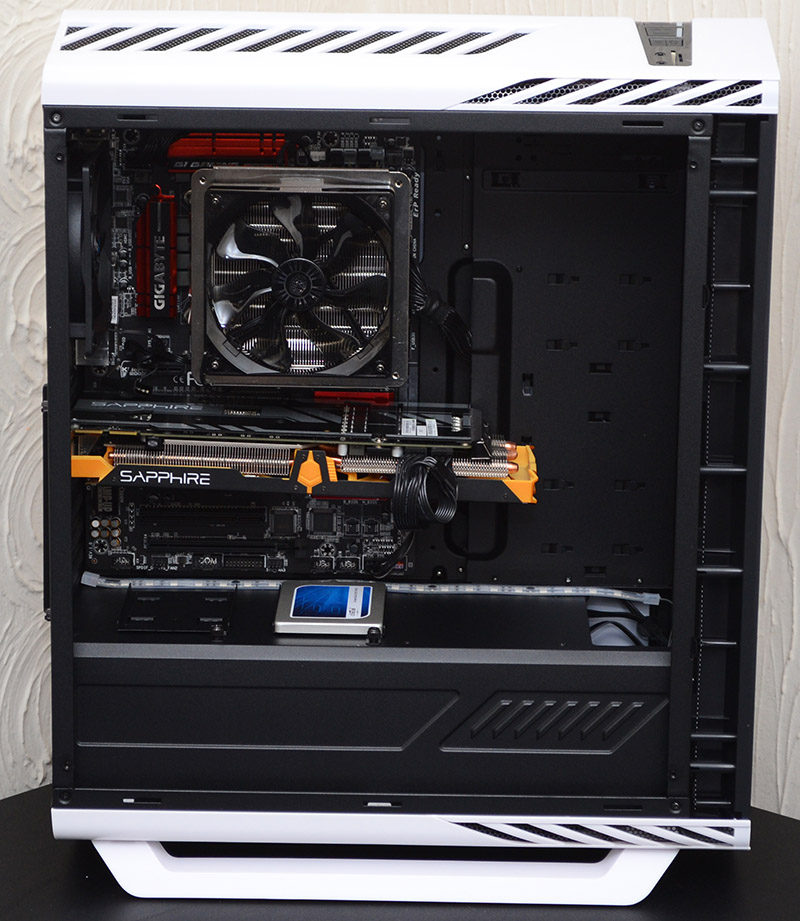
With everything installed, we’re certainly impressed with the Project 7. Sure, it does have its limitations, but the end result looks stunning.
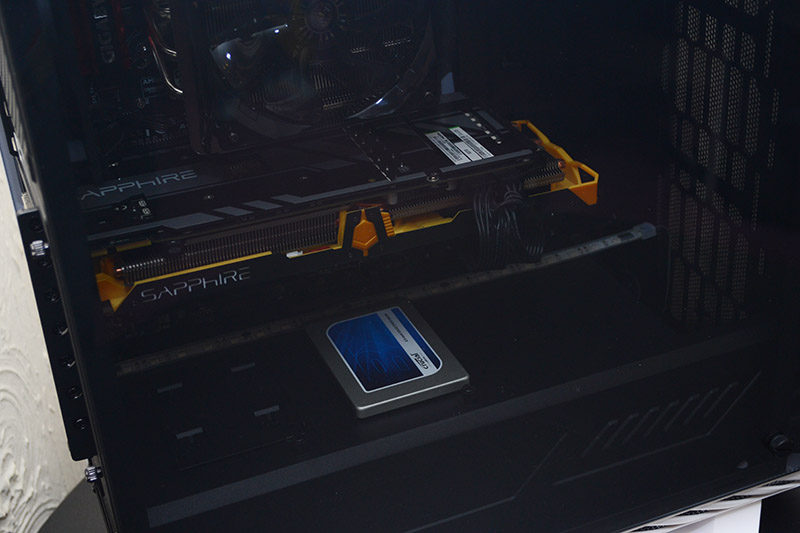
There are two HDD mounts on the PSU shroud, but the cut-out for cable routing is closer to the one on the right, so a little care is needed to ensure your cables look neat and tidy, but it’s not impossible.
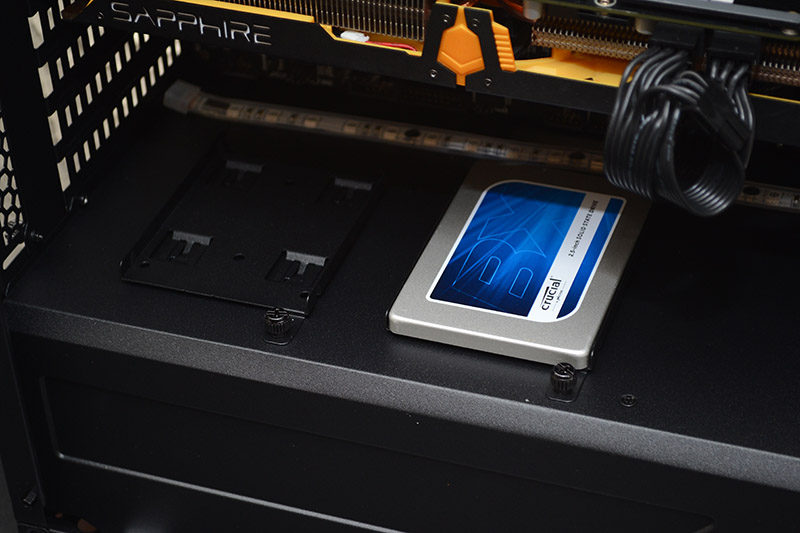
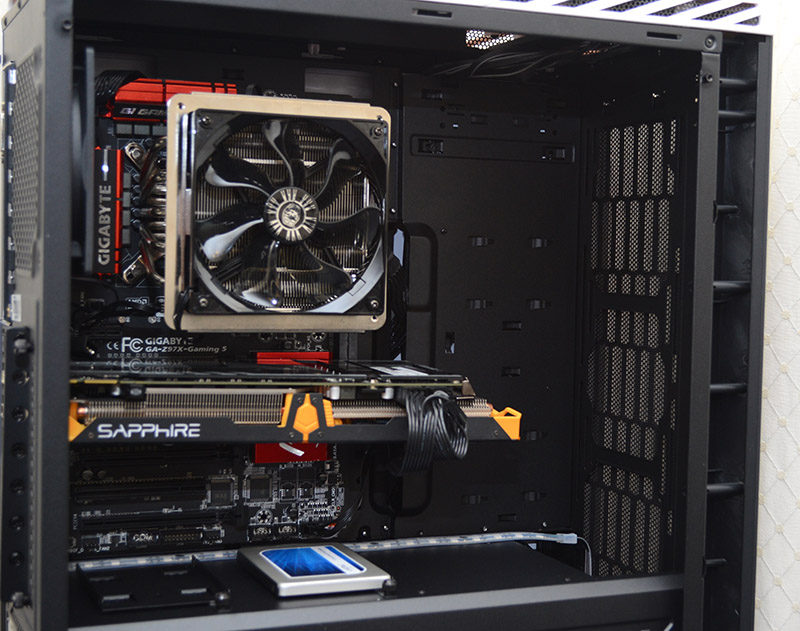
It’s hard to see here, as we did a good job on it, but the GPU cables have to come from the right side of the motherboard routing hole, as there’s no cut-out for them in the shroud. Again, it can be made to look neat, but a hole in the shroud would have been better.
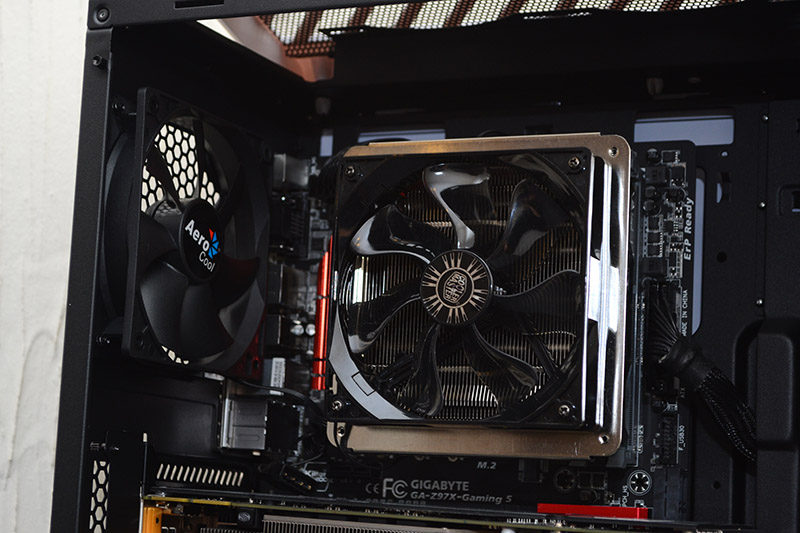
There’s loads of room for CPU cooler clearance, good news for those who wanted a high-end air cooler. Above the motherboard, there’s loads of clearance for the top mounts and plenty for the rear fan mount too, so airflow is great and there’s more than enough room for those wanting to install water cooling.
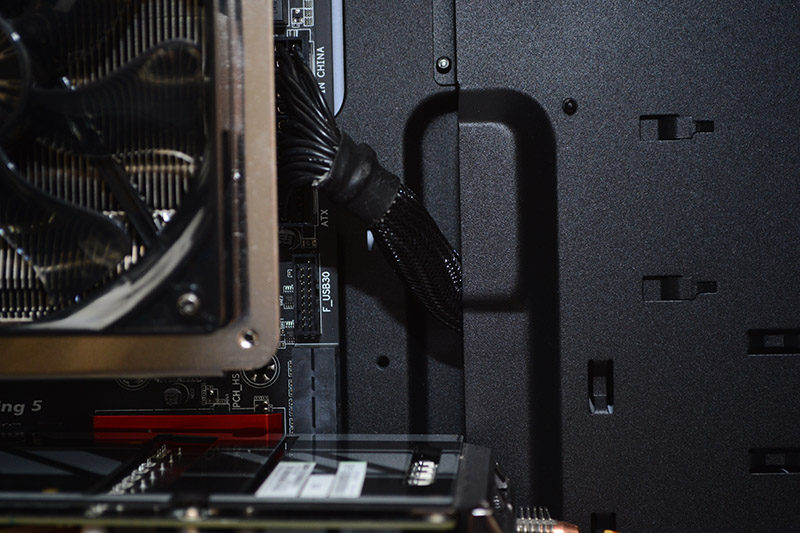
The tall cutout for the cable routing is nice and easy to use and does a great job of keeping most cables from trailing throughout the visible parts of your build.
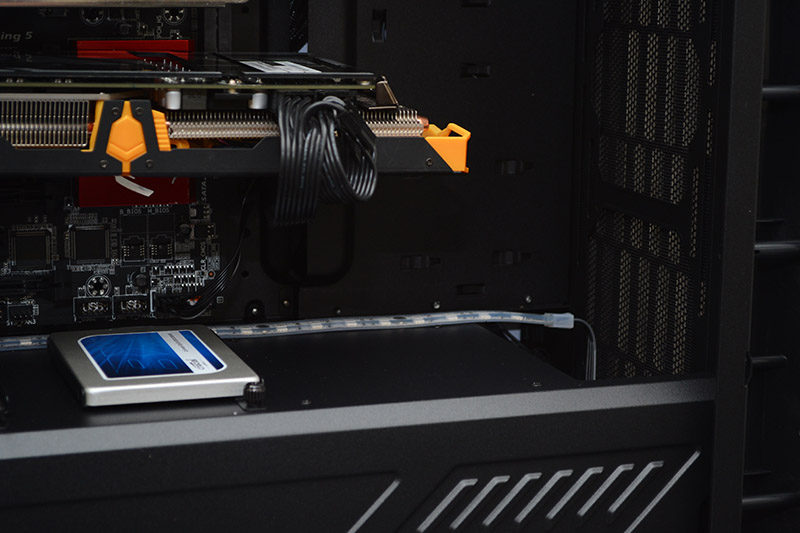
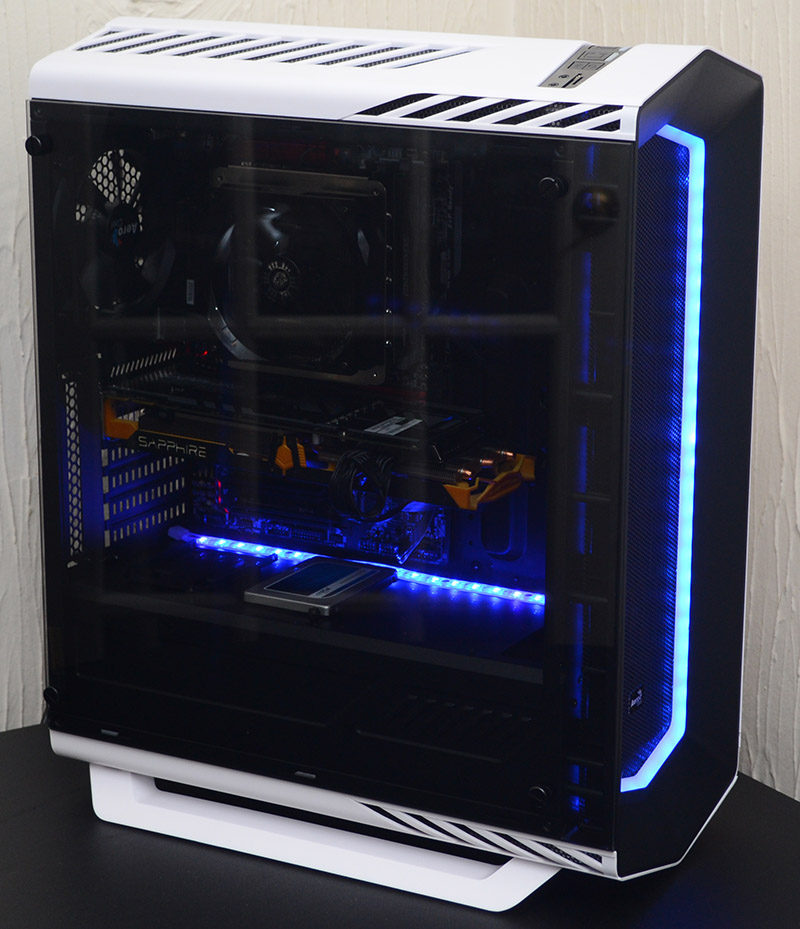
Despite room for some minor improvements, the cable management is certainly excellent and it wants to be, as it’s all going to be on show with that huge glass window panel and the lighting kit. If you look closely, you can see we’ve put the LED strip at the bottom of the motherboard.
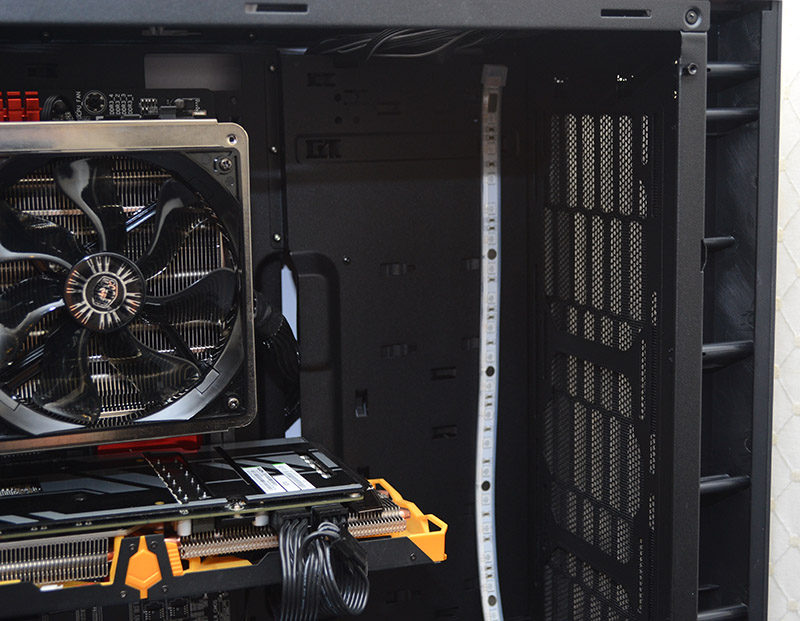
For the sake of demonstration, here is the lighting strip vertical at the back of the front panel. Since it’s magnetic, you can quickly and easily relocate it to suit your tastes; you could even choose not to install it if that’s your thing.
All panels back in place and you get a great view of the interior components.
There’s a slight tint to the window that does a fantastic job of hiding the general fixtures and fittings while letting enough light through to show off your hardware.
Fire up the system and you’re treated to a gorgeous lighting effect from the front panel, as well as the LED strip that was included with the chassis.
There are two buttons on the front I/O of the chassis, one to change the colour, just tap it to cycle through the eight that are available.
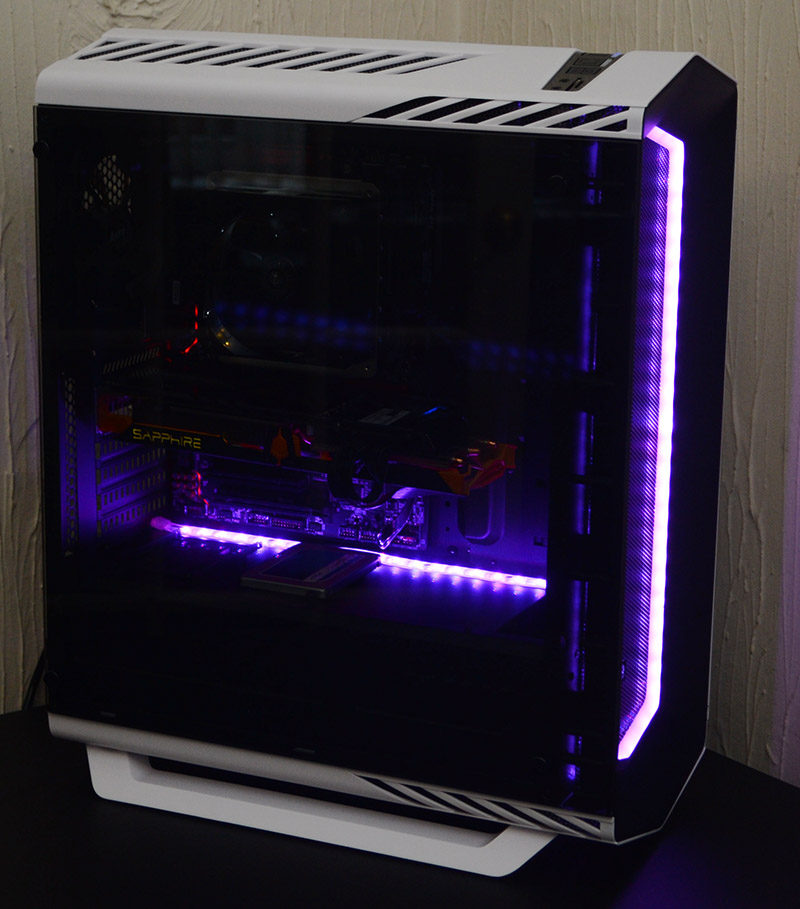
The other button deals with lighting modes, allowing you to turn the lighting off, cycle through various fading and colour changing effects to suit your taste, as well as adjust the overall brightness of the lighting if you wish.


